Struts2集成Spring后,将可以实现Struts2组件纳入Spring管理,实现依赖注入,如果不和Spring集成,不仅每个action的实现类都需要写完整的包名加类名,而且后续对象不能实现依赖注入,会有高耦合的可能,因此和Spring的集成是有必要的,本文学习了基本的集成配置方法。
配置步骤
(1)导包struts2-core,struts2-spring-plugin包,测试发现还需要导包spring-webmvc的包,否则会报错;
(2)配置web.xml,里面需配置监听器,用于启动spring容器,还需配置context-param,告诉spring配置文件的位置,最后需要配置struts2的主控制器filter;
(3)spring配置文件设置组件扫描,将struts2的组件纳入spring管理
(4)设置struts.xml,里面配置package,action和result
web.xml中的配置
web.xml中主要配置三个东西,其中配置context-param的作用是启动spring容器时,告诉ContextLoaderListener加载spring配置文件的位置,如果不配置将默认从WEB-INF下读取applicationContext.xml文件进行解析。另外跟SSM项目中不同的时,这里使用listener来启动spring容器,SSM是使用dispatcherServlet启动spring容器,并启动同时读取config参数加载配置文件。最后是需要配置struts的主控制器filter,具体参考以前博客。
<?xml version="1.0" encoding="UTF-8"?>
<web-app xmlns:xsi="http://www.w3.org/2001/XMLSchema-instance" xmlns="http://java.sun.com/xml/ns/javaee" xsi:schemaLocation="http://java.sun.com/xml/ns/javaee http://java.sun.com/xml/ns/javaee/web-app_3_0.xsd" version="3.0">
  <display-name>SSH02</display-name>
  <welcome-file-list>
    <welcome-file>index.html</welcome-file>
    <welcome-file>index.htm</welcome-file>
    <welcome-file>index.jsp</welcome-file>
    <welcome-file>default.html</welcome-file>
    <welcome-file>default.htm</welcome-file>
    <welcome-file>default.jsp</welcome-file>
  </welcome-file-list>

  <!-- 指定spring配置文件位置 -->
  <context-param>
    <param-name>contextConfigLocation</param-name>
    <!-- 由于param-name名字写错,写成contextLocationConfig,导致报错 -->
    <!-- 报错提示为Could not open ServletContext resource [/WEB-INF/applicationContext.xml -->
    <!-- 由于配置错误,会默认从WEB-INF下寻找applicationContext.xml文件进行解析,只有正确配置了context-param,才会解析自定配置的spring-mvc.xml -->
    <param-value>classpath:config/spring-*.xml</param-value>
  </context-param>

  <!-- 配置listener,用于启动spring容器 -->
  <listener>
    <listener-class>
    org.springframework.web.context.ContextLoaderListener
    </listener-class>
  </listener>

  <!-- 配置struts2主控制器 -->
  <filter>
    <filter-name>mvc</filter-name>
    <filter-class>org.apache.struts2.dispatcher.ng.filter.StrutsPrepareAndExecuteFilter</filter-class>
    <init-param>
      <!-- 告诉struts2,struts.xml文件的读取位置,
      如果配置了inti-param标签,需要在param-value标签添加struts-default.xml和struts-plugin.xml两个文件,默认情况是自动读取,不需要添加
      手动情况下需要添加这两个文件进行读取 -->
      <param-name>config</param-name>
      <param-value>
      struts-default.xml,
      struts-plugin.xml,
      config/struts.xml
      </param-value>
    </init-param>
  </filter>
  <filter-mapping>
    <filter-name>mvc</filter-name>
    <url-pattern>/*</url-pattern>
  </filter-mapping>

</web-app>
spring-*.xml文件中的配置
spring-*.xml文件中的配置,暂时只需要配置组件扫描,将struts2组件纳入spring管理即可,后续如果有更复杂的配置在里面添加即可。
<?xml version="1.0" encoding="UTF-8"?>
<beans xmlns="http://www.springframework.org/schema/beans" xmlns:xsi="http://www.w3.org/2001/XMLSchema-instance"
    xmlns:context="http://www.springframework.org/schema/context" xmlns:util="http://www.springframework.org/schema/util"
    xmlns:jee="http://www.springframework.org /schema/jee" xmlns:tx="http://www.springframework.org/schema/tx"
    xmlns:jpa="http://www.springframework.org/schema/data/jpa" xmlns:mvc="http://www.springframework.org/schema/mvc"
    xsi:schemaLocation="
        http://www.springframework.org/schema/beans http://www.springframework.org/schema/beans/spring-beans-3.0.xsd
        http://www.springframework.org/schema/context http://www.springframework.org/schema/context/spring-context-3.0.xsd
        http://www.springframework.org/schema/util http://www.springframework.org/schema/util/spring-util-3.0.xsd
        http://www.springframework.org/schema/jee http://www.springframework.org/schema/jee/spring-jee-3.0.xsd
        http://www.springframework.org/schema/tx http://www.springframework.org/schema/tx/spring-tx-3.0.xsd
        http://www.springframework.org/schema/data/jpa http://www.springframework.org/schema/data/jpa/spring-jpa-1.3.xsd
        http://www.springframework.org/schema/mvc http://www.springframework.org/schema/mvc/spring-mvc-3.0.xsd">


        <!-- 注意spring-tx的版本是3.0 -->

        <!-- 配置组件扫描 -->
        <context:component-scan base-package="Controller"></context:component-scan>
        <!-- 添加注解驱动 -->
        <mvc:annotation-driven></mvc:annotation-driven>


</beans>
struts.xml文件中的配置
struts.xml文件中的配置,参考以前博客,这里只配置了基本的package,action和result,来实现一个简单的helloStruts2+Spring!这里和spring整合后,action里的class属性不再需要写全局的包名+类名,只需要写bean id即可,其中bean id默认为实现类首字母小写,也可以在实现类中写具体的名字。
<?xml version="1.0" encoding="UTF-8"?>
<!DOCTYPE struts PUBLIC
    "-//Apache Software Foundation//DTD Struts Configuration 2.3//EN"
    "http://struts.apache.org/dtds/struts-2.3.dtd">

<!-- dtd文件导入的作用:决定了xml文件可以使用什么标签 -->

 <struts>
  <package name="demo" namespace="/hello" extends="struts-default">
    <!-- 当和Spring整合后,class不需要写全名,使用bean id即可,默认为类名首字母小写 -->
    <action name="helloStruts" class="helloStruts">
       <result name="success">
         /WEB-INF/helloStruts.jsp
       </result>
    </action>
  </package>
</struts>
实现类的写法
实现类跟springMVC中配置没什么太大变化,有一个大的变化就是需要配置Scope属性为prototype,主要为线程安全考虑设置,具体参考注释。另外代码里还注入了一个service层的对象,具体代码略。
package Controller;

import javax.annotation.Resource;

import org.springframework.context.annotation.Scope;
import org.springframework.stereotype.Controller;

@Controller("helloStruts")
@Scope("prototype")//可以创建多个对象实例,默认为singleton,即单例模式
public class HelloStruts {

    //属性
    /**
     * message属性可以存在数据安全性的问题,如果不指定Scope,会默认按照singleton创建实例,如果类里除了execute方法外还存在多个
     * 方法,则message可能存在数据共享的可能,一个方法的执行可能导致message数值的变化,存在数据不安全性。
     * 为了避免这种情况,将Scope设置为prototype,这样每个action请求,将创建单独的一个对象来处理,数据就不存在共享了。
     * 一个实现类里不仅仅只有execute方法,还可以定义其他的方法,在struts2的action标签里,定义属性method的值,就可以指定自定义方法
     */
    String message;

    //设置set get方法
    public String getMessage() {
        return message;
    }

    public void setMessage(String message) {
        this.message = message;
    }

    //依赖注入service层实现类
    @Resource(name="helloService")
    public HelloServiceInterface helloService;

    //默认execute方法
    public String execute() {
        System.out.println("success");
        message="Hello Struts2+Spring";
        System.out.println(message);
        //调用接口方法
        helloService.hello();
        return "success";
    }


}
测试
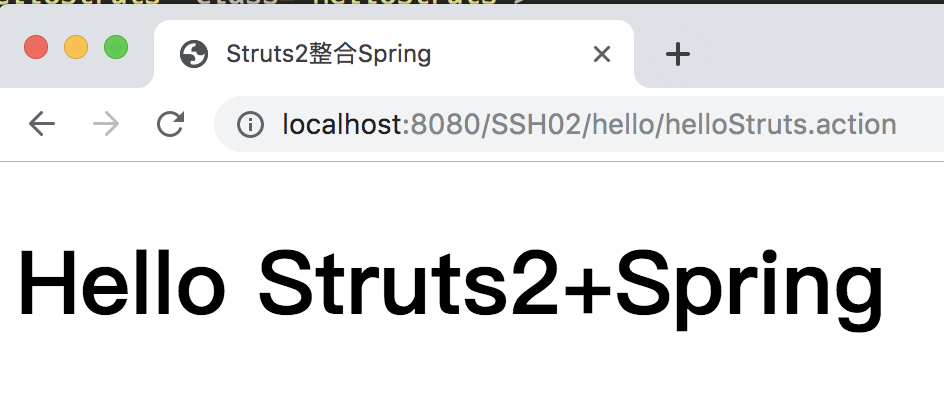

测试结果说明struts2组件纳入了spring管理,并实现依赖注入。
结论:
(1)struts2和spring配置需要完成导包,配置web.xml,spring-*.xml和struts.xml
(2)struts2和spring和集成后,struts2组件纳入了spring管理,并实现依赖注入