版权声明:本文为博主原创文章,未经博主允许不得转载。 https://blog.csdn.net/RedKeyer/article/details/89672402
示例代码:
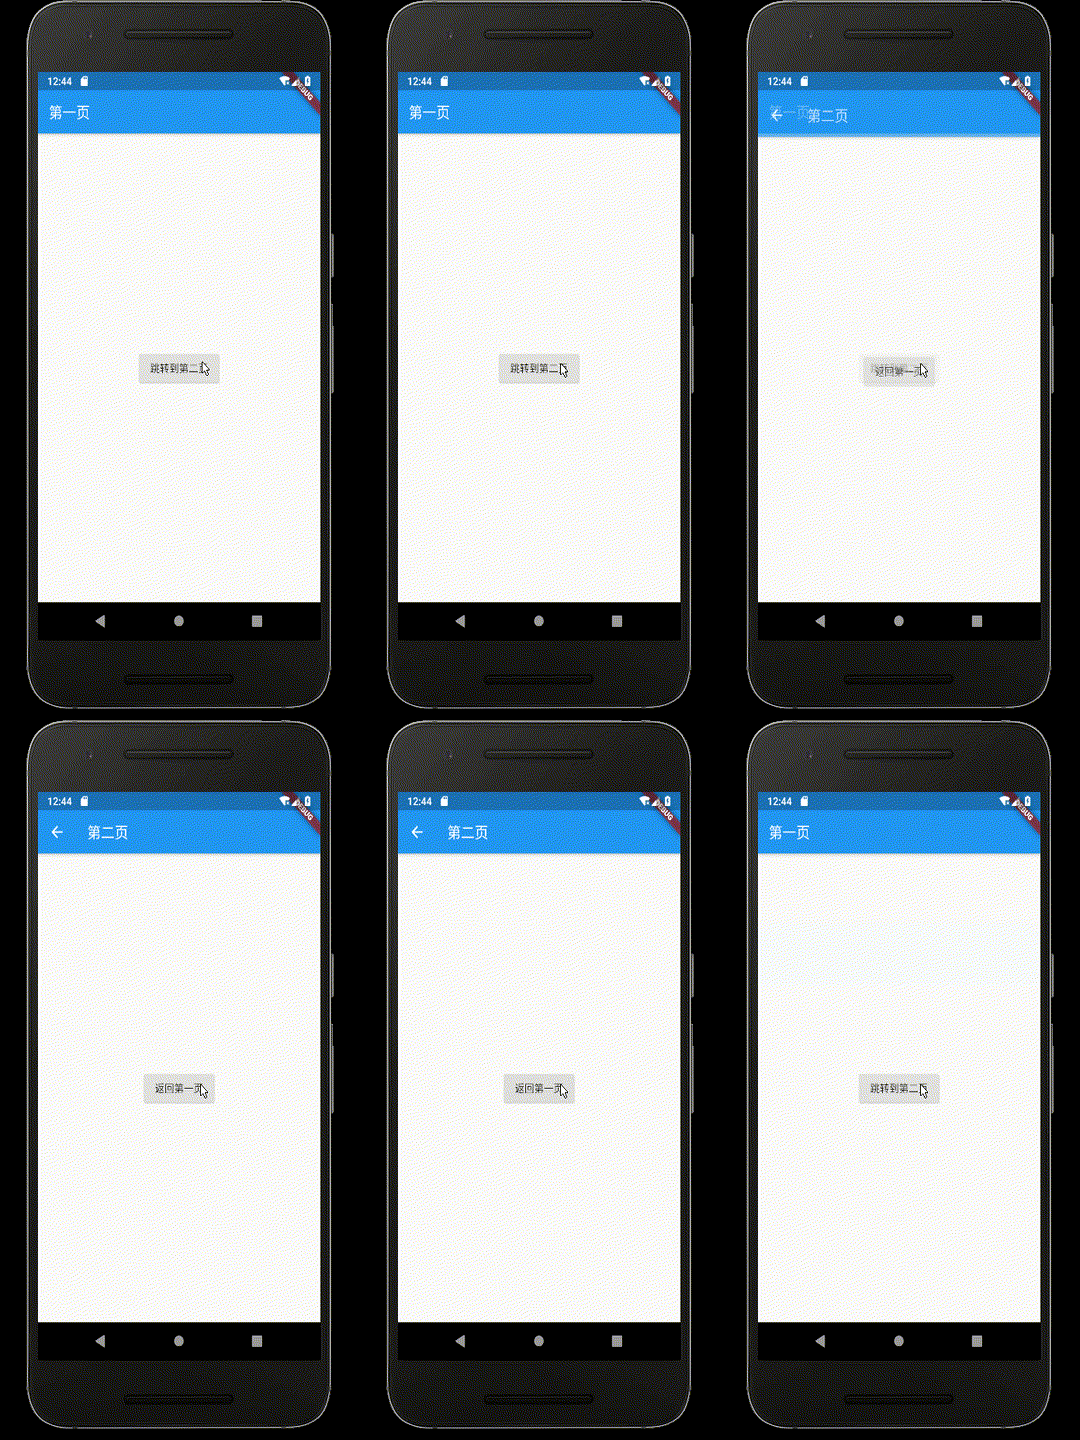
以下代码展示页面跳转与返回,抛开所有复杂因素,只展示最简单的跳转!
第一个页面,点击按钮时onPressed 进行相应,通过 Navigator.push 和 MaterialPageRoute 进行页面跳转功能实现;
第二个页面,点击按钮时onPressed 进行相应,通过Navigator.pop(context) 返回上一个页面。
import 'package:flutter/material.dart';

main(List<String> args) {
  runApp(MaterialApp(
    title:'',
    home: FristScreen(),
  ));
}

class FristScreen extends StatelessWidget {
  @override
  Widget build(BuildContext context) {
    return Scaffold(
      appBar: AppBar(title: Text("第一页"),),
      body: Center(
        child: RaisedButton(  //按钮
          child: Text('跳转到第二页'),
          onPressed: (){  //相应按钮点击事件
            // 通过MaterialPageRoute跳转逻辑 的具体执行
            Navigator.push(context, MaterialPageRoute(
              builder: (context)=>SecondScreen()
            ));
          },
        ),
      ),
    );
  }
}

class SecondScreen extends StatelessWidget {
  @override
  Widget build(BuildContext context) {
    return Scaffold(
      appBar: AppBar(title: Text("第一页"),),
      body: Center(
        child: RaisedButton(
          child: Text("返回第一页"),
          onPressed: (){
            Navigator.pop(context);
          },
        ),
      ),
    );
  }
}
效果展示:

//------------------------------------
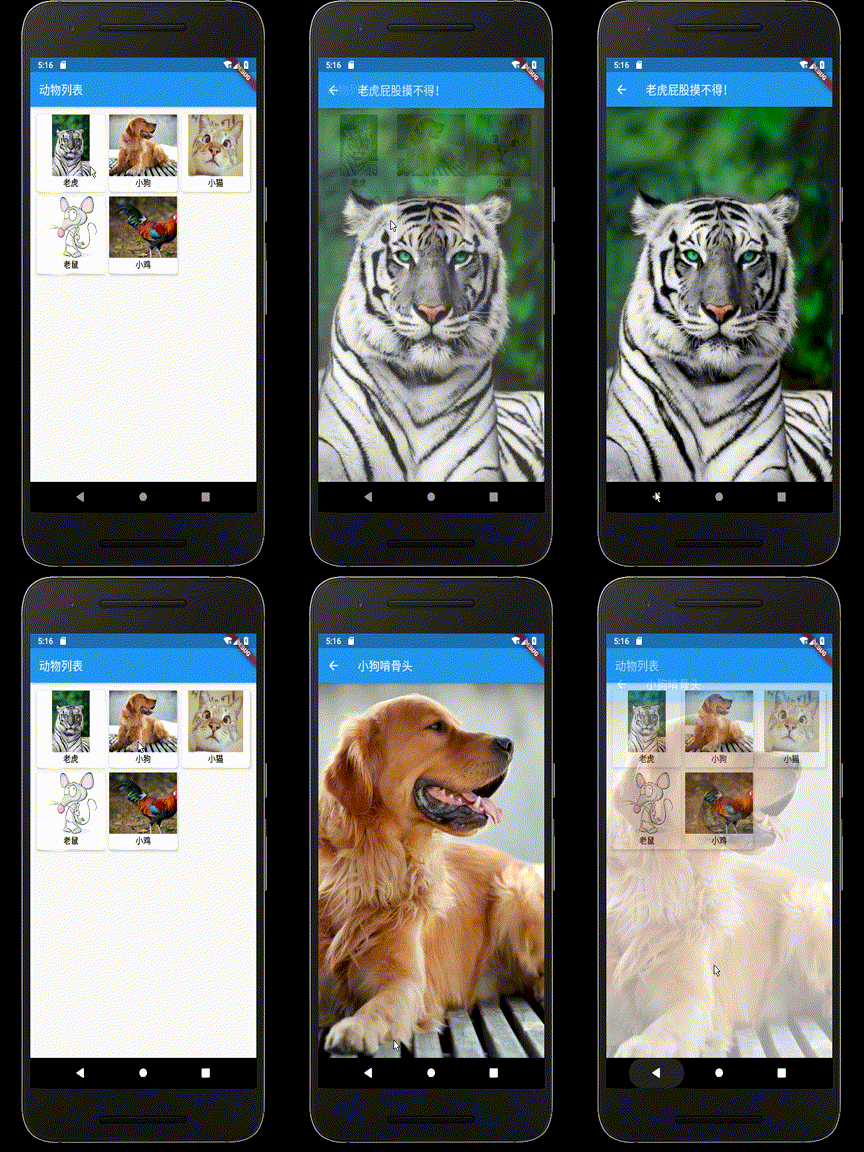
上面的跳转太简单了,下面展示一个结合GridView 自动填充数据,跳转并传值的实例。这个场景,实际工作中,非常常见。以下代码,class Animal 进行属性定义,并组织数据。
第一个页面:AnimalListPage,利用Grid展示 动物图片(小图);
第二个页面:AnimalBigImage,展示跳转后传值并展示对应大图。
Bean类创建,并初始化数据:
class Animal {
  final String name;

  final String image;

  final String description;

  Animal({this.name, this.image, this.description});

  static List<Animal> allAnimal() {
    var animal = List<Animal>();

    animal.add(Animal(
      name: "老虎",
      description: "老虎屁股摸不得!",
      image: "https://dwz.cn/ghiCDaUp",
    ));

    animal.add(Animal(
      name: "小狗",
      description: "小狗啃骨头",
      image: "https://dwz.cn/Isoze9KN",
    ));

    animal.add(Animal(
      name: "小猫",
      description: "小猫吃鱼",
      image: "https://dwz.cn/x4dNzR6r",
    ));

    animal.add(Animal(
      name: "老鼠",
      description: "老鼠会打洞",
      image: "https://dwz.cn/1WeGTFA5",
    ));

    animal.add(Animal(
      name: "小鸡",
      description: "小鸡本米尺",
      image: "https://dwz.cn/SXhBUBCP",
    ));
    return animal;
  }
}
页面显示和跳转逻辑
import 'package:flutter/material.dart';
import 'Animal.dart';	//引入class  Animal

void main() => runApp(MyApp());

class MyApp extends StatelessWidget {
  @override
  Widget build(BuildContext context) {
    return MaterialApp(
      title: "Grid Image",
      theme: ThemeData(
        primarySwatch: Colors.blue,
      ),
      home: AnimalListPage(),
    );
  }
}

class AnimalListPage extends StatelessWidget {
  @override
  Widget build(BuildContext context) {
    return Scaffold(
      appBar: AppBar(
        title: Text('动物列表'),
      ),
      body: Center(
        child: GridView.count(
          crossAxisCount: 3,
          padding: EdgeInsets.all(8.0),
          // .map().toList 对allAnimal 进行遍历赋值
          children: Animal.allAnimal().map((Animal animal) {
            return _getGridViewItemUI(context, animal); //赋值后的Widget
          }).toList(),
        ),
      ),
    );
  }
}

// animal将 其属性的值,付给自定义的Widget
Widget _getGridViewItemUI(BuildContext context, Animal animal) {
  return InkWell(
    // 处理点击事件,进行传值(animal)跳转(AnimalBigImage)
    onTap: () {
      Navigator.push(
          context,
          MaterialPageRoute(
              builder: (context) => AnimalBigImage(
                    animal: animal,
                  )));
    },
    child: Card(
      elevation: 4.0,
      child: Column(
        children: <Widget>[
          // 按比例垂直布局 4 : 1
          Expanded(
            child: Image.network(
              '${animal.image}',
              fit: BoxFit.cover,
            ),
            flex: 4,
          ),
          Expanded(
            child: Text(
              animal.name,
              style: TextStyle(fontSize: 14.0, fontWeight: FontWeight.bold),
            ),
            flex: 1,
          ),
        ],
      ),
    ),
  );
}

// 第二个页面 展示Animal Big Image
class AnimalBigImage extends StatelessWidget {
  final Animal animal;
  AnimalBigImage({Key key, @required this.animal}) : super(key: key);
  @override
  Widget build(BuildContext context) {
    final size = MediaQuery.of(context).size; //获取设备屏幕长宽
    return Scaffold(
      appBar: AppBar(
        title: Text('${animal.description}'),
      ),
      body: Center(
        child: Image.network(
          '${animal.image}',
          width: size.width,
          height: size.height,
          fit: BoxFit.cover,
        ),
      ),
    );
  }
}
展示效果:(效果太他妈流程了)
