LNMP是指一组通常一起使用来运行动态网站或者服务器的自由软件名称首字母缩写。L指Linux,N指Nginx,M一般指MySQL,也可以指MariaDB,P一般指PHP,也可以指Perl或Python。
这里指Linux系统下Nginx+MySQL+PHP这种网站服务器架构。
本篇主要记录Nginx的安装。
Nginx是一个高性能的HTTP和反向代理服务器,也是一个IMAP/POP3/SMTP代理服务器,Nginx性能稳定、功能丰富、运维简单、处理静态文件速度快且消耗系统资源极少。
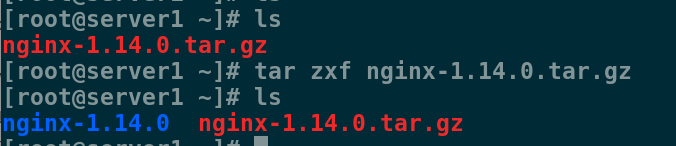
1.获取安装包,解压
tar zxf nginx-1.14.0.tar.gz
2.进入目录,修改版本号
cd nginx-1.14.0

vim src/core/nginx.h
#define NGINX_VER          "nginx/"
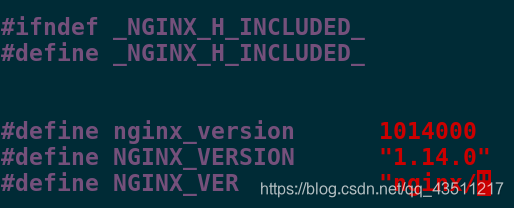
这个操作可以让客户端无法查看具体的版本号,避免版本漏洞被利用。
3.关闭debug日志
vim auto/cc/gcc
# debug
#CFLAGS="$CFLAGS -g"

这样可以让编译时少很多不必要的日志,节省空间。
4.添加配置
首先下载gcc
yum install gcc -y
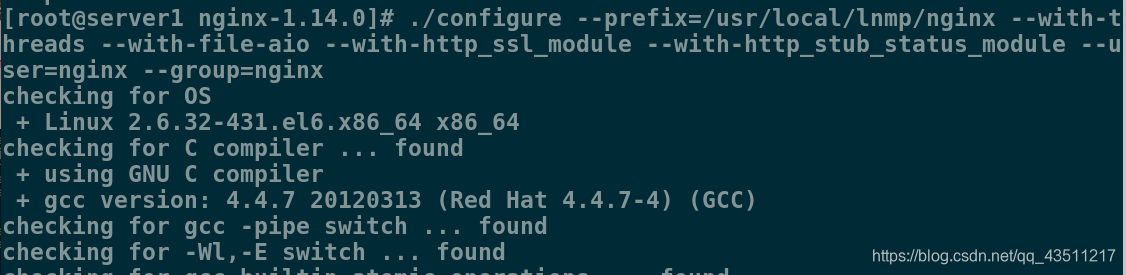
开始编译
./configure --prefix=/usr/local/lnmp/nginx --with-threads --with-file-aio --with-http_ssl_module --with-http_stub_status_module --user=nginx --group=nginx
如果失败了就是少了一个包
yum install pcre-devel -y
再次添加就成功了
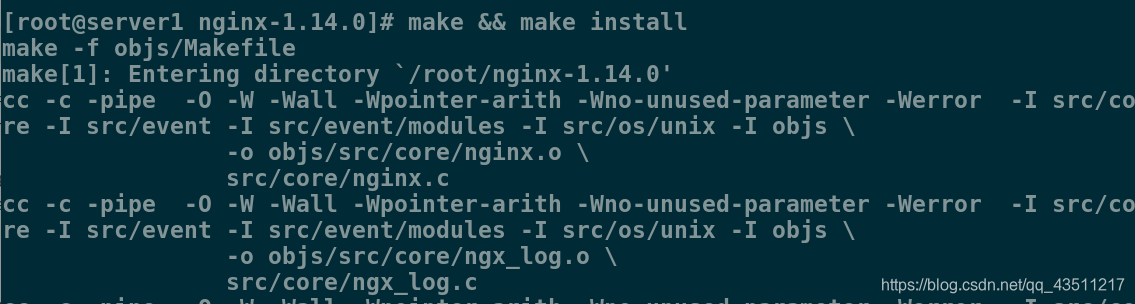
5.编译与安装
make && make install
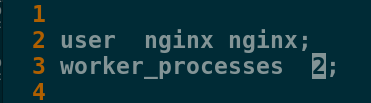
6.修改配置文件
vim /usr/local/lnmp/nginx/conf/nginx.conf
1
2 user nginx nginx; ##用户名和组
3 worker_processes 2; ##核数
43 location / {
44 root html;
45 index index.php index.html index.htm; ##默认访问发布页顺序
46 }
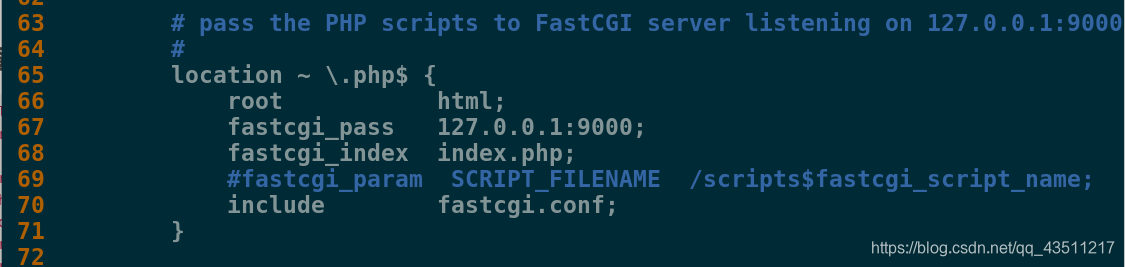
65 location ~ \.php$ {
66 root html;
67 fastcgi_pass 127.0.0.1:9000;
68 fastcgi_index index.php;
69 #fastcgi_param SCRIPT_FILENAME /scripts$fastcgi_script_name;
70 include fastcgi.conf;
71 }

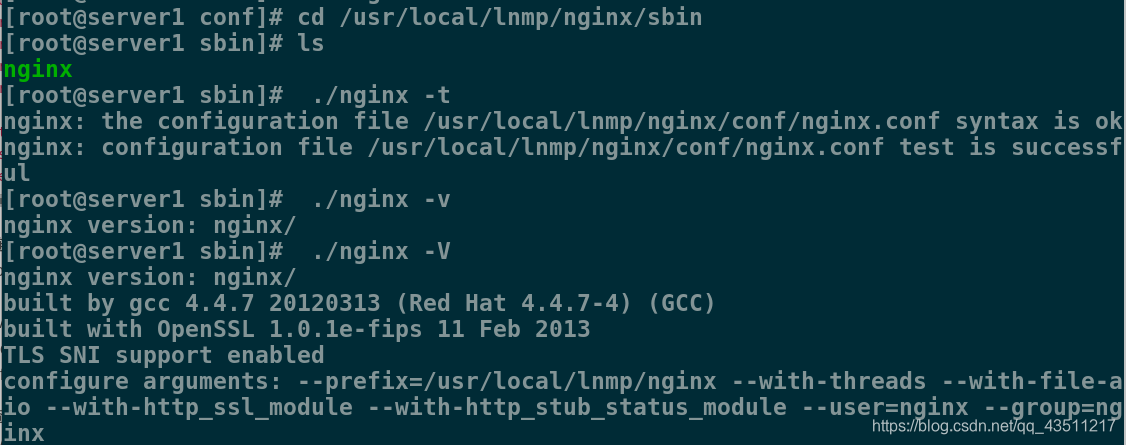
7.检查是否出错
cd /usr/local/lnmp/nginx/sbin
[root@server1 sbin]# ls
nginx
[root@server1 sbin]# ./nginx -t		#检测配置文件是否有错
nginx: the configuration file /usr/local/lnmp/nginx/conf/nginx.conf syntax is ok
nginx: configuration file /usr/local/lnmp/nginx/conf/nginx.conf test is successful
[root@server1 sbin]# ./nginx -v		##查看版本
nginx version: nginx/
[root@server1 sbin]# ./nginx -V		##查看添加了什么配置
nginx version: nginx/
built by gcc 4.4.7 20120313 (Red Hat 4.4.7-4) (GCC)
built with OpenSSL 1.0.1e-fips 11 Feb 2013
TLS SNI support enabled
configure arguments: --prefix=/usr/local/lnmp/nginx --with-threads --with-file-aio --with-http_ssl_module --with-http_stub_status_module --user=nginx --group=nginx
8.制作软链接
ln -s /usr/local/lnmp/nginx/sbin/nginx /usr/local/sbin/
试一下
[root@server1 sbin]# nginx -t
nginx: the configuration file /usr/local/lnmp/nginx/conf/nginx.conf syntax is ok
nginx: configuration file /usr/local/lnmp/nginx/conf/nginx.conf test is successful

9.启动,查看端口
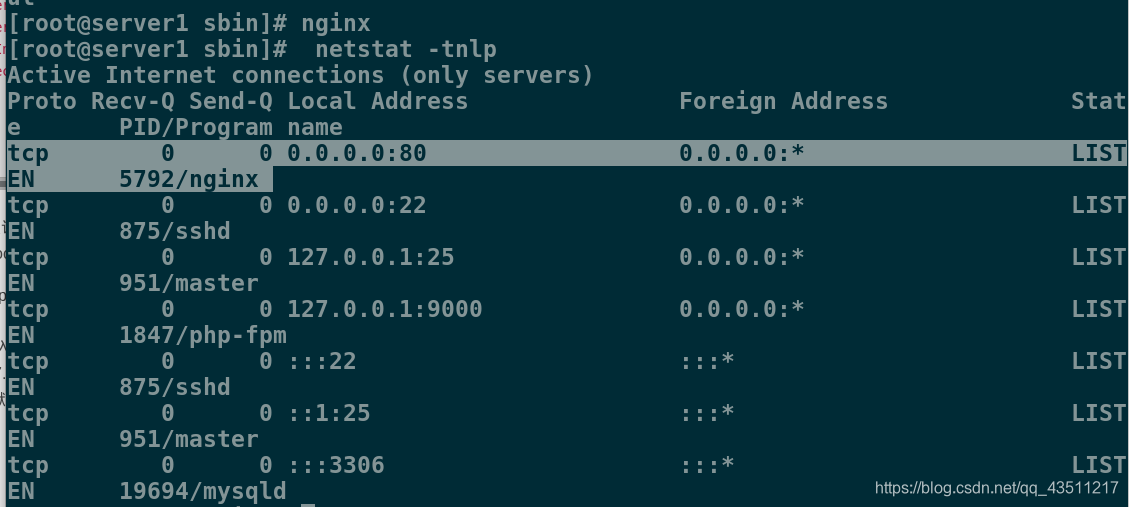
[root@server1 sbin]# nginx
[root@server1 sbin]# netstat -tnlp
Active Internet connections (only servers)
Proto Recv-Q Send-Q Local Address               Foreign Address             State       PID/Program name
tcp        0      0 0.0.0.0:80                  0.0.0.0:*                   LISTEN      9195/nginx
tcp        0      0 0.0.0.0:22                  0.0.0.0:*                   LISTEN      894/sshd
tcp        0      0 127.0.0.1:25                0.0.0.0:*                   LISTEN      970/master
tcp        0      0 127.0.0.1:9000              0.0.0.0:*                   LISTEN      1255/php-fpm
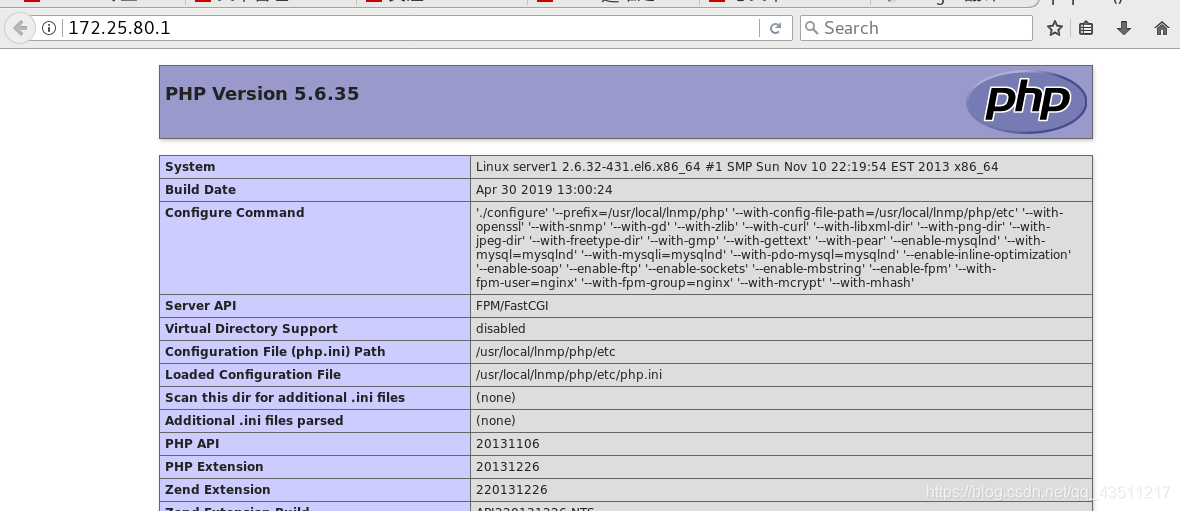
10.编写默认发布页
vim /usr/local/lnmp/nginx/html/index.php

<?php
phpinfo()
?>

11.测试
浏览器输入
172.25.80.1
出现php默认发布页