一:引言:
大部分系统都涉及到数据访问,数据库包SQL(关系型数据库)和NOSQL(非关系型数据库),SQL包括:sqlserver,Oracle,Mysql;NOSQL包括:MongoDB和redis。
二:spring boot与jdbc整合
1.1 首先添加依赖
     <dependency>
            <groupId>org.springframework.boot</groupId>
            <artifactId>spring-boot-starter-jdbc</artifactId>
        </dependency>
        <dependency>
            <groupId>mysql</groupId>
            <artifactId>mysql-connector-java</artifactId>
            <scope>runtime</scope>
        </dependency>
1.2 数据源配置
spring:
  datasource:
    url: jdbc:mysql://192.168.1.102:3306/jdbc
    username: root
    password: 123456
    driver-class-name: com.mysql.cj.jdbc.Driver
测试类:测试:
@RunWith(SpringRunner.class)
@SpringBootTest
public class springbootjdbc {
    @Autowired
    DataSource dataSource;

    @Test
    public void contextLoads() throws SQLException {
        System.out.println("---------------");
        System.out.println(dataSource.getClass());
        Connection connection = dataSource.getConnection();
        System.out.println("=================");

        System.out.println(connection);
        connection.close();
    }
}
控制台输出:
---------------
class com.zaxxer.hikari.HikariDataSource
2019-05-03 09:25:32.889  INFO 13768 --- [           main] com.zaxxer.hikari.HikariDataSource       : HikariPool-1 - Starting...
2019-05-03 09:25:33.500  INFO 13768 --- [           main] com.zaxxer.hikari.HikariDataSource       : HikariPool-1 - Start completed.
=================
HikariProxyConnection@1193939374 wrapping com.mysql.cj.jdbc.ConnectionImpl@dc79225
springboot默认的数据源就是:class com.zaxxer.hikari.HikariDataSource,数据源的相关配置都在DataSourceProperties里面;
我们也可以自己默认数据源:spring.datasource.type可以自定义。
1.3 DataSourceInitializer
1)、runSchemaScripts();运行建表语句;
2)、runDataScripts();运行插入数据的sql语句;
默认只需要将文件命名为:
schema-*.sql、data-*.sql
默认规则:schema.sql,schema-all.sql;
可以使用
    schema:
      - classpath:department.sql
      指定位置
1.4 操作数据库
springboot自动配置了JdbcTemplate操作数据库。
@Controller
public class jdbc {
    @Autowired
    JdbcTemplate jdbcTemplate;

    @ResponseBody
    @RequestMapping("/h1")
    public Map<String, Object> selectAll() {
       List< Map<String, Object>> maps = jdbcTemplate.queryForList("select  *from user ");
        System.out.println(maps.toString());
        return  maps.get(0);
    }
}
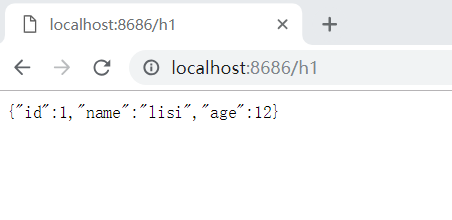
控制台打印:[{id=1, name=lisi, age=12}, {id=2, name=wangwu, age=13}]
二:整合Druid数据源
1.1 导入依赖(版本可选择最新的)
  <!-- https://mvnrepository.com/artifact/com.alibaba/druid -->
        <dependency>
            <groupId>com.alibaba</groupId>
            <artifactId>druid</artifactId>
            <version>1.1.10</version>
        </dependency>
1.2 .1配置文件:
spring:
  datasource:
    url: jdbc:mysql://192.168.1.102:3306/jdbc
    username: root
    password: 123456
    driver-class-name: com.mysql.cj.jdbc.Driver
    type: com.alibaba.druid.pool.DruidDataSource
   #数据源其他配置
    initialSize: 5
    minIdle: 5
    maxActive: 20
    maxWait: 60000
    timeBetweenEvictionRunsMillis: 60000
    minEvictableIdleTimeMillis: 300000
    validationQuery: SELECT 1 FROM DUAL
    testWhileIdle: true
    testOnBorrow: false
    testOnReturn: false
    poolPreparedStatements: true
  #配置监控统计拦截的filters,去掉后监控界面sql无法统计,'wall'用于防火墙
    filters: stat,wall,log4j
    maxPoolPreparedStatementPerConnectionSize: 20
    useGlobalDataSourceStat: true
    connectionProperties: druid.stat.mergeSql=true;druid.stat.slowSqlMillis=500
1.2.2 编写配置类 druidConfig 并以引入日志依赖
@Configuration
public class druidConfig {

    @ConfigurationProperties(prefix = "spring.datasource")
    @Bean
    public DataSource druid() {
        return new DruidDataSource();
    }
}
      <dependency>
            <groupId>log4j</groupId>
            <artifactId>log4j</artifactId>
            <version>1.2.17</version>
        </dependency>
在之前的测试类中:debug测试:

可以看到和我们之前在配置文件配置的一样。
1.2.3 在配置类中 配置druid后台监控;
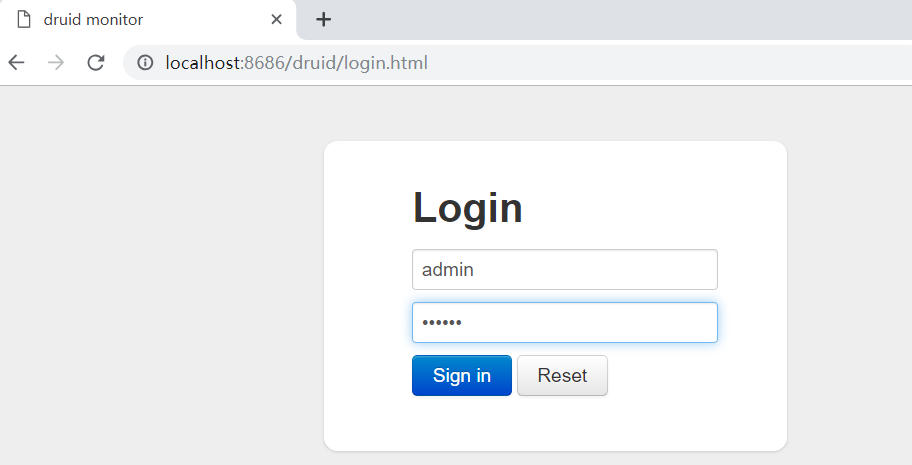
@Configuration
public class druidConfig {

    @ConfigurationProperties(prefix = "spring.datasource")
    @Bean
    public DataSource druid() {
        return new DruidDataSource();
    }
//    配置Druid的监控
//    1、配置一个管理后台的Servlet
    @Bean
    public ServletRegistrationBean statViewServlet(){
        ServletRegistrationBean bean = new ServletRegistrationBean(new StatViewServlet(), "/druid/*");
        Map<String,String> initParams = new HashMap<>();

        initParams.put("loginUsername","admin");
        initParams.put("loginPassword","123456");
        initParams.put("allow","");
        //默认就是允许所有访问
        initParams.put("deny","192.168.15.21");
        bean.setInitParameters(initParams);
        return bean;
    }

    //2、配置一个web监控的filter
    @Bean
    public FilterRegistrationBean webStatFilter(){
        FilterRegistrationBean bean = new FilterRegistrationBean();
        bean.setFilter(new WebStatFilter());
        Map<String,String> initParams = new HashMap<>();
        initParams.put("exclusions","*.js,*.css,/druid/*");

        bean.setInitParameters(initParams);
        bean.setUrlPatterns(Arrays.asList("/*"));
        return  bean;
    }

}
这样就可以通过后台监控数据源的访问情况了。
输入:
三:整合mybatis
1.1添加依赖
      <dependency>
            <groupId>org.mybatis.spring.boot</groupId>
            <artifactId>mybatis-spring-boot-sta1rter</artifactId>
            <version>1.3.2</version>
        </dependency>
1.2.1 注解版
2)、给数据库建表
3)、创建JavaBean
dao层:
@Mapper
public interface userMapper {
    @Select("select *from user where id=#{id}")
    User selelctById(Integer id);

    @Delete("delete from user where id=#{id}")
    Integer delectById(Integer id);

    @Insert("insert into user(name,age) values(#{name},#{age}) ")
    User insertUser(User user);

    @Update("update user set name=#{name}where id=#{id}")
    Integer updateById(Integer id);
}
测试userController:
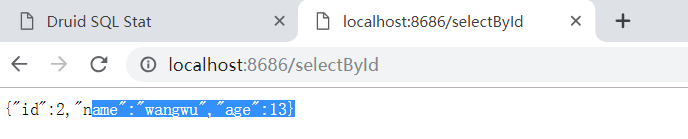
@RestController
public class UserController {

    @Autowired
    userMapper usermapper;

    @RequestMapping("/selectById")
    public User selectById(){
        return usermapper.selelctById(2);
    }
}
测试结果:
1.2.2 配置文件版
配置文件添加:
mybatis:
  mapper-locations: classpath:mybatis/mapper/*.xml  指定sql映射文件的位置

  type-aliases-package: com.springboot.springboot.pojo 指定实体类所在的包