Tencent 招聘信息网站
1. 起始url start_url = 'https://hr.tencent.com/position.php'
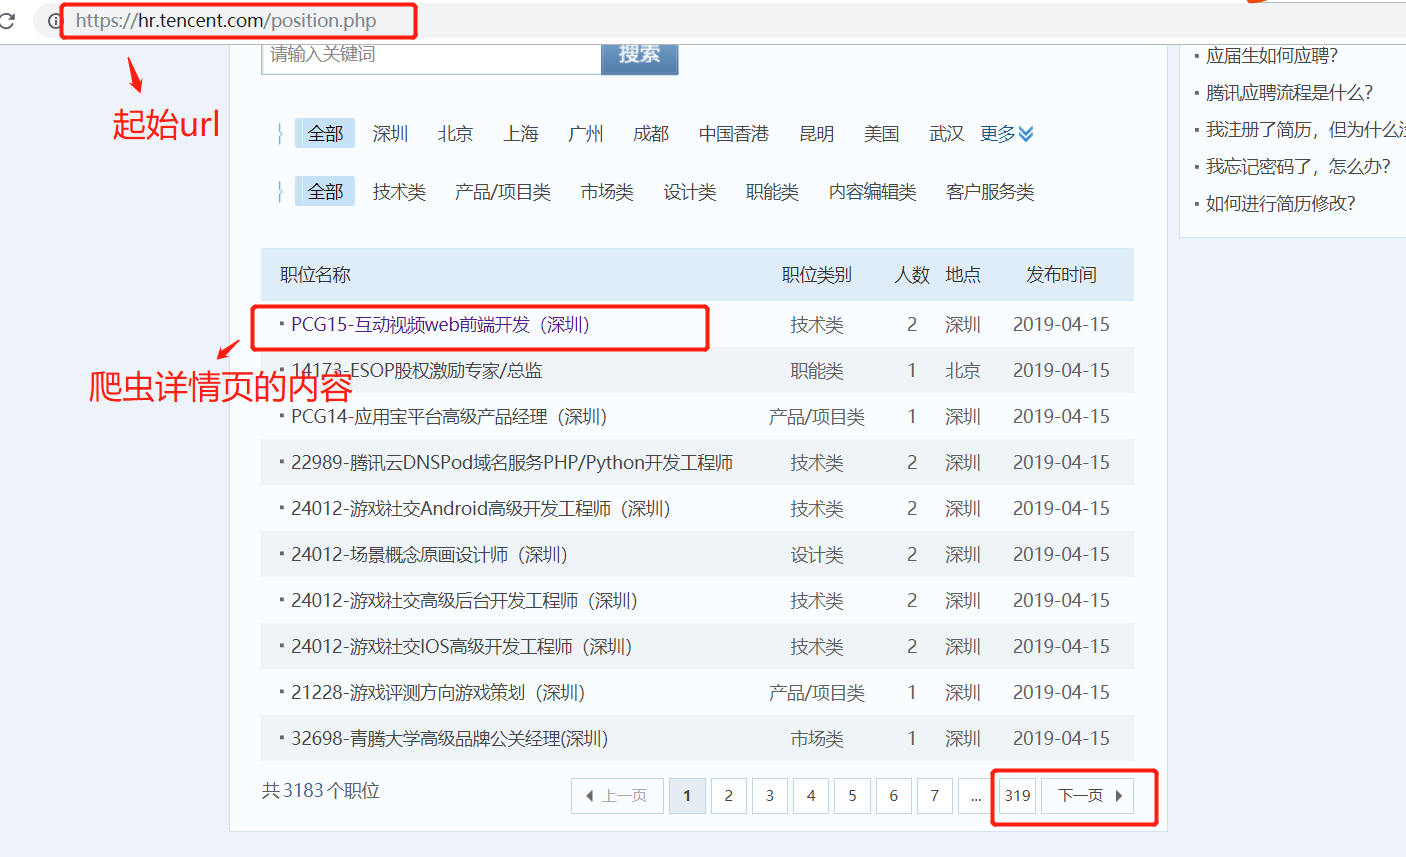
在起始页面,需要获取该也页面上的每个职位的详情页的url,同时需要提取下一页的url地址,做同样的操作。
因此起始页url地址的提取,分为两类:
1. 每个职位详情页的url地址的提取
2. 下一页url地址的提取,并且得到的页面做的操作和起始页的操作一样。
url地址的提取
1. 提取详情页url,详情页的url地址如下:

提取规则详情页的规则:
rules = (
        # 提取详情页的url地址  ,详情页url地址对应的响应,需要进行数据提取,所有需要有回调函数,用来解析数据

        Rule(LinkExtractor(restrict_xpaths=("//table[@class='tablelist']//td[@class='l square']")), callback='parse_item')

    )
提取下一页的htmlj所在的位置:
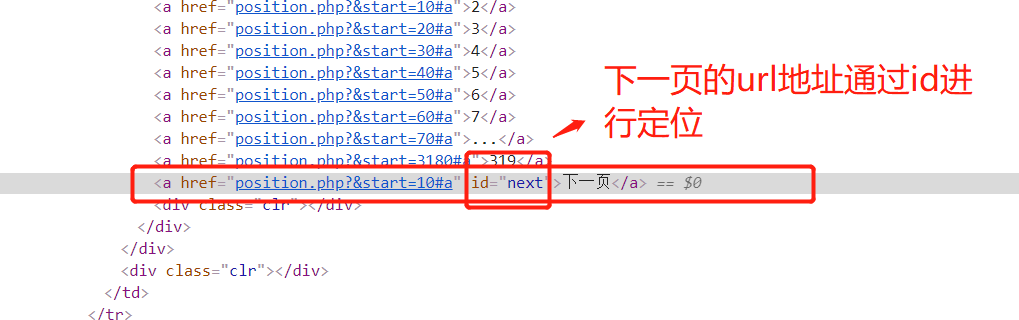
2 获取下一页的url 规则:
rules = (
        # 提取详情页的url地址
        # Rule(LinkExtractor(allow=r'position_detail.php?id=\d+\&keywords=&tid=0&lid=0'), callback='parse_item'), # 这个表达式有错,这里不用正则
        Rule(LinkExtractor(restrict_xpaths=("//table[@class='tablelist']//td[@class='l square']")), callback='parse_item'),
        # 翻页
        Rule(LinkExtractor(restrict_xpaths=("//a[@id='next']")), follow=True),
    )
获取详情页数据

1.详情数据提取(爬虫逻辑)
1.获取标题

xpath:
item['title'] = response.xpath('//td[@id="sharetitle"]/text()').extract_first()
2. 获取工作地点,职位,招聘人数
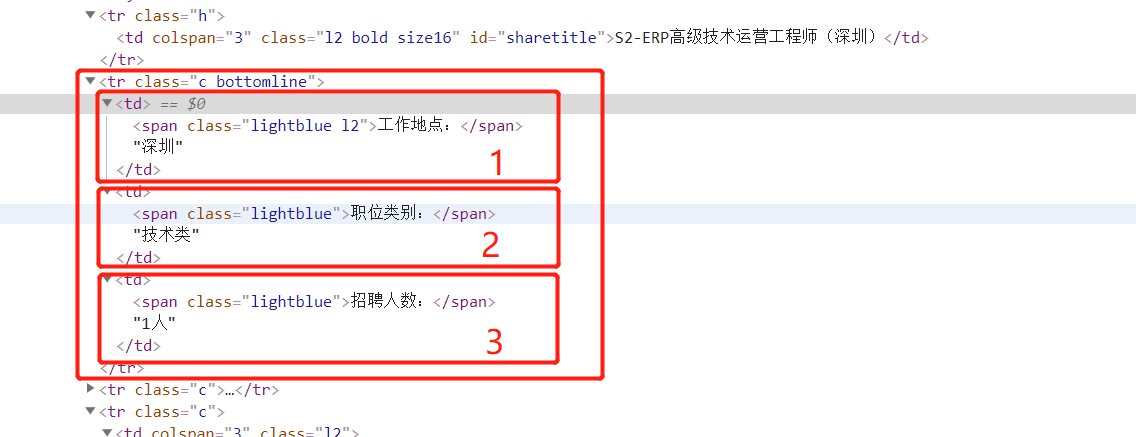
xpath:
 item['addr'] = response.xpath('//tr[@class="c bottomline"]/td[1]//text()').extract()[1]

 item['position'] = response.xpath('//tr[@class="c bottomline"]/td[2]//text()').extract()[1]

 item['num'] = response.xpath('//tr[@class="c bottomline"]/td[3]//text()').extract()[1]
3.工作要求抓取
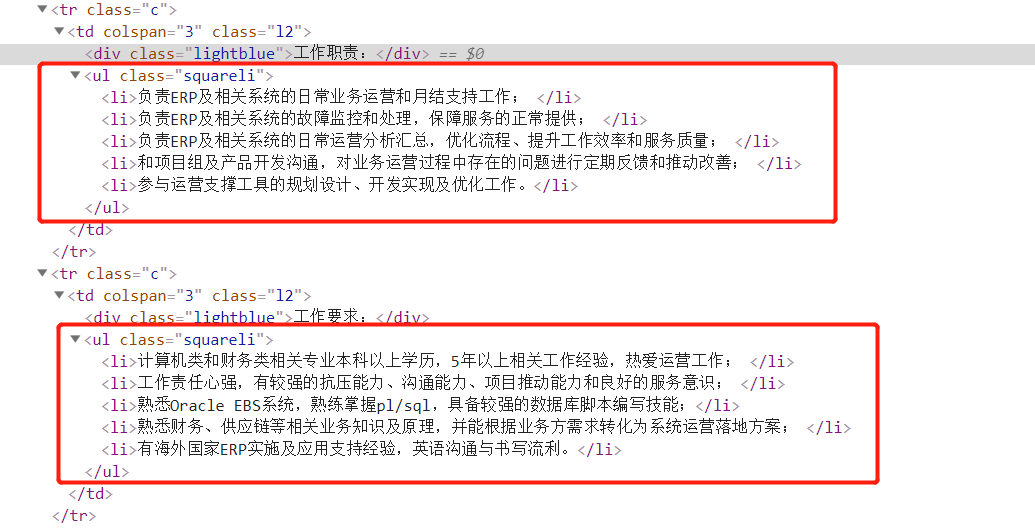
xpath:
item['skill'] =response.xpath('//ul[@class="squareli"]/li/text()').extract()
爬虫的代码:


# -*- coding: utf-8 -*-
import scrapy
from scrapy.linkextractors import LinkExtractor
from scrapy.spiders import CrawlSpider, Rule

from ..items import TencentItem

class TencentSpider(CrawlSpider):
    name = 'tencent'
    allowed_domains = ['hr.tencent.com']
    start_urls = ['https://hr.tencent.com/position.php']

    rules = (
        # 提取详情页的url地址
        # Rule(LinkExtractor(allow=r'position_detail.php?id=\d+\&keywords=&tid=0&lid=0'), callback='parse_item'), # 这个表达式有错
        Rule(LinkExtractor(restrict_xpaths=("//table[@class='tablelist']//td[@class='l square']")), callback='parse_item'),
        # 翻页
        Rule(LinkExtractor(restrict_xpaths=("//a[@id='next']")), follow=True),
    )

    def parse_item(self, response):

        item = TencentItem()


        item['title'] = response.xpath('//td[@id="sharetitle"]/text()').extract_first()

        item['addr'] = response.xpath('//tr[@class="c bottomline"]/td[1]//text()').extract()[0]

        item['position'] = response.xpath('//tr[@class="c bottomline"]/td[2]//text()').extract()[0]

        item['num'] = response.xpath('//tr[@class="c bottomline"]/td[3]//text()').extract()[0]

        item['skill'] =response.xpath('//ul[@class="squareli"]/li/text()').extract()

        print(dict(item))

        return item
2. 数据存储
1.settings.py 配置文件,配置如下信息
ROBOTSTXT_OBEY = False
USER_AGENT = 'Mozilla/5.0 (Macintosh; Intel Mac OS X 10_13_2) AppleWebKit/537.36 (KHTML, like Gecko) Chrome/63.0.3239.132 Safari/537.36'
ITEM_PIPELINES = {
   'jd.pipelines.TencentPipeline': 300,

}
2. items.py 中:
import scrapy

class TencentItem(scrapy.Item):
    # define the fields for your item here like:
    title = scrapy.Field()
    addr = scrapy.Field()
    position = scrapy.Field()
    num = scrapy.Field()
    skill = scrapy.Field()
3. pipeline.py中:
import  pymongo

class TencentPipeline(object):


    def open_spider(self,spider):
        # 爬虫开启是连接数据库
        client = pymongo.MongoClient()

        collention = client.tencent.ten

        self.client =client

        self.collention = collention


        pass
    def process_item(self, item, spider):

        # 数据保存在mongodb 中


        self.collention.insert(dict(item))


        return item


    def colse_spdier(self,spider):

        # 爬虫结束,关闭数据库

        self.client.close()
启动项目
1.先将MongoDB数据库跑起来。
2.执行爬虫命令:
scrapy crawl tencent
3. 执行程序后的效果:
