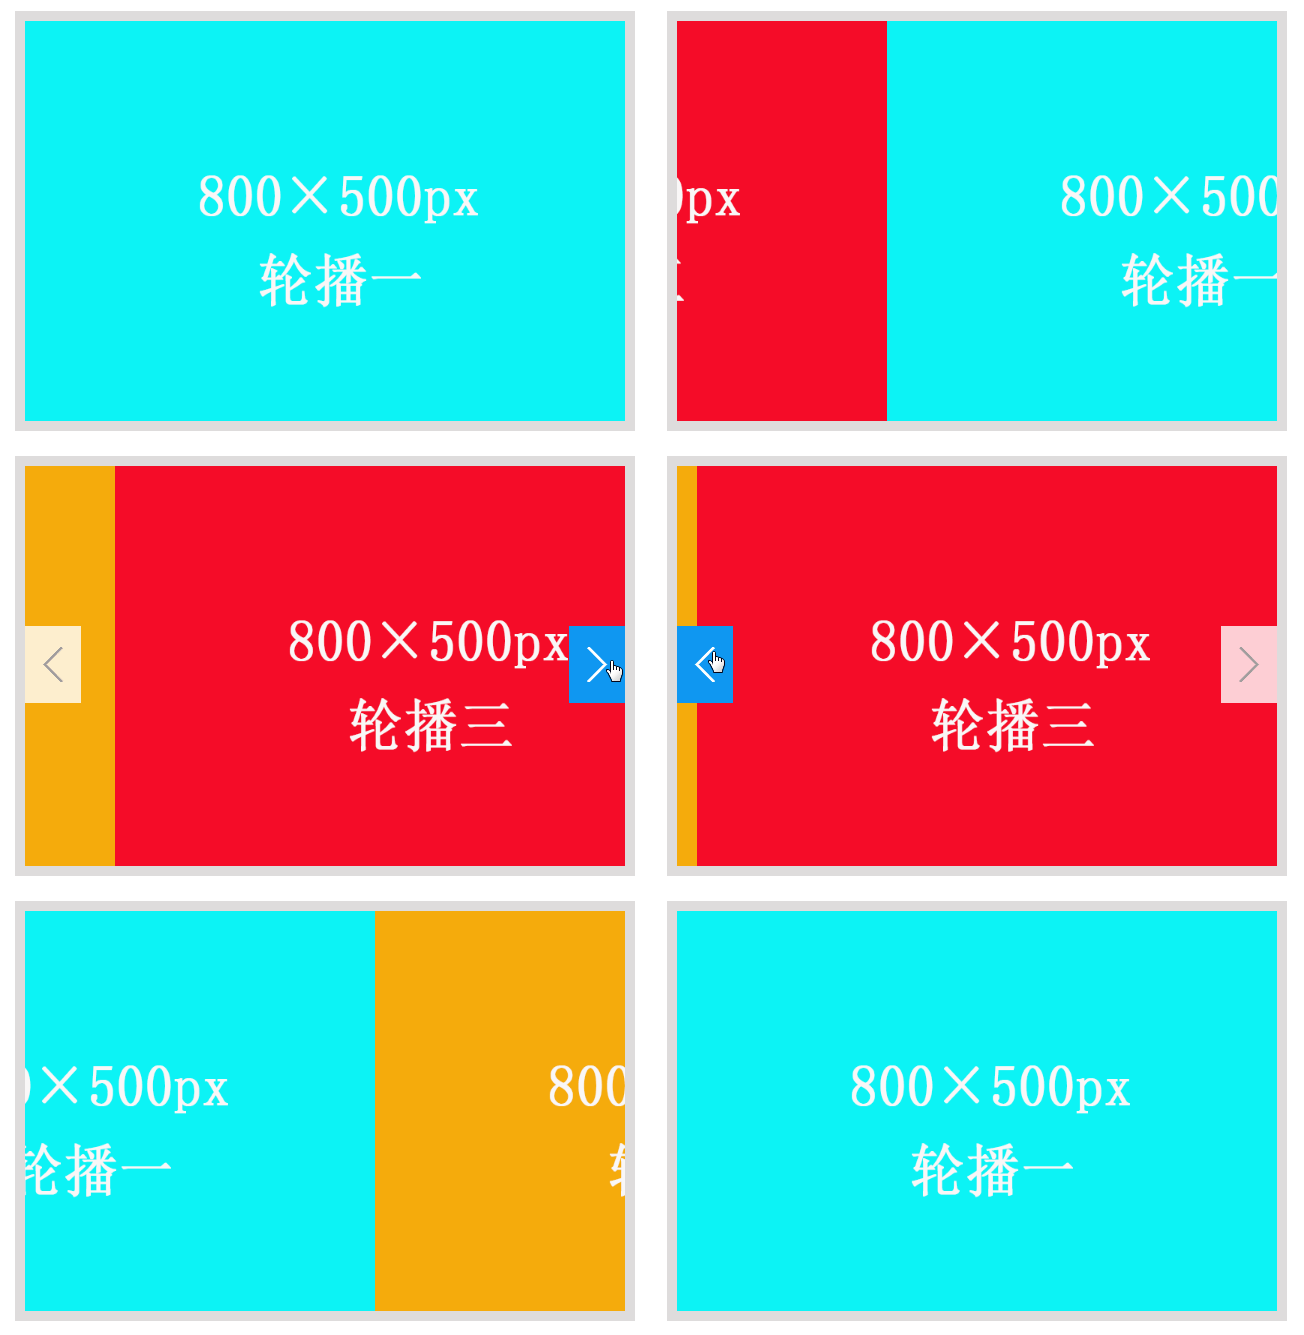
今天要做的是轮播图的功能,本来想用vue来实现的,后来想想还是用JavaScript先做个用下,为了简单一开始我们只实现最简单的基本功能,后面在添加更多的功能,这样容易理解和学习,下面的今天实现的功能,效果图如下。
在设置好的时间间隔内对图片进行自动轮播;
点击左右箭头进行图像的切换;
鼠标移入/移出控制轮播图的停止/继续; 
第一步:
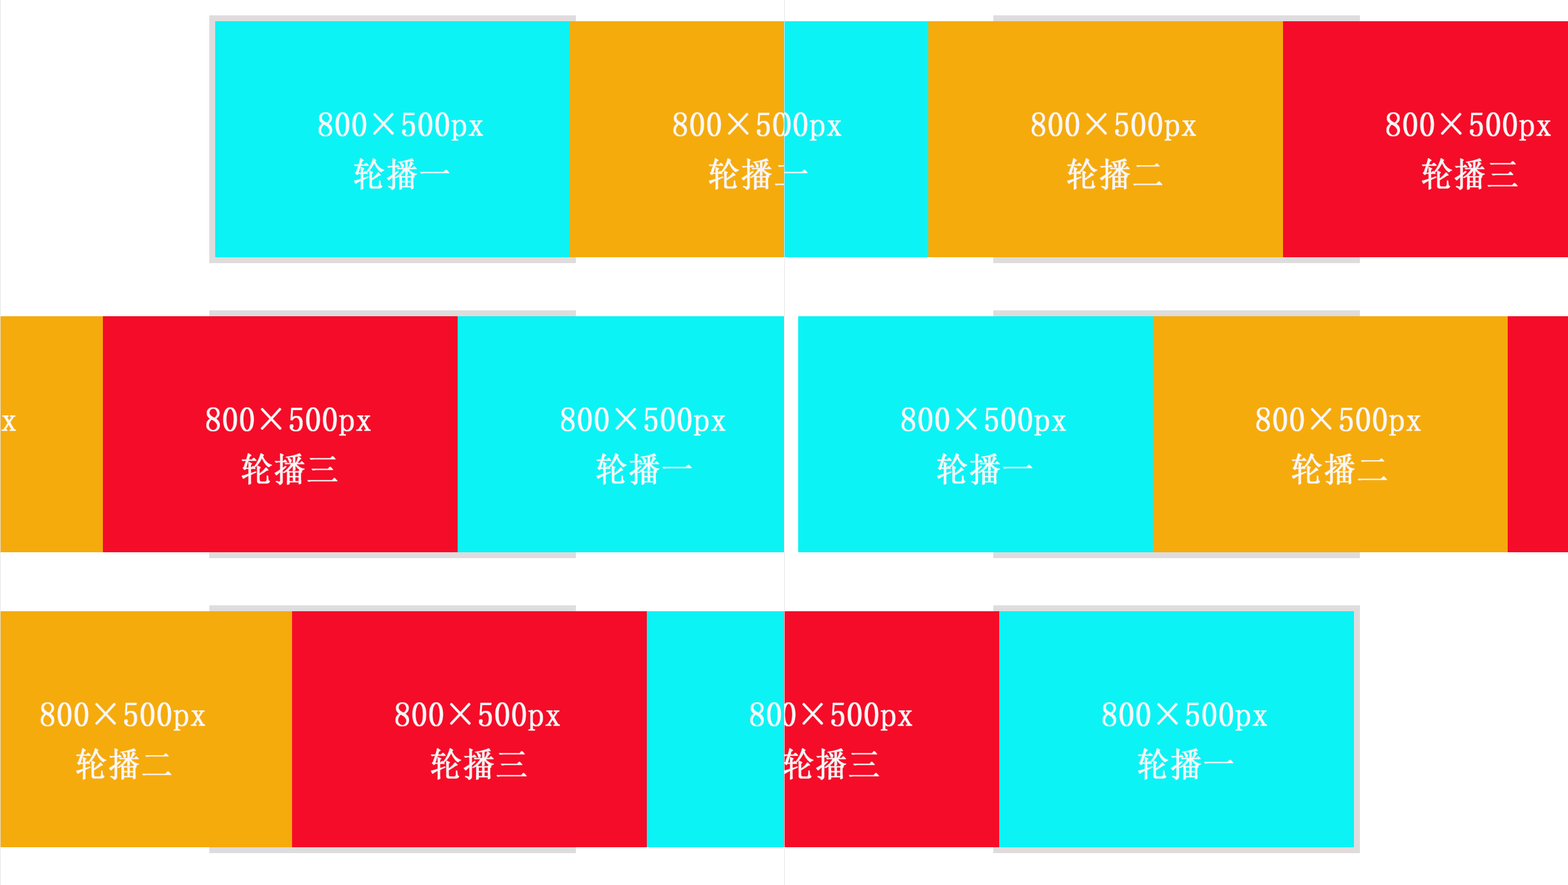
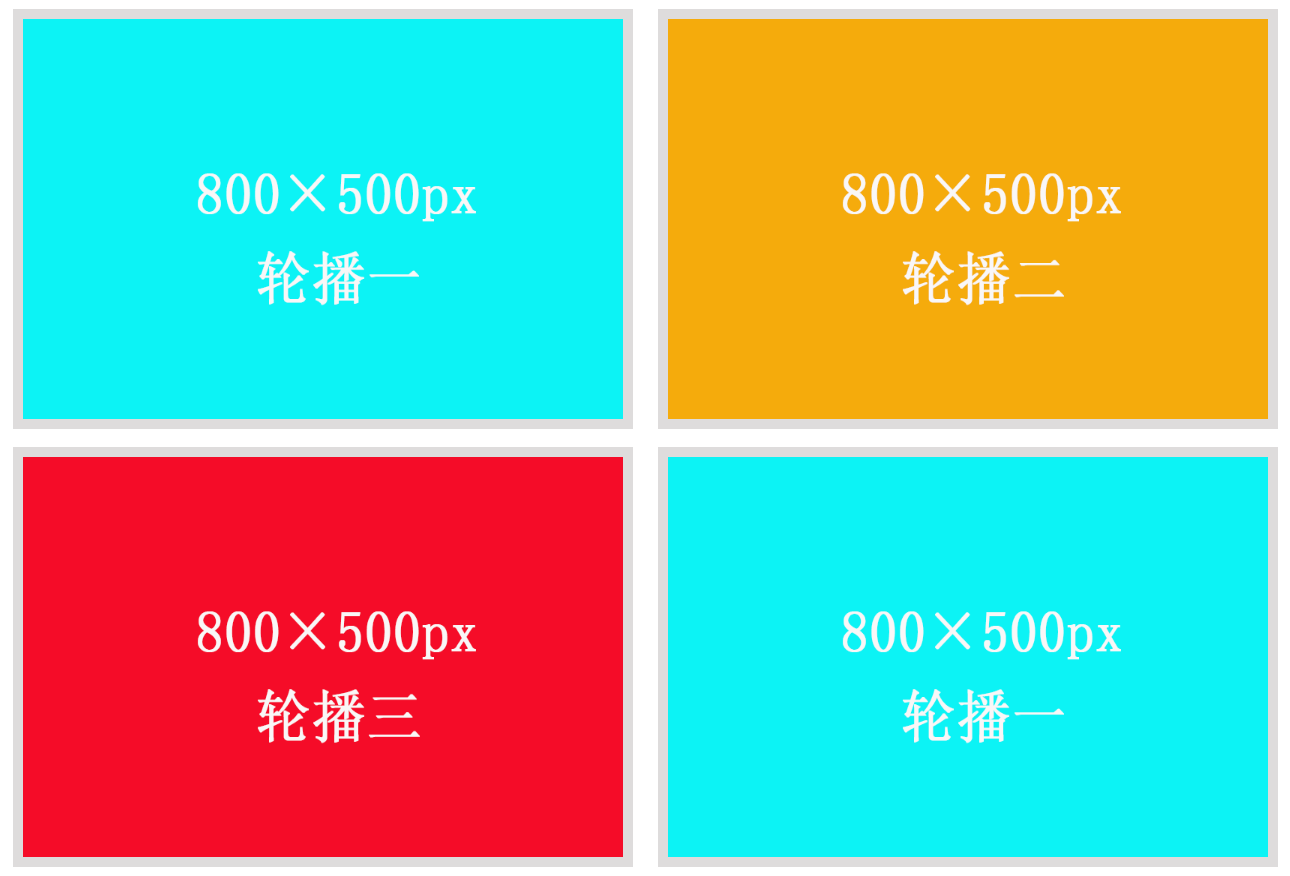
先写出HTML基本代码,这里我们只轮播了3张图片(放了4张图是为了实现无缝轮播),然后用了一个2个psn标签做左右切换的按钮,通过它来控制图片的上一张和下一张的切换。
<body>
    <div class="Carousel">
        <div id="picture">
            <img src="../assets/images/1.png" alt="">
            <img src="../assets/images/2.png" alt="">
            <img src="../assets/images/3.png" alt="">
            <img src="../assets/images/1.png" alt="">
        </div>
        <span  class="arrow arrow_left"><</span>
        <span  class="arrow arrow_right">></span>
    </div>
</body>
第二步:
样式布局,最外面的div是用来定义图片显示区域的,所以这时多出的位置我们要用overflow:hidden;将其隐藏起来。
.Carousel{
        position: relative; //相对定位,方便子元素定位
        width:600px;  //宽
        height:400px;  //高
        margin:50px auto; //外边距
        overflow: hidden;  //隐藏
        border:10px solid rgba(189, 184, 184,0.5); //这是外边框
        z-index: 1;//参考值,方便把左右键的按钮放在上层
    }
而第二层div则是用来承载要轮播的图片的,这里我们要将图片平铺成一行,方便我们后期移动,所以这里要用到绝对定位,而图片我们则使用浮动将其平铺成一行即可(关闭overflow:hidden属性我们看到的就是图片在移动的效果),当然现在这几行代码是移动不起来的,要加上JavaScript才行的。
 #picture{
        position: absolute; //绝对定位
        width: 2400px;//如果不知道有多宽,直接用百分比,比如1000%,多出去的不用管
        height: 400px; //高
    }
#picture img{
        float: left; //浮动
        width:600px;
        height:400px;
    }
第三步:
左右切换的按钮是防止在imges之上的,所以这里我们也用绝对定位,将按钮放好位置这里把鼠标指针浮动在上面的元素样式也写了下,这样会好看些。
.container .arrow{
        cursor: pointer; //鼠标放上去有个手的图标
        position:absolute; //绝对定位
        top:40%;   //离顶部的距离
        padding:10px 15px; 内边距
        background-color: rgba(255, 255, 255,0.8);//背景色
        display: inline-block;//块元素
        font-size: 50px;//字体大小
        z-index: 2; //层级关系,刚好跟前面的Carousel属性相对
        color:rgb(161, 157, 157);//颜色
        font-weight: bold;//粗体
        display: none;//隐藏
    }
    .container .arrow_left{
        left:0;//靠左
    }
    .container .arrow_right{
        right: 0;//靠右
    }
    .container:hover .arrow{
        display: block; //鼠标放上去是显示
    }
    .container .arrow:hover{
        background-color: rgb(15, 151, 241);//背景色
        font-weight: bold;//粗体
        color:white;//颜色
    }
这时我们就得到如下图显示的效果了,这时样式我们就写好了,接下来我们就要开始写交互了,让它们能动起来就要靠JavaScript了。

第四步:
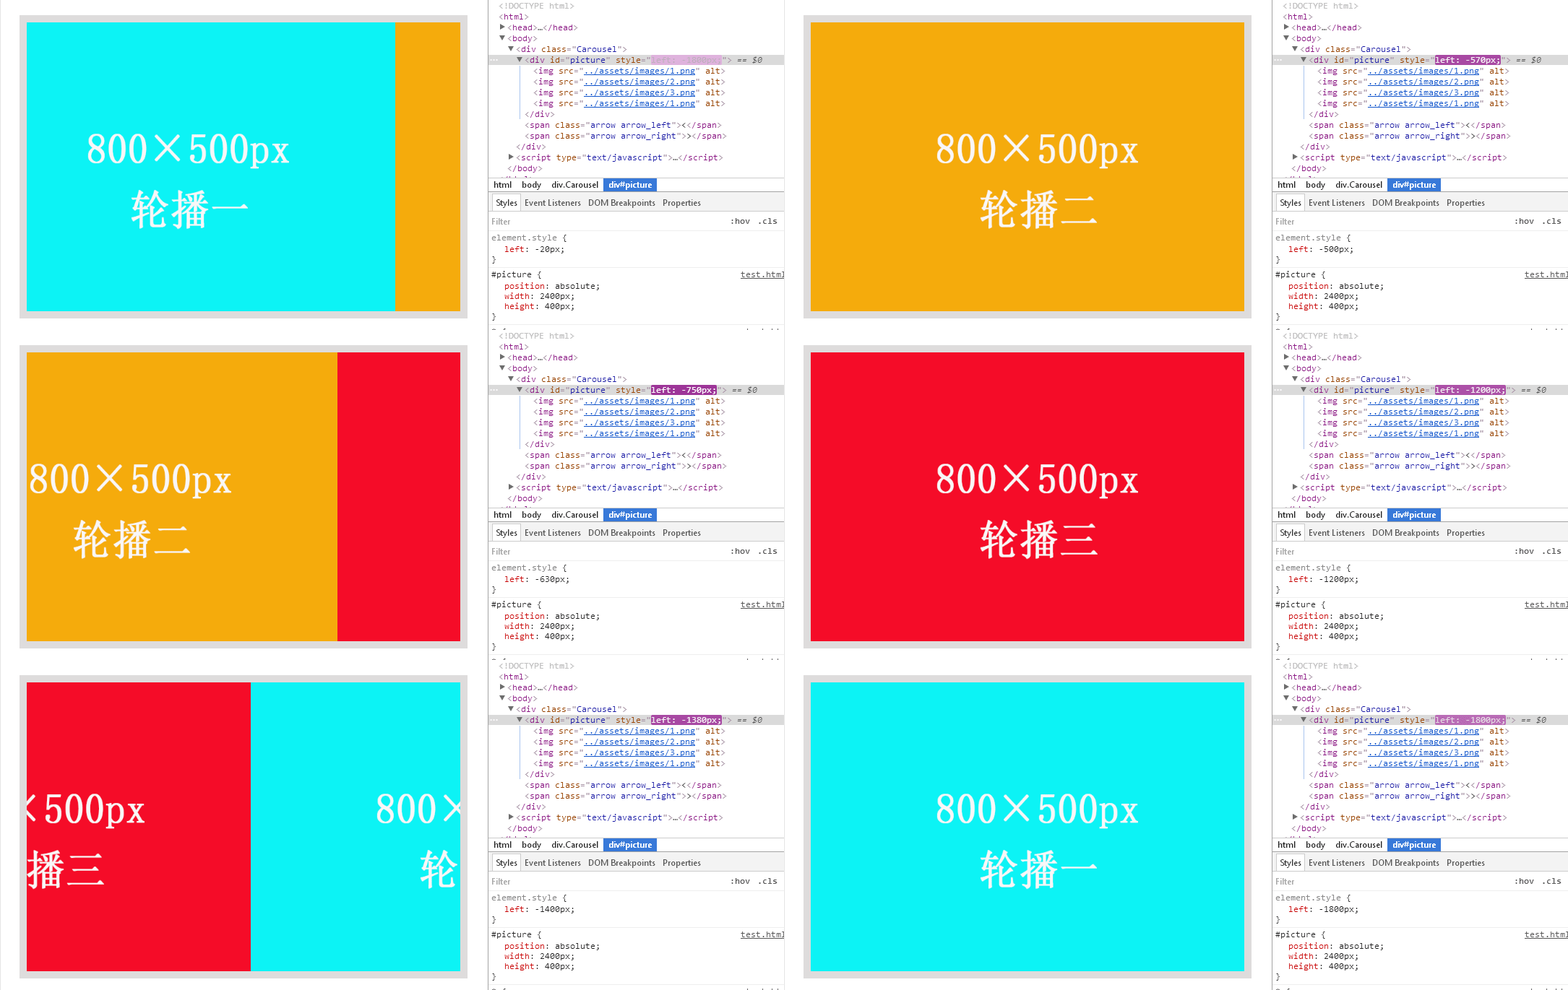
添加JavaScript逻辑,首先我们先来实现手动点击左右按键让其切换起来,这里的切换最主要的就是操作div的left属性,通过不断的改变left属性来达到切换图片的效果,我们可以看到picture的left属性一直在变动,所以我们的任务就是按一下按钮就改变下样式中的left值即可。

先用js获取到 picture及按钮元素,同时获取图片的宽度,方便我们后期用来计算移动的宽度,然后通过onclick方法来实现点击事件,这里我们需要注意的是当我们点击到最后一张时再点击要跳转回第一张,所以我在第三张后面加了第一张已做过渡只用,当我们再次点击时虽然显示的是第四张,但是我们的位置已经切换到了第一张,再次点击就可以无缝的衔接上第二张图了。
var pic =document.getElementById('picture');
    var next = document.querySelector(".arrow_right");
    var prev = document.querySelector(".arrow_left");
    var imgwidth=pic.children[0].offsetWidth;
    var move=0;
    console.log("imgWidth="+imgwidth);
    next.onclick=function(){
        if(move==pic.children.length-1){
            move=0;
            pic.style.left=0+"px";
        }
        move++;
        pic.style.left=-move*imgwidth+"px"
    }
    prev.onclick=function(){
        if(move==0){
            move=pic.children.length-1;
            pic.style.left=-move*imgwidth+"px";
        }
        move--;
        pic.style.left=-move*imgwidth+"px"
    }
这时我们看到的效果并不是平移的效果,而是闪烁的切换效果,这种体验并不好,所以我们需要来处理一下,我们现在是直接将图像的宽度进行了改变,所以才会出现一闪一闪的效果,这里我们增加一个平移效果,每次移动10个像素,这样出来的效果就不一样了。

这里写一个平移的函数animate,然后直接在上面调用即可,先获取当前元素的位置,然后用当前的位置与目标位置distance进行对比,如果小则movement为正,大则为负(用来判断正反方向移动),这样我们的图片就实现了平移的轮播效果了。
 function animate(element,distance){
     var present=element.offsetLeft;//获取元素的当前的位置
     var movement=10;//每次移动的距离
     movement=present<distance?movement:-movement;
     present+=step;//当前移动到位置
     if(Math.abs(present-distance)>Math.abs(movement)){
         element.style.left=present+"px"
     }else{
         element.style.left=distance+"px"
         }
    }
接下来就是实现自动轮播的效果了,这里我们指定一个定时器,然后让它自动去执行按钮点击事件,定义一个定时器,每2秒执行一次 next.onclick()事件,这样我们载入页面的时候图片就会每2秒切换一张,然后无效的轮播下去了。
var timer = null;
function autoPlay () {
timer = setInterval(function () {
    next.onclick(); //定义一个定时器,每2秒执行一次 next.onclick()事件
},2000);
}
autoPlay();
最后我们还要实现鼠标移入移出来暂停和继续轮播效果,获取下Carousel元素,然后通过onmouseenter和onmouseleave方法来实现移入移出效果,移入时清除定时器,移出时继续即可,再整理下点击事件我们就得到了一开始展示的效果了。
var Carousel = document.querySelector(".Carousel");
Carousel.onmouseenter = function () {
clearInterval(timer); //移入事件,清除定时器
}
Carousel.onmouseleave = function () {
autoPlay();  //移出事件,继续
}
下面是完整代码,有兴趣的可以试试:
<!DOCTYPE html>
<html>
<head>
    <meta charset="utf-8">
    <title>Picture Carousel</title>
    <style type="text/css">
    *{
        margin:0;
        padding:0;
    }
    a{
        text-decoration: none;
    }
    .Carousel{
        position: relative;
        width:600px;
        height:400px;
        margin:50px auto;
        overflow: hidden;
        border:10px solid rgba(189, 184, 184,0.5);
        z-index: 1;
    }
    #picture{
        position: absolute;
        width: 2400px;
        height: 400px;
    }
    #picture img{
        float: left;
        width:600px;
        height:400px;
    }
    .Carousel .arrow{
        cursor: pointer;
        position:absolute;
        top:40%;
        padding:10px 15px;
        background-color: rgba(255, 255, 255,0.8);
        display: inline-block;
        font-size: 50px;
        z-index: 2;
        color:rgb(161, 157, 157);
        font-weight: bold;
        display: none;
    }
    .Carousel .arrow_left{
        left:0;
    }
    .Carousel .arrow_right{
        right: 0;
    }
    .Carousel:hover .arrow{
        display: block;
    }
    .Carousel .arrow:hover{
        background-color: rgb(15, 151, 241);
        font-weight: bold;
        color:white;
    }
    </style>
</head>
<body>
    <div class="Carousel">
        <div id="picture">
            <img src="../assets/images/1.png" alt="">
            <img src="../assets/images/2.png" alt="">
            <img src="../assets/images/3.png" alt="">
            <img src="../assets/images/1.png" alt="">
        </div>
        <span  class="arrow arrow_left"><</span>
        <span  class="arrow arrow_right">></span>
    </div>
</body>
<script type="text/javascript">
    var pic =document.getElementById('picture');
    var next = document.querySelector(".arrow_right");
    var prev = document.querySelector(".arrow_left");
    var imgwidth=pic.children[0].offsetWidth;
    var move=0;
    console.log("imgWidth="+imgwidth);
    next.onclick=function(){
        if(move==pic.children.length-1){
            move=0;
            pic.style.left=0+"px";
        }
        move++;
        animate(pic,-move*imgwidth);
    }
    prev.onclick=function(){
        if(move==0){
            move=pic.children.length-1;
            pic.style.left=-move*imgwidth+"px";
        }
        move--;
        animate(pic,-move*imgwidth);
    }
    var timer = null;
    function autoPlay () {
    timer = setInterval(function () {
        next.onclick();
    },2000);
    }
    autoPlay();
    var Carousel = document.querySelector(".Carousel");
    Carousel.onmouseenter = function () {
    clearInterval(timer);
    }
    Carousel.onmouseleave = function () {
    autoPlay();
    }
    function animate(element,distance){
        clearInterval(element.timer)
        element.timer=setInterval(function(){
             var present=element.offsetLeft;//获取元素的当前的位置
             var movement=10;//每次移动的距离
             movement=present<distance?movement:-movement;
             present+=movement;//当前移动到位置
             if(Math.abs(present-distance)>Math.abs(movement)){
                 element.style.left=present+"px"
             }else{
                 clearInterval(element.timer);
                 element.style.left=distance+"px"
             }
        },10);
    }
</script>
</html>