版权声明:本文为博主原创文章,未经博主允许不得转载。 https://blog.csdn.net/qq_34646546/article/details/87967703
监控服务进行部署
监控服务端部署流程(软件安装 软件配置 软件服务启动)
服务端 :外网IP 10.0.0.200 外网IP 172.16.1.200
客户端: 外网IP 10.0.0.6 内网IP 172.16.1.6
第一个里程: 下载安装zabbix yum 源文件
LTS long time support
- aliyun zabbix yum 源
- 清华源
[root@zabbix-server ~]# rpm -ivh https://mirrors.tuna.tsinghua.edu.cn/zabbix/zabbix/4.0/rhel/7/x86_64/zabbix-release-4.0-1.el7.noarch.rpm
Retrieving https://mirrors.tuna.tsinghua.edu.cn/zabbix/zabbix/4.0/rhel/7/x86_64/zabbix-release-4.0-1.el7.noarch.rpm
warning: /var/tmp/rpm-tmp.6h3rJI: Header V4 RSA/SHA512 Signature, key ID a14fe591: NOKEY
Preparing...                          ################################# [100%]
Updating / installing...
   1:zabbix-release-4.0-1.el7         ################################# [100%]
第二个里程: 下载安装zabbix服务端相关软件
zabbix服务程序软件: zabbix-server-mysql
zabbix服务web软件: zabbix-web-mysql httpd php
数据库服务软件: mariadb-server
[root@zabbix-server ~]# yum install -y zabbix-server-mysql zabbix-web-mysql httpd php
[root@zabbix-server ~]# yum install -y mariadb-server
第三个里程: 软件配置
设置密码为zabbix
[root@zabbix-server ~]# vim /etc/zabbix/zabbix_server.conf
 修改大概124行 DBPassword=zabbix
如图:
设置时区为中国上海
[root@zabbix-server ~]# vim /etc/httpd/conf.d/zabbix.conf
 修改21行   php_value date.timezone Asia/Shanghai
如图:

第四个里程: 编写配置数据库服务
[root@zabbix-server ~]# systemctl start mariadb.service
[root@zabbix-server ~]# systemctl status mariadb.service
● mariadb.service - MariaDB database server
   Loaded: loaded (/usr/lib/systemd/system/mariadb.service; disabled; vendor preset: disabled)
   Active: active (running) since Wed 2019-02-27 09:53:41 CST; 7s ago
  Process: 1783 ExecStartPost=/usr/libexec/mariadb-wait-ready $MAINPID (code=exited, status=0/SUCCESS)
  Process: 1704 ExecStartPre=/usr/libexec/mariadb-prepare-db-dir %n (code=exited, status=0/SUCCESS)
 Main PID: 1782 (mysqld_safe)
   CGroup: /system.slice/mariadb.service
           ├─1782 /bin/sh /usr/bin/mysqld_safe --basedir=/usr
           └─1944 /usr/libexec/mysqld --basedir=/usr --datadir=/var/lib/mysql --plugin-dir=/usr/lib64/mysql/plugin --log-error=/var/log/mariadb/mariadb.lo...

Feb 27 09:53:37 mobanji mariadb-prepare-db-dir[1704]: MySQL manual for more instructions.
Feb 27 09:53:37 mobanji mariadb-prepare-db-dir[1704]: Please report any problems at http://mariadb.org/jira
Feb 27 09:53:37 mobanji mariadb-prepare-db-dir[1704]: The latest information about MariaDB is available at http://mariadb.org/.
Feb 27 09:53:37 mobanji mariadb-prepare-db-dir[1704]: You can find additional information about the MySQL part at:
Feb 27 09:53:37 mobanji mariadb-prepare-db-dir[1704]: http://dev.mysql.com
Feb 27 09:53:37 mobanji mariadb-prepare-db-dir[1704]: Consider joining MariaDB's strong and vibrant community:
Feb 27 09:53:37 mobanji mariadb-prepare-db-dir[1704]: https://mariadb.org/get-involved/
Feb 27 09:53:38 mobanji mysqld_safe[1782]: 190227 09:53:38 mysqld_safe Logging to '/var/log/mariadb/mariadb.log'.
Feb 27 09:53:38 mobanji mysqld_safe[1782]: 190227 09:53:38 mysqld_safe Starting mysqld daemon with databases from /var/lib/mysql
Feb 27 09:53:41 mobanji systemd[1]: Started MariaDB database server.
创建zabbix数据库–zabbix
create database zabbix character set utf8 collate utf8_bin;
[root@zabbix-server ~]# mysql
Welcome to the MariaDB monitor.  Commands end with ; or \g.
Your MariaDB connection id is 2
Server version: 5.5.60-MariaDB MariaDB Server

Copyright (c) 2000, 2018, Oracle, MariaDB Corporation Ab and others.

Type 'help;' or '\h' for help. Type '\c' to clear the current input statement.

MariaDB [(none)]> create database zabbix character set utf8 collate utf8_bin;
Query OK, 1 row affected (0.00 sec)

MariaDB [(none)]>
创建数据库管理用户
MariaDB [(none)]> grant all privileges on zabbix.* to zabbix@localhost identified by 'zabbix';
Query OK, 0 rows affected (0.00 sec)

MariaDB [(none)]>
按 Ctrl + c退出数据库
在zabbix数据库中导入相应的表信息
[root@zabbix-server ~]# zcat /usr/share/doc/zabbix-server-mysql-4.0.5/create.sql.gz|mysql -uzabbix -pzabbix zabbix
注意: 上一步中版本号不一致 所以需要手动找到路径进行操作
第五个里程: 启动zabbix程序相关服务
数据库服务 zabbix服务 httpd服务
[root@zabbix-server ~]# systemctl start zabbix-server.service httpd mariadb.service
[root@zabbix-server ~]# systemctl enable zabbix-server.service httpd mariadb.service
Created symlink from /etc/systemd/system/multi-user.target.wants/zabbix-server.service to /usr/lib/systemd/system/zabbix-server.service.
Created symlink from /etc/systemd/system/multi-user.target.wants/httpd.service to /usr/lib/systemd/system/httpd.service.
Created symlink from /etc/systemd/system/multi-user.target.wants/mariadb.service to /usr/lib/systemd/system/mariadb.service.
说明: 至此zabbix-server命令行操作结束
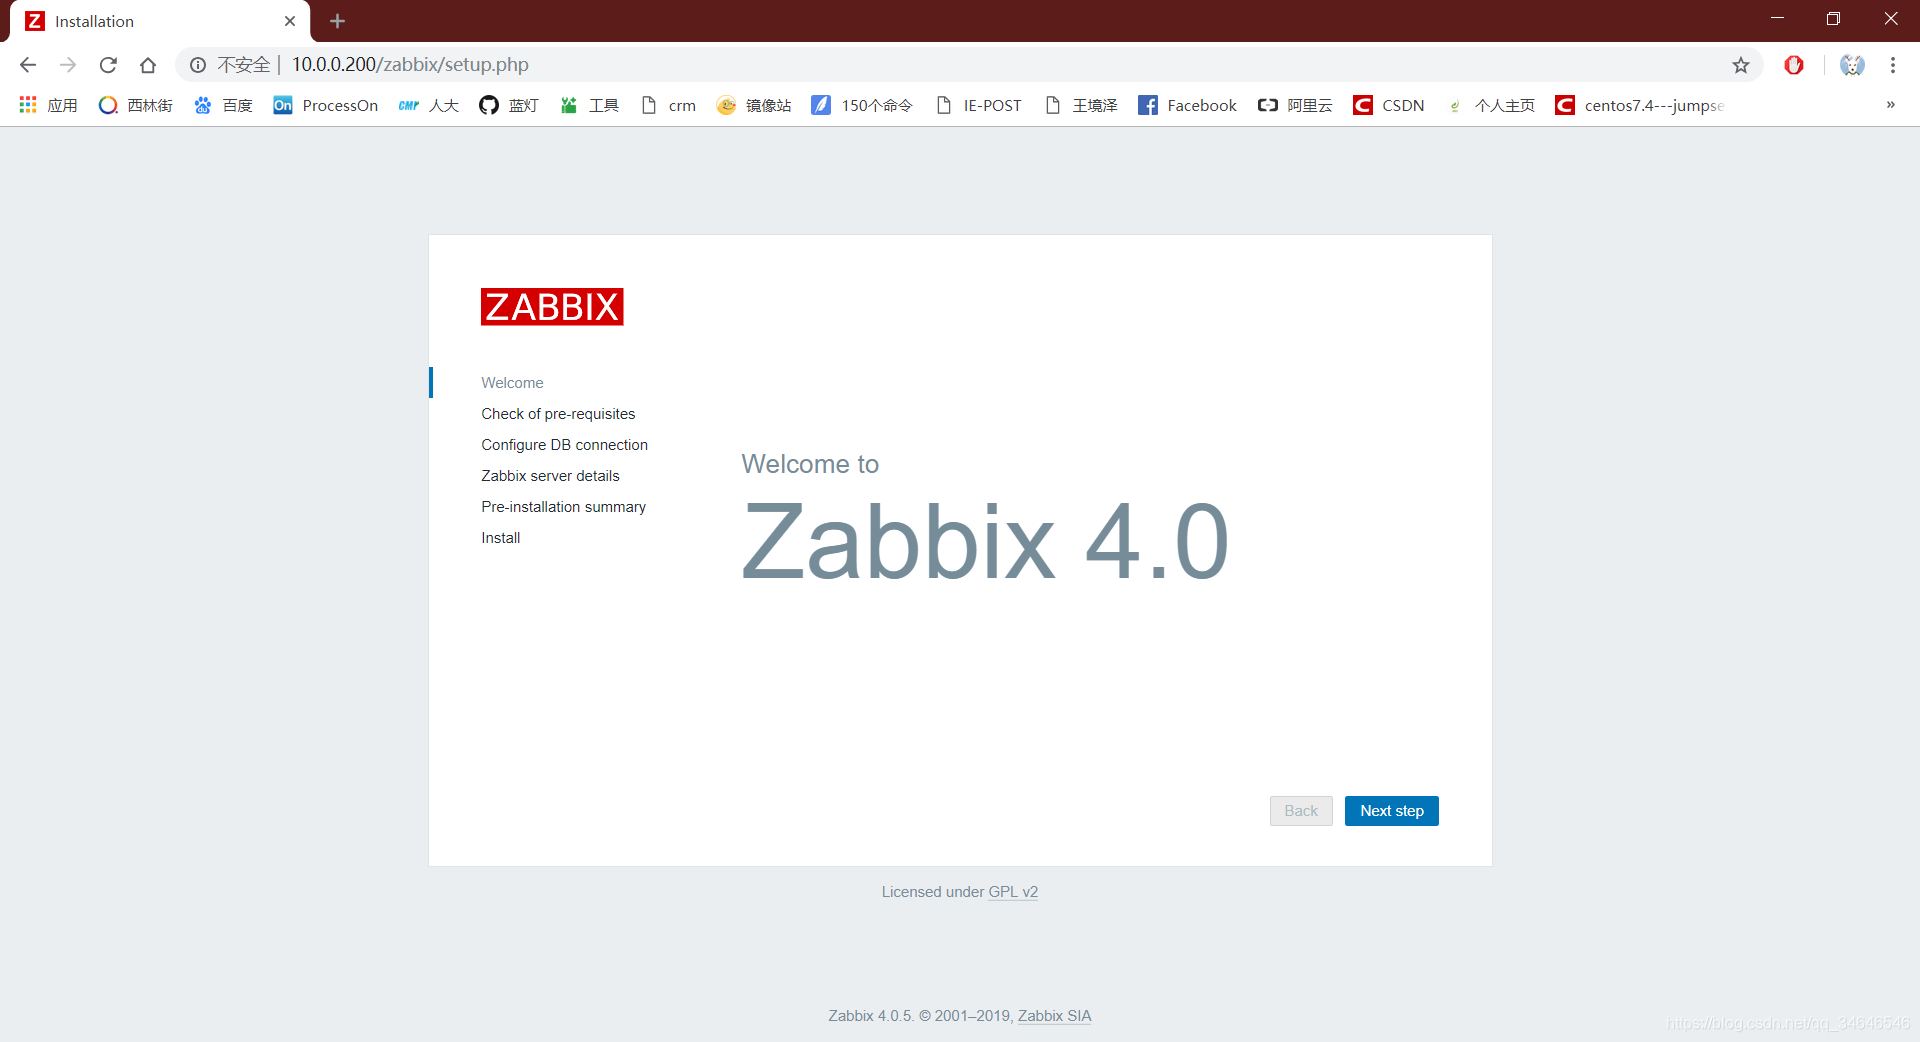
第六个里程: 登录zabbix服务端web界面, 进行初始化配置
http://10.0.0.200 /zabbix/setup.php
10051 zabbix-server 服务端端口号
10050 zabbix-agent 客户端端口号
/etc/zabbix/web/zabbix.conf.php – 记录web页面初始化信息
第七个里程: 登录zabbix服务web页面
- 在浏览器输入10.0.0.200/zabbix进入web页面安装
服务端ip地址/zabbix
点击 Next step
2.继续点击 Next step

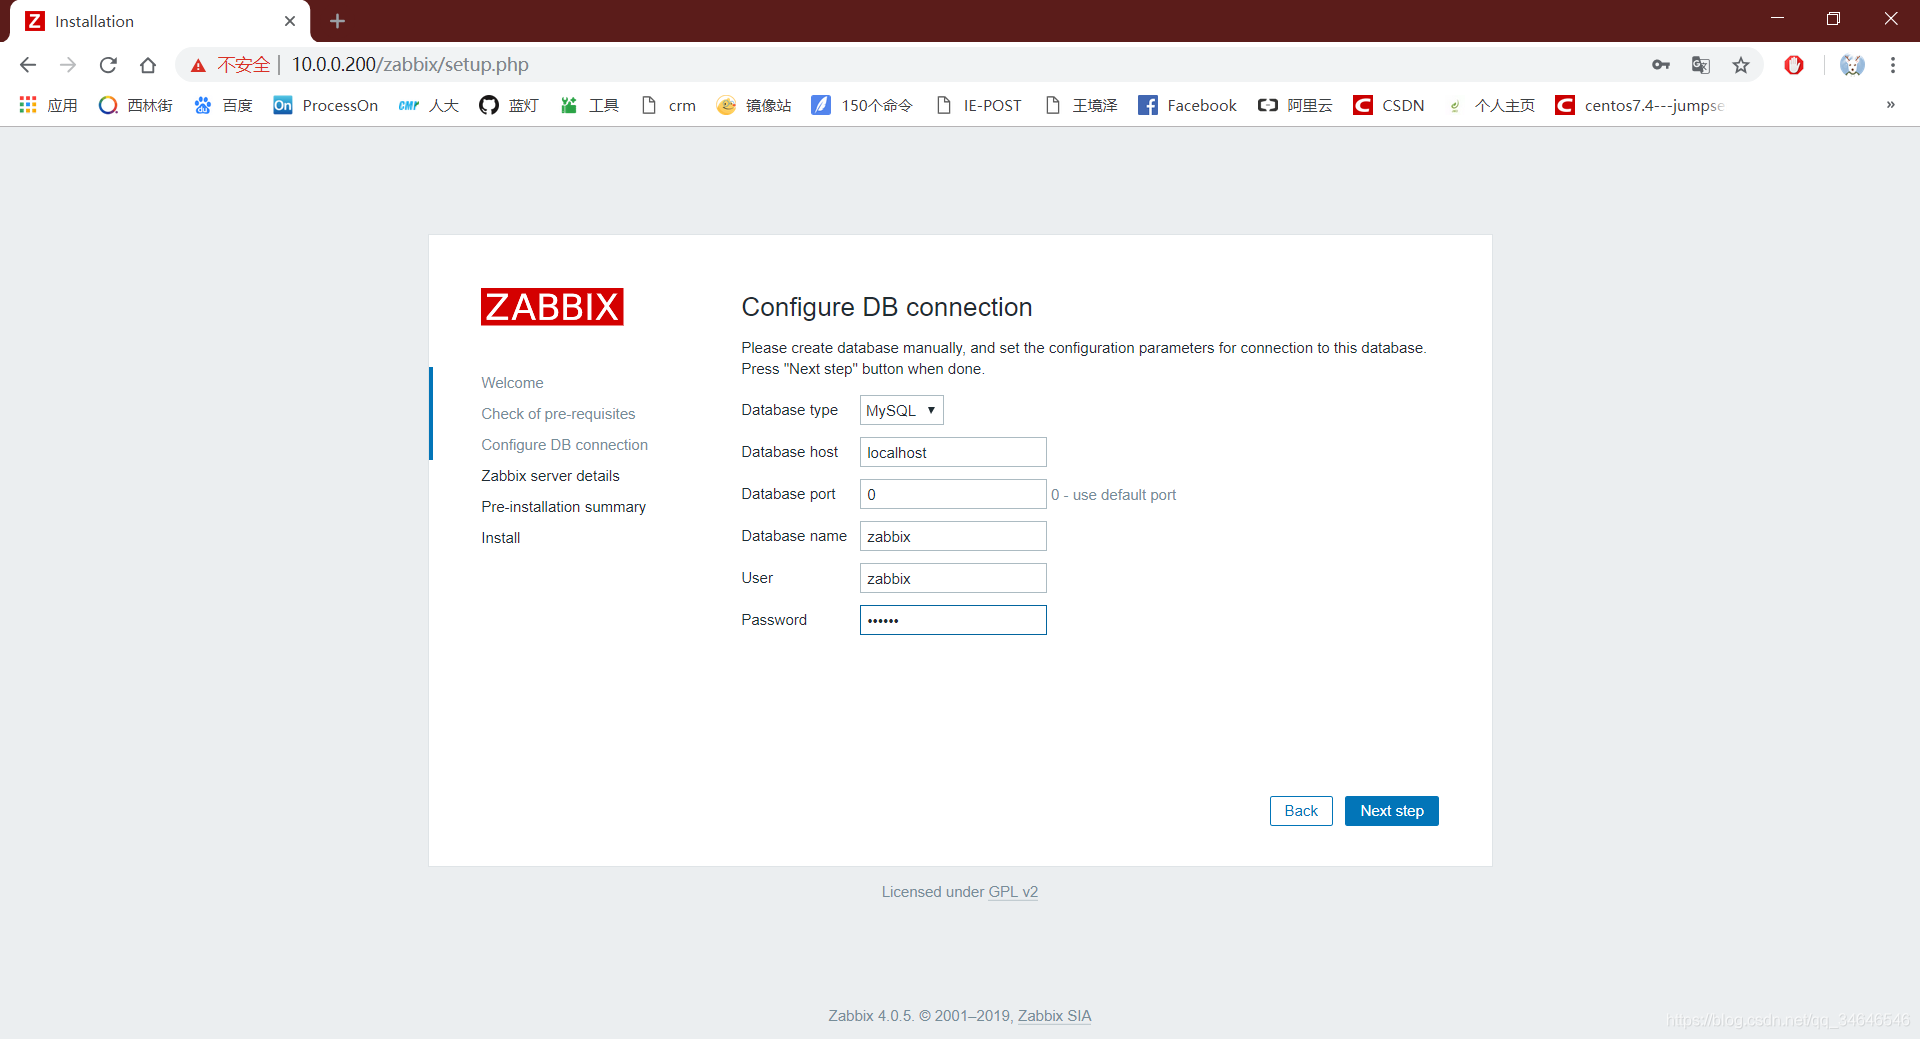
3.设置数据库信息如图所示
密码为zabbix
点击 Next step
4.设置名称
继续点击 Next step

5.继续点击 Next step
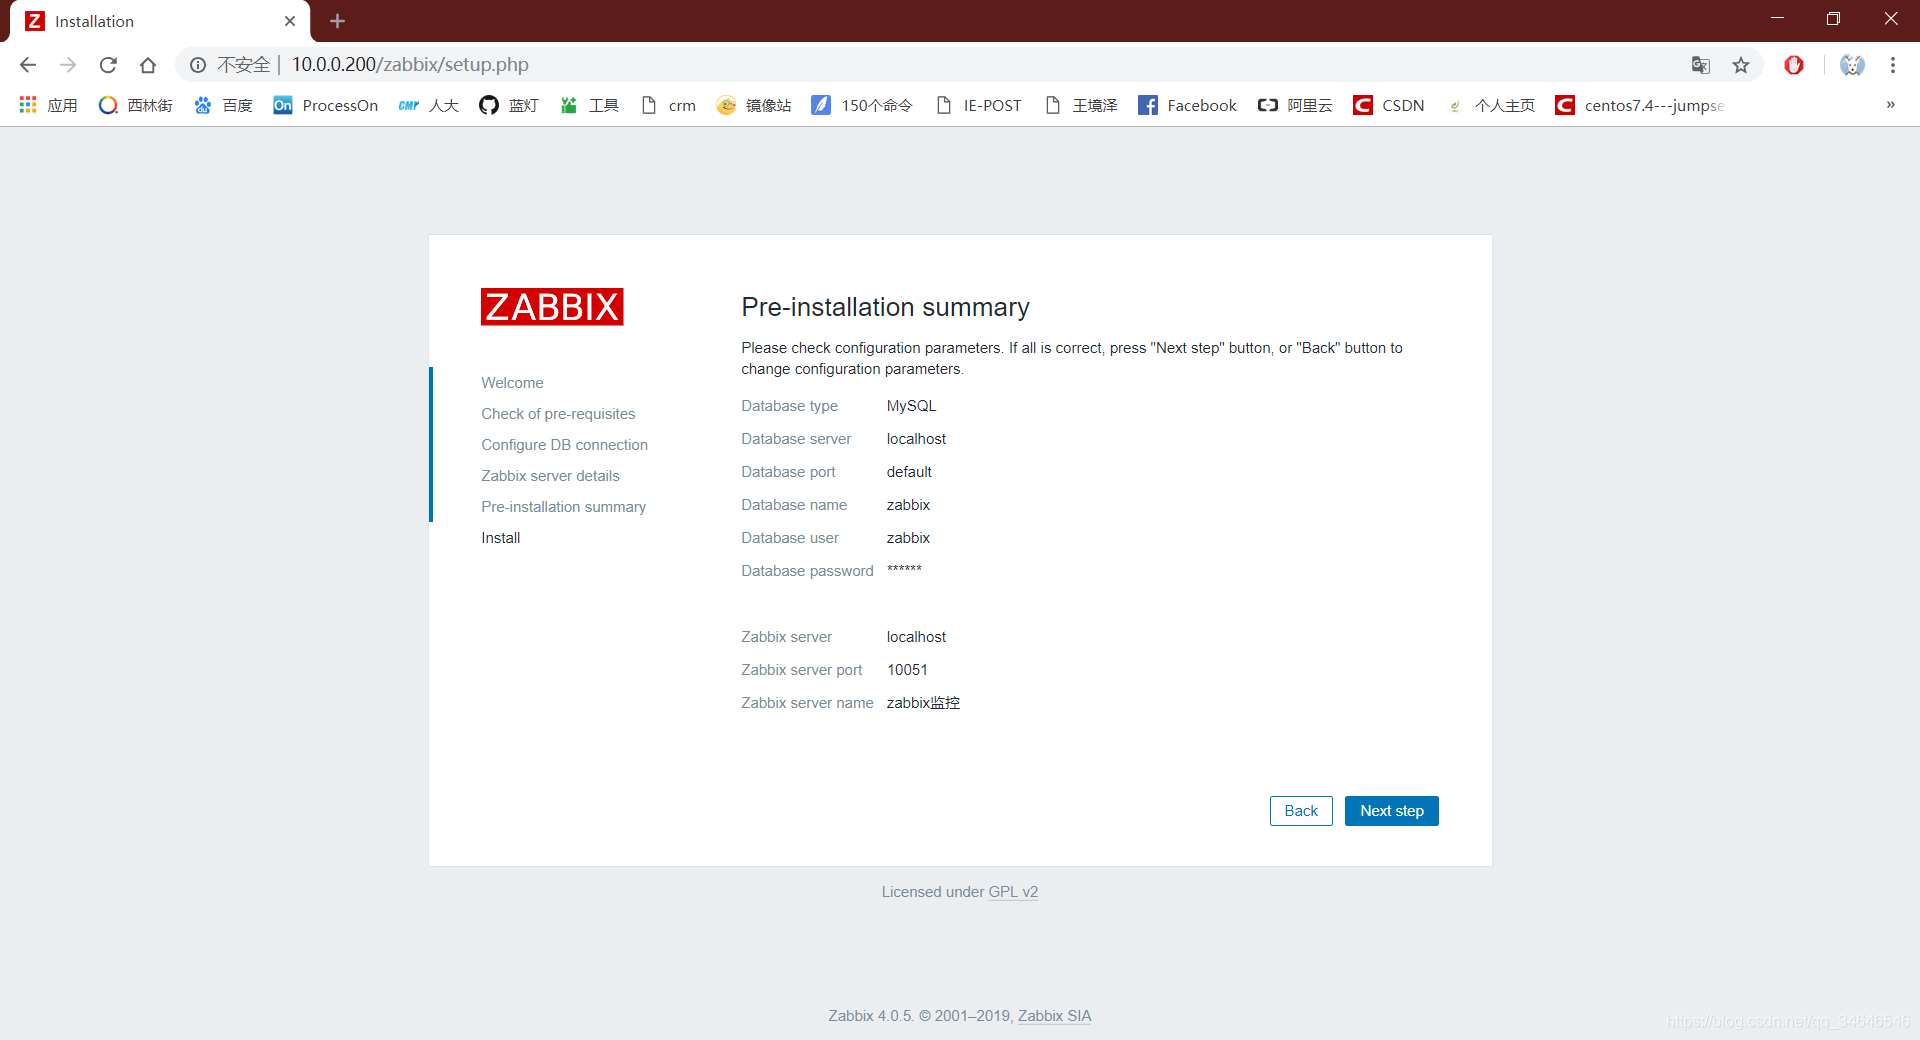
6.点击 Finish

7.登陆页面
默认账户为 Admin
密码是刚才设置的 zabbix

8.登陆成功
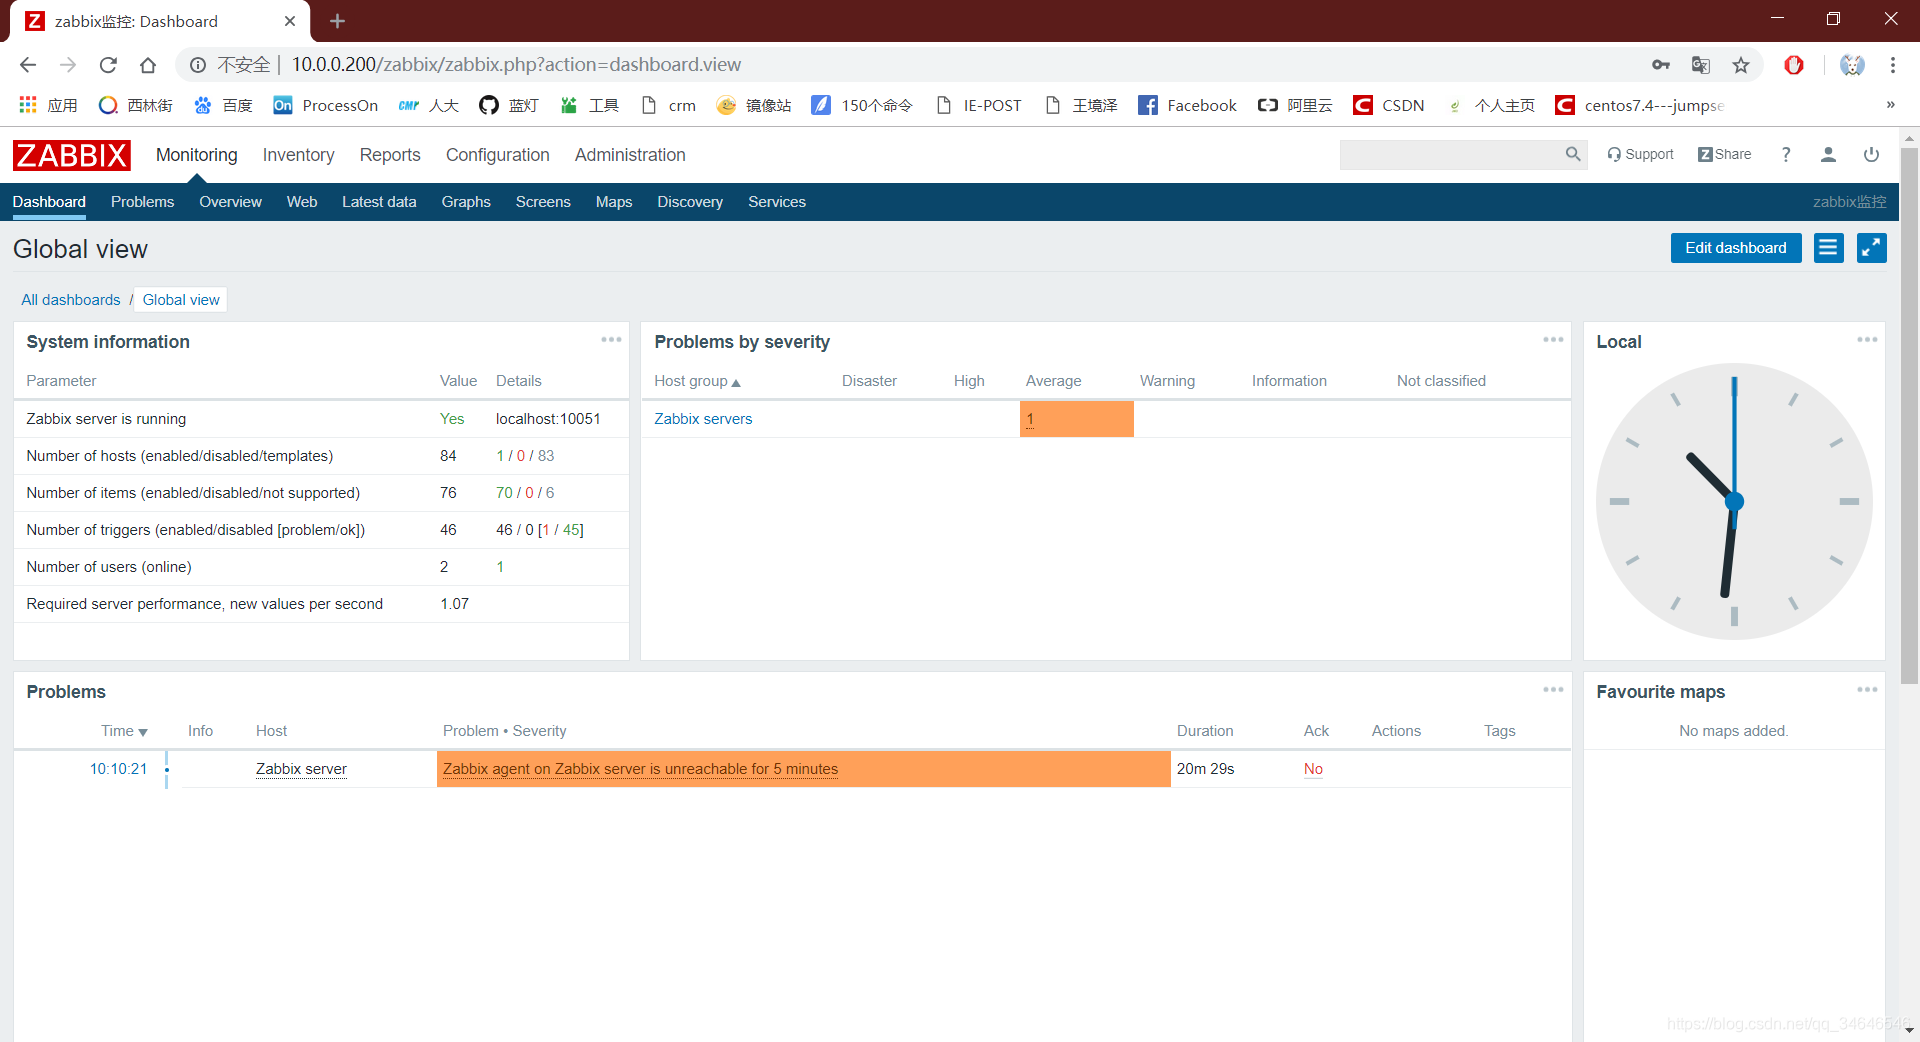
注: 可以在右上角 小人那里设置语言为中文
监控客户端部署流程
第一个里程: 下载安装zabbix yum 源文件
LTS long time support
- aliyun zabbix yum 源
- 清华源
[root@web01 ~]# rpm -ivh https://mirrors.tuna.tsinghua.edu.cn/zabbix/zabbix/4.0/rhel/7/x86_64/zabbix-release-4.0-1.el7.noarch.rpm
Retrieving https://mirrors.tuna.tsinghua.edu.cn/zabbix/zabbix/4.0/rhel/7/x86_64/zabbix-release-4.0-1.el7.noarch.rpm
Preparing...                          ################################# [100%]
	package zabbix-release-4.0-1.el7.noarch is already installed
第二个里程: 下载安装zabbix客户端软件
[root@web01 ~]# yum install -y zabbix-agent
或者(推荐yum)
第三个里程: 编写zabbix客户端配置文件
[root@web01 ~]# vim /etc/zabbix/zabbix_agentd.conf
大概98行修改 Server=172.16.1.200 (zabbix服务端地址)
客户端配置文件:

第四个里程: 启动zabbix-agent服务
[root@web01 ~]# systemctl start zabbix-agent
[root@web01 ~]# systemctl enable zabbix-agent
[root@web01 ~]# netstat -lntup|grep 10050
tcp      0     0 0.0.0.0:10050           0.0.0.0:*            LISTEN      4509/zabbix_agentd
tcp      0     0 :::10050                :::*                 LISTEN      4509/zabbix_agentd