林炳文Evankaka原创作品。转自https://blog.csdn.net/Evankaka/article/details/45826697
本文详细讲解了SpringMVC实例单文件上传、多文件上传、文件列表显示、文件下载。
一、新建一个Web工程,导入相关的包
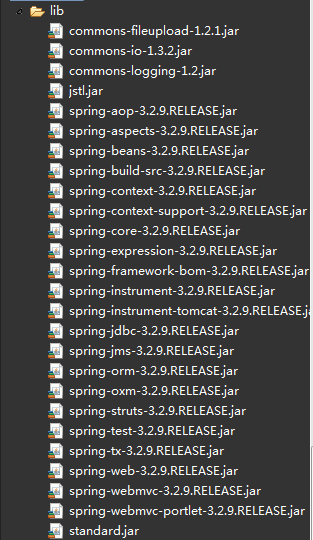
springmvc的包+commons-fileupload.jar+connom-io.jar+commons-logging,jar+jstl.jar+standard.jar
整个相关的包如下:
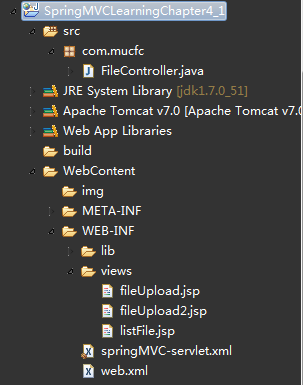
整个工程目录如下:
二、配置web.xml和SpringMVC文件
(1)web.xml
-
<?xml version="1.0" encoding="UTF-8"?>
-
<web-app xmlns:xsi="http://www.w3.org/2001/XMLSchema-instance"
-
xmlns=
"http://java.sun.com/xml/ns/javaee"
xmlns:web=
"http://java.sun.com/xml/ns/javaee/web-app_3_0.xsd"
-
xsi:schemaLocation=
"http://java.sun.com/xml/ns/javaee http://java.sun.com/xml/ns/javaee/web-app_3_0.xsd"
-
id=
"WebApp_ID"
version=
"3.0">
-
<!-- SpringMVC的前端控制器 -->
-
<servlet>
-
<servlet-name>MyDispatcher
</servlet-name>
-
<servlet-class>org.springframework.web.servlet.DispatcherServlet
</servlet-class>
-
<!-- 设置自己定义的控制器xml文件 -->
-
<init-param>
-
<param-name>contextConfigLocation
</param-name>
-
<param-value>/WEB-INF/springMVC-servlet.xml
</param-value>
-
</init-param>
-
<load-on-startup>1
</load-on-startup>
-
</servlet>
-
<!-- Spring MVC配置文件结束 -->
-
-
<!-- 拦截设置 -->
-
<servlet-mapping>
-
<servlet-name>MyDispatcher
</servlet-name>
-
<!-- 由SpringMVC拦截所有请求 -->
-
<url-pattern>/
</url-pattern>
-
</servlet-mapping>
-
-
</web-app>
(2)springMVC-servlet.xml文件
-
<beans xmlns="http://www.springframework.org/schema/beans"
-
xmlns:context=
"http://www.springframework.org/schema/context"
-
xmlns:util=
"http://www.springframework.org/schema/util"
-
xmlns:xsi=
"http://www.w3.org/2001/XMLSchema-instance"
xmlns:p=
"http://www.springframework.org/schema/p"
-
xmlns:mvc=
"http://www.springframework.org/schema/mvc"
-
xsi:schemaLocation=
"
-
http://www.springframework.org/schema/util
-
http://www.springframework.org/schema/util/spring-util-3.0.xsd
-
http://www.springframework.org/schema/mvc
-
http://www.springframework.org/schema/mvc/spring-mvc-3.0.xsd
-
http://www.springframework.org/schema/beans
-
http://www.springframework.org/schema/beans/spring-beans-3.0.xsd
-
http://www.springframework.org/schema/mvc
-
http://www.springframework.org/schema/mvc/spring-mvc-3.0.xsd
-
http://www.springframework.org/schema/context
-
http://www.springframework.org/schema/context/spring-context-3.0.xsd">
-
-
<!-- 把标记了@Controller注解的类转换为bean -->
-
<context:component-scan base-package="com.mucfc" />
-
<!-- 对模型视图名称的解析,即在模型视图名称添加前后缀 -->
-
<bean class="org.springframework.web.servlet.view.InternalResourceViewResolver"
-
p:prefix=
"/WEB-INF/views/"
p:suffix=
".jsp"/>
-
-
<!-- 上传文件的设置 ,maxUploadSize=-1,表示无穷大。uploadTempDir为上传的临时目录 -->
-
<bean id="multipartResolver" class="org.springframework.web.multipart.commons.CommonsMultipartResolver"
-
p:defaultEncoding=
"UTF-8"
-
p:maxUploadSize=
"5400000"
-
p:uploadTempDir=
"fileUpload/temp"
-
/>
-
-
</beans>
三、单个文件上传
(1)控制器
-
@Controller
-
@RequestMapping(
"/file")
-
public
class FileController {
-
-
@RequestMapping(
"/toFile")
-
public String toFileUpload() {
-
return
"fileUpload";
-
}
-
-
@RequestMapping(
"/toFile2")
-
public String toFileUpload2() {
-
return
"fileUpload2";
-
}
-
-
/**
-
* 方法一上传文件
-
*/
-
@RequestMapping(
"/onefile")
-
public String oneFileUpload(
-
@RequestParam("file") CommonsMultipartFile file,
-
HttpServletRequest request, ModelMap model) {
-
-
// 获得原始文件名
-
String fileName = file.getOriginalFilename();
-
System.out.println(
"原始文件名:" + fileName);
-
-
// 新文件名
-
String newFileName = UUID.randomUUID() + fileName;
-
-
// 获得项目的路径
-
ServletContext sc = request.getSession().getServletContext();
-
// 上传位置
-
String path = sc.getRealPath(
"/img") +
"/";
// 设定文件保存的目录
-
-
File f =
new File(path);
-
if (!f.exists())
-
f.mkdirs();
-
if (!file.isEmpty()) {
-
try {
-
FileOutputStream fos =
new FileOutputStream(path + newFileName);
-
InputStream in = file.getInputStream();
-
int b =
0;
-
while ((b = in.read()) != -
1) {
-
fos.write(b);
-
}
-
fos.close();
-
in.close();
-
}
catch (Exception e) {
-
e.printStackTrace();
-
}
-
}
-
-
System.out.println(
"上传图片到:" + path + newFileName);
-
// 保存文件地址,用于JSP页面回显
-
model.addAttribute(
"fileUrl", path + newFileName);
-
return
"fileUpload";
-
}
-
-
/**
-
* 方法二上传文件,一次一张
-
*/
-
@RequestMapping(
"/onefile2")
-
public String oneFileUpload2(HttpServletRequest request,
-
HttpServletResponse response)
throws Exception {
-
CommonsMultipartResolver cmr =
new CommonsMultipartResolver(
-
request.getServletContext());
-
if (cmr.isMultipart(request)) {
-
MultipartHttpServletRequest mRequest = (MultipartHttpServletRequest) (request);
-
Iterator<String> files = mRequest.getFileNames();
-
while (files.hasNext()) {
-
MultipartFile mFile = mRequest.getFile(files.next());
-
if (mFile !=
null) {
-
String fileName = UUID.randomUUID()
-
+ mFile.getOriginalFilename();
-
String path =
"d:/upload/" + fileName;
-
-
File localFile =
new File(path);
-
mFile.transferTo(localFile);
-
request.setAttribute(
"fileUrl", path);
-
}
-
}
-
}
-
return
"fileUpload";
-
}
-
}
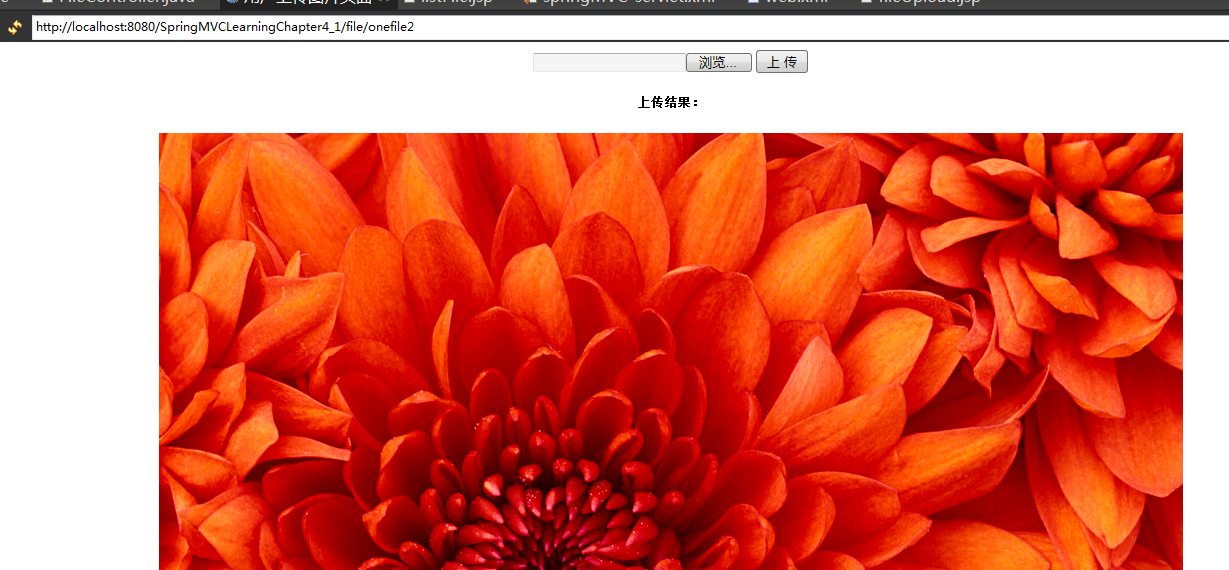
(2)JSP,这个页面是用来上传又用来显示上传后的图片的页面fileUpload.jsp
-
<%@ page language="java" contentType="text/html; charset=UTF-8"
-
pageEncoding=
"UTF-8"%>
-
<%@ taglib prefix="form" uri="http://www.springframework.org/tags/form"%>
-
<%
-
String path = request.getContextPath();
-
String basePath = request.getScheme() + "://"
-
+ request.getServerName() + ":" + request.getServerPort()
-
+ path + "/";
-
%>
-
<!DOCTYPE html PUBLIC "-//W3C//DTD HTML 4.01 Transitional//EN" "http://www.w3.org/TR/html4/loose.dtd">
-
<html>
-
<head>
-
<title>用户上传图片页面
</title>
-
<base href="<%=basePath%>">
-
<meta http-equiv="Content-Type" content="text/html; charset=UTF-8">
-
</head>
-
<body>
-
<center>
-
<form action="file/onefile"
-
method=
"post"
enctype=
"multipart/form-data">
-
<input type="file" name="file" />
-
<input type="submit" value="上 传" />
-
</form>
-
<h5>上传结果:
</h5>
-
<img alt="暂无图片" src="${fileUrl}" />
-
</center>
-
</body>
-
</html>
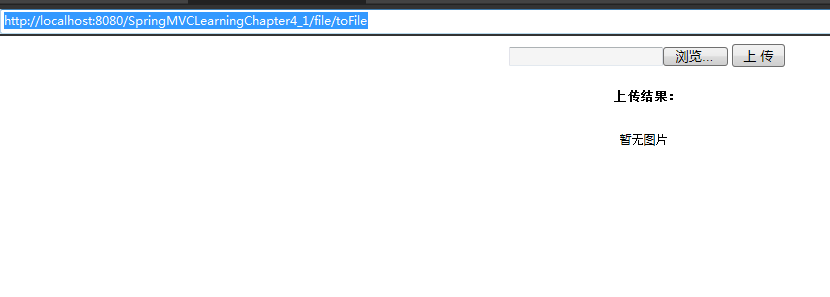
现在运行后来看看效果,输入:http://localhost:8080/SpringMVCLearningChapter4_1/file/toFile
控制台输出结果,选择图片后
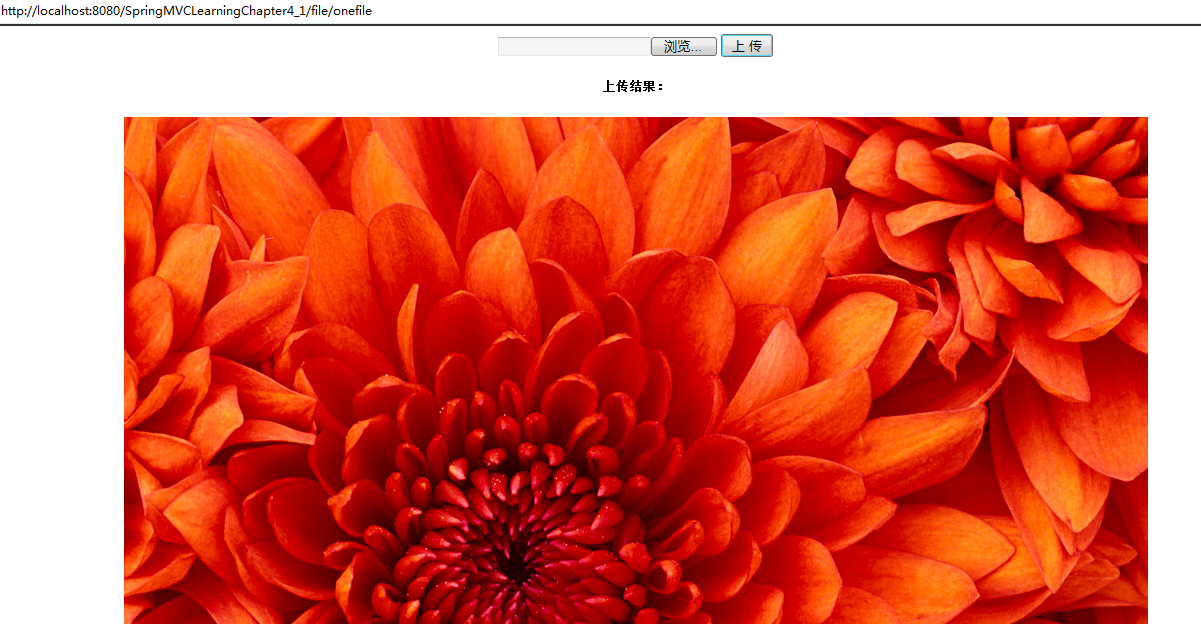
原始文件名:Chrysanthemum.jpg
上传图片到:E:\workspace\.metadata\.plugins\org.eclipse.wst.server.core\tmp0\wtpwebapps\SpringMVCLearningChapter4_1\img/4eafc28c-4baa-4018-ac06-c4a5aec88d6cChrysanthemum.jpg
图片已被上传,可以在JSP中显示出来
来看看服务器的路径:E:\workspace\.metadata\.plugins\org.eclipse.wst.server.core\tmp0\wtpwebapps\SpringMVCLearningChapter4_1\img
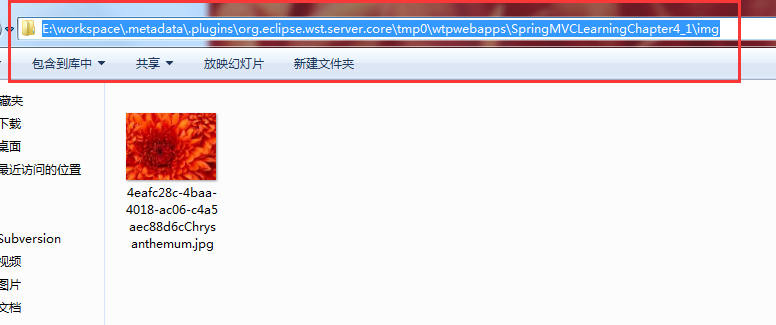
表明图片已经上传到服务器
方法二:
使用文件流的方式来上传
-
/**
-
* 方法二上传文件,一次一张
-
*/
-
@RequestMapping(
"/onefile2")
-
public String oneFileUpload2(HttpServletRequest request,
-
HttpServletResponse response)
throws Exception {
-
CommonsMultipartResolver cmr =
new CommonsMultipartResolver(
-
request.getServletContext());
-
if (cmr.isMultipart(request)) {
-
MultipartHttpServletRequest mRequest = (MultipartHttpServletRequest) (request);
-
Iterator<String> files = mRequest.getFileNames();
-
while (files.hasNext()) {
-
MultipartFile mFile = mRequest.getFile(files.next());
-
if (mFile !=
null) {
-
String fileName = UUID.randomUUID()
-
+ mFile.getOriginalFilename();
-
String path =
"d:/upload/" + fileName;
-
-
File localFile =
new File(path);
-
mFile.transferTo(localFile);
-
request.setAttribute(
"fileUrl", path);
-
}
-
}
-
}
-
return
"fileUpload";
-
}
把
-
<center>
-
<form action="file/onefile"
-
method=
"post"
enctype=
"multipart/form-data">
-
<input type="file" name="file" />
-
<input type="submit" value="上 传" />
-
</form>
-
<h5>上传结果:
</h5>
-
<img alt="暂无图片" src="${fileUrl}" />
-
</center>
中的
<form action="file/onefile"
改成
<form action="file/onefile2"
输入:http://localhost:8080/SpringMVCLearningChapter4_1/file/toFile
方法二指定上传到了本地E盘的upload文件夹
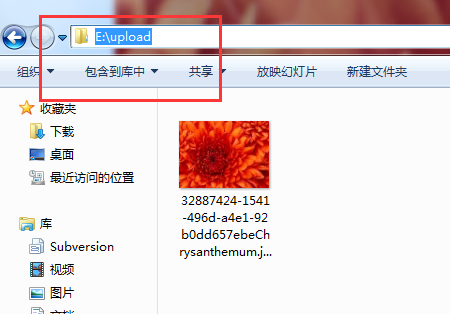
页面结果
四、多文件上传
(1)控制器
-
/**
-
* 一次上传多张图片
-
*/
-
@RequestMapping(
"/threeFile")
-
public String threeFileUpload(
-
@RequestParam("file") CommonsMultipartFile files[],
-
HttpServletRequest request, ModelMap model) {
-
-
List<String> list =
new ArrayList<String>();
-
// 获得项目的路径
-
ServletContext sc = request.getSession().getServletContext();
-
// 上传位置
-
String path = sc.getRealPath(
"/img") +
"/";
// 设定文件保存的目录
-
File f =
new File(path);
-
if (!f.exists())
-
f.mkdirs();
-
-
for (
int i =
0; i < files.length; i++) {
-
// 获得原始文件名
-
String fileName = files[i].getOriginalFilename();
-
System.out.println(
"原始文件名:" + fileName);
-
// 新文件名
-
String newFileName = UUID.randomUUID() + fileName;
-
if (!files[i].isEmpty()) {
-
try {
-
FileOutputStream fos =
new FileOutputStream(path
-
+ newFileName);
-
InputStream in = files[i].getInputStream();
-
int b =
0;
-
while ((b = in.read()) != -
1) {
-
fos.write(b);
-
}
-
fos.close();
-
in.close();
-
}
catch (Exception e) {
-
e.printStackTrace();
-
}
-
}
-
System.out.println(
"上传图片到:" + path + newFileName);
-
list.add(path + newFileName);
-
-
}
-
// 保存文件地址,用于JSP页面回显
-
model.addAttribute(
"fileList", list);
-
return
"fileUpload2";
-
-
}
其实就是在单文件上传的方法一中来修改的,只不过弄成了个循环
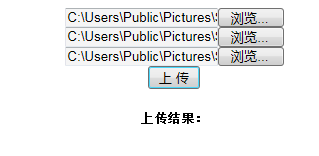
(2)JSP显示页面fileUpload2.jsp
-
<%@ page language="java" import="java.util.*" contentType="text/html; charset=UTF-8"
-
pageEncoding=
"UTF-8"%>
-
<%@ taglib prefix="form" uri="http://www.springframework.org/tags/form"%>
-
<%@ taglib uri="http://java.sun.com/jsp/jstl/core" prefix="c"%>
-
<%
-
String path = request.getContextPath();
-
String basePath = request.getScheme() + "://"
-
+ request.getServerName() + ":" + request.getServerPort()
-
+ path + "/";
-
%>
-
<!DOCTYPE html PUBLIC "-//W3C//DTD HTML 4.01 Transitional//EN" "http://www.w3.org/TR/html4/loose.dtd">
-
<html>
-
<head>
-
<title>用户上传图片页面
</title>
-
<base href="<%=basePath%>">
-
<meta http-equiv="Content-Type" content="text/html; charset=UTF-8">
-
</head>
-
<body>
-
<center>
-
<form action="file/threeFile" method="post"
-
enctype=
"multipart/form-data">
-
<input type="file" name="file" />
<br />
<input type="file"
-
name=
"file" />
<br />
<input type="file" name="file" />
<br />
<input
-
type=
"submit"
value=
"上 传" />
-
</form>
-
<h5>上传结果:
</h5>
-
-
<c:forEach items="${fileList}" var="imagename">
-
<img alt="暂无图片" src="${imagename}" />
<br/>
-
</c:forEach>
-
-
-
-
</center>
-
</body>
-
</html>
注意这里用了
</c:forEach>
表单,需要jstl.jar+standard.jar
(3)运行后输入:http://localhost:8080/SpringMVCLearningChapter4_1/file/toFile2(注意上面是单文件没有后面的数字2)

选择图片,然后点上传
控制台输出结果:

图片不清看文字 吧:
原始文件名:Desert.jpg
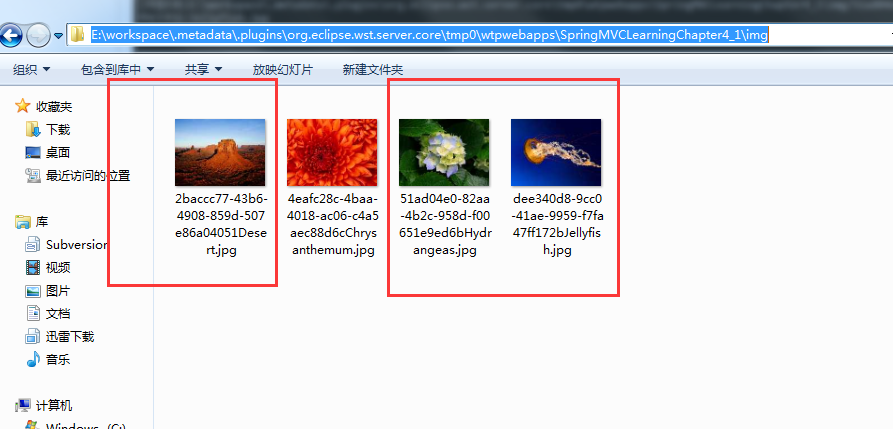
上传图片到:E:\workspace\.metadata\.plugins\org.eclipse.wst.server.core\tmp0\wtpwebapps\SpringMVCLearningChapter4_1\img/2baccc77-43b6-4908-859d-507e86a04051Desert.jpg
原始文件名:Hydrangeas.jpg
上传图片到:E:\workspace\.metadata\.plugins\org.eclipse.wst.server.core\tmp0\wtpwebapps\SpringMVCLearningChapter4_1\img/51ad04e0-82aa-4b2c-958d-f00651e9ed6bHydrangeas.jpg
原始文件名:Jellyfish.jpg
上传图片到:E:\workspace\.metadata\.plugins\org.eclipse.wst.server.core\tmp0\wtpwebapps\SpringMVCLearningChapter4_1\img/dee340d8-9cc0-41ae-9959-f7fa47ff172bJellyfish.jpg
三张图片都可以显示出来了
来看看服务器,这就是刚刚上传的三张
五、上传文件列表显示
(1)控制器
-
/**
-
* 列出所有的图片
-
*/
-
@RequestMapping(
"/listFile")
-
public String listFile(HttpServletRequest request,
-
HttpServletResponse response) {
-
// 获取上传文件的目录
-
ServletContext sc = request.getSession().getServletContext();
-
// 上传位置
-
String uploadFilePath = sc.getRealPath(
"/img") +
"/";
// 设定文件保存的目录
-
// 存储要下载的文件名
-
Map<String, String> fileNameMap =
new HashMap<String, String>();
-
// 递归遍历filepath目录下的所有文件和目录,将文件的文件名存储到map集合中
-
listfile(
new File(uploadFilePath), fileNameMap);
// File既可以代表一个文件也可以代表一个目录
-
// 将Map集合发送到listfile.jsp页面进行显示
-
request.setAttribute(
"fileNameMap", fileNameMap);
-
return
"listFile";
-
}
(2)JSP文件listFile.jsp
-
<%@ page language="java" import="java.util.*" pageEncoding="UTF-8"%>
-
<%@taglib prefix="c" uri="http://java.sun.com/jsp/jstl/core" %>
-
<!DOCTYPE HTML>
-
<html>
-
<head>
-
<title>下载文件显示页面
</title>
-
</head>
-
-
<body>
-
<!-- 遍历Map集合 -->
-
<c:forEach var="me" items="${fileNameMap}">
-
<c:url value="/file/downFile" var="downurl">
-
<c:param name="filename" value="${me.key}">
</c:param>
-
</c:url>
-
${me.value}
<a href="${downurl}">下载
</a>
-
<br/>
-
</c:forEach>
-
-
</body>
-
</html>
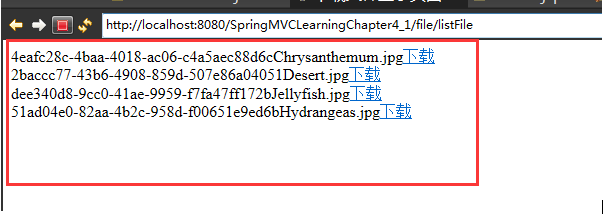
(3)运行后输入:http://localhost:8080/SpringMVCLearningChapter4_1/file/listFile
这些为刚刚上传到四张图片。
六、文件下载
(1)控制器
这里就是通过文件流的方式来下载图片的。
然后就可以自己选择下载的地方了。
终于讲完了,花了大半天啊!
林炳文Evankaka原创作品。转自https://blog.csdn.net/Evankaka/article/details/45826697
本文详细讲解了SpringMVC实例单文件上传、多文件上传、文件列表显示、文件下载。
一、新建一个Web工程,导入相关的包
springmvc的包+commons-fileupload.jar+connom-io.jar+commons-logging,jar+jstl.jar+standard.jar
整个相关的包如下:
整个工程目录如下:
二、配置web.xml和SpringMVC文件
(1)web.xml
-
<?xml version="1.0" encoding="UTF-8"?>
-
<web-app xmlns:xsi="http://www.w3.org/2001/XMLSchema-instance"
-
xmlns=
"http://java.sun.com/xml/ns/javaee"
xmlns:web=
"http://java.sun.com/xml/ns/javaee/web-app_3_0.xsd"
-
xsi:schemaLocation=
"http://java.sun.com/xml/ns/javaee http://java.sun.com/xml/ns/javaee/web-app_3_0.xsd"
-
id=
"WebApp_ID"
version=
"3.0">
-
<!-- SpringMVC的前端控制器 -->
-
<servlet>
-
<servlet-name>MyDispatcher
</servlet-name>
-
<servlet-class>org.springframework.web.servlet.DispatcherServlet
</servlet-class>
-
<!-- 设置自己定义的控制器xml文件 -->
-
<init-param>
-
<param-name>contextConfigLocation
</param-name>
-
<param-value>/WEB-INF/springMVC-servlet.xml
</param-value>
-
</init-param>
-
<load-on-startup>1
</load-on-startup>
-
</servlet>
-
<!-- Spring MVC配置文件结束 -->
-
-
<!-- 拦截设置 -->
-
<servlet-mapping>
-
<servlet-name>MyDispatcher
</servlet-name>
-
<!-- 由SpringMVC拦截所有请求 -->
-
<url-pattern>/
</url-pattern>
-
</servlet-mapping>
-
-
</web-app>
(2)springMVC-servlet.xml文件
-
<beans xmlns="http://www.springframework.org/schema/beans"
-
xmlns:context=
"http://www.springframework.org/schema/context"
-
xmlns:util=
"http://www.springframework.org/schema/util"
-
xmlns:xsi=
"http://www.w3.org/2001/XMLSchema-instance"
xmlns:p=
"http://www.springframework.org/schema/p"
-
xmlns:mvc=
"http://www.springframework.org/schema/mvc"
-
xsi:schemaLocation=
"
-
http://www.springframework.org/schema/util
-
http://www.springframework.org/schema/util/spring-util-3.0.xsd
-
http://www.springframework.org/schema/mvc
-
http://www.springframework.org/schema/mvc/spring-mvc-3.0.xsd
-
http://www.springframework.org/schema/beans
-
http://www.springframework.org/schema/beans/spring-beans-3.0.xsd
-
http://www.springframework.org/schema/mvc
-
http://www.springframework.org/schema/mvc/spring-mvc-3.0.xsd
-
http://www.springframework.org/schema/context
-
http://www.springframework.org/schema/context/spring-context-3.0.xsd">
-
-
<!-- 把标记了@Controller注解的类转换为bean -->
-
<context:component-scan base-package="com.mucfc" />
-
<!-- 对模型视图名称的解析,即在模型视图名称添加前后缀 -->
-
<bean class="org.springframework.web.servlet.view.InternalResourceViewResolver"
-
p:prefix=
"/WEB-INF/views/"
p:suffix=
".jsp"/>
-
-
<!-- 上传文件的设置 ,maxUploadSize=-1,表示无穷大。uploadTempDir为上传的临时目录 -->
-
<bean id="multipartResolver" class="org.springframework.web.multipart.commons.CommonsMultipartResolver"
-
p:defaultEncoding=
"UTF-8"
-
p:maxUploadSize=
"5400000"
-
p:uploadTempDir=
"fileUpload/temp"
-
/>
-
-
</beans>