1.安装Anaconda
TensorFlow在windows环境下,只支持Python3.5。所以安装的是Anaconda3-4.2.0-Windows-x86_64。
下载地址[https://repo.continuum.io/archive/index.html]
2.安装CUDA和cuDNN
TensorFlow有CPU-only版本和GPU版本,为了试试GPU加速的感觉,选择GPU版的了,但是要安装CUDA和cuDNN。
当然前提是你的电脑支持GPU加速,电脑显卡通过设备管理器查询,下面网址查询自己电脑显卡是否支持。
[https://developer.nvidia.com/cuda-gpus]
Download and install Cuda Toolkit
https://developer.nvidia.com/cuda-downloads
Install version 8.0 if using our binary releases.
Install the toolkit .默认安装到了C盘。
Download and install cuDNN
https://developer.nvidia.com/cudnn
Download cuDNN v5.为了下载cuDNN,还要注册账户,也是醉了。把下载的cuDNN解压,分别复制到CUDA中的对应文件夹下。
3.安装TensorFlow
在CMD命令窗口运行如下:
pip install –upgrade https://storage.googleapis.com/tensorflow/windows/gpu/tensorflow_gpu-0.12.0rc1-cp35-cp35m-win_amd64.whl
安装半天,竟然错误!
Cannot remove entries form unexistent file …\easy-install.ptl
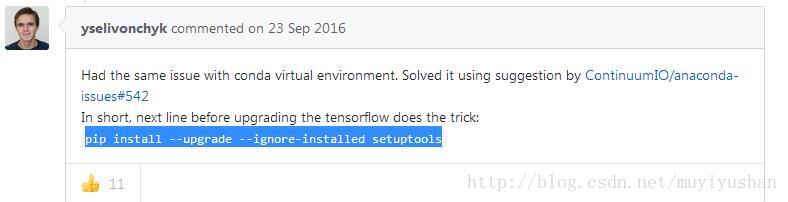
查了下解决办法,发现没有中文的介绍。最终在TensorFlow的github上找到了对策。一小哥给出了方法,就是在安装TensorFlow前先运行以下一句:
pip install --upgrade --ignore-installed setuptools
喜大普奔!
4.测试一下
Open a terminal and type the following:
$ python
>>> import tensorflow as tf
>>> hello = tf.constant('Hello, TensorFlow!')
>>> sess = tf.Session()
>>> print(sess.run(hello))
Hello, TensorFlow!
>>> a = tf.constant(10)
>>> b = tf.constant(32)
>>> print(sess.run(a + b))
42
>>>
well done!
Reference:
https://www.tensorflow.org/versions/r0.12/get_started/os_setup.html#test-the-tensorflow-installation