To install XPS Viewer in Windows 10 version 1803, do the following.
- Open the Settings app.
- Go to Apps > Apps & features.
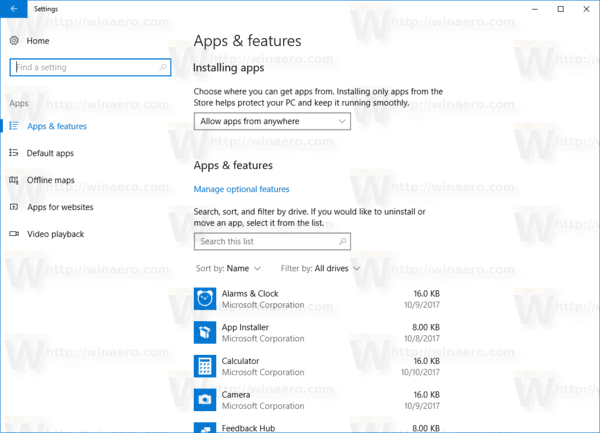
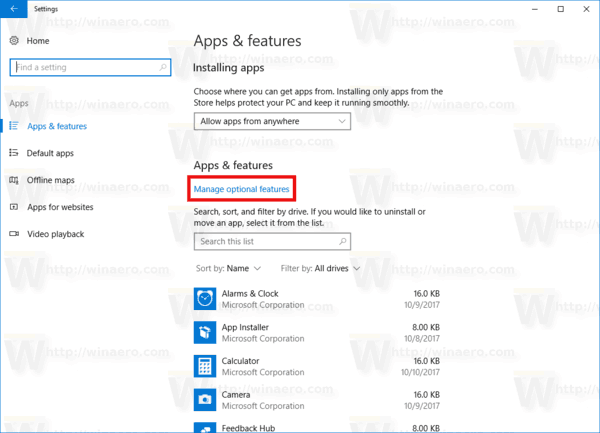
- On the right, click on the link Manage optional features.
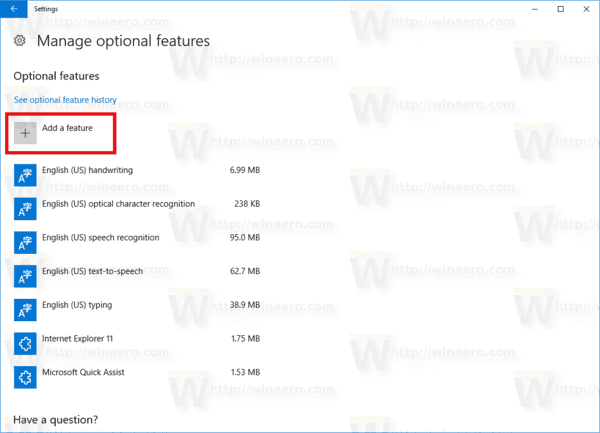
- Click on the button Add a feature at the top of the next page.
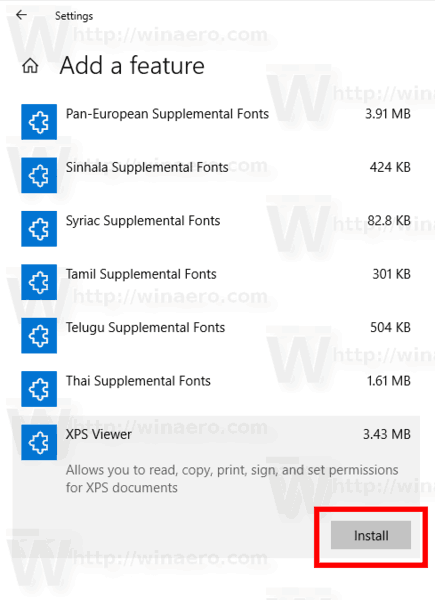
- Find the optional feature named XPS Viewer in the list under Add a feature.
- Select it and click on the Install button.
You are done. You now have XPS Viewer installed. You can open any xps document stored on your PC or by entering xpsrchvw.exe in the Run dialog (Win + R).
Alternatively, you can get XPS Viewer installed with DISM