版权声明:喜欢可以转载,但是必须注明出处。技术要分享,专利要维护。 https://blog.csdn.net/wzcyamadie/article/details/85246103
以HelloWorld工程为例,网页接收“hello”,返回hello world
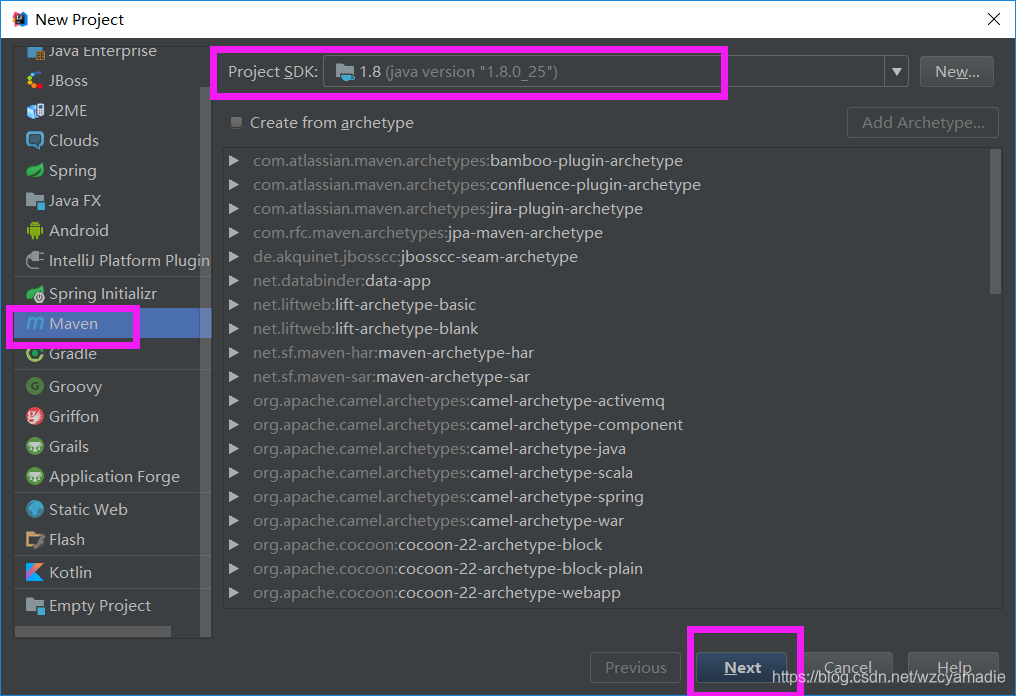
1,创建一个maven工程
Create new project --maven–选择jdk–next
2.输入GroupId–和ArtifactId–next

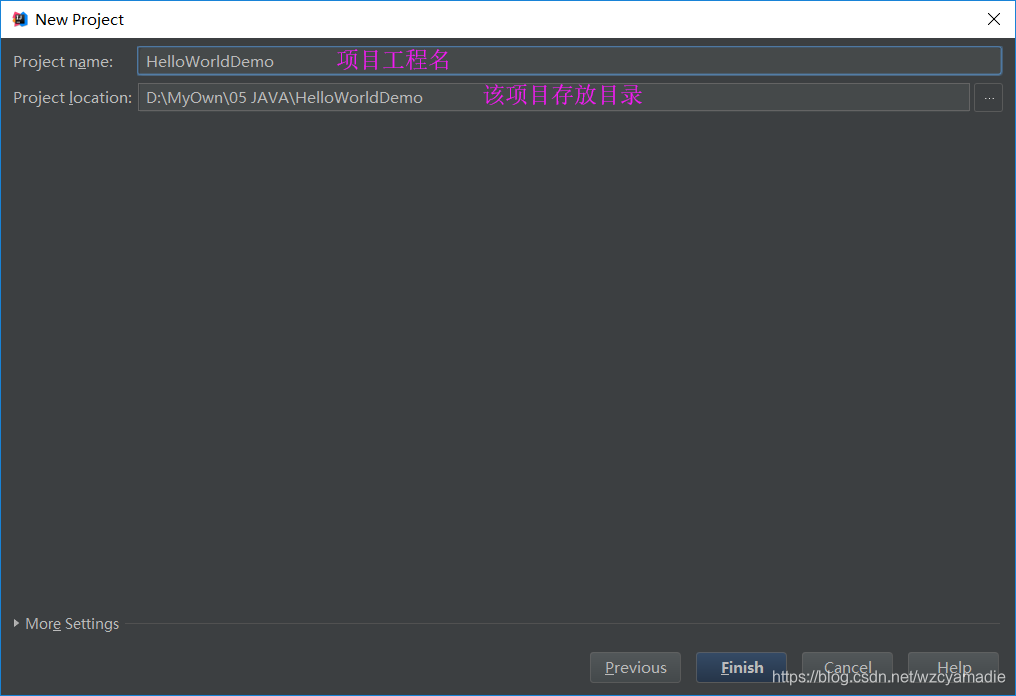
3.输入Project name—Project Location–next
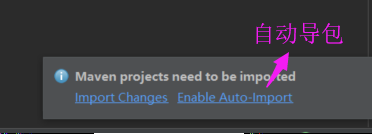
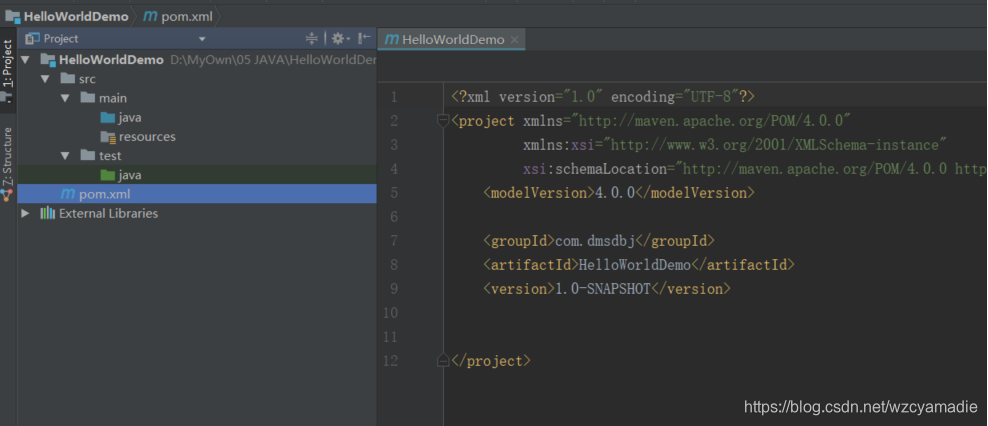
4.就会自动打开项目,看右下角,选择 Enable Auto-Import ,会自动导包。项目目录结构如下。
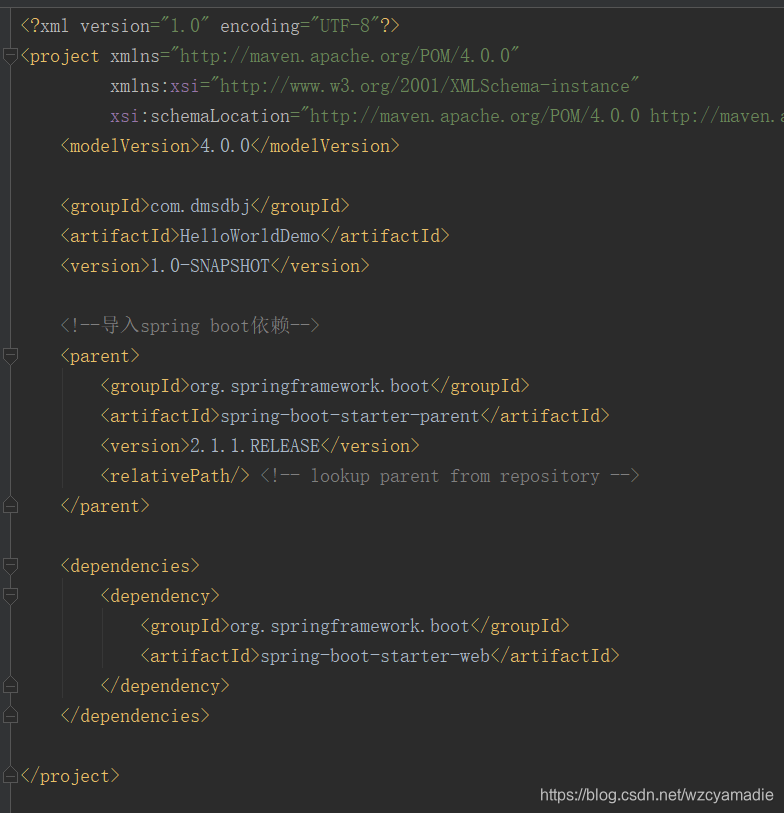
5.导入spring boot依赖
	<!--导入springboot依赖-->
	<parent>
		<groupId>org.springframework.boot</groupId>
		<artifactId>spring-boot-starter-parent</artifactId>
		<version>2.1.1.RELEASE</version>
		<relativePath/><!--lookupparentfromrepository-->
	</parent>
	<dependencies>
		<dependency>
			<groupId>org.springframework.boot</groupId>
			<artifactId>spring-boot-starter-web</artifactId>
		</dependency>
	</dependencies>
6.编写主程序类
6.1:新建主程序类在java文件夹下,新建HelloWorldTest主程序类(我把它建立在包com.dmsdvj下)
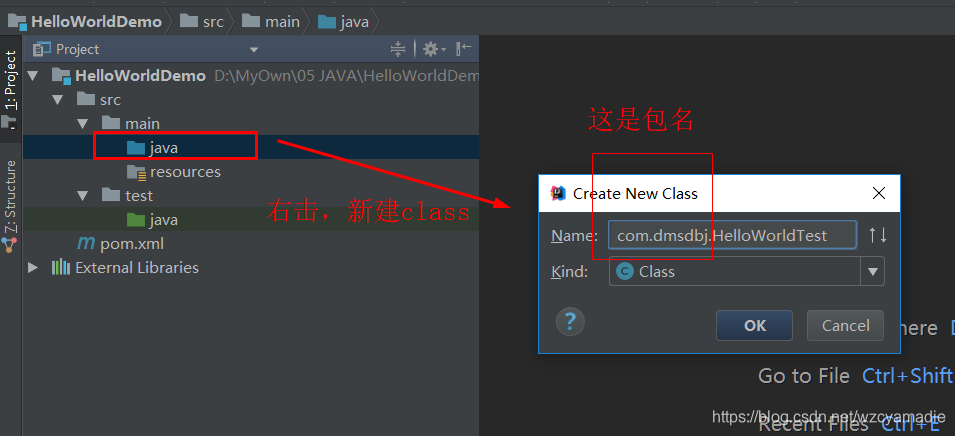
6.2:写启动类—记得写上注解@SpringBootApplication
/**
*CreatedbyWangDaDaon2018/12/23.
*@SpringBootApplication用来标注一个主程序类,说明这是一个springboot项目
*/
@SpringBootApplication
publicclassHelloWorldTest{
	publicstaticvoidmain(String[]args){
		SpringApplication.run(HelloWorldTest.class,args);
	}
}

7.在com.dmsdbj包下,新建controller层,在其下新建HelloController类
	@Controller
	publicclassHelloController{
		@ResponseBody//把返回的“helloWorld”写给浏览器
		@RequestMapping("/hello")//接收来子浏览器的“hello”请求
		publicStringHello(){
			return"helloworld";
		}
	}
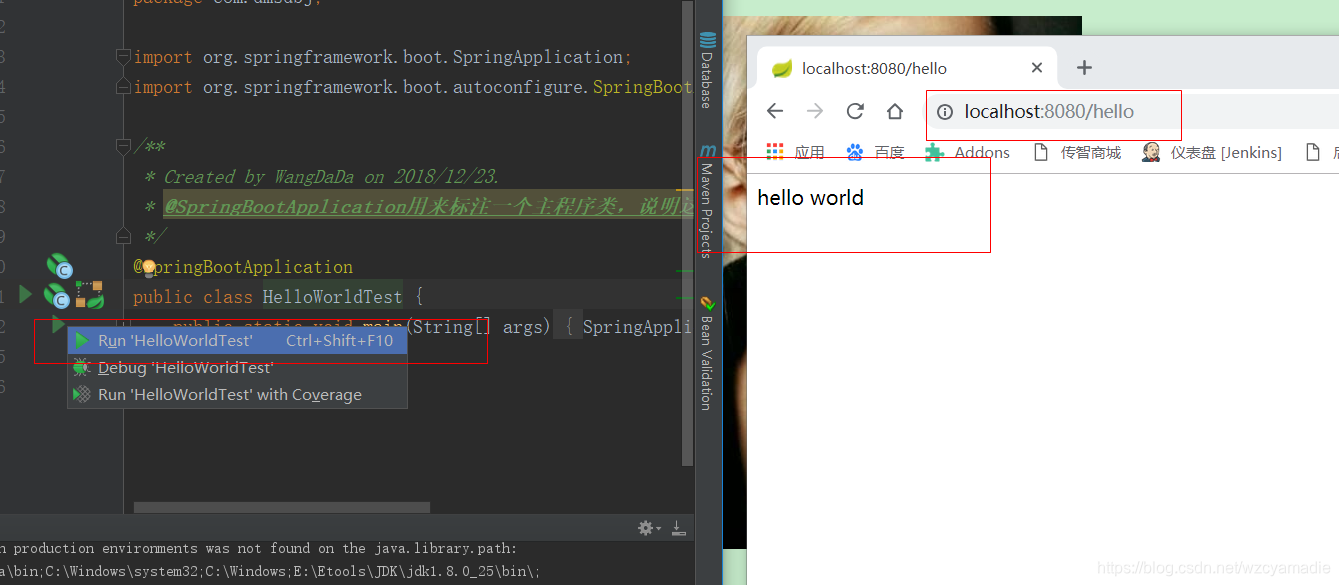
8.运行测试
启动项目,在浏览器输入地址