版权声明:本文为博主原创文章,转载请注明出处。 https://blog.csdn.net/u011897411/article/details/88381818
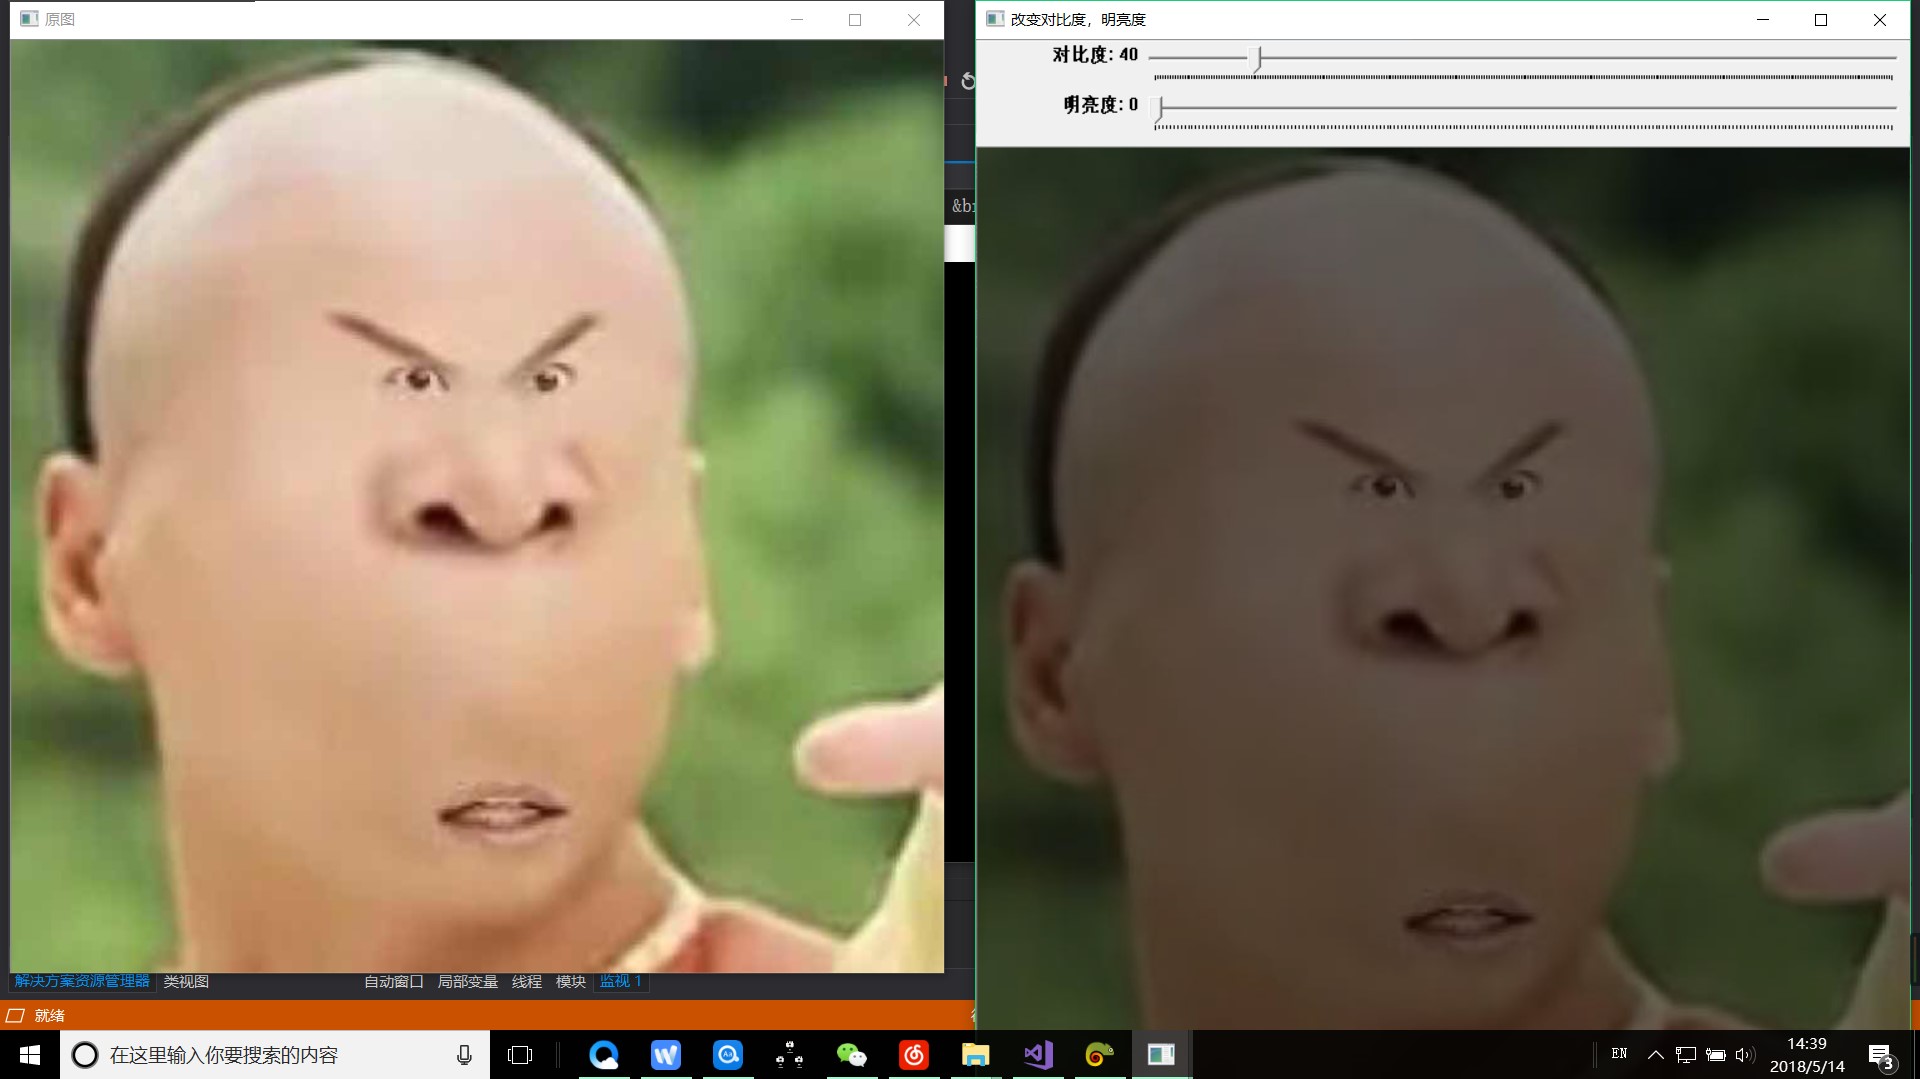
先看效果图:

Talk is cheap,show you the code.
#include<opencv2\core\core.hpp>
#include<opencv2\highgui\highgui.hpp>
#include<opencv2\imgproc\imgproc.hpp>
using namespace cv;

void on_Contrast(int, void*);

Mat src = imread("04.jpg");
Mat dst1(src.size(), src.type(), Scalar::all(0));
int contrast = 100, bright = 50;//0-3.0,0-2.0

int main()
{
    imshow("原图", src);
    namedWindow("改变对比度,明亮度", 1);
    /*for (int y = 0; y < src.rows; y++)
    {
        for (int x = 0; x < src.cols; x++)
        {
            for (int c = 0; c < 3; c++)
            {
                dst1.at<Vec3b>(y, x)[c] = saturate_cast<uchar>(src.at<Vec3b>(y, x)[c] * contrast*0.01 + bright );
            }
        }
    }*/
    createTrackbar("对比度", "改变对比度,明亮度", &contrast, 300, on_Contrast);
    createTrackbar("明亮度", "改变对比度,明亮度", &bright, 200, on_Contrast);
    on_Contrast(contrast, 0);
    on_Contrast(bright, 0);

    waitKey(0);
    return 0;
}

void on_Contrast(int, void*)
{
    for (int y = 0; y < src.rows; y++)
    {
        for (int x = 0; x < src.cols; x++)
        {
            for (int c = 0; c < 3; c++)
            {
                dst1.at<Vec3b>(y, x)[c] = saturate_cast<uchar>(src.at<Vec3b>(y, x)[c] * contrast*0.01 + bright);
            }
        }
    }
    imshow("改变对比度,明亮度", dst1);
}
在这个过程中遇到的问题不大,但要注意的是:
- 回调函数用到的值,最好设为全局变量,我试过用局部变量,但也没问题,这个问题没深究。
- 对比度的范围是 0~3.0,明亮度的范围是 0~200。
- 对每个颜色通道的数值都要改变。
- 用到的公式:
a是对比度,b是明亮度, 是原图, 是输出图。 - 创建滑动条的时候,回调函数的类型一定是:
xxx(int,void*)