在spring的相关xml文件中进行配置,为了显得直观,我们就在spring-mvc.xml中进行spring定时器的配置
添加配置文件
一、在头文件(约束)的 xmlns下添加
xmlns:task="http://www.springframework.org/schema/task"
二、在 xsi 下面添加
http://www.springframework.org/schema/task
http://www.springframework.org/schema/task/spring-task-3.1.xsd
三、开启task
<!--开启定时器-->
<task:annotation-driven/>
四、添加以下配置
<context:annotation-config/>
	<bean class="org.springframework.beans.factory.annotation.AutowiredAnnotationBeanPostProcessor"/>
	<context:component-scan base-package="com"/>
代码测试
1.创建一个interface
/**
 * Created by yan on 2019/1/28.
 */
public interface Task {
    public void myTask();
}
2.创建一个实现类
/**
* Created by yan on 2019/1/28.
*/
@Component
public class TaskImpl implements Task {
@Override
@Scheduled(cron="0/2 * * * * ? ") //每2秒执行一次
public void myTask() {
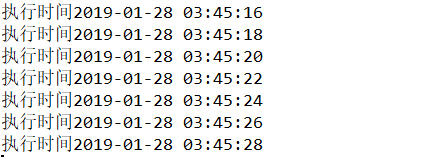
SimpleDateFormat sim = new SimpleDateFormat("yyyy-MM-dd HH:mm:ss");
System.out.println("执行时间"+sim.format(new Date()));
}
}
OutPut:
注意事项
实现类上要有组件的注解@Component
定时器的任务方法不能有返回值(如果有返回值,spring初始化的时候会告诉你有个错误、需要设定一个proxytargetclass的某个值为true