微信公众号配置文档
python3安装web.py可以选择安装`pip install web.py==0.40.dev0
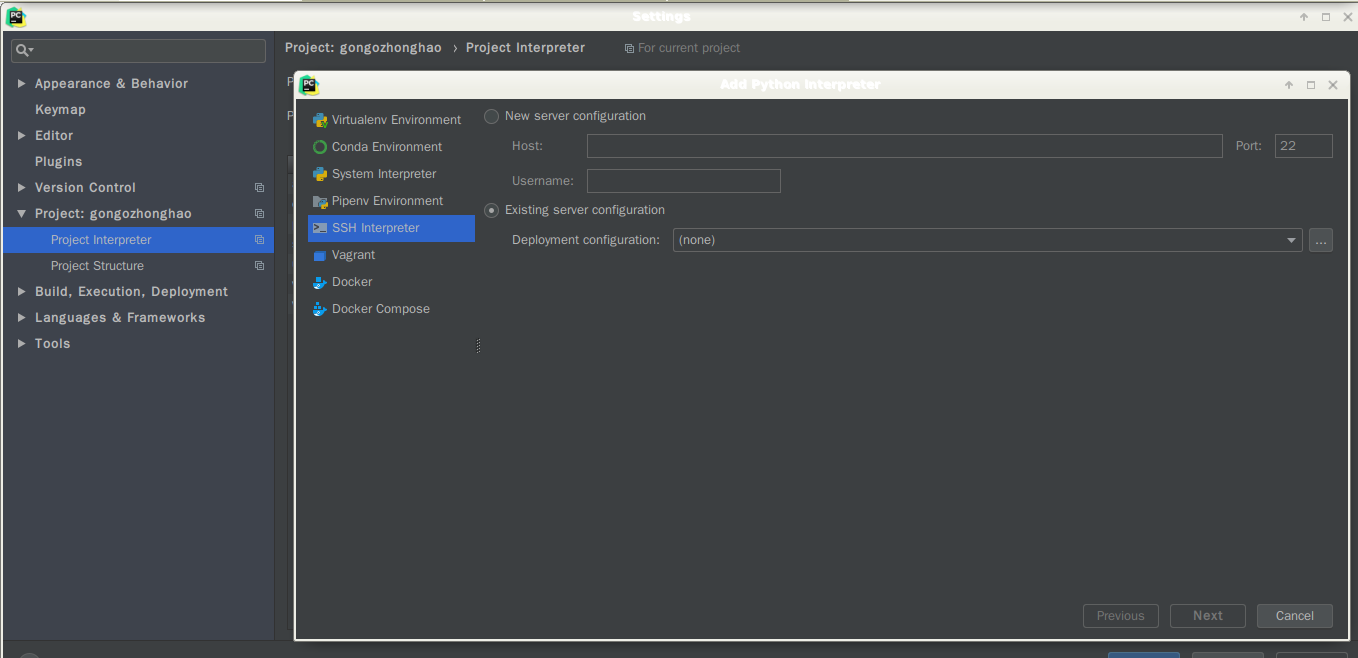
pycharm连接线上服务器开发
1.打开pycharm > Tools > Deployment
1.添加服务
2.选择SFTP
3.配置信息
1.远程主机地址和商品
2.根主机地址
3.配置用户名和密码,可以选择ssh文件
4.**项目配置文件setting里设置以连接远程解释器
token验证
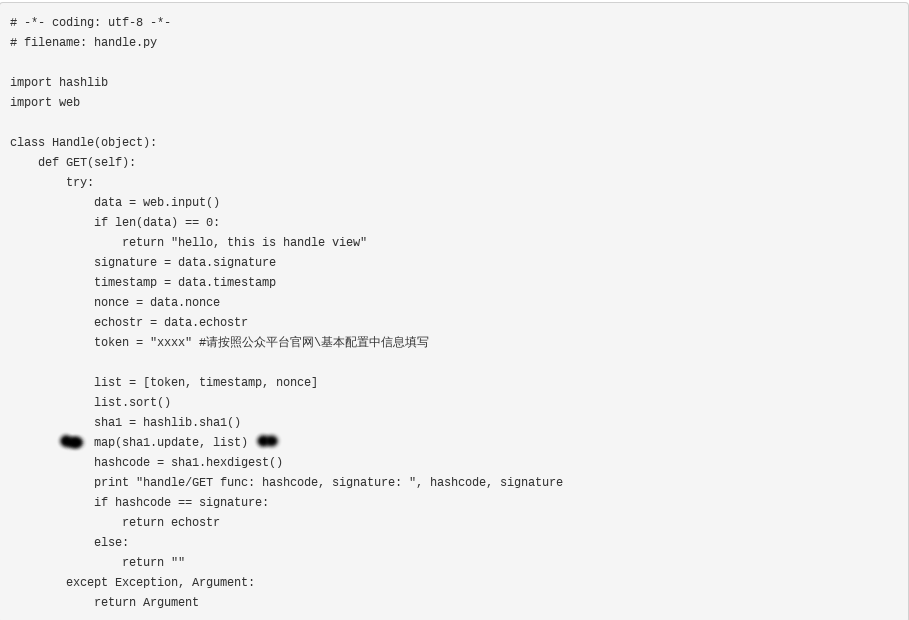
官方文档中map(sha1.update, list)是无法对sha1进行持续更新哈希值,实验过后其值仍是空字符串的哈希的值,且sha1.update方法需要TypeError: Unicode-objects must be encoded before hashing
微信signature,nonce,echostr参数如下:
| 参数 | 描述 |
|---|---|
signature |
微信加密签名,signature结合了开发者填写的token参数和请求中的timestamp参数、nonce参数。 |
timestamp |
时间戳 |
nonce |
随机数 |
echostr |
随机字符串 |

验证方法
1.服务器端获取token,nonce,timestamp组成列表
2.列表排序
3.排序后的元素进行摘要
4.摘要比对signature
5.响应echostr
# coding: utf-8
# filename: handle.py
import web
import hashlib


class Handle(object):
    def GET(self):
        """
        signature  微信加密签名,signature 结合了开发者的
                    token和请求的 timestamp 与nonce
        token      时间戳
        nonce      随机数
        echostr    随机字符串
        :return:
        """
        try:
            # 请求无参数,即非 token 验证
            data = web.input()
            if len(data) == 0:
                return "Hello, This is handle views"
            signature = data.signature
            nonce = data.nonce
            timestamp = data.timestamp
            echostr = data.echostr
            token = "******"  # 基本配置的 token 填写一样的值
            # 对 token timestamp nonce 进行排序后进行摘要
            sha1_list = [token, timestamp, nonce]
            sha1_list.sort()
            sha1 = hashlib.sha1()
            list(map(lambda s: sha1.update(s.encode('utf-8')), sha1_list))
            hashcode = sha1.hexdigest()
            print('func: hashcode, signature: {}  {}'.format(hashcode, signature))
            if hashcode == signature:
                return echostr
            else:
                return ""
        except Exception as e:
            return e.reason