随着安卓8.0的出现,越来越多的人开始要进行8.0系统的适配了,很多人都知道安卓最近几个版本的新特性这里大概说一下:
- 5.0的时候出现了Design风格
- 6.0出现的危险权限需要申请
- 7.0出现的目录访问被限制
- 今天要介绍的8.0通知栏的机制
跟进NotificationManager的notify方法,调用了NotificationManagerService的enqueueNotificationWithTag将通知入队,最后在NotificationManagerService的enqueueNotificationInternal方法中发现了error log的踪迹,截取代码片如下图:

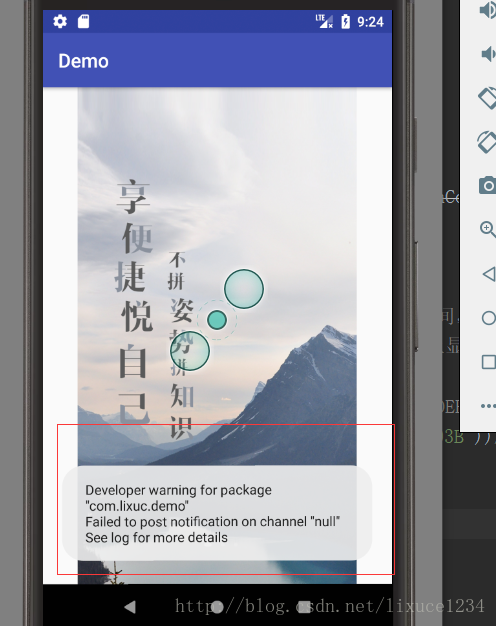
见图可知,是由于此条通知没有查找到应用中对应的NotificationChannel的原因,而无法弹出来。那NotificationChannel是个什么鬼,查阅官文得知,这是Android O新增的通知渠道,其允许您为要显示的每种通知类型创建用户可自定义的渠道。用户界面将通知渠道称之为通知类别。
先贴出我猜到坑的错误代码:
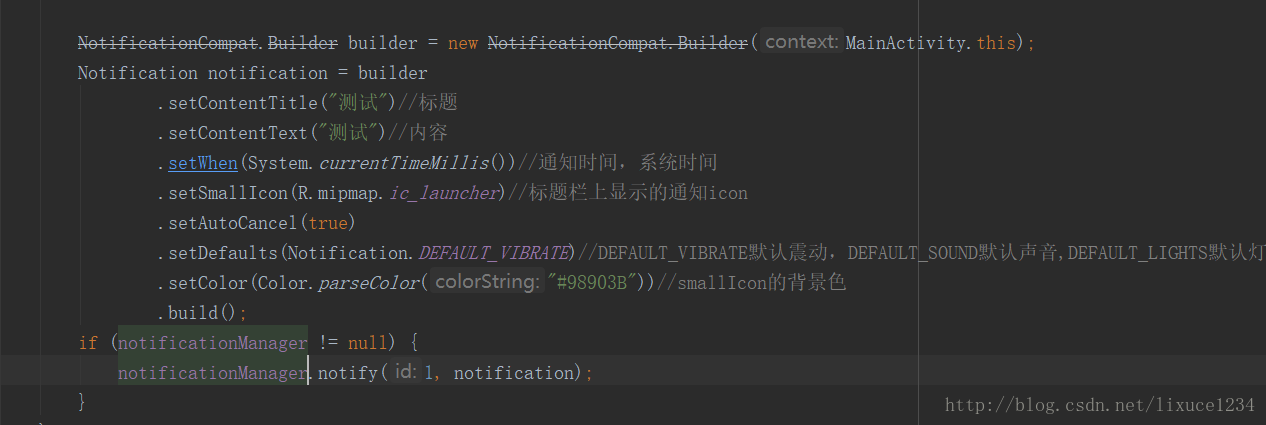
这里的NotificationCompat及NotificationManagerCompat来自官方提供的兼容库:
com.android.support:appcompat-v7:26.1.0
想着最新的Compat库兼容应该做得是最好的,然后错就错在这句代码:
NotificationCompat.Builder(context, Integer.toString(notificationId));
一眼看到Builder构造函数的第二个参数,传的是id,就直接把notificationId传进去了,其实细看传的是channelId,我这里把channelId和notificationId概念搞混了。channelId传null,或者只有一个参数的Builder的构造方法,都不会出现错误,修正代码如下:
NotificationCompat.Builder builder = new NotificationCompat.Builder(context, null);

//或者
NotificationCompat.Builder builder = new NotificationCompat.Builder(context);- 1
- 2
- 3
- 4
原理就是:NotificationChannel是Android O新增的特性,为了兼容老代码,如果channelId为null的话,Android O会把通知归到“Other Channel”上。
PS:将targetSdkVersion提到26以上的话,就必须设置channel了,不能为null。
下面来说一下我的解决方法
首先创建channel信息:
如果你需要发送属于某个自定义渠道的通知,你需要在发送通知前创建自定义通知渠道,示例如下:
 NotificationChannel channel = new NotificationChannel("1",
                "Channel1", NotificationManager.IMPORTANCE_DEFAULT);
        channel.enableLights(true); //是否在桌面icon右上角展示小红点
        channel.setLightColor(Color.RED); //小红点颜色
        channel.setShowBadge(true); //是否在久按桌面图标时显示此渠道的通知
 int notificationId = 0x1234;
        Notification.Builder builder = new Notification.Builder(context,"1"); //与之前创建的channelId对应
        //icon title text必须包含,不然影响桌面图标小红点的展示
        builder.setSmallIcon(android.R.drawable.stat_notify_chat)
                .setContentTitle("xxx")
                .setContentText("xxx")
                .setNumber(3); //久按桌面图标时允许的此条通知的数量

notificationManager.notify(notificationId, builder.build());NotificationChannel mChannel = mNotificationManager.getNotificationChannel(id);
mNotificationManager.deleteNotificationChannel(mChannel);
如果你的应用里面有通知的话,恰巧你的targetSdkVersion是26以上的情况下,你就需要进行以上的操作了
大家都有了以上相同的教程,但是人和人之间的区别在于:别人有颗更强大的内心,可怕的是比你聪明的人比你还要更努力!!
当你下定决心,准备前行的时候,剩下的只有坚持了。。。
如果大家觉得我写的还可以的话,请关注我的微信公众号: