2019-01-22 by 崔斐然
计划使用anaconda集成开发环境
1、安装anaconda
2、部署TensorFlow和OpenCV
3、安装notebook
整个过程预计需要1小时左右,(更换清华源的话一般十分钟就好了)可以在旁边背背单词
清华镜像下载地址:https://mirrors.tuna.tsinghua.edu.cn/anaconda/archive/
20190216附加一件换源脚本:
脚本来自清华源:
wget https://tuna.moe/oh-my-tuna/oh-my-tuna.py
# For yourself
python oh-my-tuna.py
# ...or for everyone!
sudo python oh-my-tuna.py --global
# Get some help
python oh-my-tuna.py -h一键换源脚本,省时省力,详情:https://mirrors.tuna.tsinghua.edu.cn/news/#oh-my-tuna
官网下载地址:https://www.anaconda.com/download/#macos (直接下载非常慢,建议镜像下载,也可以安装迅雷下载)


TensorFlow同上
回到home
安装juputer,启动后测试代码:
import cv2
print('hello opencv')
import tensorflow as tf
hello = tf.constant('hello tensorflow')
sess = tf.Session()
print(sess.run(hello))

喜欢pycharm的可以在偏好里配置,或在新建项目时使用已有环境
使用pycharm方法:
可以先下载免费试用版。拥有edu邮箱的可以使用免费专业版一年。
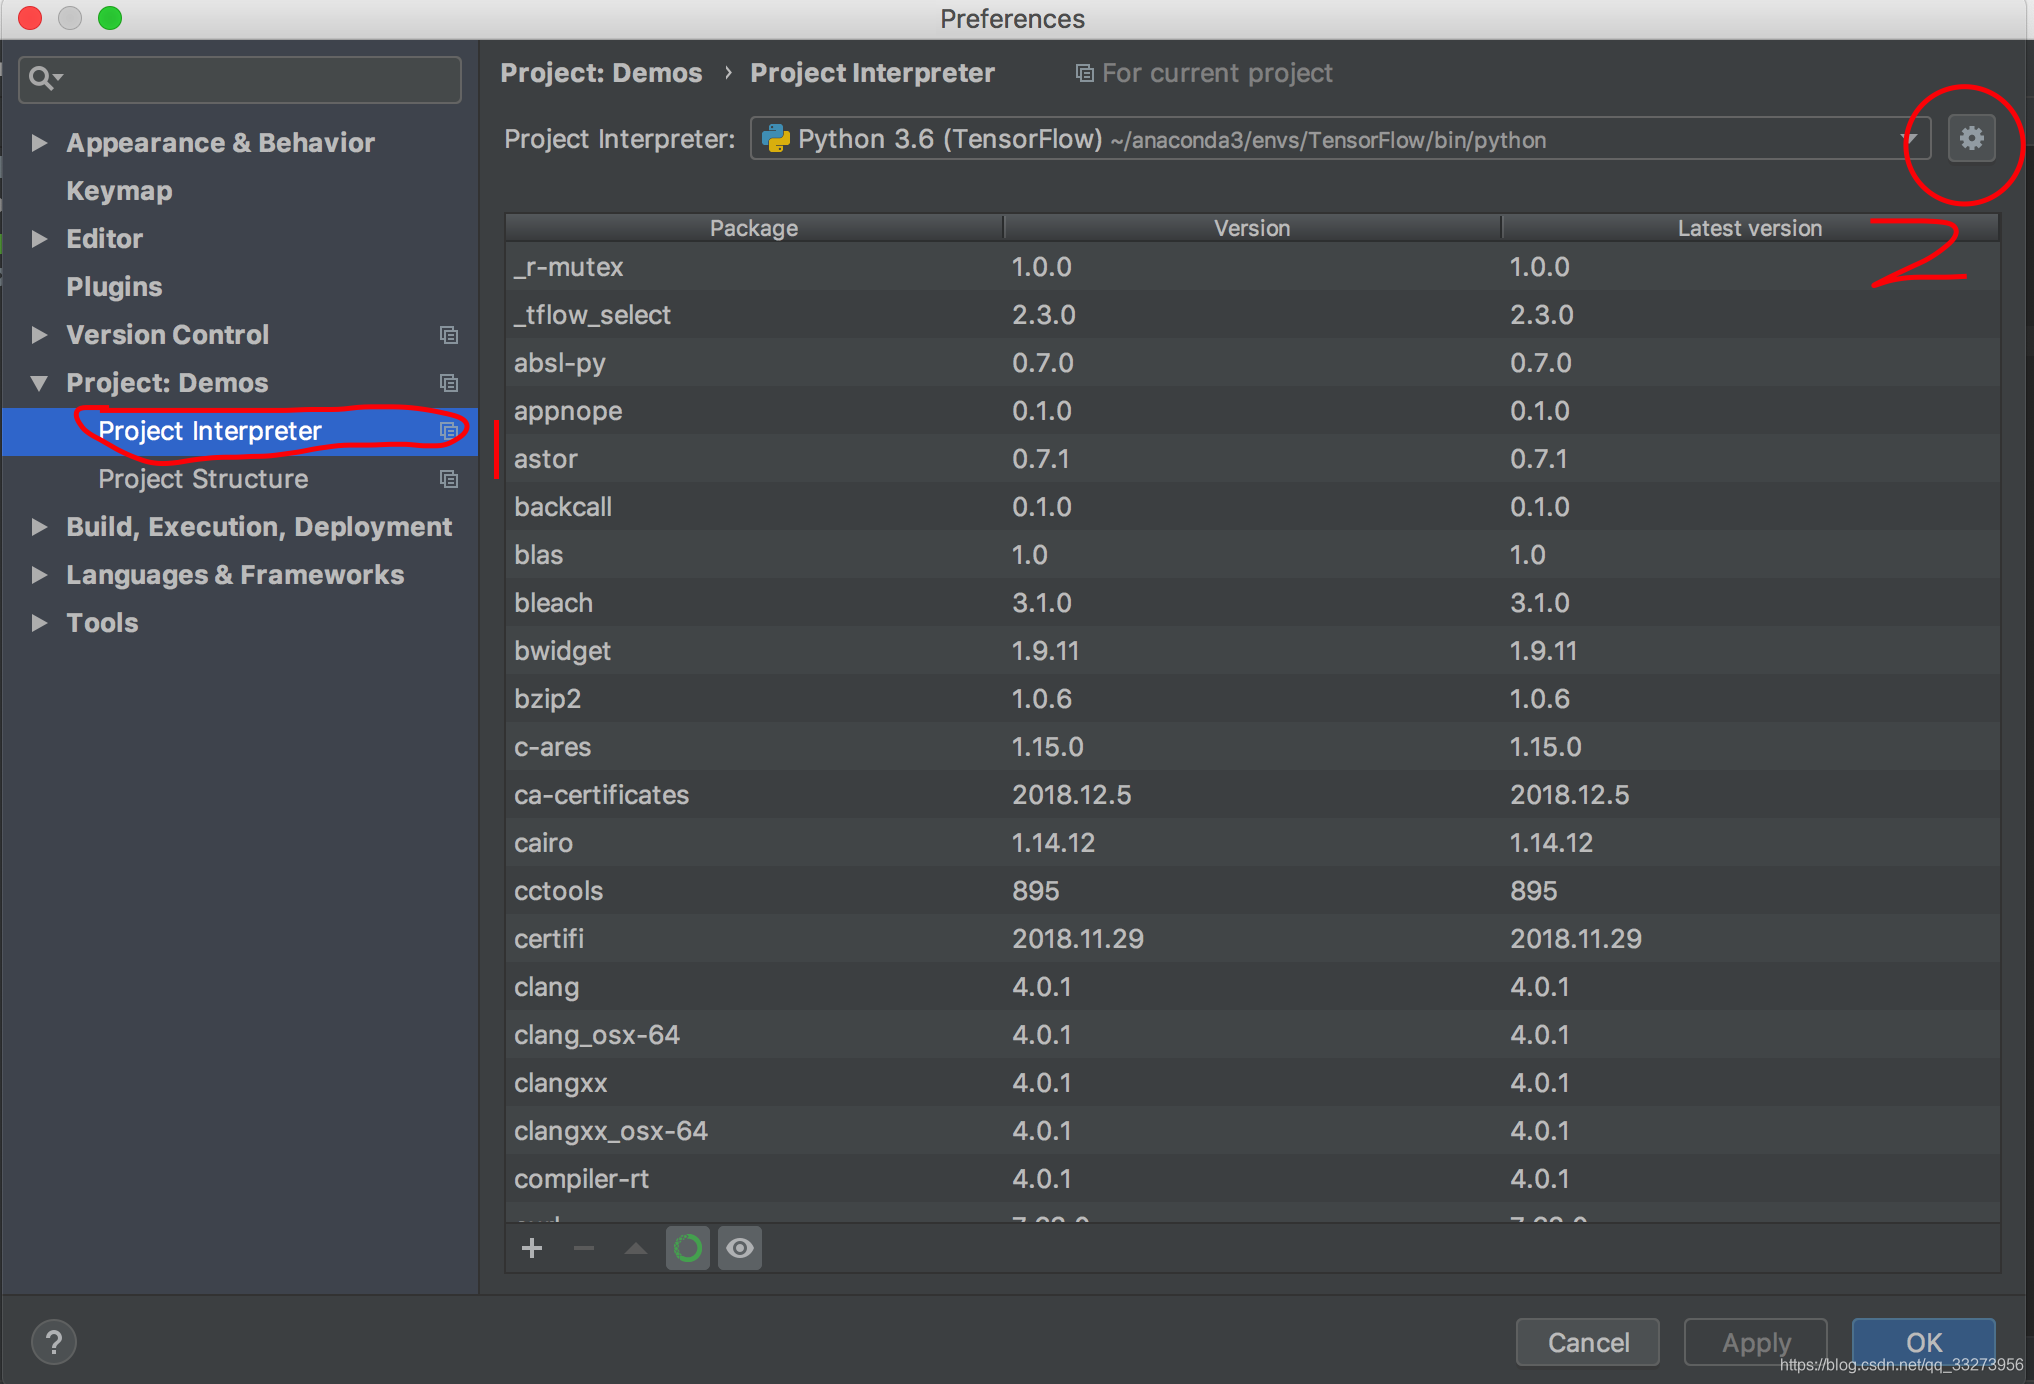
下面三个地方都填一下Python地址,注意选择你自己的安装位置,下面以我的anaconda位置为例。
最好三个都填一下吧

当出现下图的OpenCV时候则说明pycharm环境变量正确了

新建项目选择已有环境

测试代码:
import cv2

import tensorflow as tf
print("OpenCV is ok")
test=tf.constant('tensorflow is ok')
sess=tf.Session()
print(sess.run(test))

看到OpenCV is OK,TensorFlow is OK 则说明没有问题了。上面的警告是指
您下载的TensorFlow太low了,根本没有通过兼容AVX来Compile。如果您下载源代码在该电脑上重新compile,就可以支持AVX。其实你的电脑是支持AVX的,只是编译好的TensorFlow不支持。
import os
import tensorflow as tf
os.environ['TF_CPP_MIN_LOG_LEVEL'] = '2' # 降低日志警告等级

data1 = tf.constant(2.5) # 定义一个常亮
data2 = tf.Variable(10, name='var')  # 定义一个变量
print(data1)
print(data2)

sess = tf.Session()
print(sess.run(data1))

init = tf.global_variables_initializer()
sess.run(init)
print(sess.run(data2))
警告对于练习代码时候无关紧要,要紧的是赶快学会后面的内容。做生产时候再考虑这些问题叭(●´∀`●)ノ