1、首先要在服务机配置好yum源
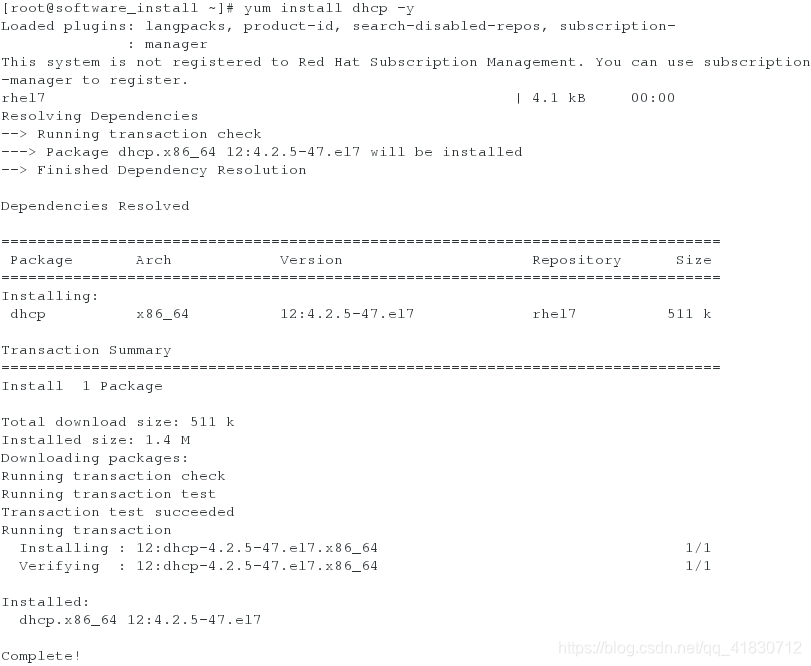
2、用yum安装dhcp软件
yum install dhcp -y
3、更改dhcp的配置文件
vim /etc/dhcp/dhcpd.conf
cp /usr/share/doc/dhcp*/dhcpd.conf.example /etc/dhcp/dhcpd.conf
vim /etc/dhcp/dhcpd.conf
dhcpd.conf文件的内容:
# dhcpd.conf
#
# Sample configuration file for ISC dhcpd
#

# option definitions common to all supported networks...
option domain-name "dhcp.com";		##域名
option domain-name-servers 114.114.114.114;		##网络DNS

default-lease-time 600;
max-lease-time 7200;

# Use this to enble / disable dynamic dns updates globally.
#ddns-update-style none;

# If this DHCP server is the official DHCP server for the local
# network, the authoritative directive should be uncommented.
#authoritative;

# Use this to send dhcp log messages to a different log file (you also
# have to hack syslog.conf to complete the redirection).
log-facility local7;

# No service will be given on this subnet, but declaring it helps the
# DHCP server to understand the network topology.

# This is a very basic subnet declaration.

subnet 172.25.254.0 netmask 255.255.255.0 {		##IP前三位和掩码
  range 172.25.254.20 172.25.254.60;			##分配的IP从哪里到哪里
  option routers 172.25.254.133;				##默认的网关
}
4、启动dhcpd服务,关掉防火墙
systemctl start dhcpd
systemctl stop firewalld

5、测试
用一台连接通服务机的主机,把网络设置为DHCP。查看网络设置,是否和我们服务机的DHCP服务设定的相同。
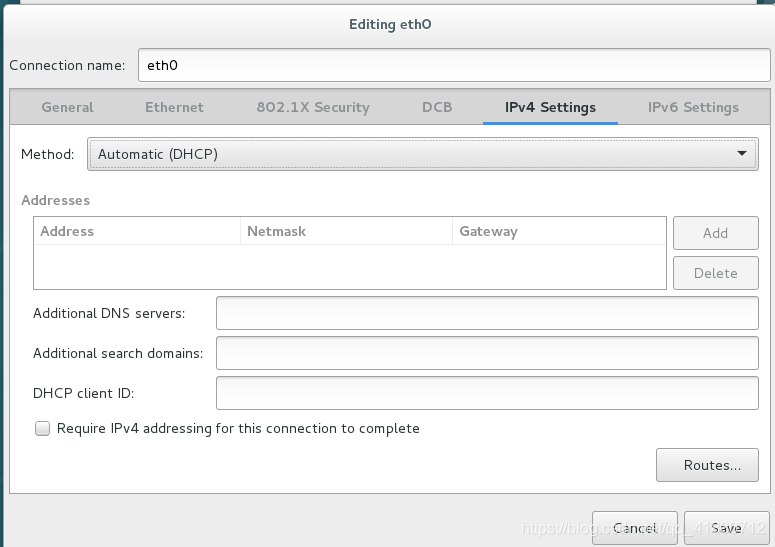

分析:获得的ip为172.25.254.21,网关是172.25.254.133,掩码为255.255.255.0。和我们服务机的设定相同,经测试DHCP服务搭建成功。