1.下载spring启动框架
在这个网站,https://start.spring.io/,下载需要的起始框架,如本文就下载一个普通的maven sprint-cloud 框架

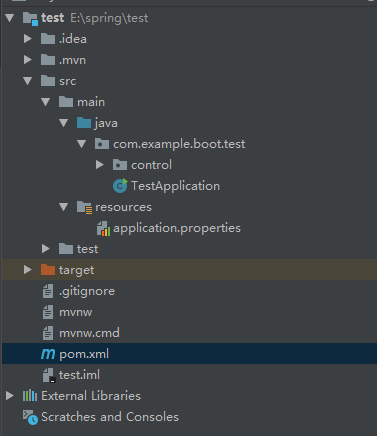
2. 导入的对应的IDE中,这里使用IDEA
3.导入了之后,就需要对pom.xml进行一些修改,例如spring-cloud 的版本要对应 spring-boot的版本,因为spring-cloud 是基于spring-boot的,所以spring-cloud 是遵循了spring-boot的构建规则,版本不依赖,会导致编译失败
以下是一个简单的pom配置
<?xml version="1.0" encoding="UTF-8"?>
<project xmlns="http://maven.apache.org/POM/4.0.0" xmlns:xsi="http://www.w3.org/2001/XMLSchema-instance"
    xsi:schemaLocation="http://maven.apache.org/POM/4.0.0 http://maven.apache.org/xsd/maven-4.0.0.xsd">
    <modelVersion>4.0.0</modelVersion>
    <parent>
        <groupId>org.springframework.boot</groupId>
        <artifactId>spring-boot-starter-parent</artifactId>
        <version>2.1.2.RELEASE</version>
        <relativePath/> <!-- lookup parent from repository -->
    </parent>
    <groupId>com.example.boot</groupId>
    <artifactId>test</artifactId>
    <version>0.0.1-SNAPSHOT</version>
    <name>test</name>
    <description>Demo project for Spring Boot</description>

    <properties>
        <java.version>1.8</java.version>
    </properties>

    <dependencies>
        <dependency>
            <groupId>org.springframework.boot</groupId>
            <artifactId>spring-boot-starter-web</artifactId>
        </dependency>

        <dependency>
            <groupId>org.springframework.boot</groupId>
            <artifactId>spring-boot-starter-test</artifactId>
            <scope>test</scope>
        </dependency>


    </dependencies>

    <dependencyManagement>
        <dependencies>
            <dependency>
                <groupId>org.springframework.cloud</groupId>
                <artifactId>spring-cloud-dependencies</artifactId>
                <version>Greenwich</version>
            </dependency>
        </dependencies>

    </dependencyManagement>

    <build>
        <plugins>
            <plugin>
                <groupId>org.springframework.boot</groupId>
                <artifactId>spring-boot-maven-plugin</artifactId>
            </plugin>
        </plugins>
    </build>
    <repositories>
        <repository><!-- 这里必须配置,不然会在下载包的时候会出现例如找不到对应下载位置的一系列问题 -->
            <id>spring-milestones</id>
            <name>Spring Milestones</name>
            <url>https://repo.spring.io/milestone</url>
            <snapshots>
                <enabled>false</enabled>
            </snapshots>
        </repository>
    </repositories>
</project>
4. 最后就是各文件的编写

4.1application.properties
这个文件是配置一些服务的信息,如tomcat的端口,服务名称,注册中心的位置等等,这里只需要配置tomcat的服务端口就可以了,其它配置以后再详解
server.port=8989
4.2Main类
每一个微服务都需要有一个main入口,这个就是微服务的主类,通常就是放在包的根下,里面有个main方法,类的注解是@SpringBootApplication的复合注解
package com.example.boot.test;

import org.springframework.boot.SpringApplication;
import org.springframework.boot.autoconfigure.SpringBootApplication;

@SpringBootApplication
public class TestApplication {

    public static void main(String[] args) {
        SpringApplication.run(TestApplication.class, args);
    }

}
4.3 control
这里使用的是restful ,只需要在control的类上加入注解@RestController就可以达到效果了,还有另外一个注解是@RequestMapping这是一个类的映射路径,所以如果要执行A类的A1方法,那么这里要写上@RequestMapping("/A"),方法的话就需要填写同样注解,@RequestMapping("/A1")
package com.example.boot.test.control;

import org.springframework.web.bind.annotation.RequestMapping;
import org.springframework.web.bind.annotation.RequestMethod;
import org.springframework.web.bind.annotation.RestController;

@RestController
@RequestMapping("/firstTest")
public class FirstTestRest {

    @RequestMapping(value="/sy",method= RequestMethod.GET)
    public String ask(){
        return "Ast";
    }
}
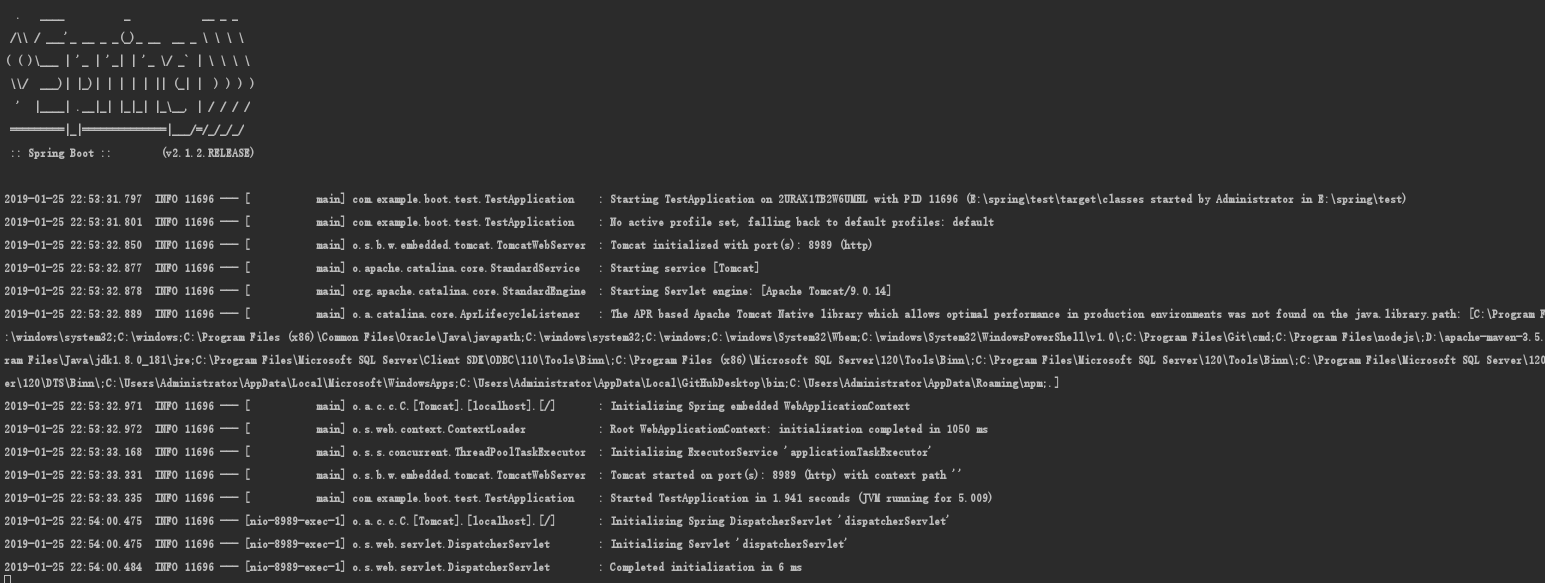
5.最后在控制台运行,maven spring-boot:run就可以运行微服务了,因为这里使用了spring-maven-compiler 所以这里就带有了spring 的maven命令,spring-boot-run