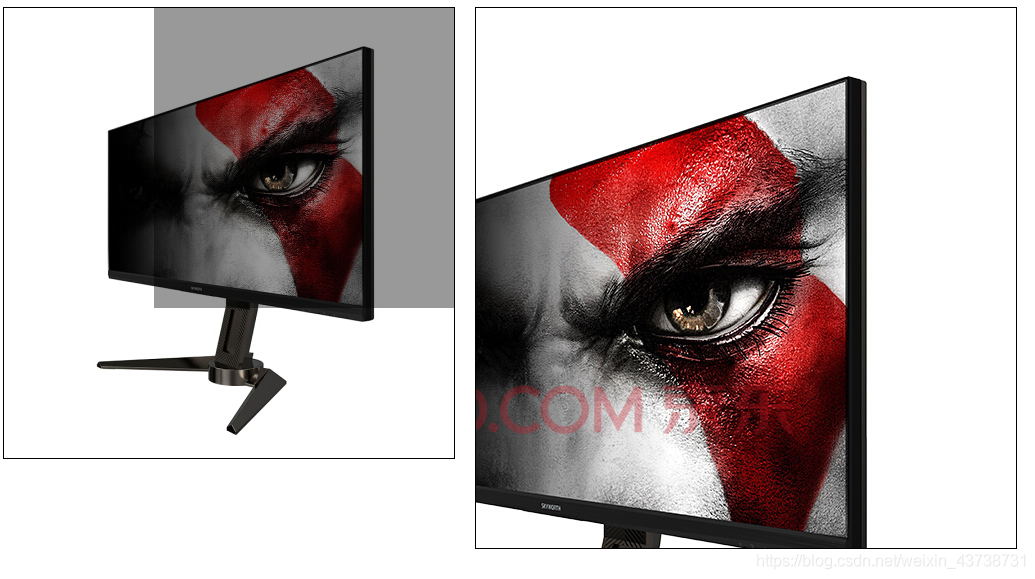
首先看效果图: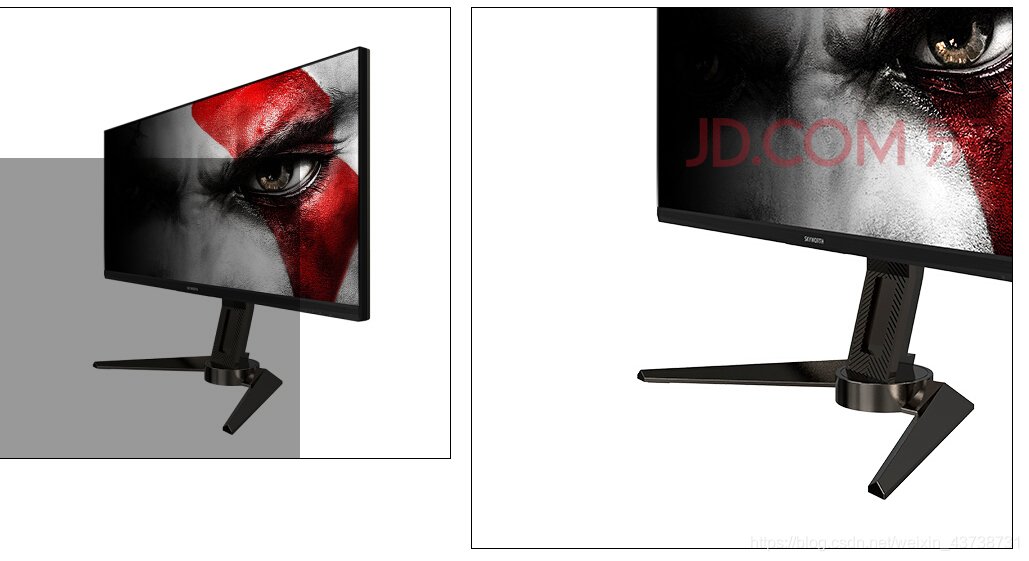
先是布局,左边一个小图框,包含一个鼠标移动框,右边一个放大框。
    <div class="box">
        <div class="small">
            <img src="small3.jpg" alt="">
            <div class="move"></div>
        </div>
        <div class="big">
            <img src="big3.jpg" alt="">
        </div>
    </div>
写一下css
.small{
    position: relative;
    float: left;
    width: 450px;
    height: 450px;
    border:1px solid #000;
}
.small .move{
    position: absolute;
    top:0;
    width: 300px;
    height: 300px;
    background-color: rgba(0,0,0,0.4);
    cursor:move;
    display: none;
}
.big{
    position: relative;
    float: left;
    width: 540px;
    height: 540px;
    margin-left: 20px;
    overflow: hidden;
    border:1px solid #000;
    display: none;
}
.big img{
    position: absolute;
    top:0;
    left: 0;
}
js部分:
    var box=document.getElementsByClassName('box')[0],small=box.getElementsByClassName('small')[0],move=small.getElementsByClassName('move')[0],smallImg=small.getElementsByTagName('img')[0],big=box.getElementsByClassName('big')[0],bigImg=big.getElementsByTagName('img')[0];
    //首先把需要的元素都获取出来
    small.onmouseover=function(){
        move.style.display='block';
        big.style.display="block";
    };
    small.onmouseout=function(){
        move.style.display='none';
        big.style.display="none";
    };
    small.onmousemove=function(e){
        e=e||window.event;//兼容性考虑
        var x=e.clientX-smallImg.getBoundingClientRect().left-move.offsetWidth/2;
        var y=e.clientY-smallImg.getBoundingClientRect().top-move.offsetHeight/2;
        if(x<0){
            x=0;
        }
        if(x>smallImg.offsetWidth-move.offsetWidth){
            x=smallImg.offsetWidth-move.offsetWidth;
        }
        if(y<0){
            y=0;
        }
        if(y>smallImg.offsetHeight-move.offsetHeight){
            y=smallImg.offsetHeight-move.offsetHeight;
        }
        move.style.left=x+"px";
        move.style.top=y+"px";
        //实现左边move块跟随鼠标移动的代码
        var scale=bigImg.offsetWidth/smallImg.offsetWidth;
        //按照比例放大
        bigImg.style.left='-'+x*scale+'px';
        //因为图片是需要左移和上移的所以要加负号
        bigImg.style.top='-'+y*scale+'px';
    }
放大镜效果就实现啦!