先用idea创建一个项目
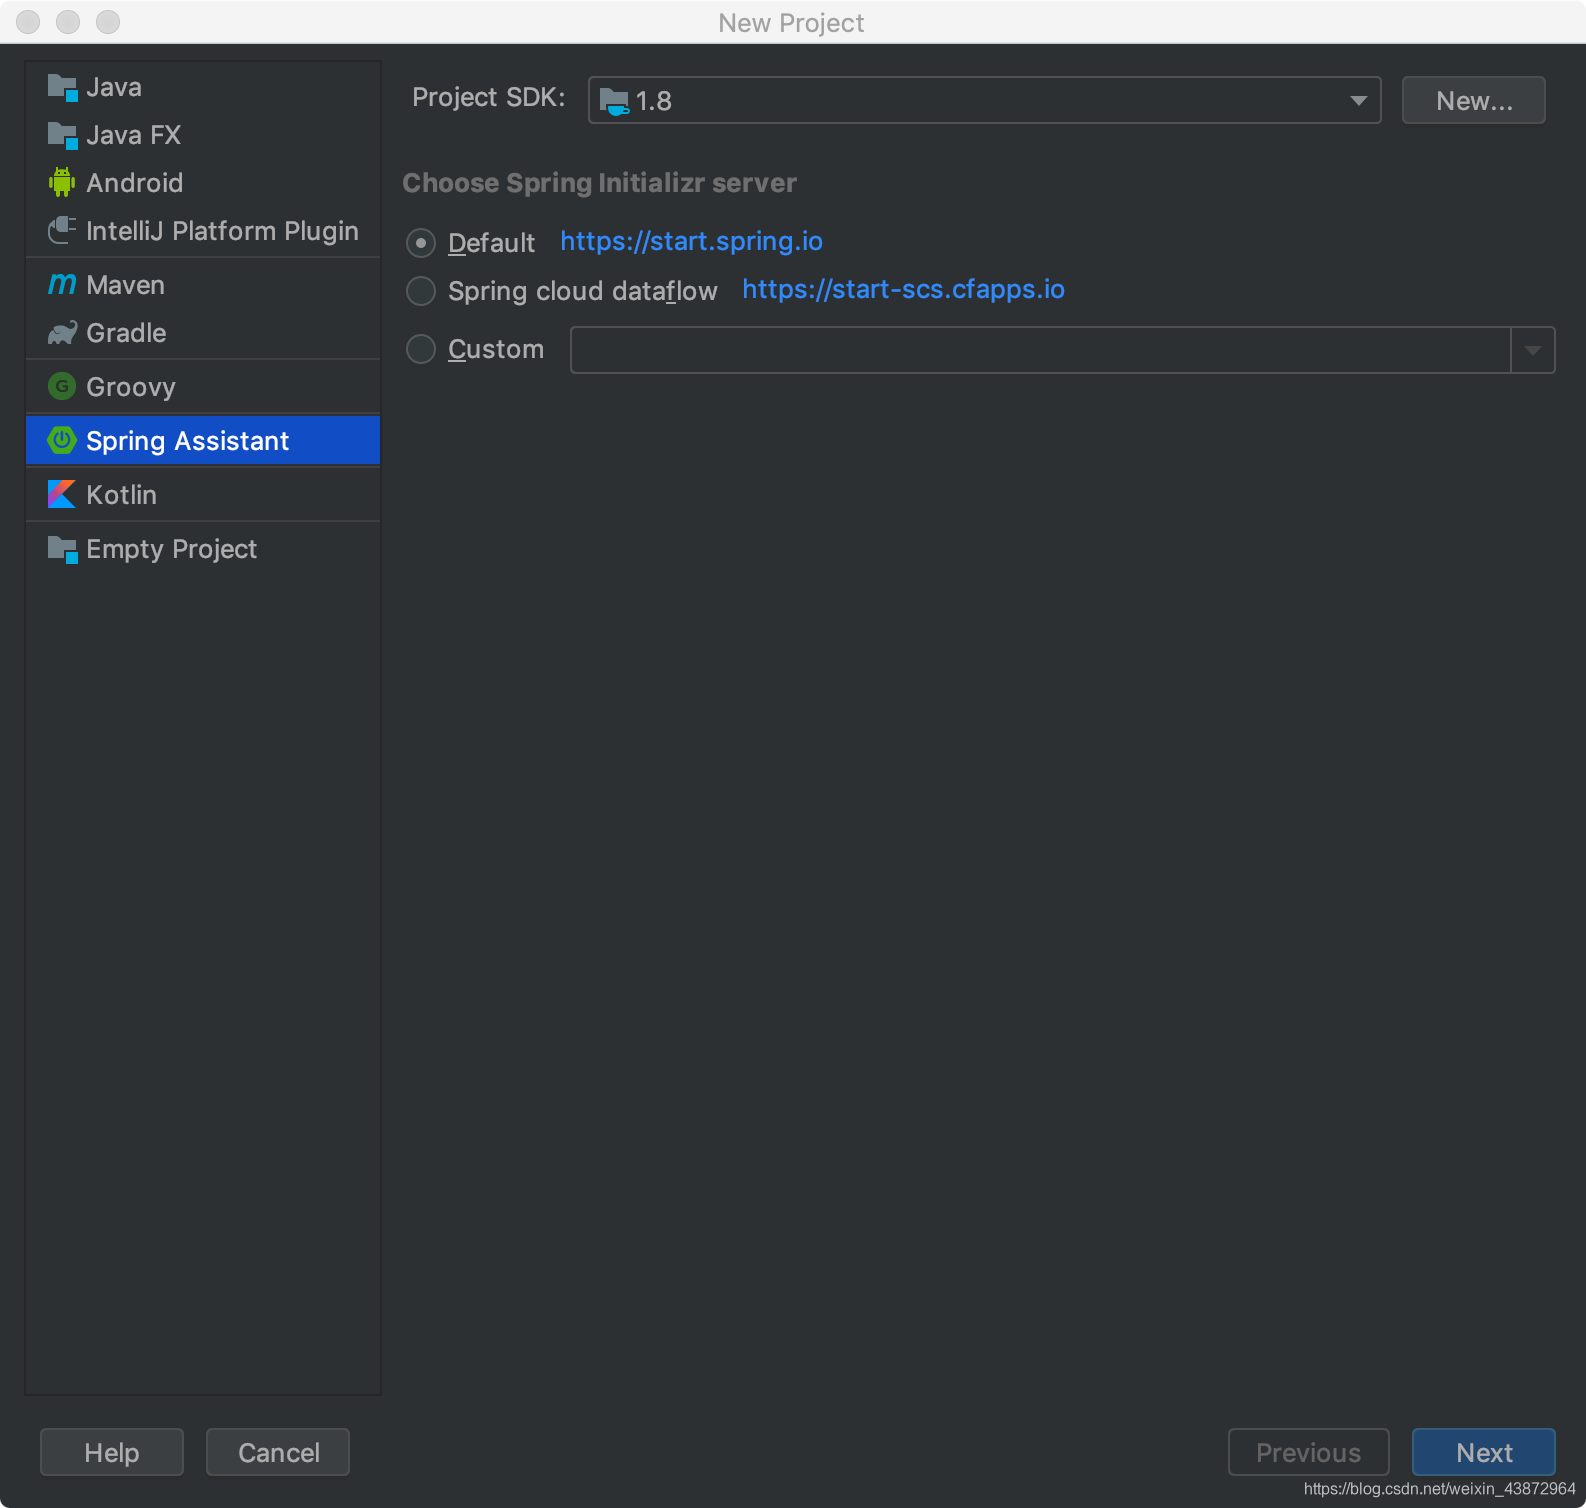
选择如图中
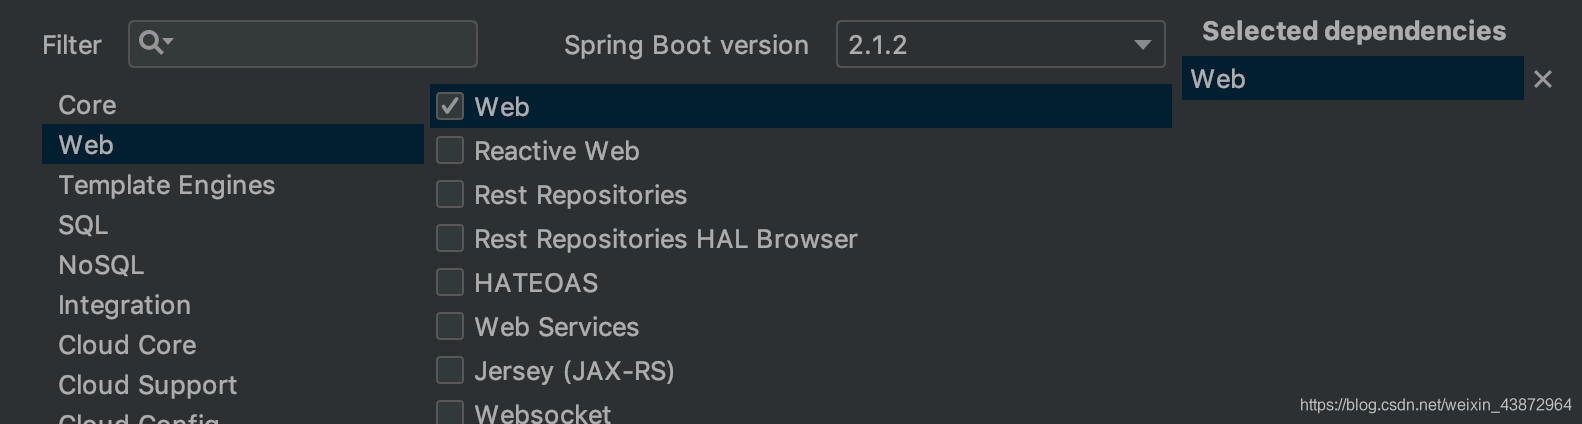
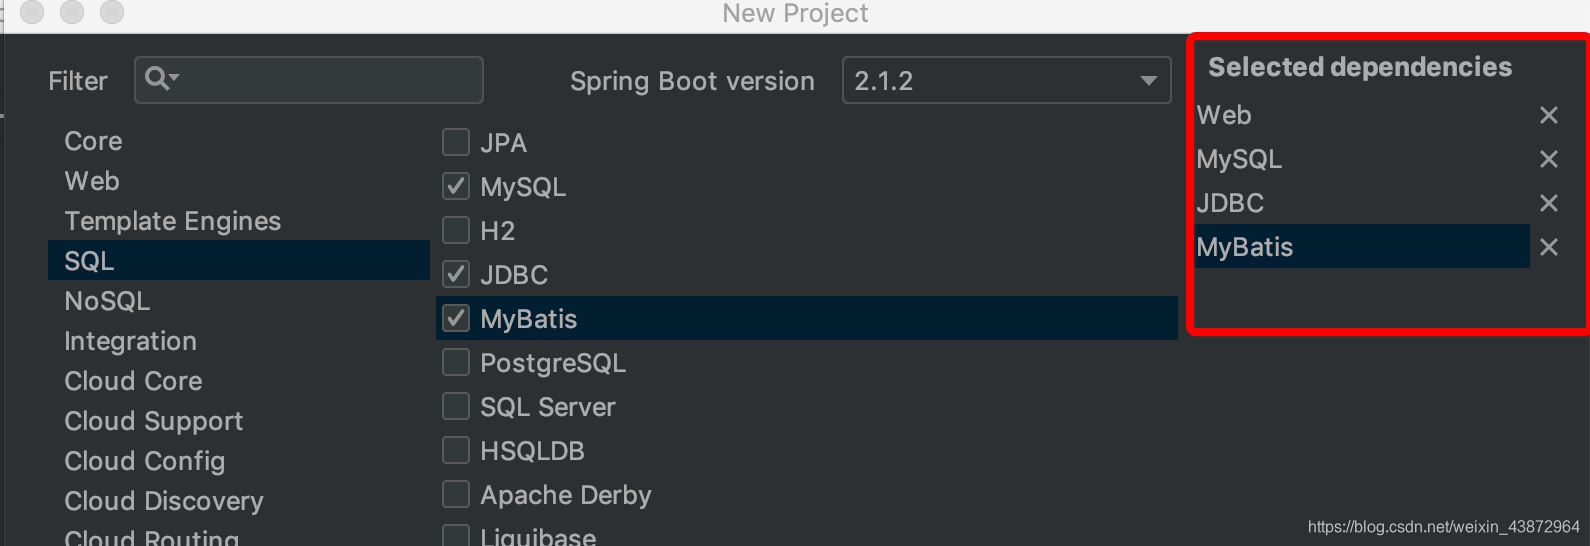
创建成功会添加如下依赖
<dependencies>
	<dependency>
		<groupId>org.springframework.boot</groupId>
		<artifactId>spring-boot-starter-jdbc</artifactId>
	</dependency>
	<dependency>
		<groupId>org.springframework.boot</groupId>
		<artifactId>spring-boot-starter-web</artifactId>
	</dependency>
	<dependency>
		<groupId>org.mybatis.spring.boot</groupId>
		<artifactId>mybatis-spring-boot-starter</artifactId>
		<version>2.0.0</version>
	</dependency>
	<dependency>
		<groupId>mysql</groupId>
		<artifactId>mysql-connector-java</artifactId>
		<scope>runtime</scope>
	</dependency>
	<dependency>
		<groupId>org.springframework.boot</groupId>
		<artifactId>spring-boot-starter-test</artifactId>
		<scope>test</scope>
	</dependency>
</dependencies>
用mybatis生成mapper和模型
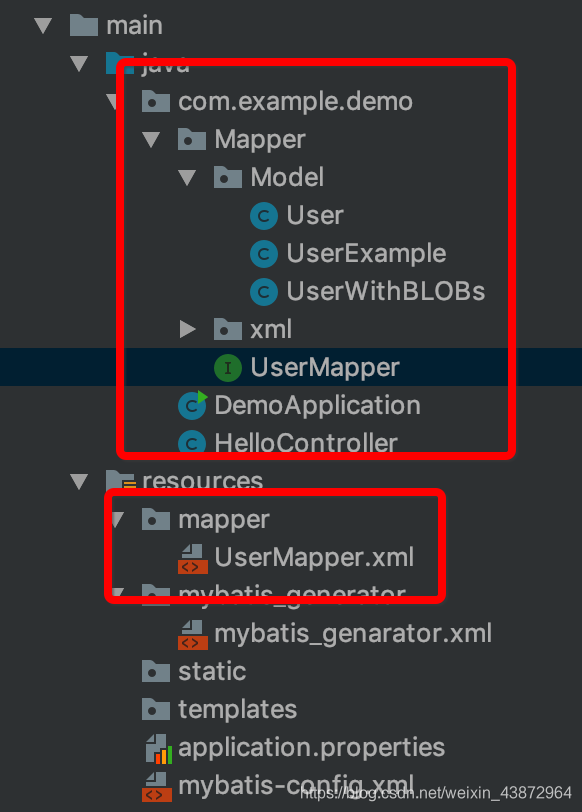
如果生成的xml放在 包里面 要在pom.xml的标签中加入:
<resources>
			<!--maven xml不参与编译-->
			<resource>
				<directory>src/main/java</directory>
				<includes>
					<include>**/*.xml</include>
				</includes>
			</resource>
		</resources>
加了之后 包里面的xml才会进行编译
在application.properties中加入
 spring.datasource.driver-class-name=com.mysql.cj.jdbc.Driver
spring.datasource.url=jdbc:mysql://127.0.0.1:3306/platform-shop
spring.datasource.password=123456
spring.datasource.username=root
#mybatis.mapper-locations=classpath*:com/example/demo/Mapper/xml/*.xml
mybatis.mapper-locations=mapper/*.xml