在部署openstack云平台环境的时候,需要上传镜像到glance。
首先下载iso镜像,这里下载了centos7.2镜像,放到/usr/local/src目录下
然后用OZ工具制作openstack的镜像
1、安装libvirt虚拟机软件
[root@openstack-server src]# yum install qemu-kvm libvirt libvirt-python libguestfs-tools virt-install
[root@openstack-server src]# systemctl enable libvirtd && systemctl start libvirtd
2、安装OZ软件
[root@openstack-server src]#yum install -y oz libguestfs-tools
3、建立os文件夹,并把镜像上传

4、创建tdl 文件
[root@openstack-server src]# cat CentOS7.tdl
<template>
<name>CentOS7</name>
<description>CentOS7 template</description>
<os>
<name>CentOS-7</name>
<version>5</version>
<arch>x86_64</arch>
<rootpw>PASSWORD</rootpw> #这个是虚拟机创建好后,root的登陆密码,密码是在这个镜像里定义的!
<install type='iso'>
<iso>file:///os/CentOS-7-x86_64-DVD-1511.iso</iso>
</install>
</os>
<commands> #centos7系统里没有/boot/grub/grub.conf文件,这块可以不用写,但写了也无妨。这里我是centos7,也写了
<command name='console'>
sed -i 's/ rhgb//g' /boot/grub/grub.conf
sed -i 's/ quiet//g' /boot/grub/grub.conf
sed -i 's/ console=tty0 / serial=tty0 console=ttyS0,115200n8 /g' /boot/grub/grub.conf
</command>
</commands>
</template>
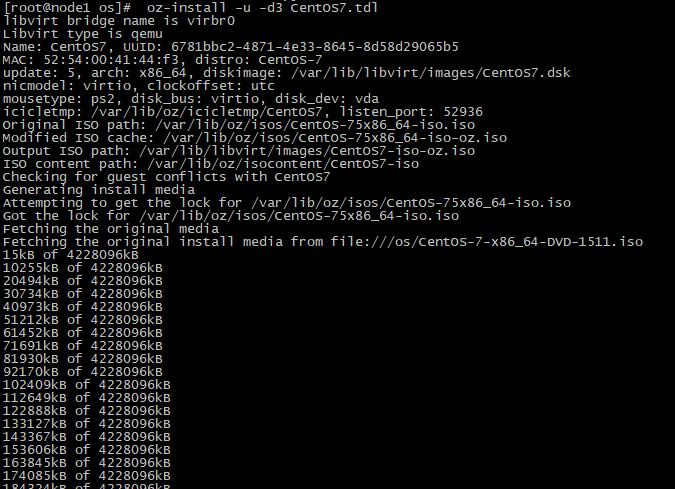
5、制作镜像文件
[root@node1 os]# oz-install -u -d3 CentOS7.tdl