前言
SpringBoot 用的第一次,你就会发现,世界真美妙,下面开始第一步。
IDEA搭建环境
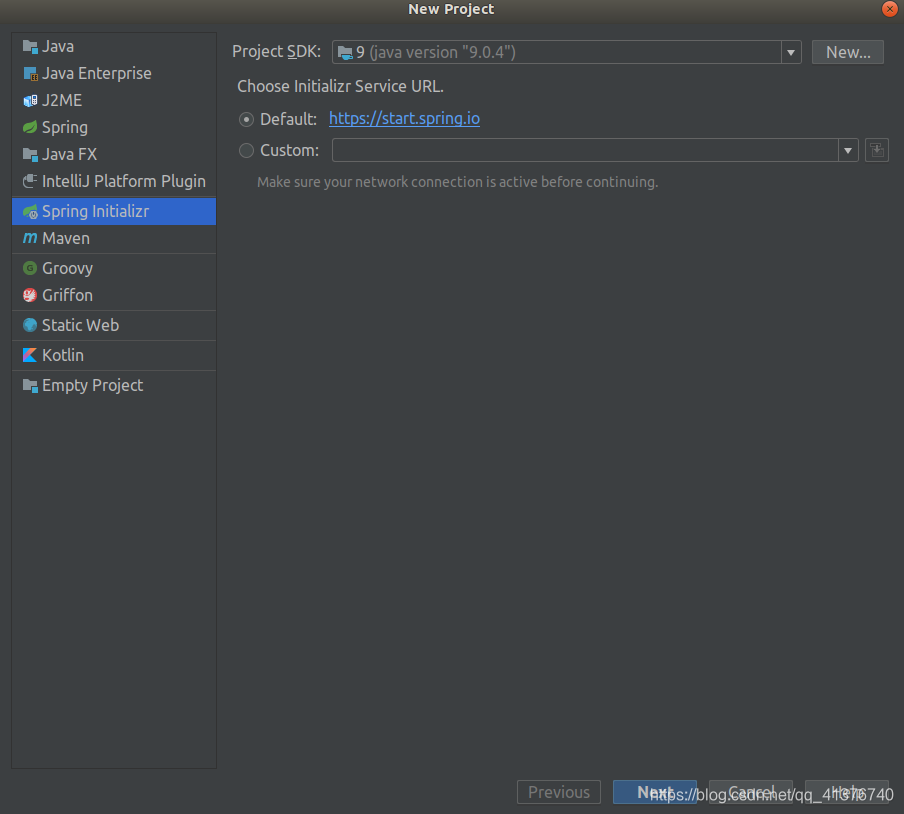
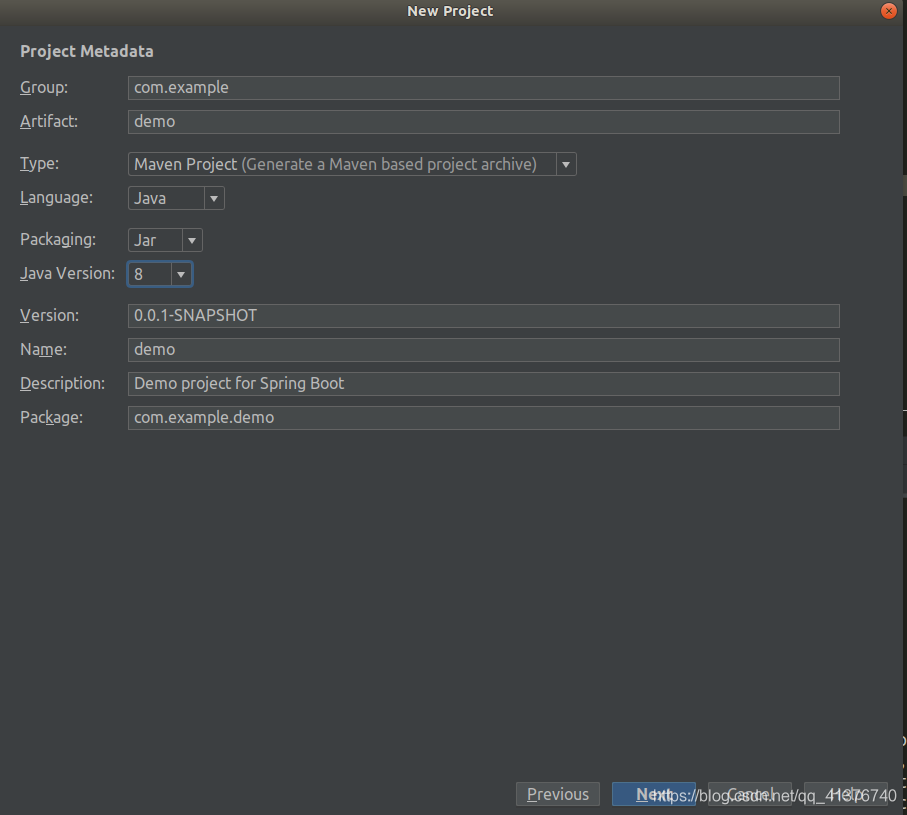
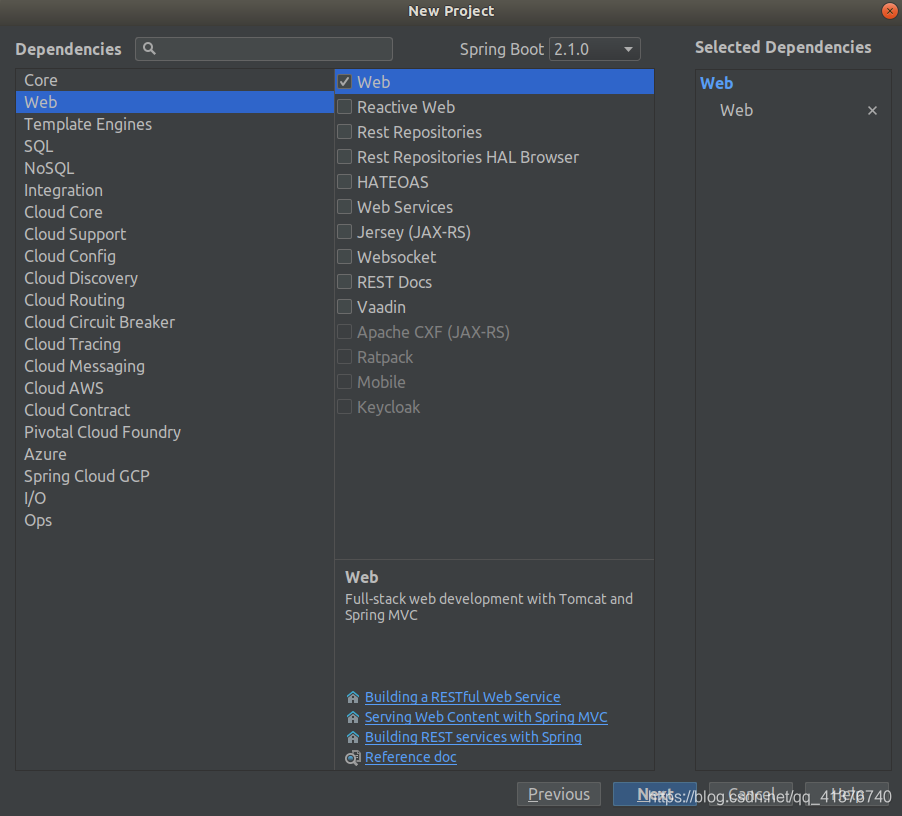
项目结构:
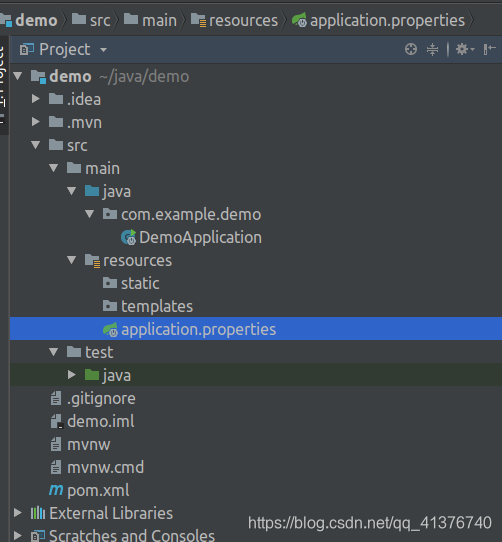
右上角运行一把:

到这里就配置成功了。
第一个Application
@SpringBootApplication
public class SpringbootApplication {

    public static void main(String[] args) {
        SpringApplication.run(SpringbootApplication.class, args);
    }
}
从官网学习手册可以看出@SpringBootApplication这个注解属于高级一点的,先从@EnableAutoConfiguration用起,我们改成这样:
@EnableAutoConfiguration
public class SpringbootApplication {

    public static void main(String[] args) {
        SpringApplication.run(SpringbootApplication.class, args);
    }
}
@EnableAutoConfiguration
The second class-level annotation is @EnableAutoConfiguration. This annotation tells Spring Boot to “guess” how you want to configure Spring, based on the jar dependencies that you have added. Since spring-boot-starter-web added Tomcat and Spring MVC, the auto-configuration assumes that you are developing a web application and sets up Spring accordingly.
这个注解告诉Spring Boot你想如何配置spring,基于你添加的jar包依赖。spring-boot-starter-web添加tomcat和springMVC,自动配置暗示你正在开发一个web app并且要相应地建立Spring。
main方法
main方法就像很多传统的程序一样,作为了程序的入口,之后通过调用SpringApplication.run方法来引导我们的应用启动Spring和自动配置的tomcat。传递的参数告诉Spring哪一个是核心的组件。args 和以前一样,接受命令行参数。
HelloWorld
@RestController
@EnableAutoConfiguration
public class SpringbootApplication {

    @RequestMapping("/helloWorld")
    public String helloWorld() {
        return "helloWorld";
    }

    public static void main(String[] args) {
        SpringApplication.run(SpringbootApplication.class, args);
    }
}
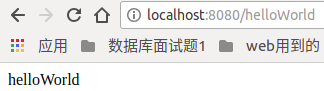
这个时候在浏览器地址上输入/helloWorld就可以看到结果了
如何兼容jsp?
一直以来都没有离开我的jsp,于是我就想着如何兼容起jsp,于是就展开了各种探讨,最终得以解决问题:
第一步:新建文件夹webapp

第二步:添加依赖
<!--jsp依赖-->
        <dependency>
            <groupId>org.apache.tomcat.embed</groupId>
            <artifactId>tomcat-embed-jasper</artifactId>
            <scope>provided</scope>
        </dependency>
        <dependency>
            <groupId>javax.servlet</groupId>
            <artifactId>jstl</artifactId>
        </dependency>
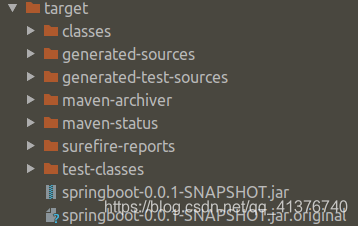
第三步:打包的时候带上jsp
        <resources>
            <resource>
                <directory>src/main/webapp/WEB-INF/jsp</directory>
                <targetPath>WEB-INF/jsp</targetPath>
                <includes>
                    <include>**/*.jsp</include>
                </includes>
            </resource>
        </resources>
注意: 这个resources标签写在pom.xml文件的build标签里面。
第四步:添加properties
spring.mvc.view.prefix=/WEB-INF/jsp/
spring.mvc.view.suffix=.jsp
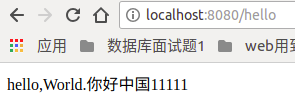
测试:
@Controller
@EnableAutoConfiguration
public class SpringbootApplication {

    @RequestMapping("/hello")
    public String helloWorld() {
        return "hello";
    }

    public static void main(String[] args) {
        SpringApplication.run(SpringbootApplication.class, args);
    }
}
注意点:
- 如果你打包后的文件target里面都没有你的jsp文件那么,肯定是404找不到了。
- 依赖不要写错
- 一定是webapp起手,我直接写WEB-INF失败的。
- 关于打包时候会出现错误,看了test的错误日志,原因是没有@SpringBootApplication这个注解,加上就可以完全打包了。
收获
今天主要学习了SpringBoot的第一步入门,简单搭建了一下环境,不得不说比起SpringMVC确实好用了不少,没有繁琐的xml文件配置,另外。maven打包的文件也有jar和war区分开来了,知道了main方法作为了Spring Boot的启动口。收获满满,果然跟着官方文档学习才是最好的。