第一步 安装JDK
JDk1.7.
下载地址:http://www.oracle.com/technetwork/java/javase/downloads/jdk7-downloads-1880260.html
一路猛击‘下一步’,OK。安装完成后配置环境变量:
JAVA_HOME = E:\Java\Java\jdk1.7.0_15
PATH = %JAVA_HOME%\bin
CLASSPATH = .;%JAVA_HOME%\lib\dt.jar;%JAVA_HOME%\lib\tools.jar
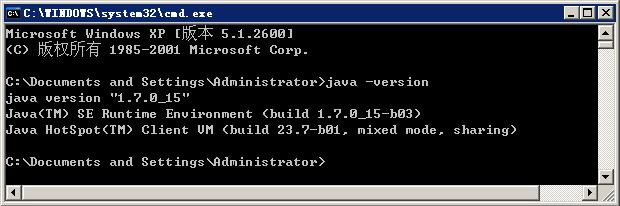
配置完环境变量后,CMD命令行输入:java -version,返回如下结果,则表示安装成功:
第二步 下载Eclipse
下载地址:http://www.eclipse.org/download/
最新的Eclipse Standard 4.3, 198 MB,下载的都是不用安装的,解压出来后直接用。
第三步 下载Selenium IDE、SeleniumRC、IEDriverServer
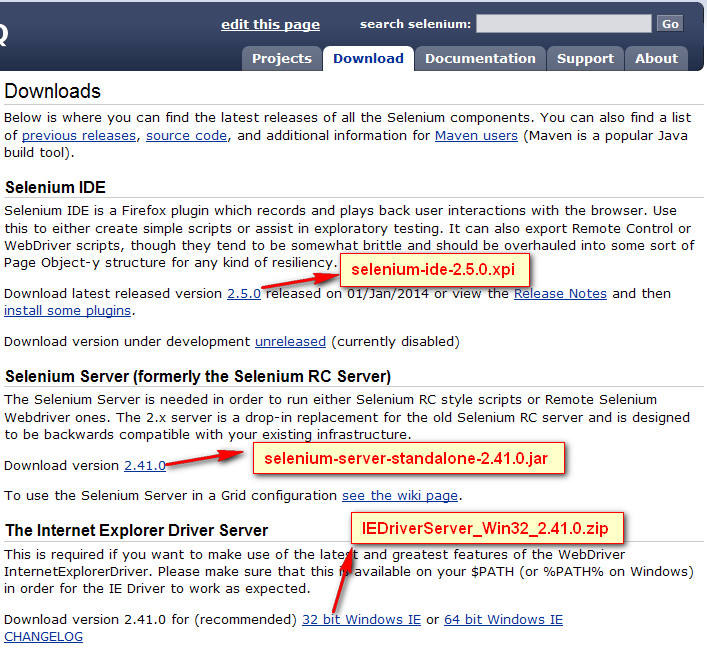
下载地址:http://www.seleniumhq.org/download/
1、 Selenium IDE:selenium-ide-2.5.0.xpi 用来在Firefox上录制脚本。
2、 Selenium RC:selenium-server-standalone-2.40.0.jar 模拟服务器端,selenium 1.0执行脚本时需要单独启动该jar包, selenium webdriver无需单独启动。
3、 IEDriverServer:IEDriverServer_Win32_2.40.0.zip IE驱动
这里,我将下载得到的所有文件,全存放在E:\eclipse\selenium下面,方便管理:

第四步 下载Firefox
下载地址:http://www.firefox.com.cn/download/
下载得到文件:Firefox-latest.exe,最好是下载Firefox 25简体中文版,后续版本有人说通过Selenium会启动不了Firefox。
第五步 安装IDE、Firebug、Xpath checker、Xpath finder
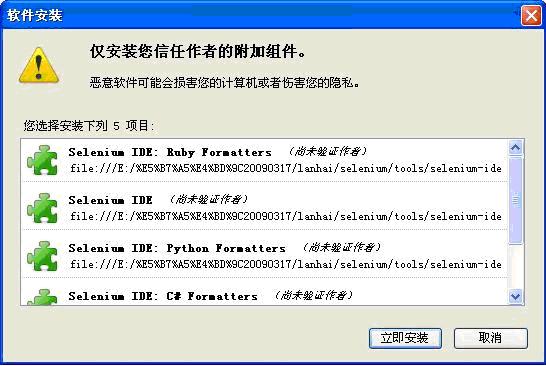
安装完Firefox后,打开Firefox,把前面下载的selenium-ide-2.5.0xpi拖放到Firefox,弹出下图后,安装即可。
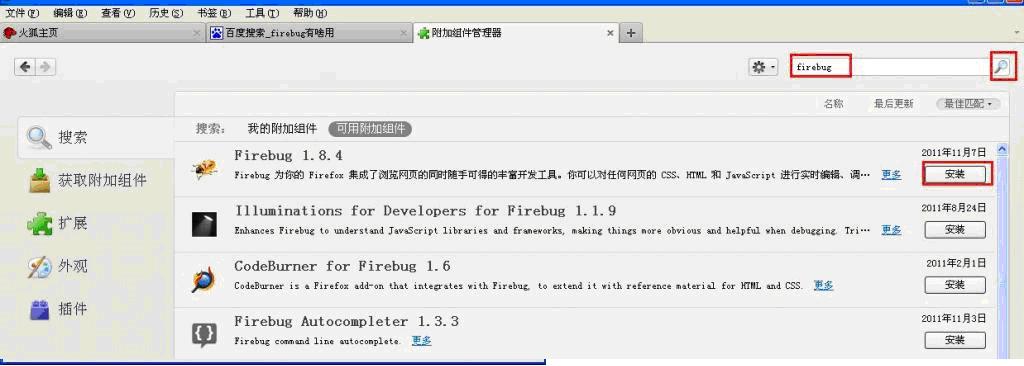
Firebug、Xpath checker、Xpath finder,打开firefox浏览器,选择工具――附加组件,打开附加组件管理器页面,搜索firebug、Xpath。
将查询到的firebug、xpath checker、xpath finder都装上,重启浏览器后生效:
SeleniumIDE、Firebug和xpath的用法,可以百度Selenium私房菜(新手入门教程).pdf,里面有很好的说明。
第六步 启动SeleniumRC
注意:selenium 1.0需要启动单独rc,webdriver则不需要启动。
启动seleniumRC的方法:
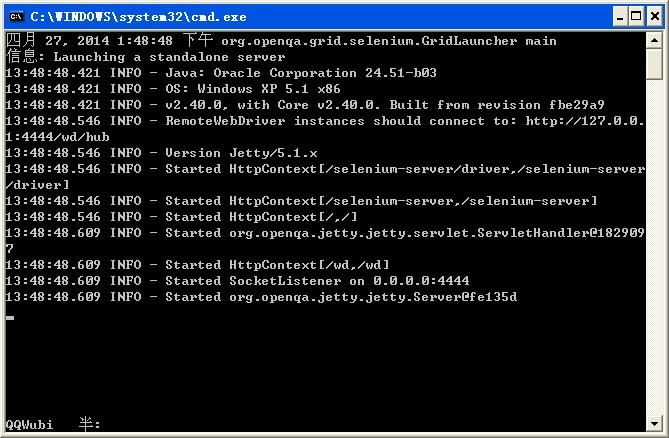
cmd命令行进入selenium-server-standalone-2.40.0.jar存放目录,输入如下命令
java -jar selenium-server-standalone-2.40.0.jar

为了方便,可以将启动命令写一个bat来执行,Run_selenium.bat,内容如下:
@echo off
cd E:\eclipse\selenium
E:
java -jar selenium-server-standalone-2.40.0.jar
第七步 Eclipse执行Selenium的Java实例
-----7.1
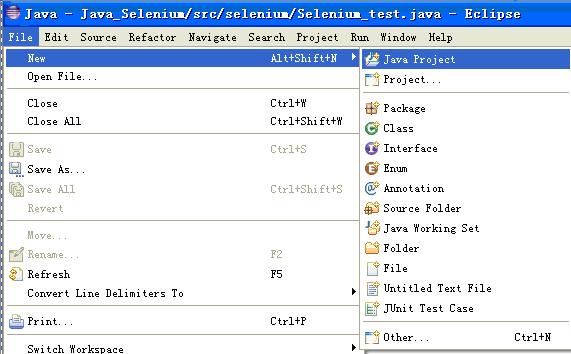
打开Eclipse,新建一个工程File—new—Java Project
-----7.2
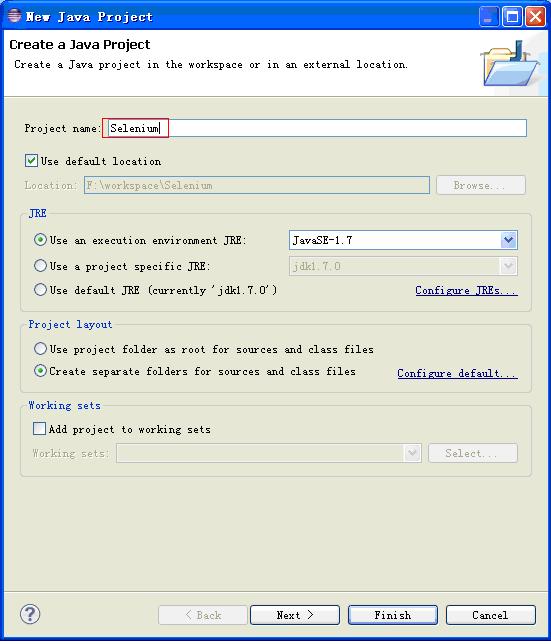
输入工程名:Selenum,next
-----7.3
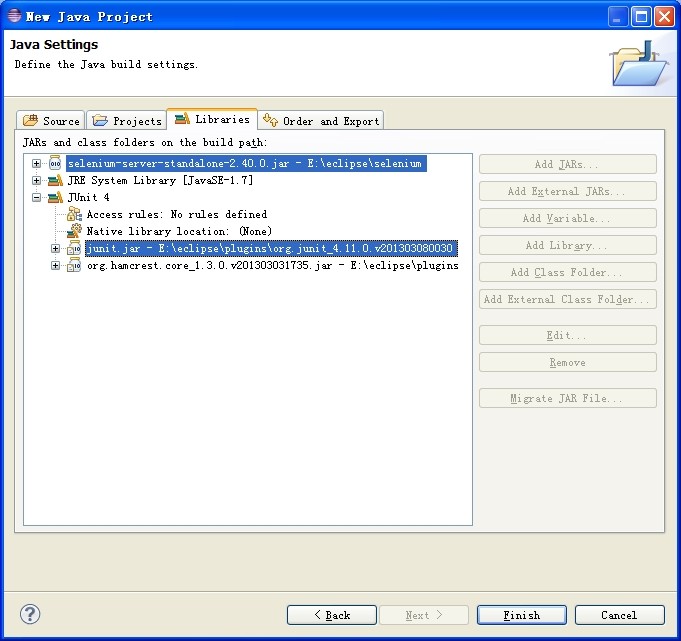
接下来,窗口进入Java Settings,选择Libraries,点击Addlibrary。
引用Junit4的Jar包(E:\eclipse\plugins\org.junit_4.11.0.v2XXXX)。
然后点击Add External Jars..,
引用Selenium相关的包(E:\eclipse\selenium),最终Libraries如下:
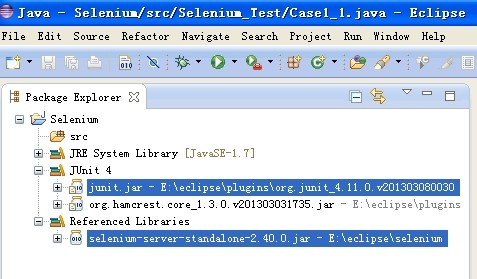
完成后,Java视图如下:
-----7.4
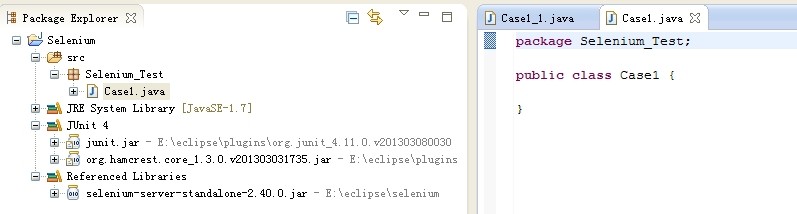
右击src,new->package新建一个包Selenium_Test,
再右击包Selenium_Test,new->class,新建一个Class类Case1.java,最终效果如下:
-----7.5
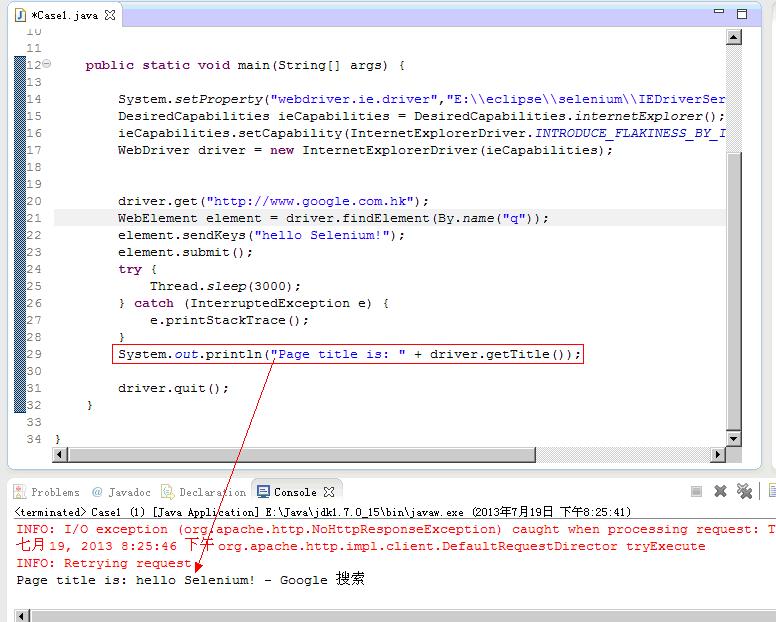
下面我们来用IE浏览器执行一个实例,修改Case1.java,这里我们用selenium webdriver来写代码,代码如下:

package Selenium_Test;
import org.openqa.selenium.By;
import org.openqa.selenium.WebDriver; import org.openqa.selenium.WebElement; import org.openqa.selenium.ie.InternetExplorerDriver; import org.openqa.selenium.remote.DesiredCapabilities; public class Case1 { public static void main(String[] args) { System.setProperty("webdriver.ie.driver", "E:\\eclipse\\selenium\\IEDriverServer.exe");//注意这里IEDriverServer.exe的文件存放路径 DesiredCapabilities ieCapabilities = DesiredCapabilities .internetExplorer(); ieCapabilities .setCapability( InternetExplorerDriver.INTRODUCE_FLAKINESS_BY_IGNORING_SECURITY_DOMAINS, true); //new一个webdriver对象 WebDriver driver = new InternetExplorerDriver(ieCapabilities); //上面这一段是用来解决IE安全设置提示的 //通过webdriver的get方法调用浏览器,打开网页:http://www.google.com.hk driver.get("http://www.google.com.hk"); //通过页面元素的name=q定位到查询输入框  WebElement element = driver.findElement(By.name("q")); //在输入框输入‘hello Selenium!’ element.sendKeys("hello Selenium!"); //提交查询  element.submit(); //等待,超时则抛出错误 try { Thread.sleep(3000); } catch (InterruptedException e) { e.printStackTrace(); } //输出当前页面的title System.out.println("Page title is: " + driver.getTitle()); //关闭所有webdriver进程,退出  driver.quit(); } }
-----7.6
右击Case1.Java,Run As—>Java Application,执行成功结果如下:
-----7.7
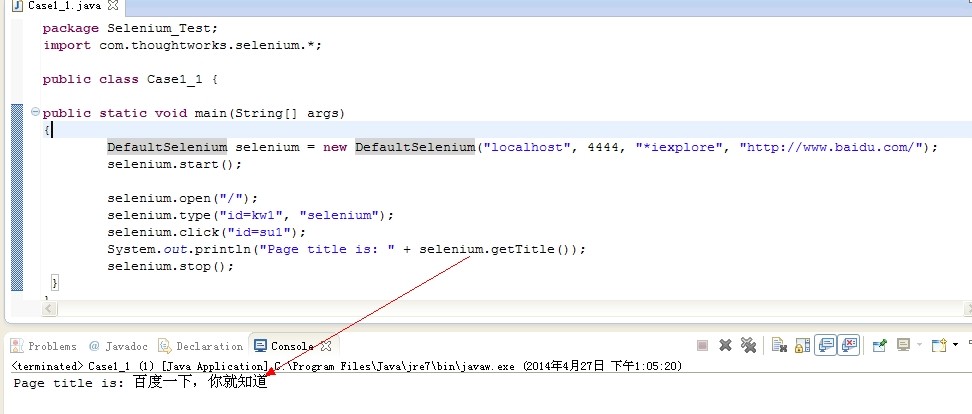
接着,我们换成用selenium 1.0来写代码,Case1_1.java代码如下:
package Selenium_Test;

import com.thoughtworks.selenium.*;


public class Case1_1 { public static void main(String[] args) { DefaultSelenium selenium = new DefaultSelenium("localhost", 4444, "*iexplore", "http://www.baidu.com/"); selenium.start(); selenium.open("/"); selenium.type("id=kw1", "selenium"); selenium.click("id=su1"); System.out.println("Page title is: " + selenium.getTitle()); selenium.stop(); } }
-----7.8
右击Case1_1.Java,Run As—>Java Application,执行成功结果如下:
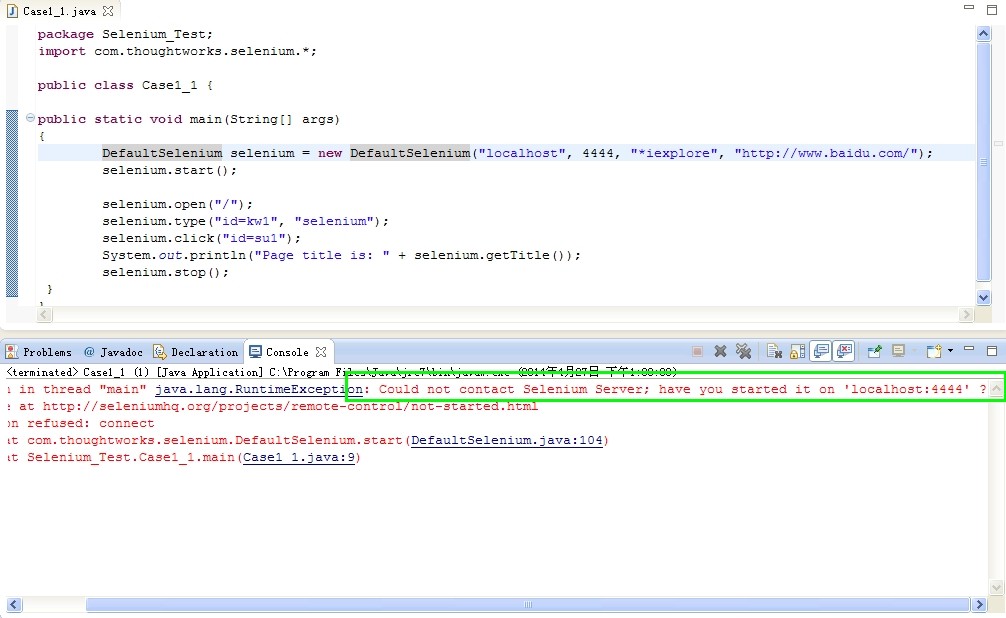
-----7.9
上面提示不能连接服务器,下面我们先执行前面的Run_selenium.bat,启动selenium rc
-----7.10
再次右击Case1_1.Java,Run As—>Java Application,执行成功结果如下:
以上例子,展示了使用selenium webdriver和selenium 1.0写代码的执行区别。
两者打开浏览器用的方法不同,当然,还有其他的方法也不同。且1.0还得另外启动selenium rc
下面我们通过Junit来运行脚本,脚本需要修改一下,因为Junit的Java文件有它自己的格式。
第八步 Eclipse通过Junit执行Selenium的Java实例
-----8.1
右击Selenium_Test,new->Junit test case 新建一个Case2.java。
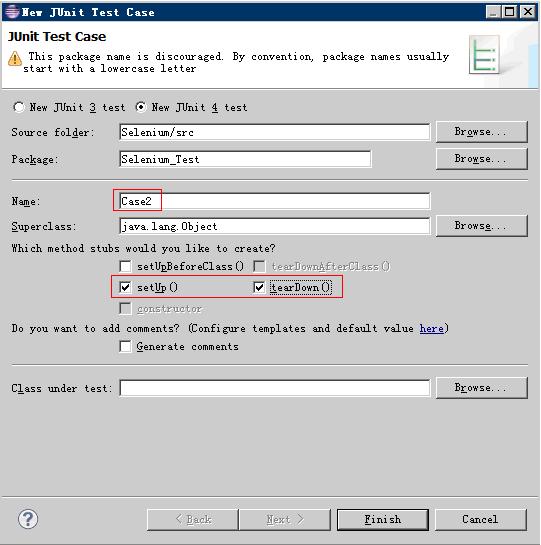
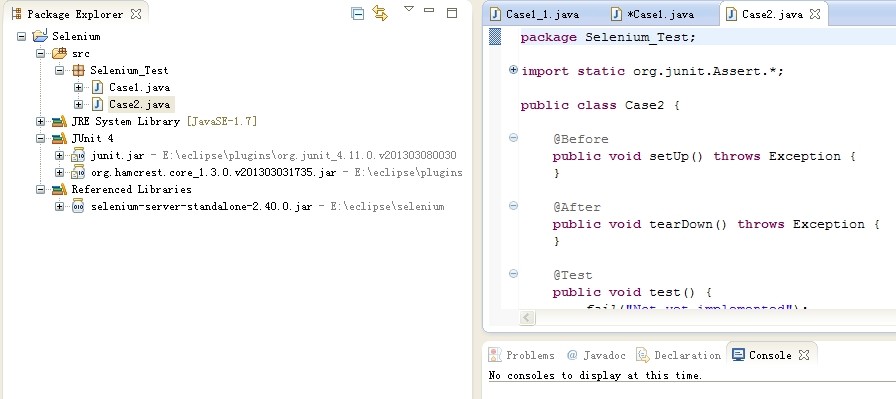
完成后如下:
-----8.2
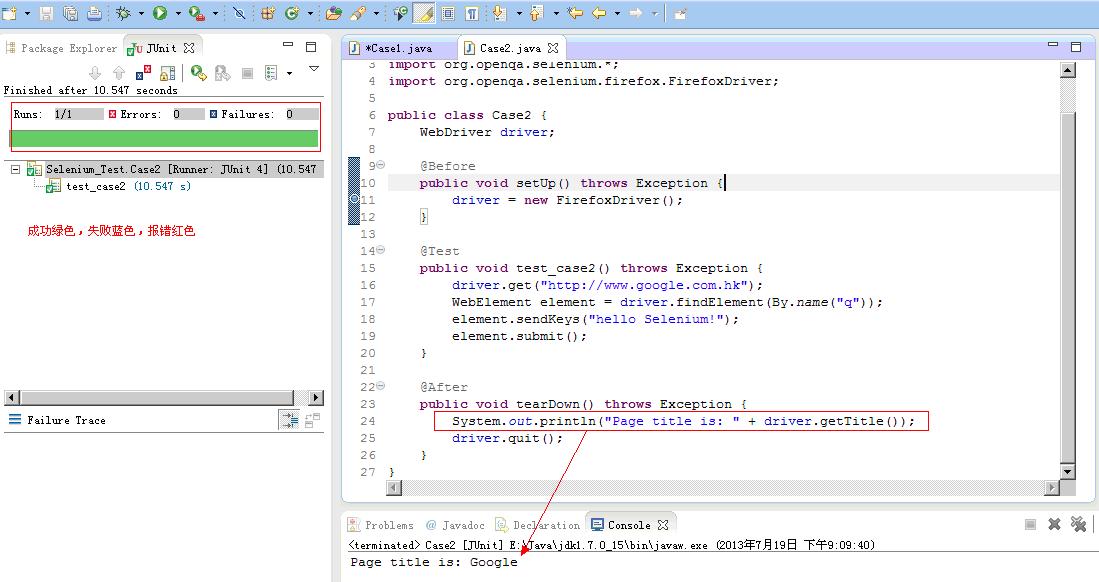
修改Case2.java代码如下:
 1 package Selenium_Test;
 2
 3 import org.junit.*;  4 import org.openqa.selenium.*;  5 import org.openqa.selenium.firefox.FirefoxDriver;  6  7 public class Case2 {  8  WebDriver driver;  9 10  @Before 11 public void setUp() throws Exception { 12 driver = new FirefoxDriver(); 13  } 14 15  @Test 16 public void test_case2() throws Exception { 17 driver.get("http://www.google.com.hk"); 18 WebElement element = driver.findElement(By.name("q")); 19 element.sendKeys("hello Selenium!"); 20  element.submit(); 21  } 22 23  @After 24 public void tearDown() throws Exception { 25 System.out.println("Page title is: " + driver.getTitle()); 26  driver.quit(); 27  } 28 }
-----8.3
右击Case2.java,Run As—>Junit Test,执行成功结果如下:
第九步 Eclipse通过TestNG执行Selenium的Java实例
-----9.1
安装 TestNG
在 Eclipse 中,点击 Help -> Install new software ,在 add 栏中输入http://beust.com/eclipse,在下面就会看到 TestNG.选中点击安装,按下一步直到安装完,在线安装会有点很慢。

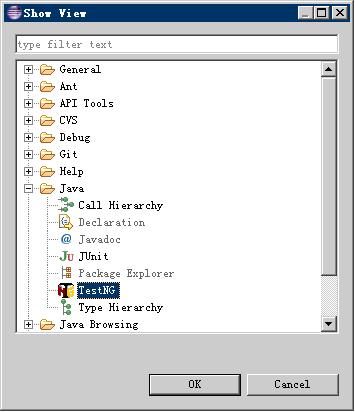
安装完重启Eclipse后,在 window->Show View->other 里面选中Java->TestNG,就会出现TestNG选项了。
-----9.2
右击包Selenium_Test,new->other->TestNG新建一个 TestNG 的测试类Case3.java。
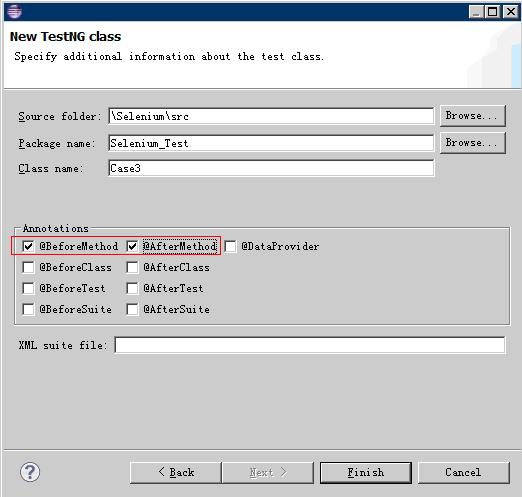
完成后如下:
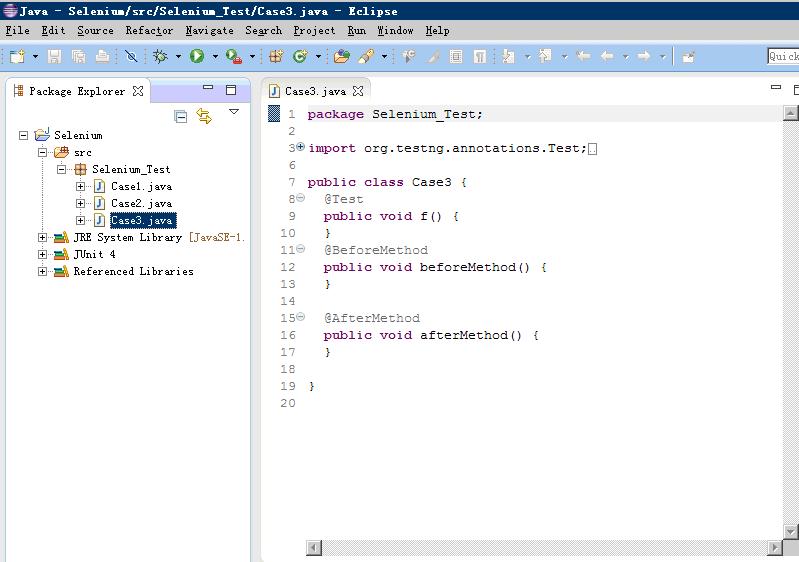
修改Case3.java脚本内容如下:
 1 package Selenium_Test;
 2
 3 import org.testng.annotations.Test;  4 import org.openqa.selenium.By;  5 import org.openqa.selenium.WebDriver;  6 import org.openqa.selenium.WebElement;  7 import org.testng.annotations.BeforeMethod;  8 import org.testng.annotations.AfterMethod;  9 import org.openqa.selenium.firefox.FirefoxDriver; 10 11 public class Case3 { 12  WebDriver driver; 13 14  @BeforeMethod 15 public void beforeMethod() { 16 17  } 18 19  @AfterMethod 20 public void afterMethod() { 21 System.out.println("Page title is: " + driver.getTitle()); 22  driver.quit(); 23  } 24 25  @Test 26 public void test_case3() { 27 driver = new FirefoxDriver(); 28 driver.get("http://www.google.com.hk"); 29 WebElement element = driver.findElement(By.name("q")); 30 element.sendKeys("hello Selenium!"); 31  element.submit(); 32  } 33 }
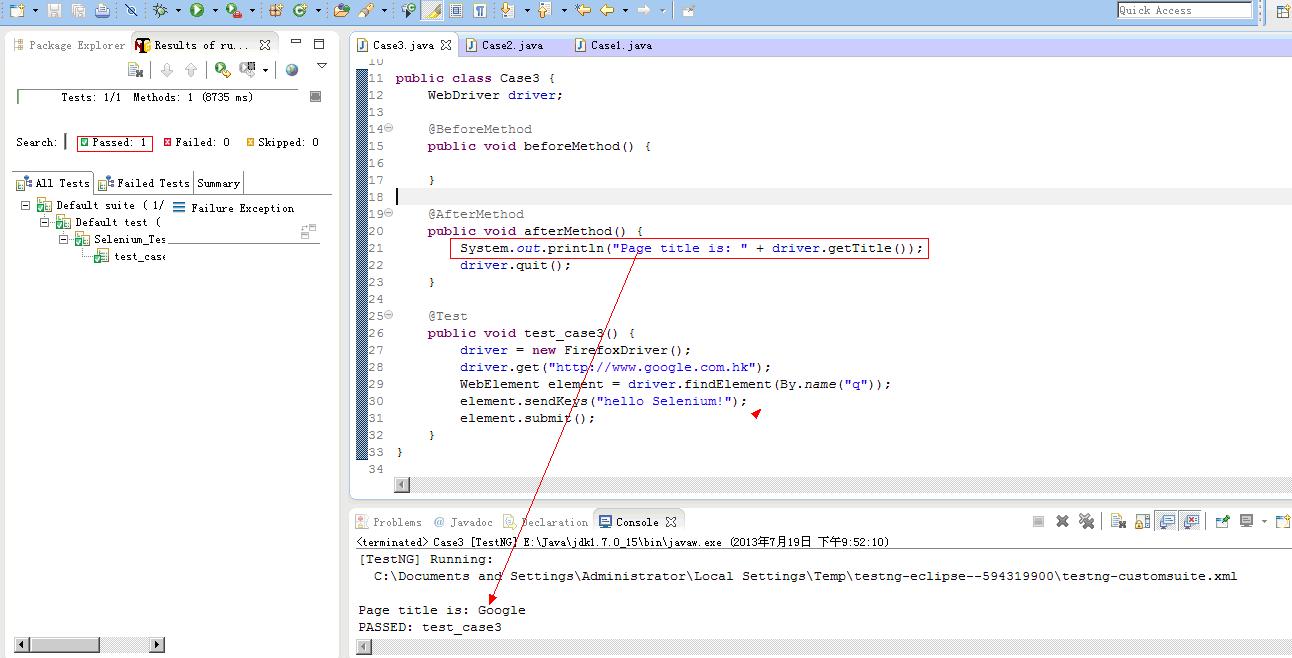
-----9.3
右击Case3.java,Run as->TestNG Test,执行成功结果如下:
执行完,会生成一个test-output文件夹,文件夹下面的index.html就是测试报告,如下:
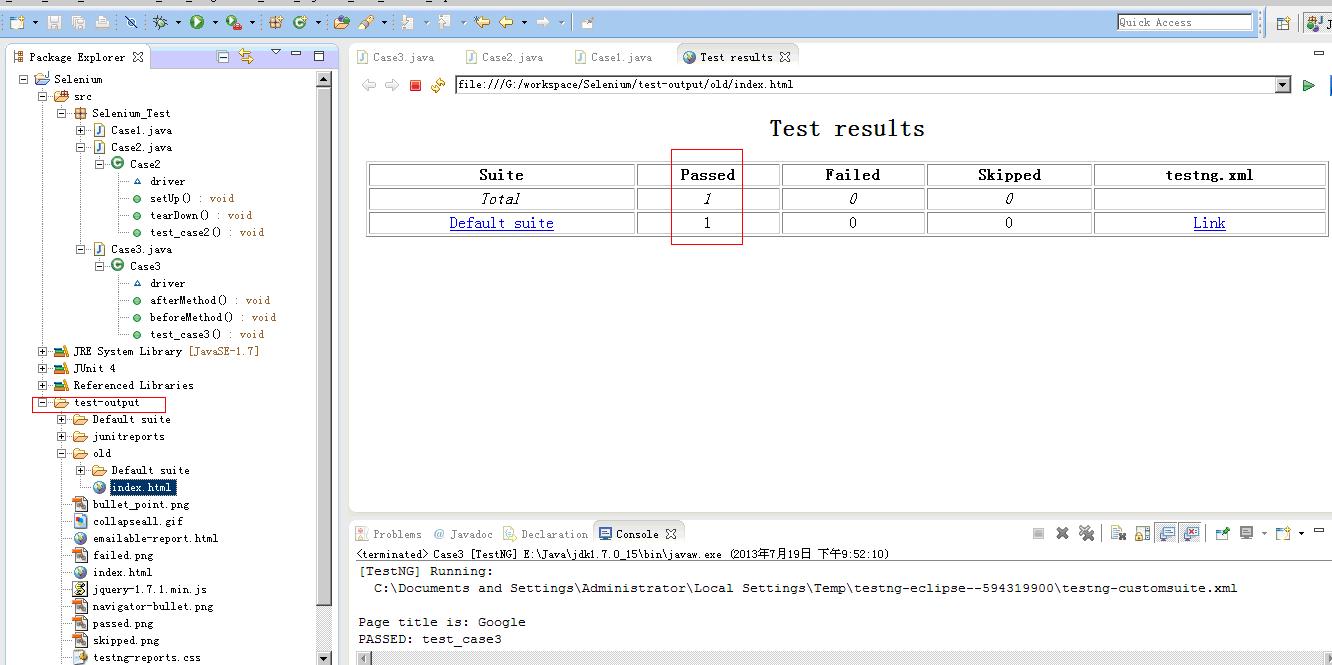
以上是在Eclipse下如何搭建Selenium的测试环境,包括直接执行.java,通过Junit执行.java,通过TestNG执行.java。