1、前言
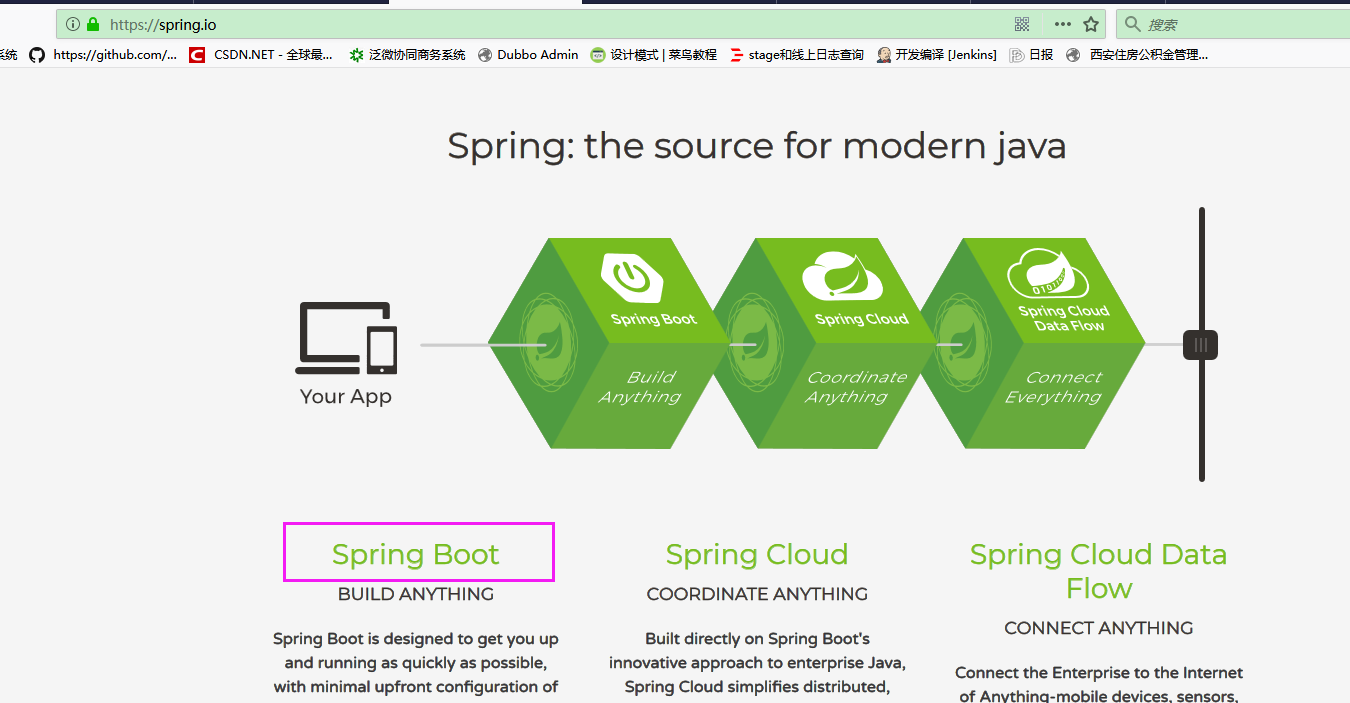
spring团队出品的框架,基本都是一些特别优秀的框架。从官网上,可以看到springboot是新出的一个框架。
用过springboot的都知道,该框架简化springmvc繁琐的文件配置,用起来比较方便,被业界称为【JAVA EE 开发的颠覆者】。今天,特地学习了一下。
2、学习准备
IntelliJ IDEA对springboot的支持比较好,有专门的springboot项目。eclipse开发的时候,需要安装插件,才能建立专门的springboot项目。当然不装插件,也可以实现。只是需要自己写很多东西,如果不熟悉的话,很容易丢东西,使用的时候可以参考官网(https://projects.spring.io/spring-boot/#quick-start)。
这里介绍eclispe安装插件完成springboot的项目。直接安装如下图的插件:
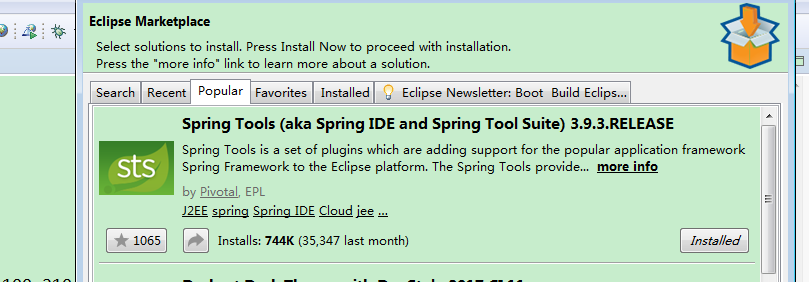
装好之后,直接建立springboot项目,不要建立maven项目了。
springboot有两种配置文件可以书写:
4、建立项目并启动
新建一个Controller
// @Controller 被代替,@RestController集成@ReponseBody等
@RestController
public class HelloWorldController {
@RequestMapping("/hello")
public String hello() {
return "welcome";
}
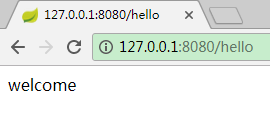
}springboot的默认端口是8080。启动项目只需要运行下面的main()方法就可以了
/*
    这个方法时项目建好之后,自动生成的,无需手写。
*/
@SpringBootApplication
public class WsSpringbootApplication {

	public static void main(String[] args) {
		SpringApplication.run(WsSpringbootApplication.class, args);
	}
}
5、启动效果和展示

结果:
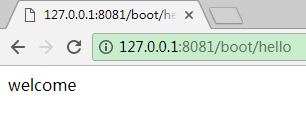
6、使用yml配置文件,修改端口和路径
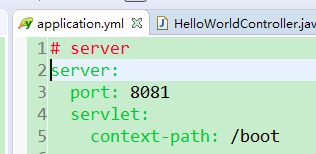
效果: