漫水填充
漫水填充是一个非常有用的功能。它经常被用来标记或者分离图像的一部分以便对其进行进一步处理或分析。漫水填充也可以用来从输入图像获取掩码区域,掩码会加速处理过程,或只处理掩码指定的像素点。
floodFill() [2/2]
| int cv::floodFill | ( | InputOutputArray | image, |
| InputOutputArray | mask, | ||
| Point | seedPoint, | ||
| Scalar | newVal, | ||
| Rect * | rect = 0, |
||
| Scalar | loDiff = Scalar(), |
||
| Scalar | upDiff = Scalar(), |
||
| int | flags = 4 |
||
| ) |
Parameters
| image | Input/output 1- or 3-channel, 8-bit, or floating-point image. It is modified by the function unless the FLOODFILL_MASK_ONLY flag is set in the second variant of the function. See the details below. |
| mask | Operation mask that should be a single-channel 8-bit image, 2 pixels wider and 2 pixels taller than image. Since this is both an input and output parameter, you must take responsibility of initializing it. Flood-filling cannot go across non-zero pixels in the input mask. For example, an edge detector output can be used as a mask to stop filling at edges. On output, pixels in the mask corresponding to filled pixels in the image are set to 1 or to the a value specified in flags as described below. Additionally, the function fills the border of the mask with ones to simplify internal processing. It is therefore possible to use the same mask in multiple calls to the function to make sure the filled areas do not overlap. |
| seedPoint | Starting point. |
| newVal | New value of the repainted domain pixels. |
| loDiff | Maximal lower brightness/color difference between the currently observed pixel and one of its neighbors belonging to the component, or a seed pixel being added to the component. |
| upDiff | Maximal upper brightness/color difference between the currently observed pixel and one of its neighbors belonging to the component, or a seed pixel being added to the component. |
| rect | Optional output parameter set by the function to the minimum bounding rectangle of the repainted domain. |
| flags | Operation flags. The first 8 bits contain a connectivity value. The default value of 4 means that only the four nearest neighbor pixels (those that share an edge) are considered. A connectivity value of 8 means that the eight nearest neighbor pixels (those that share a corner) will be considered. The next 8 bits (8-16) contain a value between 1 and 255 with which to fill the mask (the default value is 1). For example, 4 | ( 255 << 8 ) will consider 4 nearest neighbours and fill the mask with a value of 255. The following additional options occupy higher bits and therefore may be further combined with the connectivity and mask fill values using bit-wise or (|), see cv::FloodFillFlags. |
image是输入/输出图像,该图像可以是8位或浮点类型的单通道或三通道图像。
mask参数所代表的掩码既可以作为FloodFill()的输入值(此时它控制可以被填充的区域),也可以作为FloodFill()的输出值 (此时它指已经被填充的区域)。如果mask非空,那么它必须是一个单通道、8位、像素宽度和高度均匀比源图像大两个像素的图像(这是为了使内部运算更简单快速)。mask图像的像素(x+1,y+1)与源图像的像素(x,y)相对应。注意:FlooFill()不会覆盖mask的非零像素点,因此如果不希望mask阻碍填充操作时,将其中元素设为0.源图像img和掩码图像mask均可以用漫水填充来染色。
注意:如果漫水填充的掩码不为空,那么要用flags参数中间的比特值(第8~15位)来填充掩码图像(参考下文)。如果没有设置flags中间比特值,则取默认值1。如果填充了掩码后显示出来是黑色,不要感到奇怪,因为所设置的值(如果flags的中间值没有被设置)为1,所以如果要显示它,必须需要放大这个掩码图像的数值。
seedPoint是漫水填充的起点。
newVal是像素点被重新染色的值。
loDiff和upDiff表示负/正差最大值。举个通俗的例子,在很多农业肥料(尿素、化肥)的袋子上都标有类似±100g的字样,这表示一个范围,实际量可能比标准量少但最多少100g,实际量可能比标准量多,但最多多100g。在这里则表示,如果一个像素的值不低于被染色的相邻点减去loDiff且不高于其加上upDiff,那么这个像素就会被染色。注意:这里是和被染色的相邻点比较。如果参数包含CV_FLOODFILL_FIXED_RANGE,这时每个像素点都将与种子点而不是相邻点比较。
rect表示一个可选的参数,为RECT*型,有默认值0。用于设置floodfill函数将要重绘的最小边界矩形区域。
flags参数,此参数包含三部分。
第一部分:低8位部分(第0~7位)可以设为4或8,这个参数控制填充算法的连通性。如果设为4,填充算法只考虑当前像素的水平方向和垂直方向的相邻点;如果设为8,出上述相邻点外,还会包含对角线方向的相邻点。
第二部分:高8位部分(第16~23位)可以设为CV_FLOODFILL_FIXED_RANGE(如果设置为这个值,则只有当某个相邻点与种子像素之间的差值在指定范围内才能填充,否则考虑当前点与其相邻点是否落在指定范围)或者CV_FLOODFILL_MASK_ONLY(如果设置,函数不填充原始图像,而去填充掩码图像),所以必须输入符合要求的掩码。
第三部分:flags的中间比特(第8~15位)的值指定填充掩码图像的值。但如果中间比特值为0,则掩码将用1填充。所有flags可以通过OR操作连接起来。例如,如果想用8邻域填充,并填充固定像素值范围,是填充掩码而不是填充源图像,以及设填充值为47,那么输入的参数应该是:
flags = 8                           //8邻域填充
    |CV_FLOODFILL_FIXED_RANGE      //固定范围填充
    |CV_FLOODFILL_MASK_ONLY       //使用掩码图像
    |(47<<8)                     //填充值为47 并且将47左移8位
需要注意的是,在以上参数中newVal、loDiff、upDiff都是Scalar类型,所以它们可以同时处理三个通道。例如,loDiff = CV_RGB(20,30,40),则三种颜色的loDiff分别设为红色值20,绿色值30,蓝色值40。
示例:
#include <opencv2\opencv.hpp>
#include <opencv2\highgui\highgui.hpp>
#include <opencv2\imgproc\imgproc.hpp>
using namespace std;
using namespace cv;
Mat g_srcImage, g_dstImage, g_grayImage, g_maskImage;//掩码图像
int g_nFillMode = 1;
int g_nLowDifference = 20;//初始负差值20
int g_nUpDifference = 20;//初始正差值20
int g_nConnectivity = 4;//初始连通方式为水平方向和垂直方向
int g_nIsColor = true;//是否为彩色图像
int g_nUseMask = false;//是否使用掩膜图像
int g_nNewMaskVal = 255;//初始新的像素值为255
static void onMouse(int event, int x, int y, int, void*)//鼠标事件函数
{
if (event != EVENT_LBUTTONDOWN)//如果鼠标左键没有按下直接返回
return;
Point seed = Point(x, y);//设置种子点
int LowDifference = g_nFillMode == 0 ? 0 : g_nLowDifference;//为0则是空范围填充,否则设置为全局的g_nLowDifference
int UpDifference = g_nFillMode == 0 ? 0 : g_nUpDifference;//为0则是空范围填充,否则设置为全局的g_nUpDifference
//flags为4邻域填充填充值为g_nNewMaskVal并且左移8位,采用固定范围填充或者0
int flags = g_nConnectivity + (g_nNewMaskVal << 8) + (g_nFillMode == 1 ? FLOODFILL_FIXED_RANGE : 0);
//随机生成bgr的值
int b = (unsigned)theRNG() & 255;
int g = (unsigned)theRNG() & 255;
int r = (unsigned)theRNG() & 255;
Rect ccomp;//定义最小边界矩形范围
//如果是彩色图像,新的染色值newVal为三通道彩色像素,否则为灰度像素
Scalar newVal = g_nIsColor ? Scalar(b, g, r) : Scalar(r*0.299 + g*0.587 + b*0.114);
Mat dst = g_nIsColor ? g_dstImage : g_grayImage;//输出图像(彩色图像或灰度图像)
int area;//用于接收重绘像素个数
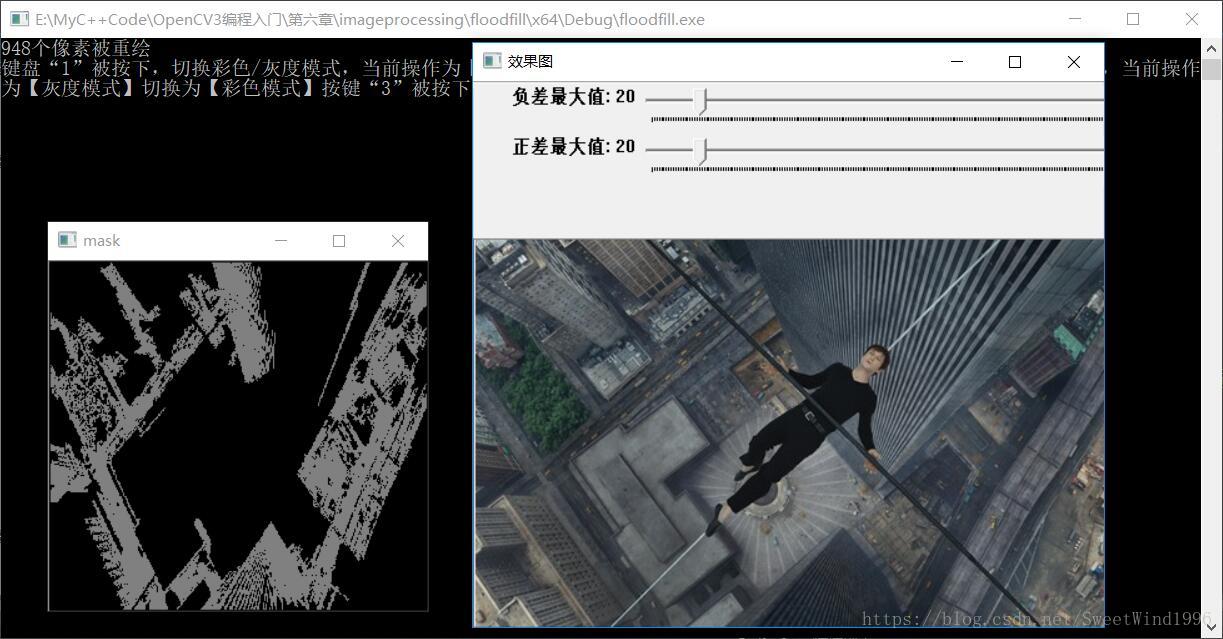
if (g_nUseMask)//如果使用掩膜图像,填充掩膜
{
threshold(g_maskImage, g_maskImage, 1, 128, THRESH_BINARY);
area = floodFill(dst, g_maskImage, seed, newVal, &ccomp,
Scalar(LowDifference, LowDifference, LowDifference),
Scalar(UpDifference, UpDifference, UpDifference), flags);
imshow("mask", g_maskImage);
}
else
{
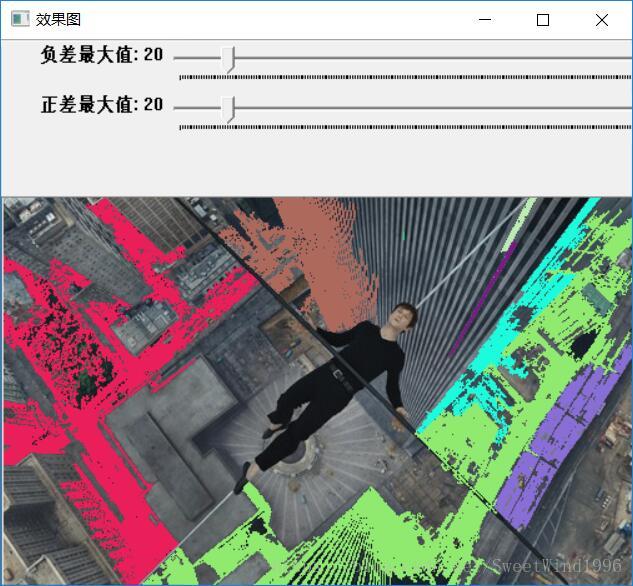
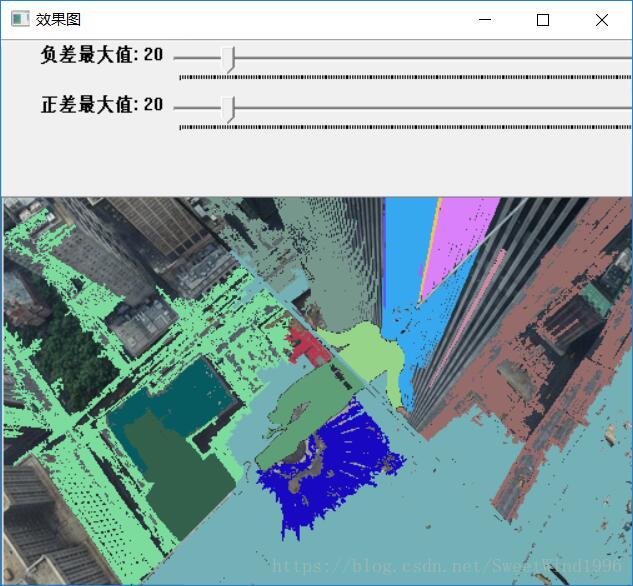
area = floodFill(dst, seed, newVal, &ccomp,
Scalar(LowDifference, LowDifference, LowDifference),
Scalar(UpDifference, UpDifference, UpDifference), flags);
imshow("效果图", dst);
cout << area << "个像素被重绘\n";
}
}
int main()
{
g_srcImage = imread("2.jpg");
if (!g_srcImage.data)
{
printf("error");
return false;
}
g_srcImage.copyTo(g_dstImage);
cvtColor(g_srcImage, g_grayImage, COLOR_BGR2GRAY);//转换为灰度图像
g_maskImage.create(g_srcImage.rows + 2, g_srcImage.cols + 2, CV_8UC1);//掩码大小比源图像宽高都大两个像素,可以加快处理
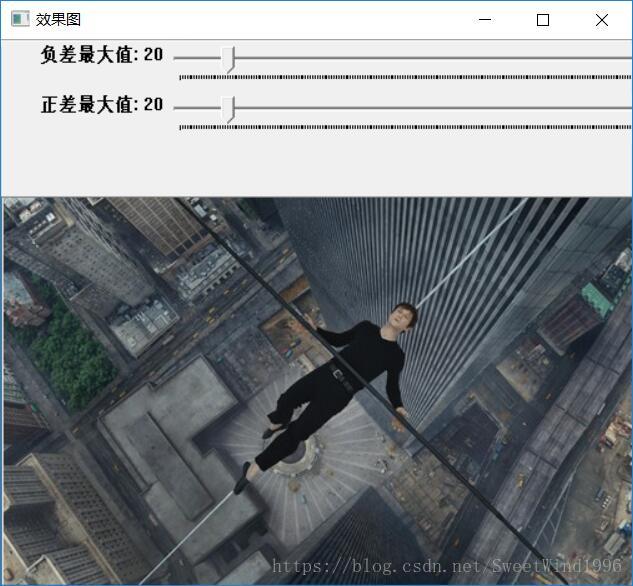
namedWindow("效果图", WINDOW_AUTOSIZE);
createTrackbar("负差最大值", "效果图", &g_nLowDifference, 255, 0);//创建正/负差值轨迹条
createTrackbar("正差最大值", "效果图", &g_nLowDifference, 255, 0);
setMouseCallback("效果图", onMouse, 0);//鼠标回调函数
while (1)
{
imshow("效果图", g_nIsColor ? g_dstImage : g_grayImage);
int c = waitKey(0);
if ((c & 255) == 27)
{
cout << "程序退出.........\n";
break;
}
switch ((char)c)
{
case '1':
if (g_nIsColor)//如果是彩色图像
{
cout << "键盘“1”被按下,切换彩色/灰度模式,当前操作为【彩色模式】切换为【灰度模式】";
cvtColor(g_srcImage, g_grayImage, COLOR_BGR2GRAY);
g_maskImage = Scalar::all(0);//掩码为0
g_nIsColor = false;//改变颜色参数
}
else//如果是灰度图像
{
cout<< "键盘“1”被按下,切换彩色/灰度模式,当前操作为【灰度模式】切换为【彩色模式】";
g_srcImage.copyTo(g_dstImage);
g_maskImage = Scalar::all(0);
g_nIsColor = true;
}
break;
case '2':
if (g_nUseMask)
{
destroyWindow("mask");//销毁掩膜窗口
g_nUseMask = false;
}
else
{
namedWindow("mask", 0);
g_maskImage = Scalar::all(0);//设置掩码为0
imshow("mask", g_maskImage);
g_nUseMask = true;
}
break;
case '3':
cout << "按键“3”被按下,恢复原始图像\n";
g_srcImage.copyTo(g_dstImage);
cvtColor(g_dstImage, g_grayImage, COLOR_BGR2GRAY);
g_maskImage = Scalar::all(0);
break;
case '4':
cout << "按键“4”被按下,使用空范围漫水填充\n";
g_nFillMode = 0;
break;
case '5':
cout << "按键“5”被按下,使用渐变、固定范围的漫水填充\n";
g_nFillMode = 1;
break;
case '6':
cout << "按键“6”被按下,使用渐变、浮动范围漫水填充\n";
g_nFillMode = 2;
break;
case '7':
cout << "按键“7”被按下,操作标识符的第八位使用4位连接模式\n";
g_nConnectivity = 4;
break;
case '8':
cout << "按键“8”被按下,使用渐变、浮动范围漫水填充\n";
g_nConnectivity = 8;
break;
}
}
destroyAllWindows();
return 0;
}结果展示:
图像金字塔和图片尺寸缩放
缩放图像最直接的方式--------resize()函数
◆ resize()
void cv::resize    (    InputArray     src,
OutputArray     dst,
Size     dsize,
double     fx = 0,
double     fy = 0,
int     interpolation = INTER_LINEAR
)
Python:
dst    =    cv.resize(    src, dsize[, dst[, fx[, fy[, interpolation]]]]    )
该函数可以将源图像精确转换为目标图像的尺寸。如果源图像中设置了ROI,那么resize()将会对ROI区域调整尺寸,以匹配目标图像,同样,如果目标图像中已设置ROI,那么resize()将会将源图像进行尺寸调整并填充到目标图像的ROI中。
参数:
Parameters
src input image.
dst output image; it has the size dsize (when it is non-zero) or the size computed from src.size(), fx, and fy; the type of dst is the same as of src.
dsize output image size; if it equals zero, it is computed as:
dsize = Size(round(fx*src.cols), round(fy*src.rows))
Either dsize or both fx and fy must be non-zero.
fx scale factor along the horizontal axis; when it equals 0, it is computed as
(double)dsize.width/src.cols
fy scale factor along the vertical axis; when it equals 0, it is computed as
(double)dsize.height/src.rows
interpolation interpolation method, see cv::InterpolationFlags 该参数指定插值方法,默认为线性插值法。
常用的插值方法如下:
INTER_NEAREST
Python: cv.INTER_NEAREST
nearest neighbor interpolation
INTER_LINEAR
Python: cv.INTER_LINEAR
bilinear interpolation
INTER_CUBIC
Python: cv.INTER_CUBIC
bicubic interpolation
INTER_AREA
Python: cv.INTER_AREA
resampling using pixel area relation. It may be a preferred method for image decimation, as it gives moire'-free results. But when the image is zoomed, it is similar to the INTER_NEAREST method.
一般情况下,我们期望源图像和重采样后的图像之间的映射尽可能地平滑。参数interpolation控制如何进行映射。其中最简单的方法是将目标图像各点的像素值设为源图像中与其距离最近的像素值,这就是当interpolation设为INTER_NEAREST 时用的算法。或者采用线性插值算法(INTER_LINEAR ),将根据源图像附近的4个(2*2范围)邻近像素的线性加权计算得出,权重由着4个像素到精确目标点的距离决定。也可以用新的像素点覆盖原来的像素点,然后求取覆盖区域的平均值来代替目标像素点,即通过INTER_AREA 。
示例:
#include<opencv2\opencv.hpp>
#include<opencv2\imgproc\imgproc.hpp>
using namespace cv;
int main()
{
Mat srcImage = imread("2.jpg");
Mat tmpImage, dstImage1, dstImage2;
tmpImage = srcImage;
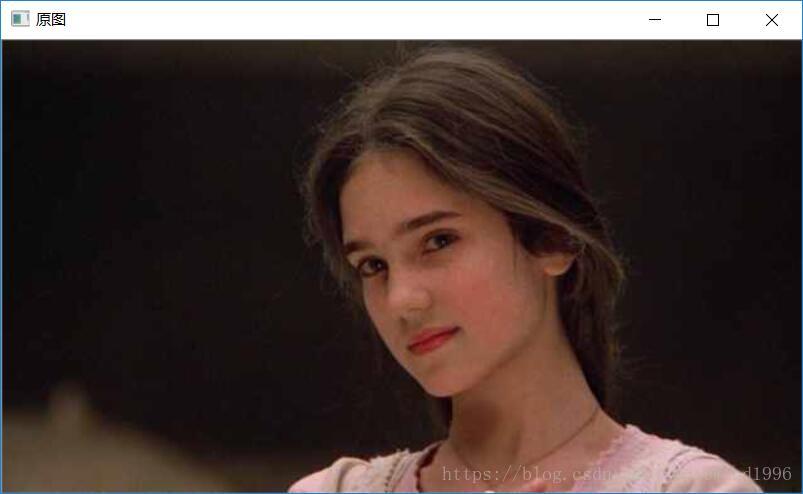
imshow("原图", srcImage);
//进行尺寸调整
//Size()指定目标图像尺寸
resize(tmpImage, dstImage1, Size(tmpImage.cols / 2, tmpImage.rows / 2), (0, 0), (0, 0), INTER_AREA);//列数等于行长
resize(tmpImage, dstImage2, Size(tmpImage.cols * 2, tmpImage.rows * 2), (0, 0), (0, 0), INTER_LINEAR);
imshow("效果图1", dstImage1);
imshow("效果图2", dstImage2);
waitKey();
destroyAllWindows();
}实现效果:
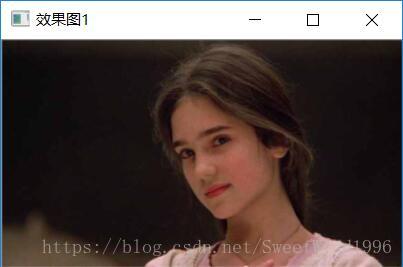
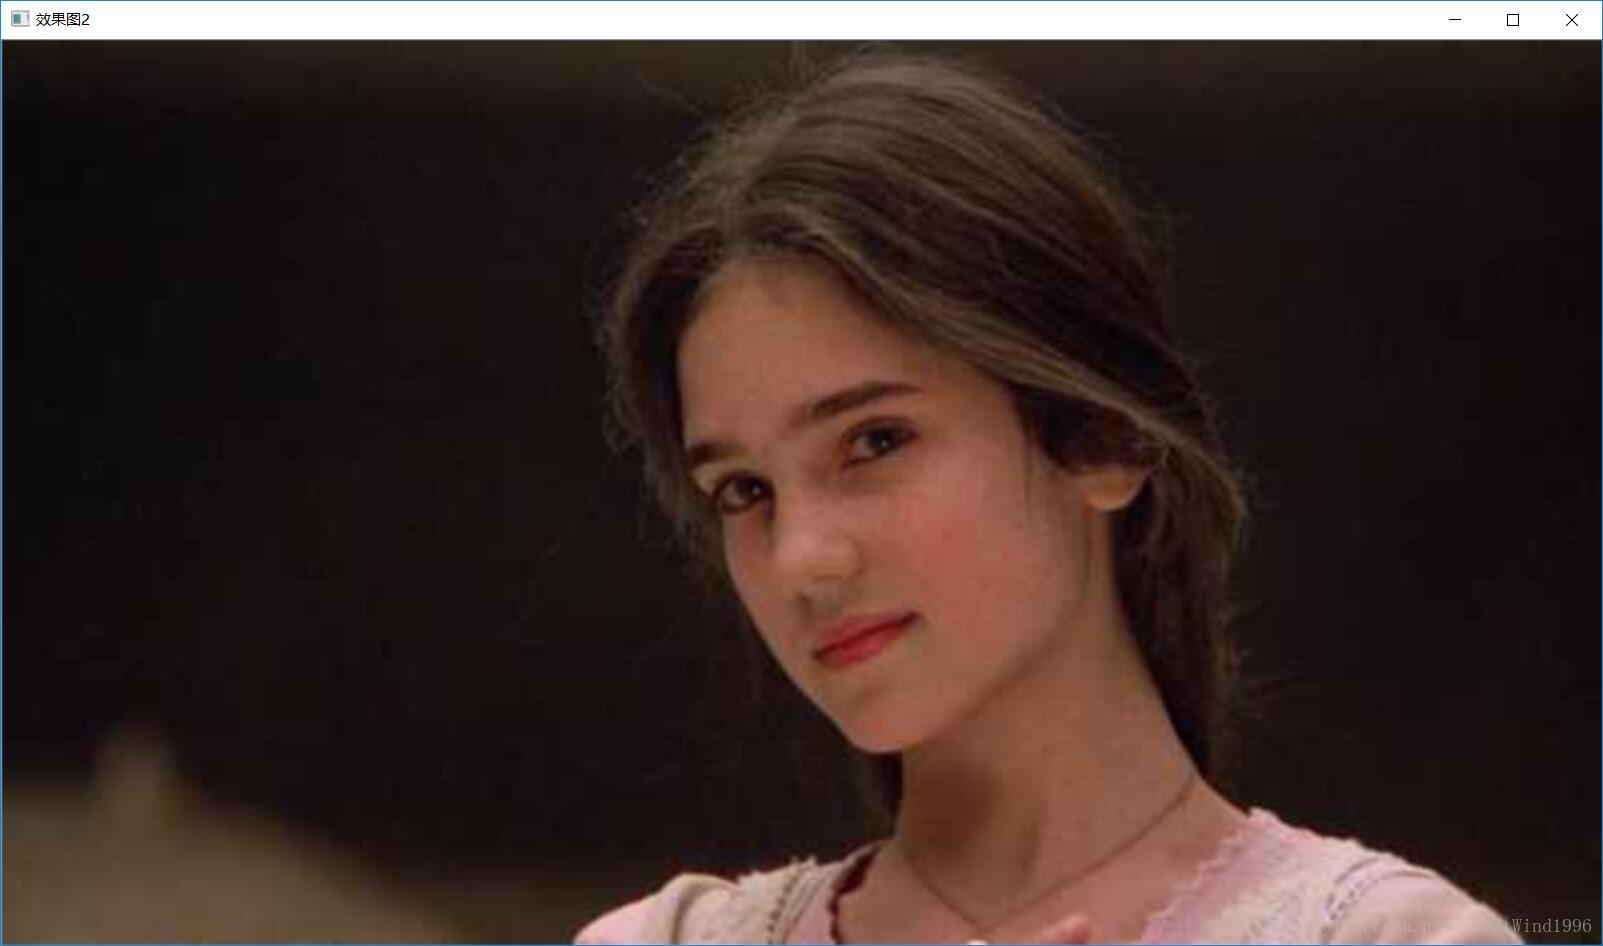
注:效果图2(放大两倍的图像)经过网页自动调整可能不太明显。
图像金字塔
图像金字塔是一个图像的集合,集合中所有的图像都源于同一个原始图像,而且是通过对原始图像连续降采样获得,知道达到某个中值条件才停止采样。
高斯金字塔与拉普拉斯金字塔
高斯金字塔用来向下采样图像,尔拉普拉斯金字塔则用来从尽在他低层图像中向上采样重建一个图像。
◆ pyrUp()
void cv::cuda::pyrUp	(	InputArray 	src,
OutputArray 	dst,
Stream & 	stream = Stream::Null()
)
//Upsamples an image and then smoothes it.
向上采样函数,用于放大一个图像并通过滤波进行平滑。
该函数用于将现有的图像在每个维度上扩大为原来的两倍。
◆ pyrDown()
void cv::pyrDown	(	InputArray 	src,
OutputArray 	dst,
const Size & 	dstsize = Size(),
int 	borderType = BORDER_DEFAULT
)
Python:
dst	=	cv.pyrDown(	src[, dst[, dstsize[, borderType]]]	)
//Blurs an image and downsamples it.
向下采样函数,用于模糊一个图像并将其缩小。
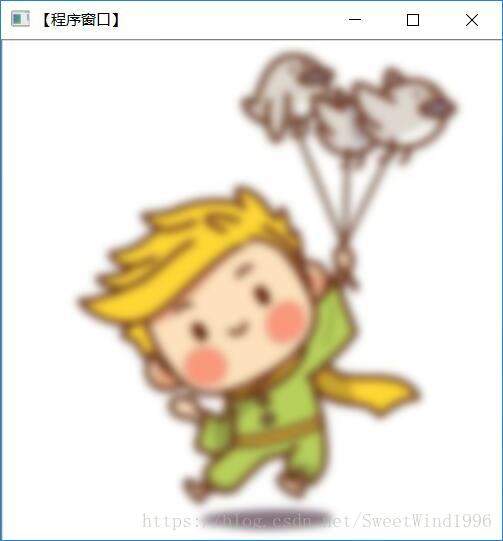
需要注意的是pyrUp与pyrDown不是互为逆操作的。pyrDown是一个会丢失信息的函数,每当把图像缩小两倍,将会丢失很多像素信息,再通过pyrUp扩大为原尺寸,图像并不会和降采样之前一样而是会变得模糊。而由降采样操作丢失的信息,形成了拉普拉斯金字塔。
以下是一张高斯金字塔及其逆形式---拉普拉斯金字塔的运算过程(图片来源于网络)
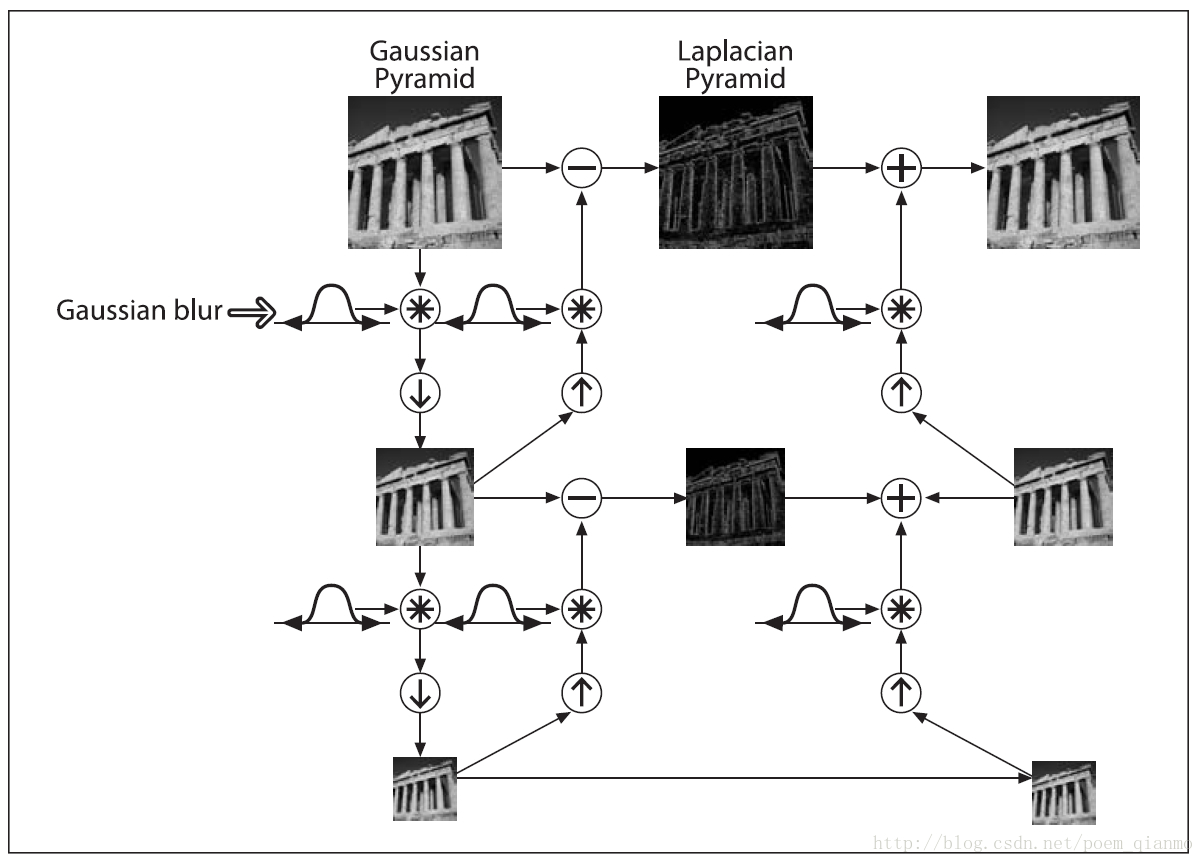
由上图可以看出,原图通过高斯模糊一直以两倍的大小进行降采样,在采样的过程中一直丢失图像的信息,而这些信息保存在每层的拉普拉斯金字塔中。从最下层可以看出,从左至右,经过两次降采样的图像想进行逆采样重建图像。在每次向上操作的过程中都会加上每一层的拉普拉斯金字塔(也就是降采样时丢失的内容),最后便可以重建这张图像。
在进行图像分割时通常会现在金字塔高层的低分辨率的图像上完成,然后字逐层对分割加以优化。
需要特别注意的一点:由于图像金字塔各层的场合宽都必须是整数,所以必须要求其实图像的长和宽都能够被2整除(对每一层都是这样),并且能够被2整除的次数不少于金字塔的总层数。也就是说图像的长和宽都必须是2*2*2*---*2*X的大小。
resize和pyrUp、pyrDown的区别在于,resize可以对图片的尺寸进行方便的更改,而对于pyrUphepyrDown而言只能以2倍的大小进行放大和缩小。
示例:
#include <opencv2\opencv.hpp>
#include <opencv2\highgui\highgui.hpp>
#include <opencv2\imgproc\imgproc.hpp>
using namespace std;
using namespace cv;
#define WINDOW_NAME "【程序窗口】"
Mat g_srcImage, g_dstImage, g_tmpImage;
int main()
{
g_srcImage = imread("1.jpg");
if (!g_srcImage.data)
{
printf("error!");
return false;
}
namedWindow(WINDOW_NAME, WINDOW_AUTOSIZE);
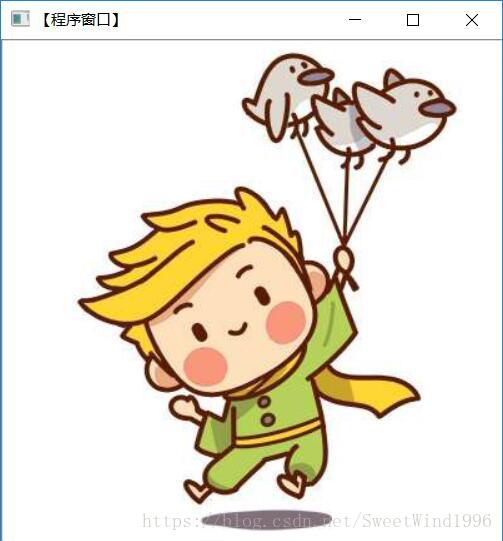
imshow(WINDOW_NAME, g_srcImage);
g_tmpImage = g_srcImage;
g_dstImage = g_tmpImage;
int key = 0;
while (1)
{
key = waitKey();
switch (key)
{
case 27:
destroyAllWindows();
return 0;
break;
case 'q':
destroyAllWindows();
return 0;
break;
case 'a':
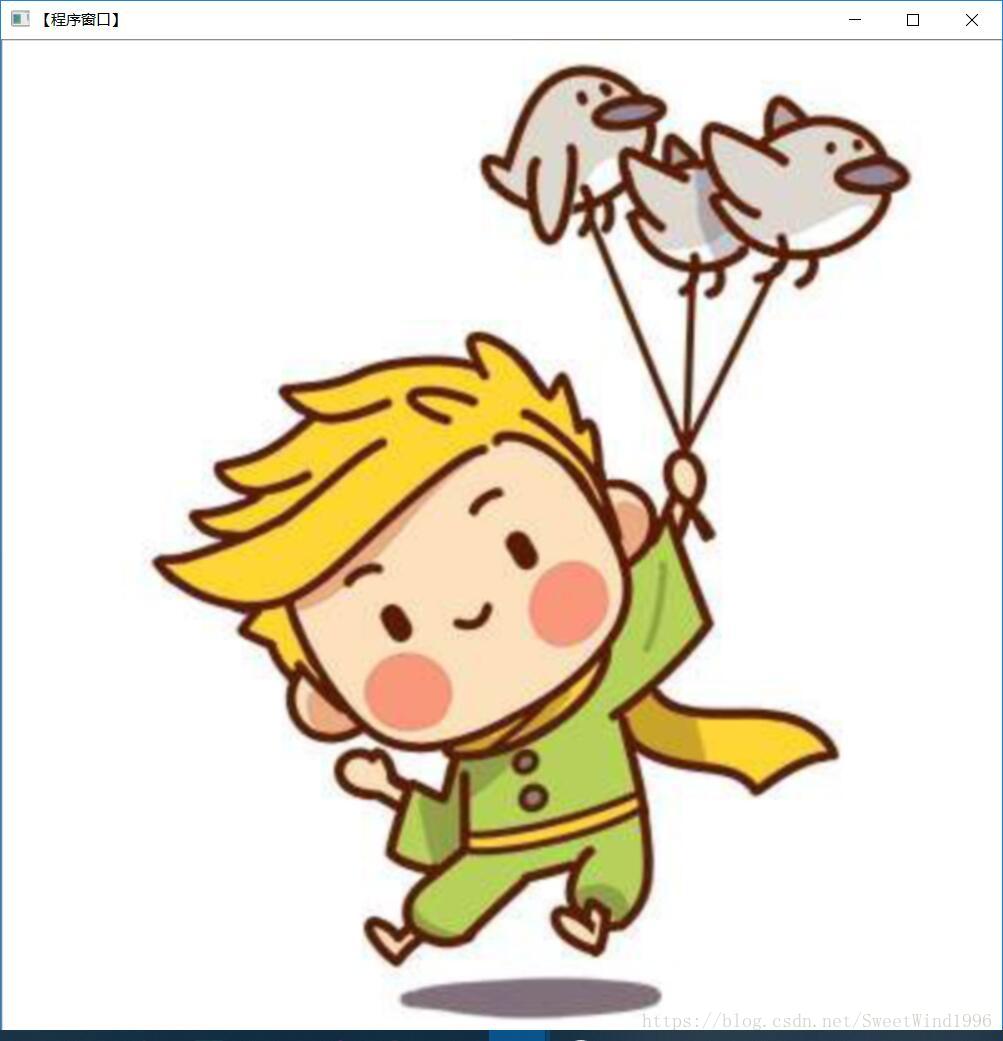
pyrUp(g_tmpImage, g_dstImage, Size(g_tmpImage.cols * 2, g_tmpImage.rows * 2));
break;
case 'w':
resize(g_tmpImage, g_dstImage, Size(g_tmpImage.cols * 2, g_tmpImage.rows * 2));
break;
case 'd':
pyrDown(g_tmpImage, g_dstImage, Size(g_tmpImage.cols / 2, g_tmpImage.rows / 2));
break;
case 's':
resize(g_tmpImage, g_dstImage, Size(g_tmpImage.cols / 2, g_tmpImage.rows / 2));
break;
}
imshow(WINDOW_NAME, g_dstImage);
g_tmpImage = g_dstImage;
}
destroyAllWindows();
return 0;
}结果:
阈值化
固定阈值操作:Treshold()函数
函数Treshold通常是对灰度图像进行阈值操作得到二值图像。
◆ threshold()
double cv::cuda::threshold	(	InputArray 	src,
OutputArray 	dst,
double 	thresh,
double 	maxval,
int 	type,
Stream & 	stream = Stream::Null()
)
//Applies a fixed-level threshold to each array element.
参数
Parameters
src Source array (single-channel).单通道数组
dst Destination array with the same size and type as src .和输入图像同大小、同类型的目标图像
thresh Threshold value.阈值
maxval Maximum value to use with THRESH_BINARY and THRESH_BINARY_INV threshold types.
使用THRESH_BINARY 和 THRESH_BINARY_INV 类型时的最大阈值。
type Threshold type. For details, see threshold . The THRESH_OTSU and THRESH_TRIANGLE threshold types are not supported.阈值类型,其中THRESH_OTSU 和 THRESH_TRIANGLE无法实现。
stream Stream for the asynchronous version.
程序示例:
#include <opencv2\opencv.hpp>
#include <opencv2\highgui\highgui.hpp>
#include <opencv2\imgproc\imgproc.hpp>

using namespace std;
using namespace cv;

#define WINDOW_NAME "【程序窗口】"

int g_nThresholdValue = 100;
int g_nThresholdType = 3;

Mat g_srcImage, g_grayImage, g_dstimage;


void on_Threshold(int, void*);

int main()
{
	g_srcImage = imread("1.jpg");
	cvtColor(g_srcImage, g_grayImage, COLOR_RGB2GRAY);
	namedWindow(WINDOW_NAME, WINDOW_AUTOSIZE);
	createTrackbar("模式", WINDOW_NAME, &g_nThresholdType, 4, on_Threshold);
	createTrackbar("参数值", WINDOW_NAME, &g_nThresholdValue, 255, on_Threshold);
	on_Threshold(0, 0);
	while (1)
	{
		int key;
		key = waitKey();
		if ((char)key == 27)
		{
			break;
		}
	}
	destroyAllWindows();
	return 0;
}
void on_Threshold(int, void*)
{
	threshold(g_grayImage, g_dstimage, g_nThresholdValue, 255, g_nThresholdType);
	imshow(WINDOW_NAME, g_dstimage);
}