SpringBoot程序创建方式
1、创建一个Spring boot项目
1) 可以采用方式一: 使用 eclipse 的 Spring Tool Suite (STS) 插件/或者 IDEA 自带的插件创建;
2) 可以采用方式二:直接使用 Maven 创建项目的方式创建;
2、加入Spring boot 的父级和起步依赖;
插件方式创建有自带pom.xml,如果手动要自己添加。
 1 <?xml version="1.0" encoding="UTF-8"?>
 2 <project xmlns="http://maven.apache.org/POM/4.0.0" xmlns:xsi="http://www.w3.org/2001/XMLSchema-instance"
 3          xsi:schemaLocation="http://maven.apache.org/POM/4.0.0 http://maven.apache.org/xsd/maven-4.0.0.xsd">
 4     <modelVersion>4.0.0</modelVersion>
 5     <!--继承spring boot 的 父级项目依赖-->
 6     <parent>
 7         <groupId>org.springframework.boot</groupId>
 8         <artifactId>spring-boot-starter-parent</artifactId>
 9         <version>2.1.1.RELEASE</version>
10         <relativePath/> <!-- lookup parent from repository -->
11     </parent>
12
13     <!--项目描述-->
14     <groupId>com.example</groupId>
15     <artifactId>springboot-web</artifactId>
16     <version>0.0.1-SNAPSHOT</version>
17     <name>springboot-web</name>
18     <description>Demo project for Spring Boot</description>
19
20     <!--属性配置-->
21     <properties>
22         <java.version>1.8</java.version>
23     </properties>
24
25     <!--spring boot 开发web项目的起步依赖-->
26     <dependencies>
27         <dependency>
28             <groupId>org.springframework.boot</groupId>
29             <artifactId>spring-boot-starter-web</artifactId>
30         </dependency>
31
32         <!--spring boot 测试的起步依赖-->
33         <dependency>
34             <groupId>org.springframework.boot</groupId>
35             <artifactId>spring-boot-starter-test</artifactId>
36             <scope>test</scope>
37         </dependency>
38     </dependencies>
39
40     <build>
41         <plugins>
42             <!--springboot提供的项目编译打包插件-->
43             <plugin>
44                 <groupId>org.springframework.boot</groupId>
45                 <artifactId>spring-boot-maven-plugin</artifactId>
46             </plugin>
47         </plugins>
48     </build>
49
50 </project>
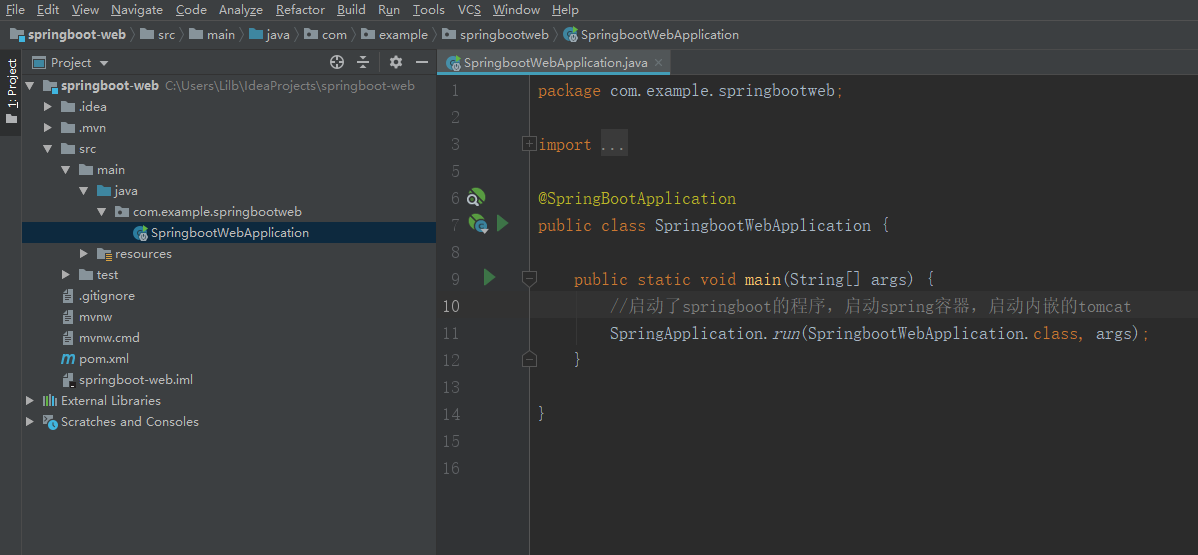
3、创建Spring boot 的入口main方法
4、创建一个Spring mvc 的Controller
 1 package com.example.springbootweb.controller;
 2
 3 import org.springframework.stereotype.Controller;
 4 import org.springframework.web.bind.annotation.RequestMapping;
 5 import org.springframework.web.bind.annotation.ResponseBody;
 6
 7 @Controller
 8 public class HelloController {
 9     @RequestMapping("/boot/hello")
10     public @ResponseBody String hello()
11     {
12         return "hello spring boot";
13     }
14 }
5、运行Spring boot的入口main方法
通过eclipse、idea右键运行main方法,浏览器访问http://localhost:8080/boot/hello,页面显示 hello spring boot
SpringBoot程序开发流程解析
1、Spring Boot 的父级依赖spring-boot-starter-parent配置之后,当前的项目就是Spring Boot项目。
2、spring-boot-starter-parent是一个特殊的starter依赖,它用来提供相关的Maven默认依赖,使用它之后,常用的jar包依赖可以省去version配置。
3、Spring Boot提供了哪些默认jar包的依赖,可查看该父级依赖的pom文件。
4、如果不想使用某个默认的依赖版本,可以通过pom.xml文件的属性配置覆盖各个依赖项,比如覆盖Spring版本:
<!--属性配置-->
<properties>
    <spring.version>5.0.0.RELEASE</spring.version>
</properties>
5、@SpringBootApplication 注解是Spring Boot项目的核心注解,主要作用是开启Spring自动配置。至少要是同级或者是下级的类,不然就扫描不到了。
6、main方法是一个标准的Java程序的main方法,主要作用是作为项目启动运行的入口。
7、@Controller 及 @ResponseBody 依然是我们之前的Spring mvc,因为Spring boot的里面依然是使用我们的Spring mvc + Spring + MyBatis 等框架。
Spring boot 的核心配置文件
Spring boot的核心配置文件用于配置Spring boot程序,有两种格式的配置文件:
1、.properties文件 application.properties
两个都存在优先识别properties
#配置服务器端口
server.port=9800
#项目访问上下文
server.servlet.context-path=/springboot-web
http://localhost:9800/springboot-web/boot/hello
2、.yml文件 application.yml
yml 是一种 yaml 格式的配置文件,主要采用一定的空格、换行等格式排版进行配置。
yaml 是一种直观的能够被计算机识别的的数据序列化格式,容易被人类阅读,yaml 类似于 xml,但是语法比 xml 简洁很多。
值与前面的冒号配置项必须要有一个空格。
yml 后缀也可以使用 yaml 后缀。
server:
  port: 9091
  servlet:
    context-path: /springboot-web #配置应用访问路径
3、多环境配置文件
有如下几个文件
application-dev.properties #比如配置测试环境
application-product.properties #比如配置生产环境
application.properties #激活的总文件,如果总文件也有相同配置以激活文件里配置优先。
#激活文件 约定成俗 application-dev.properties
spring.profiles.active=dev
Spring boot 自定义配置
1、@Value注解 自定义配置文件读取
application.properties
#配置服务器端口
server.port=9800
#项目访问上下文
server.servlet.context-path=/springboot-web
#自定义配置
boot.name=Goosander
boot.location=博客园
ConfigInfoController.java
package com.example.springbootweb.controller;

import org.springframework.beans.factory.annotation.Value;
import org.springframework.stereotype.Controller;
import org.springframework.web.bind.annotation.RequestMapping;
import org.springframework.web.bind.annotation.ResponseBody;

@Controller
public class ConfigInfoController {

    @Value("${boot.name}")
    private String name;

    @Value("${boot.location}")
    private String location;

    @RequestMapping("/boot/config")
    public @ResponseBody
    String configInfo() {
        String str = name + location;
        return str;
    }
}
访问http://localhost:9800/springboot-web/boot/config 显示Goosander博客园
!如果发现乱码,应该是编辑器GBK和srping boot 编码不一致导致,修改idea配置

2、@ConfigurationProperties 自定义配置文件映射
新建config文件用来放ConfigInfo.java
 1 package com.example.springbootweb.config;
 2
 3 import org.springframework.boot.context.properties.ConfigurationProperties;
 4 import org.springframework.stereotype.Component;
 5
 6 @Component //变成Spring的一个组件
 7 @ConfigurationProperties(prefix = "boot")
 8 public class ConfigInfo {
 9     private String name;
10     private String location;
11
12     public String getName() {
13         return name;
14     }
15
16     public void setName(String name) {
17         this.name = name;
18     }
19
20     public String getLocation() {
21         return location;
22     }
23
24     public void setLocation(String location) {
25         this.location = location;
26     }
27 }
@ConfigurationProperties 需要引用jar包
  <!--使用ConfigurationProperties-->
        <dependency>
            <groupId>org.springframework.boot</groupId>
            <artifactId>spring-boot-configuration-processor</artifactId>
            <optional>true</optional>
        </dependency>
ConfigInfoController.java
 1 package com.example.springbootweb.controller;
 2
 3 import com.example.springbootweb.config.ConfigInfo;
 4 import org.springframework.beans.factory.annotation.Autowired;
 5 import org.springframework.stereotype.Controller;
 6 import org.springframework.web.bind.annotation.RequestMapping;
 7 import org.springframework.web.bind.annotation.ResponseBody;
 8
 9 @Controller
10 public class ConfigInfoController {
11
12
13     @Autowired //注入组件
14     private ConfigInfo configInfo;
15
16
17     @RequestMapping("/boot/config")
18     public @ResponseBody
19     String configInfo() {
20         String str = configInfo.getName() + configInfo.getLocation();
21         return str;
22     }
23 }