一、反向生成数据库
什么是JPA呢?
JPA全称Java Persistence API.JPA通过JDK 5.0注解或XML描述对象-关系表的映射关系,并将运行期的实体对象持久化到数据库中。
接下里就说本文章重点了,那么怎么操作呢?只需要如下配置就可以了。
1、pom.xml添加相关依赖
- <!-- mysql依赖 -->
<dependency>
<groupId>com.alibaba</groupId>
<artifactId>druid</artifactId>
<version>1.0.16</version>
</dependency>
<dependency>
<groupId>mysql</groupId>
<artifactId>mysql-connector-java</artifactId>
<version>5.1.36</version>
</dependency>
<!-- hibernate jpa依赖 -->
<dependency>
<groupId>org.springframework.boot</groupId>
<artifactId>spring-boot-starter-data-jpa</artifactId>
</dependency>
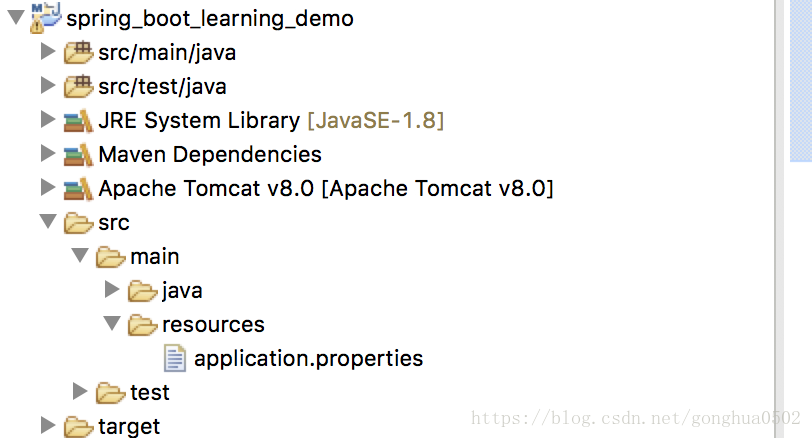
2、在项目的src/main/resources目录下新建application.properties文件,并添加相关配置
########################################################
###datasource
########################################################
spring.datasource.url = jdbc:mysql://localhost:3306/test
spring.datasource.username = root
spring.datasource.password = root
spring.datasource.driverClassName = com.mysql.jdbc.Driver
spring.datasource.max-active=20
spring.datasource.max-idle=8
spring.datasource.min-idle=8
spring.datasource.initial-size=10
########################################################
### Java Persistence Api
########################################################
# Specify the DBMS
spring.jpa.database = MYSQL
# Show or not log for each sql query
spring.jpa.show-sql = true
# Hibernate ddl auto (create, create-drop, update)
spring.jpa.hibernate.ddl-auto = update
# Naming strategy
spring.jpa.hibernate.naming-strategy = org.hibernate.cfg.ImprovedNamingStrategy
# stripped before adding them to the entity manager)
spring.jpa.properties.hibernate.dialect = org.hibernate.dialect.MySQL5Dialect
接下来就可以使用Hibernate的反向工程了,在实体类注解@Entity就会自动进行表的DDL操作了。
我们在实体类中加入注解:@Entity 并添加主键 @Id 注解及策略@GeneratedValue(strategy= GenerationType.AUTO)
import javax.persistence.*;import com.alibaba.fastjson.annotation.JSONField;
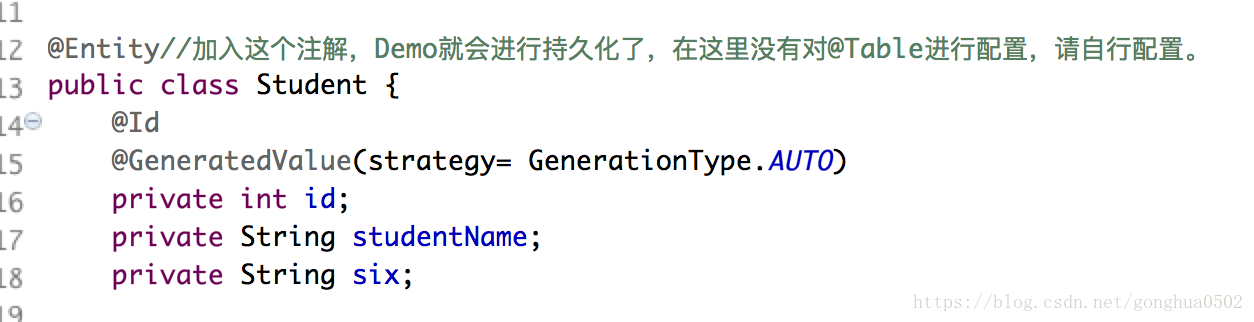
@Entity//加入这个注解,Demo就会进行持久化了,在这里没有对@Table进行配置,请自行配置。
public class Student {
@Id
@GeneratedValue(strategy= GenerationType.AUTO)
private int id;
private String studentName;
private String six;
}
运行之后,就可以在数据库中看到student表了。
注:在此过程中可能出现的问题:
(1)jdbc.driver错误、如下图所示:
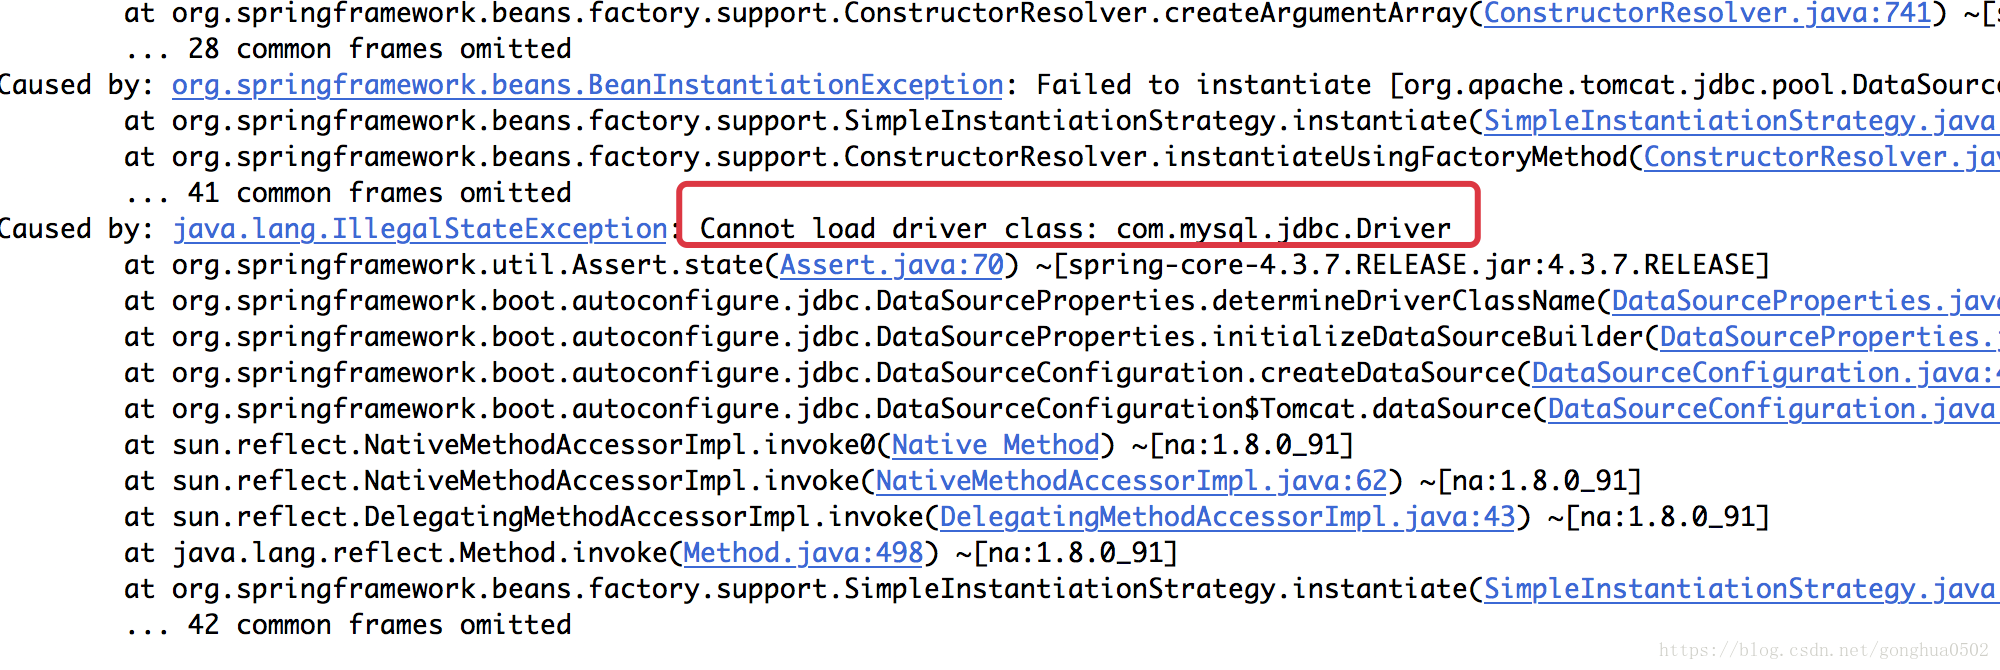
运行过程中出现上面的error,首先确定你的application.properties配置文件及jar包是否正确,第二,检查以下properties文件配置数据源处是否存在多余的空格(尤其是尾部)
(2)、springboot-jpa 报错:no identifier specified for entity
遇到这种问题,直接把entity里面引入的 import javax.persistence 改成import javax.persistence.*
二、springboot +hibernate持久化
(1) 创建实体类Demo,如果已经存在,可以忽略。
(2) 创建jpa repository类操作持久化。
package com.gongh.repository;

import org.springframework.data.repository.CrudRepository;

import com.gongh.model.Student;

public interface StudentRepository extends CrudRepository<Student, Integer> {

	//另外就是在Spring Data的核心接口里面Repository是最基本的接口了,

	//spring提供了很多实现了该接口的基本接口,如:CrudRepository,PagingAndSortingRepository,SimpleJpaRepository,QueryDslJpaRepository等大量查询接口

}
(3) 创建service类。
package com.gongh.repository.service;

import javax.annotation.Resource;
import javax.transaction.Transactional;

import org.springframework.stereotype.Service;

import com.gongh.model.Student;
import com.gongh.repository.StudentRepository;

/**
 * 提供student的服务类
 * @author gh
 *
 */
@Service
public class StudentService {

	@Resource
    private StudentRepository studentRepository;

	@Transactional
	 public void save(Student student){
		studentRepository.save(student);
	  }
}
(4) controller中
package com.gongh;

import javax.annotation.Resource;
import org.springframework.web.bind.annotation.RequestMapping;
import org.springframework.web.bind.annotation.RestController;
import com.gongh.model.Student;
import com.gongh.repository.service.StudentService;

@RestController
@RequestMapping("/Student")
public class StudentController {

	@Resource
	private StudentService studentService;

	   /**
	    * 测试保存方法
	    * @return
	    */
	    @RequestMapping("/save")
	    public String save(){
	    	Student student = new Student();
	    	student.setStudentName("James And LiLei");
	    	student.setAge(10);
	    	student.setSix("男");
	    	studentService.save(student);
	       return "save success";
	    }
}
之后就可以进行测试了,访问地址:http://127.0.0.1:8080/Student/save
查看数据库,就可以看到已经添加的数据了。
三、springboot + jdbcTemplate 进行数据库操作
(1) 在pom.xml加入jdbcTemplate的依赖;
<dependency>
<groupId>org.springframework.boot</groupId>
<artifactId>spring-boot-starter-data-jpa</artifactId>
</dependency>
(2) 编写StudentDao类,声明为:@Repository,引入JdbcTemplate
package com.gongh.dao;

import javax.annotation.Resource;
import org.springframework.jdbc.core.BeanPropertyRowMapper;
import org.springframework.jdbc.core.JdbcTemplate;
import org.springframework.jdbc.core.RowMapper;
import org.springframework.stereotype.Repository;
import com.gongh.model.Student;

/**
 * 使用JdbcTemplate操作数据库
 * @author gh
 *
 */
@Repository
public class StudentDao {

	@Resource
	 private JdbcTemplate jdbcTemplate;

	    /**
	     * 根据id获取学生对象
	     * @param id
	     * @return
	     */
	    public Student getById(int id){
	       String sql = "select * from student where id=?";
	       RowMapper<Student> rowMapper = new BeanPropertyRowMapper<Student>(Student.class);
	       return jdbcTemplate.queryForObject(sql, rowMapper,id);
	    }

}
(3) 编写StudentService类,引入StudentDao进行使用
package com.gongh.repository.service;

import javax.annotation.Resource;
import javax.transaction.Transactional;

import org.springframework.stereotype.Service;

import com.gongh.dao.StudentDao;
import com.gongh.model.Student;
/**
 * 提供student的服务类
 * @author gh
 *
 */
@Service
public class StudentService {

    @Resource
    private StudentDao studentDao;

	@Transactional
	public Student getById(int id){
        return studentDao.getById(id);

	}
}
(4) 编写controller进行测试
/**
* 返回student数据:
* @return
*/
@RequestMapping("/getStudentById")
public Student getStudentById(int id){
return studentService.getById(id);
}
然后地址栏输入:http://127.0.0.1:8080/Student/getStudentById?id=1就可以获取到信息啦
肿么样,是不是很简单的样子。。。。。