学习到集成thymeleaf及其显示数据的部分,记录如下:
(学习网址:https://www.majiaxueyuan.com/front/couinfo/36)
SpringBoot 不推荐使用jsp
因为jsp会编译成Servlet 属于重量级
Springboot中推荐使用
Thymeleaf
Freemaker Groovy
Thymeleaf了解目录
集成Thymeleaf
1.添加依赖
org.springframework.boot
spring-boot-starter-thymeleaf
完整如下:
<dependency>
            <groupId>org.springframework.boot</groupId>
            <artifactId>spring-boot-starter-thymeleaf</artifactId>
</dependency>
2.在application.properties添加
spring.thymeleaf.prefix=classpath:/templates/ #前缀
spring.thymeleaf.suffix=.html  #后缀 一定要把" . "加上 否则识别不了 这个巨坑
spring.thymeleaf.mode=HTML5  #模式为HTML5
spring.thymeleaf.encoding=UTF-8  #编码为UTF-8
spring.thymeleaf.content.type=text/html  #类型设置为text/html
(在这有个坑 最开始添加以上我创建html文件不能识别,会报错:template might not exist or might not be accessible by any of the configured Template Resolvers] with root cause,如果不加以上就可以使用,原因是后缀没有加上 " . " 所以SpiringBoot扫描不到以html结尾的 。。所以.html结尾的 )

3.在templates中编写一个html文件


编辑一下html中的内容
4.在Controller类中去返回这个页面
比如我在PageController中去返回

里面的方法如下:
@Controller
public class PageController {

 ................

    @RequestMapping("/hel")    //浏览器上访问hel
    public String helloHtml(){ //调用这个方法hellohtml
        return "hello";        //返回一个页面以hello命名的html文件(hello.html 路径在templs下)
    }

}
5.启动程序
访问localhost:8080/hel
可以看到返回的hello页面

使用Thymeleaf显示数据
可以在Controller中返回一些数据到前台页面上
我在视频中看到了使用了一个叫model的对象,里面可以存放很多东西。
然后使用addAttribute 方法到前台调用
举个栗子:我在当前hello页面添加一些数据显示输出
我在Controoller的方法中添加了一些东西:
字符串类型的名字、数值类型的年龄、list类型的外号,然后将其刷到前台去
如下:
@RequestMapping("/hel")
    public String helloHtml(Model model) {

        String sname = "二狗子";
        model.addAttribute("sname", sname);

        Integer gender = 23;
        model.addAttribute("age", gender);

        List<String> lists = new ArrayList<String>();

        lists.add("帅比");
        lists.add("大帅比");
        lists.add("炒鸡大帅比");
        lists.add("炒鸡宇宙大帅比");


        model.addAttribute("lists", lists);


        return "hello";
    }
model.addAttribute()方法是有点像key-value的样子刷入。
是一个接口,源码如下:
public interface Model {
    Model addAttribute(String var1, @Nullable Object var2);

    Model addAttribute(Object var1);

    Model addAllAttributes(Collection<?> var1);

    Model addAllAttributes(Map<String, ?> var1);

    Model mergeAttributes(Map<String, ?> var1);

    boolean containsAttribute(String var1);

    Map<String, Object> asMap();
}
我们把 sname,age,list通过方法刷到前台后,需要在页面端去读取。
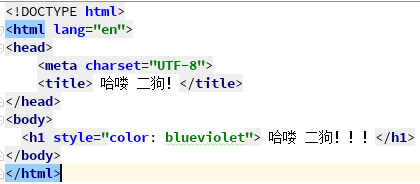
html页面我也改了下:
<!DOCTYPE html>
<html xmlns="http://www.w3.org/1999/xhtml" xmlns:th="http://www.thymeleaf.org">
<head>
<meta charset="UTF-8">
<title> 哈喽 二狗!</title>
</head>
<a>
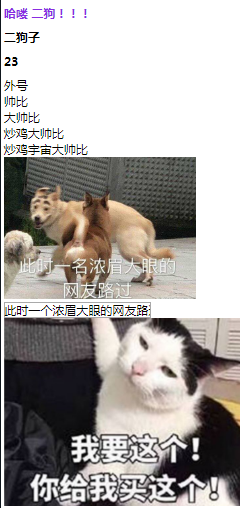
<h1 style="color: blueviolet"> 哈喽 二狗!!!</h1>
<h1 style="color: black" th:text="${sname}"/>
<h1 th:text="${age}"/>
<table>
<tr>外号</tr>
<tr th:each="list:${lists}">
<td th:text="${list}">
</tr>
</table>
<img th:src="@{/img/dog.jpg}"/>
<input th:value="此时一个浓眉大眼的网友路过"/>
<img th:src="@{/img/cat.jpg}">
</body>
</html>注意:
<html xmlns="http://www.w3.org/1999/xhtml" xmlns:th="http://www.thymeleaf.org">这个是设置 头文件,不进行设置是不认识 th标签的
(可以看看这个大佬写的:https://www.cnblogs.com/vinphy/p/4674247.html)
然后启动就可以看到效果了
以上。