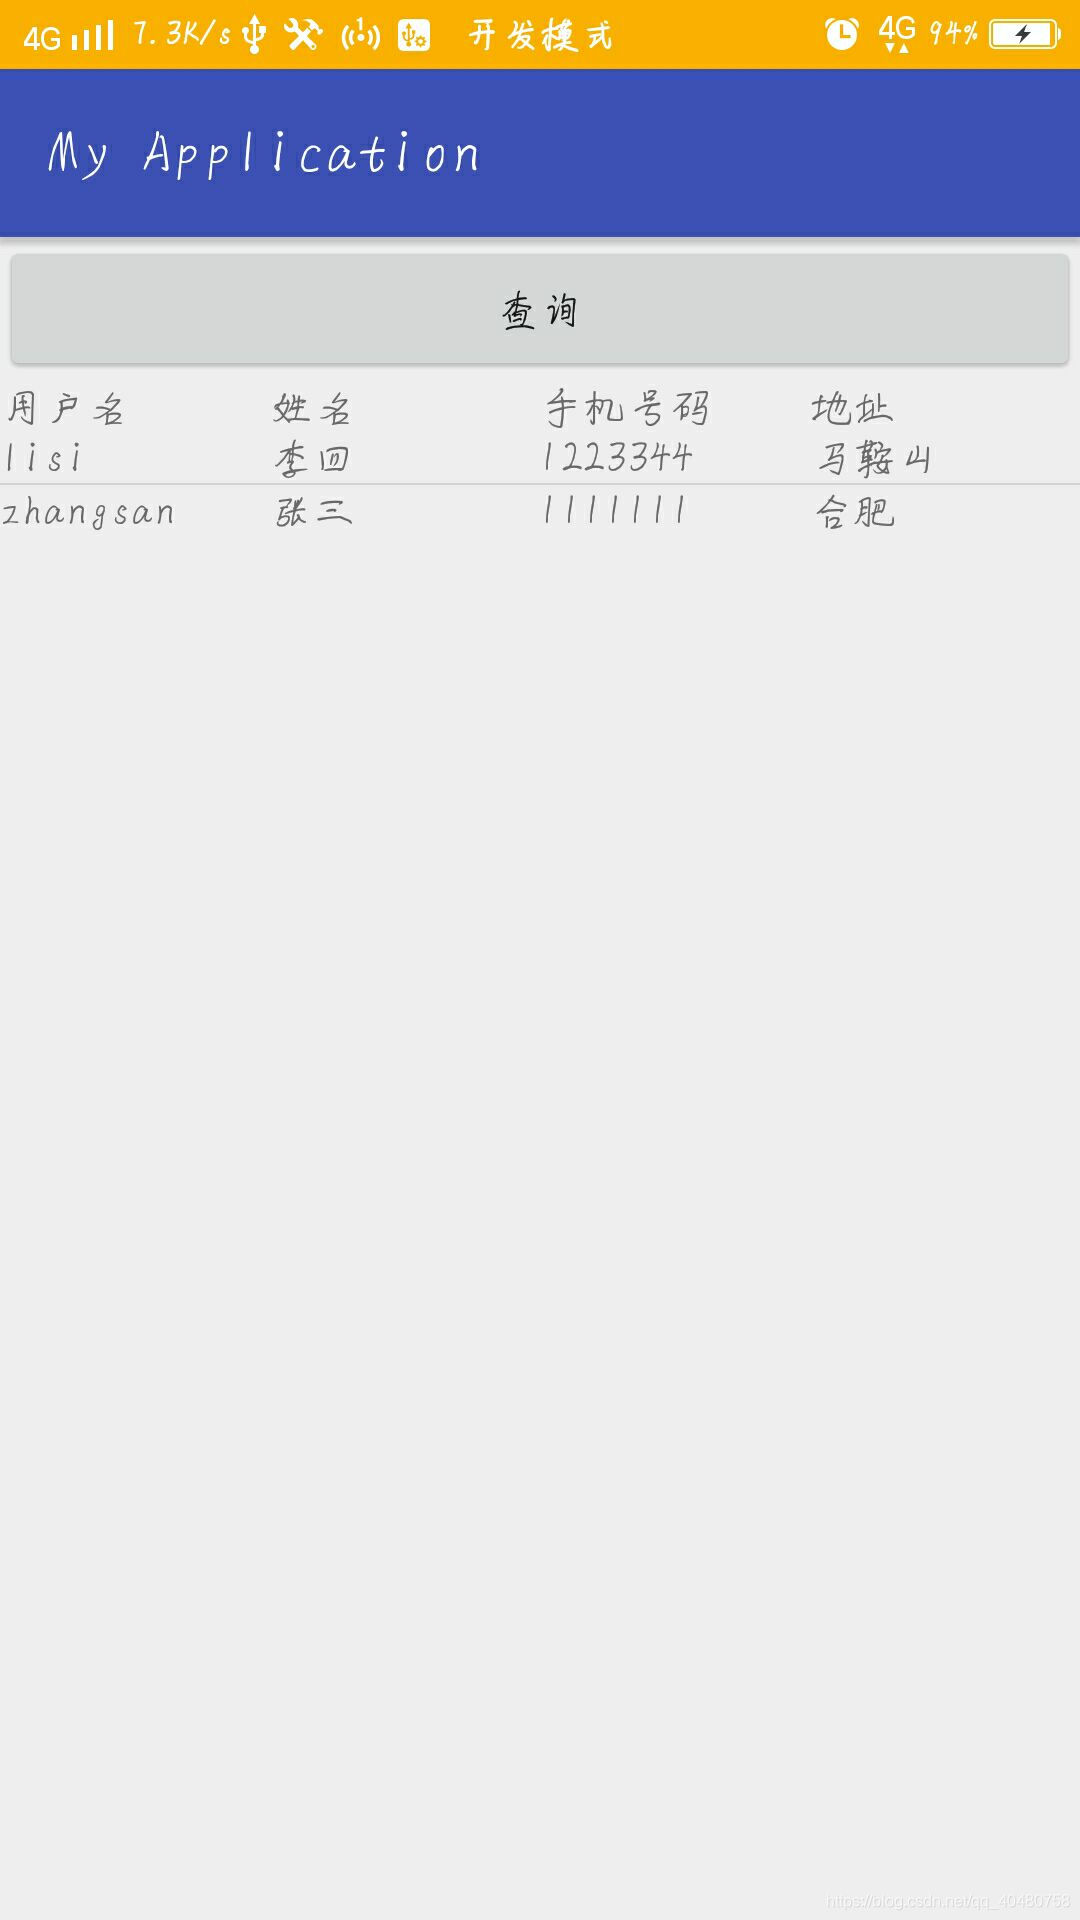
上上篇文章写了个Android的模拟接口,终于派上用场了
现在我们将接口里面的json数据通过ListView显示出来,效果如下:
先讲一下ListView吧, 讲ListView之前,肯定要讲Adapter,在Android应用程序中,采用数据和显示分开实现的数据处理方式,由于数据源形式多样,例如ListView所展示的数据格式是有一定要求的,为匹配这个变换,,中间加了适配器。数据适配器正是建立了数据源与ListView之间的适配关系,将数据源转换为ListView能够显示的数据格式,从而将数据的来源 与数据的显示进行 解耦,降低程序的耦合度。我这次用的是最常用的BaseAdapter,直接放代码,注释都在代码里。
public class MyAdapter extends BaseAdapter {
    private LinkedList<ClientInfo> mData;//ClientInfo为数据源的内容格式
    private Context context;//布局装载器对象

    public MyAdapter(LinkedList<ClientInfo> mData, Context context) {
        this.mData = mData;
        this.context = context;
    }

    //要绑定的条目的数目
    @Override
    public int getCount() {
        return mData.size();
    }

    //根据一个索引(位置)获取该位置的对象
    @Override
    public Object getItem(int position) {
        return mData.get(position);
    }

    //获取条目的id
    @Override
    public long getItemId(int position) {
        return position;
    }

    //获取该条目要显示的界面
    @Override
    public View getView(int position, View convertView, ViewGroup parent) {
        ViewHolder viewHolder;
        //如果view未被实例化过,缓存池中没有对应的缓存
        if (convertView==null){
            viewHolder = new ViewHolder();
            convertView = LayoutInflater.from(context).inflate(R.layout.item_list_client,parent,false);
            viewHolder.userName = (TextView) convertView.findViewById(R.id.username);
            viewHolder.name1 = (TextView) convertView.findViewById(R.id.name);
            viewHolder.phone = (TextView) convertView.findViewById(R.id.phone);
            viewHolder.address = (TextView) convertView.findViewById(R.id.address);
            //用setTag将convertView和viewHolder关联
            convertView.setTag(viewHolder);
        }else {
            viewHolder = (ViewHolder) convertView.getTag();
        }
        //取出bean对象
        ClientInfo clientInfo = mData.get(position);
        //设置控件的数据
        viewHolder.userName.setText(clientInfo.getUserName());
        viewHolder.name1.setText(clientInfo.getName());
        viewHolder.phone.setText(clientInfo.getPhone());
        viewHolder.address.setText(clientInfo.getAddress());
        return convertView;

    }
    //ViewHolder用于缓存控件,
    class ViewHolder{
        public TextView userName;
        public TextView name1;
        public TextView phone;
        public TextView address;
    }
}
获取接口中的数据,肯定是需要先 定义一个实体类的,我这里就不全放代码了主要就是定义了几个变量,构造函数还有一堆set、get方法,变量名贴一下。
public class ClientInfo {
    private String userName;
    private String name;
    private String phone;
    private String address;
}
接下来是重头戏,okhttp3,看这里
public class Okhttp2Activity extends AppCompatActivity {
    private Context mContext;
    private List<ClientInfo> mData=null;
    private MyAdapter myAdapter = null;
    private ListView listView;
    private Button btn;
    private final String url="http://192.168.43.210:8081/getJson";
    private OkHttpClient client;
    private JSONObject jsonObject1,jsonObject2;
    private JSONArray jsonArray;


    @Override
    protected void onCreate(Bundle savedInstanceState) {
        super.onCreate(savedInstanceState);
        setContentView(R.layout.activity_okhttp2);
        mContext = Okhttp2Activity.this;
        listView = (ListView) findViewById(R.id.list_client);
        btn = (Button) findViewById(R.id.btn);
        client = new OkHttpClient();
        btn.setOnClickListener(new View.OnClickListener() {
            @Override
            public void onClick(View v) {
                Request request = new Request.Builder()
                        .url(url)
                        .cacheControl(CacheControl.FORCE_NETWORK)
                        .build();

                //异步请求
                client.newCall(request).enqueue(new Callback() {
                    @Override
                    public void onFailure(Call call, IOException e) {
                        Toast.makeText(Okhttp2Activity.this,e.getMessage(),Toast.LENGTH_SHORT).show();
                    }

                    @Override
                    public void onResponse(Call call, Response response) throws IOException {
                        final String responseString = response.body().string();
                        //在主线程中修改UI
                        runOnUiThread(new Runnable() {
                            @Override
                            public void run() {
                                try {
                                    jsonObject1 = new JSONObject(responseString);
                                    jsonArray = jsonObject1.optJSONArray("data");
                                    mData = new LinkedList<ClientInfo>();
                                    for(int i = 0;i<jsonArray.length();i++){
                                        jsonObject2 = jsonArray.optJSONObject(i);
                                            String username = jsonObject2.getString("client_username");
                                            String name1 = jsonObject2.getString("client_name");
                                            String phone = jsonObject2.getString("client_phone");
                                            String address = jsonObject2.getString("client_address");
                                            ClientInfo clientInfo = new ClientInfo(username,name1,phone,address);
                                            mData.add(clientInfo);
                                    }
                                    myAdapter = new MyAdapter((LinkedList<ClientInfo>) mData,mContext);
                                    listView.setAdapter(myAdapter);

                                } catch (JSONException e) {
                                    e.printStackTrace();
                                }
                            }
                        });
                    }
                });
            }
        });

    }
}数据格式在我的上上篇博客中有,可以去看一下。
对于ListView其实只需要进行这几步
(1)在布局中放置ListView控件
(2)准备ListView显示的数据,我们这里是 LinkedList<ClientInfo>
(3)获取布局的ListView控件

listView = (ListView) findViewById(R.id.list_client);
(4)定义并初始化一个适配器
myAdapter = new MyAdapter((LinkedList<ClientInfo>) mData,mContext);
(5)将前面定义的适配器,利用ListView的函数setAdapter()设置
listView.setAdapter(myAdapter);
然后讲一下OkHttp的具体使用方法
(1)首先创建一个OkHttpClient的实例,代码如下
OkHttpClient client = new OkHttpClient();
(2)创建一个request对象,设置好目标地址,这里发起的是get请求
private final String url="http://192.168.43.210:8081/getJson";
Request request = new Request.Builder() .url(url) .cacheControl(CacheControl.FORCE_NETWORK) .build();
(3)调用OkHttpClient的newCall()方法,创建Call对象,并调用它的exqueue()方法(异步请求),创建一个Callback实 例,重写他的两个方法。
其中,response对象就是服务器返回的数据,获取返回的json数据
final String responseString = response.body().string();
然后就是解析json格式的数据,并放入适配器绑定的LinkedList<ClientInfo>当中。
当然不要忘了在manifest里面添加网络权限<uses-permission android:name="android.permission.INTERNET" />
还有okttp3的架包
dependencies

{
    ...
    compile 'com.squareup.okhttp3:okhttp:3.2.0' compile 'com.squareup.okio:okio:1.7.0'
    ...
}
最后贴一下两个简单的xml文件
(1)item_list_client.xml
<?xml version="1.0" encoding="utf-8"?>
<LinearLayout xmlns:android="http://schemas.android.com/apk/res/android"
    android:layout_width="match_parent"
    android:layout_height="match_parent"
    android:orientation="horizontal">
    <TextView
        android:id="@+id/username"
        android:layout_width="match_parent"
        android:layout_height="wrap_content"
        android:layout_weight="1"/>
    <TextView
        android:id="@+id/name"
        android:layout_width="match_parent"
        android:layout_height="wrap_content"
        android:layout_weight="1"/>
    <TextView
        android:id="@+id/phone"
        android:layout_width="match_parent"
        android:layout_height="wrap_content"
        android:layout_weight="1"/>
    <TextView
        android:id="@+id/address"
        android:layout_width="match_parent"
        android:layout_height="wrap_content"
        android:layout_weight="1"/>
</LinearLayout>
(2)activity_okhttp2.xml
<?xml version="1.0" encoding="utf-8"?>
<LinearLayout xmlns:android="http://schemas.android.com/apk/res/android"
    xmlns:app="http://schemas.android.com/apk/res-auto"
    xmlns:tools="http://schemas.android.com/tools"
    android:layout_width="match_parent"
    android:layout_height="match_parent"
    tools:context="com.example.administrator.myapplication.Okhttp2Activity"
    android:orientation="vertical">
    <Button
        android:id="@+id/btn"
        android:layout_width="match_parent"
        android:layout_height="wrap_content"
        android:text="查询" />
    <LinearLayout
        android:layout_width="match_parent"
        android:layout_height="wrap_content"
        android:orientation="horizontal">
        <TextView
            android:id="@+id/username1"
            android:layout_width="match_parent"
            android:layout_height="wrap_content"
            android:layout_weight="1"
            android:text="用户名"/>
        <TextView
            android:id="@+id/name1"
            android:layout_width="match_parent"
            android:layout_height="wrap_content"
            android:layout_weight="1"
            android:text="姓名"/>
        <TextView
            android:id="@+id/phone1"
            android:layout_width="match_parent"
            android:layout_height="wrap_content"
            android:layout_weight="1"
            android:text="手机号码"/>
        <TextView
            android:id="@+id/address1"
            android:layout_width="match_parent"
            android:layout_height="wrap_content"
            android:layout_weight="1"
            android:text="地址"/>
    </LinearLayout>
    <ListView
        android:id="@+id/list_client"
        android:layout_width="match_parent"
        android:layout_height="wrap_content">
    </ListView>
</LinearLayout>