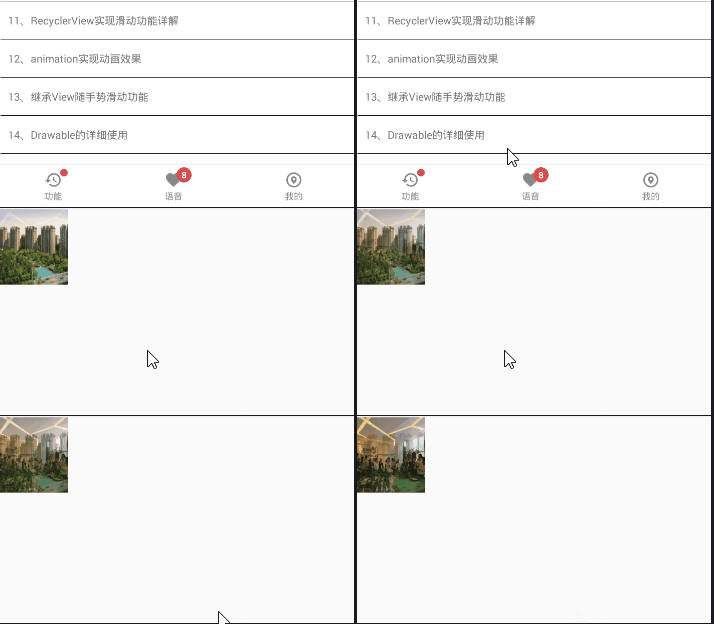
一、前言
最近在看关于Android的书籍,发现居然把Drawable当做一个章节来讲,感觉没有必要啊,Drawable不就是图片引用吗。深入理解后才发现我们平常用的只是比较常用和简单的,Drawable还是有很多其他实现方式的。今天就详细讲解一下Drawable。
二、概述
其实Drawable的种类有很多,常见的有BitmapDrawable、ShapeDrawable、LayerDrawable、StateListDrawable。下面详细讲解一下Drawable的各个使用方式
1、BitmapDrawable
开发中基本不使用,因为我们在控件调用图片时直接通过src或者background的方式就直接引用图片了,而bitmapDrawable是对图片进行重新描述和定义,如果图片没有特殊情况不会多此一举的,下面讲一下具体用法。
Drawable 下新建bitmap.xml:是对需要的图片进行重新定义
<?xml version="1.0" encoding="utf-8"?>
<bitmap xmlns:android="http://schemas.android.com/apk/res/android"
    android:src="@drawable/material_item_background"
    android:tileMode="mirror"
    android:antialias="true"
    android:filter="true"
    android:dither="true">
</bitmap>
(1)android:antialias:表示是否开启抗锯齿功能,一般为true;
(2)android:dither:表示是否开启抖动,一般为true;
(3)android:filter:表示是否开启过滤效果,一般为true;
(4)android:tileMode:表示是否平铺模式 ,disable默认不平铺;repeat表示水平和竖直方向的平铺;mirror表示水平和竖 直方向的镜面投影效果,clamp表示四周图像会扩展到周围区域。
使用自定义的bitmap方式
    <ImageView
        android:layout_width="wrap_content"
        android:src="@drawable/my_bitmap"
        android:layout_height="wrap_content" />
2、ShapeDrawable
ShapeDrawable可以实现矩形、圆形、线和圆环;它既可以是纯色的图形,也可以是渐变色的图形
(1)代码效果图如下

(2)实现代码:
<?xml version="1.0" encoding="utf-8"?>
<shape xmlns:android="http://schemas.android.com/apk/res/android"
    android:shape="rectangle">
    <!--画图角度-->
    <corners
        android:radius="20dp"
        android:topLeftRadius="10dp"
        android:topRightRadius="20dp"
        android:bottomLeftRadius="20dp"
        android:bottomRightRadius="40dp" />
    <!--描边-->
    <stroke
        android:width="2dp"
        android:color="@color/black"
        android:dashWidth="5dp"
        android:dashGap="2dp" />
    <!--渐变效果-->
    <gradient
        android:angle="45"
        android:centerX="0"
        android:centerY="0"
        android:centerColor="@color/gray_background"
        android:endColor="@color/red"
        android:gradientRadius="0"
        android:startColor="@color/black"
        android:type="linear"
        android:useLevel="true"/>
    <!--表示距离框架的空白-->
    <padding
        android:left="@dimen/px_50"
        android:top="@dimen/px_50"
        android:right="@dimen/px_50"
        android:bottom="@dimen/px_50"/>
<!--大小-->
    <size android:width="100dp"
        android:height="100dp"/>
</shape>
1、shape
根元素,其android:shape属性定义了这个xml文件定义的形状,可以是retangle(矩形),oval(椭圆),line 和 ring(圆环)。
2、corners(角)
<corners>表示的是矩形的四个角,只能用在android:shape = "rectangle" 的时候,一般情况下就是用来实现圆角矩形的效果
3、stroke(描边)
android:dashWidth:组成虚线的线段的宽度android:dashGap="2dp":组成虚线的线段之间的间隔4、gradient(渐变)android:angle:渐变的角度,默认为0,其值必须是45的倍数
android:centerX:渐变中心点的横坐标
android:startColor:渐变的起始颜色,还有中间色和结束色
android:gradientRadius:渐变半径
android:type:渐变类别;line(线性渐变)、radial(径向渐变)sweep(扫描渐变)
5、solid(填充)
表示纯色填充
6、padding
表示包含它的view的空白
7、size
图片大小
3、LayerDrawable
表示多个图片叠加形成的新的图片,可以实现的效果图如下:

(2)实现代码
<?xml version="1.0" encoding="utf-8"?>
<layer-list xmlns:android="http://schemas.android.com/apk/res/android">
    <item
        android:drawable="@drawable/default_picture"
        android:gravity="center"
        android:id="@+id/layer_1"/>

    <item
        android:drawable="@drawable/default_picture"
        android:gravity="center"
        android:top="50dp"
        android:left="50dp"
        android:id="@+id/layer_2"/>

    <item
        android:drawable="@drawable/default_picture"
        android:gravity="center"
        android:top="100dp"
        android:left="100dp"
        android:id="@+id/layer_3"/>
</layer-list>
4、StateListDrawable
比较常用,也是一个Drawable集合,会根据View的点击状态来显示不同的图片,最常见的就是button按钮点击,对应标签是<selector>
(1)实现效果
![]()
(2)实现代码
<?xml version="1.0" encoding="utf-8" ?>
<selector xmlns:android="http://schemas.android.com/apk/res/android">
    <!-- 触摸时并且当前窗口处于交互状态 -->
    <item android:state_pressed="true"  android:drawable= "@drawable/building_info_connnect" />
    <!--  触摸时并且没有获得焦点状态 -->
    <item android:state_pressed="true"  android:drawable="@drawable/nim_slide_toggle_off" />
    <!--选中时的图片背景-->
    <item android:state_selected="true" android:drawable="@drawable/nim_slide_toggle_on" />
    <!--获得焦点时的图片背景-->
    <item android:state_focused="true" android:drawable="@drawable/top_background" />
    <!-- 窗口没有处于交互时的背景图片 -->
    <item android:drawable="@drawable/building_info_report" />
</selector>
5、LevelListDrawable
表示一个Drawable,将每个Drawable设置为各个等级,根据设置的等级显示不同的图片,标签为<level-list>
6、TransitionDrawable
表示两个Drawable的淡入淡出效果,标签为<transition>,可以在当页面显示后的指定时间显示另一张图片,效果图如下。

(2)实现代码如下,首先在Drawable文件夹下创建一个xml
<?xml version="1.0" encoding="utf-8"?>
<transition xmlns:android="http://schemas.android.com/apk/res/android">
    <item android:drawable="@drawable/xuan_chaun"/>
    <item android:drawable="@drawable/default_picture"/>
</transition>
(3)在自己的布局中使用该drawable
    <TextView
        android:id="@+id/imgView"
        android:layout_width="100dp"
        android:layout_height="100dp"
        android:background="@drawable/transition_layout" />
(4)还需要在Activity中进行加载
 imgView=findViewById(R.id.imgView);
        TransitionDrawable drawable=(TransitionDrawable)imgView.getBackground();
        drawable.startTransition(2000);
三、总结
我们一般在使用图片时只需要直接引用drawable就可以,但是可以使用ShapeDrawable来实现一些例如圆形、矩形、渐变色等背景色的实现,这样可以减少APK的大小。
如果需要实现多个图片叠加感觉布局麻烦就使用<layer-list>;
如果涉及到按钮点击显示不同的效果,就用<selector>,
如果在页面中某个图片显示完成后还需要显示另一张图片,可以使用<transition>,避免了在页面中写定时器功能了。