版权声明:文章均是博主原创,如需转载,请在文章开头注明出处和署名! https://blog.csdn.net/shirln/article/details/84375082
推荐阅读:
刚接触不久就遇到困难------自定义loading。想和其他获取图片方式一样获取加载界面的图片,结果发现资源还没加载就需要图片,在网上百度了许多,都没有找到正确的方式,通过自己的摸索,终于,,,我成功了。。。
下面介绍一下主要思想:
首先,我们需要使用异步加载的方式,在加载界面之前加载loading界面需要的素材,然后再loadingUI中就可以大胆使用它了。
其次,我们经常碰到的问题是自定义进度条不显示问题。那是因为你没有在Main中把它加载舞台上。
最后,看看具体实现方法吧。
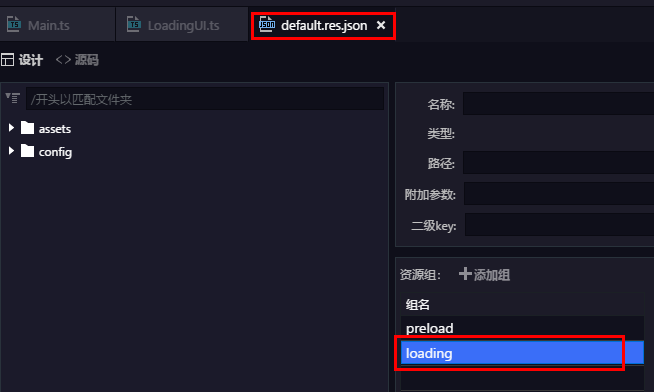
1.新建load界面需要的资源组loading
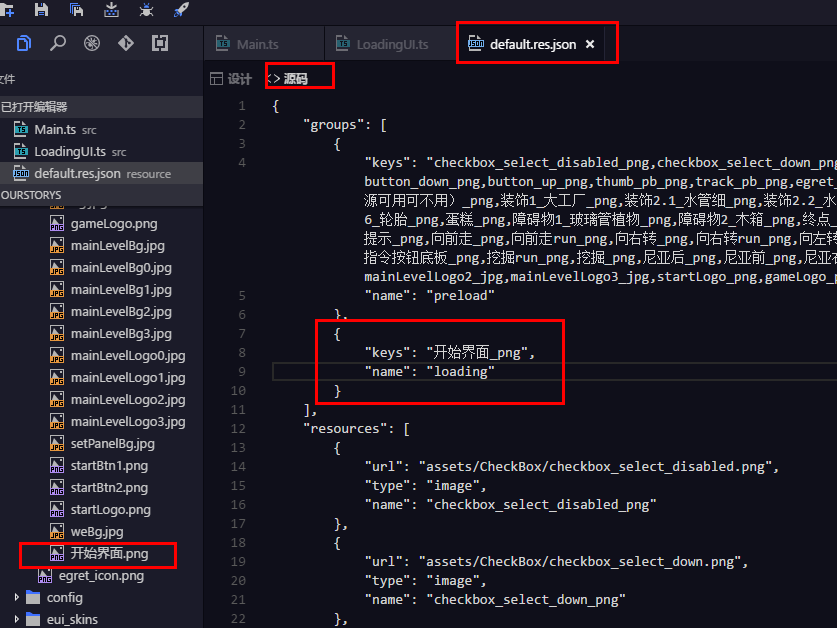
2.添加load界面需要的图片,并加入配置表相应位置
3.main中添加代码:
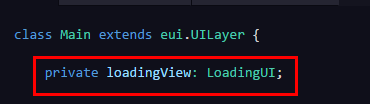
private loadingView: LoadingUI;
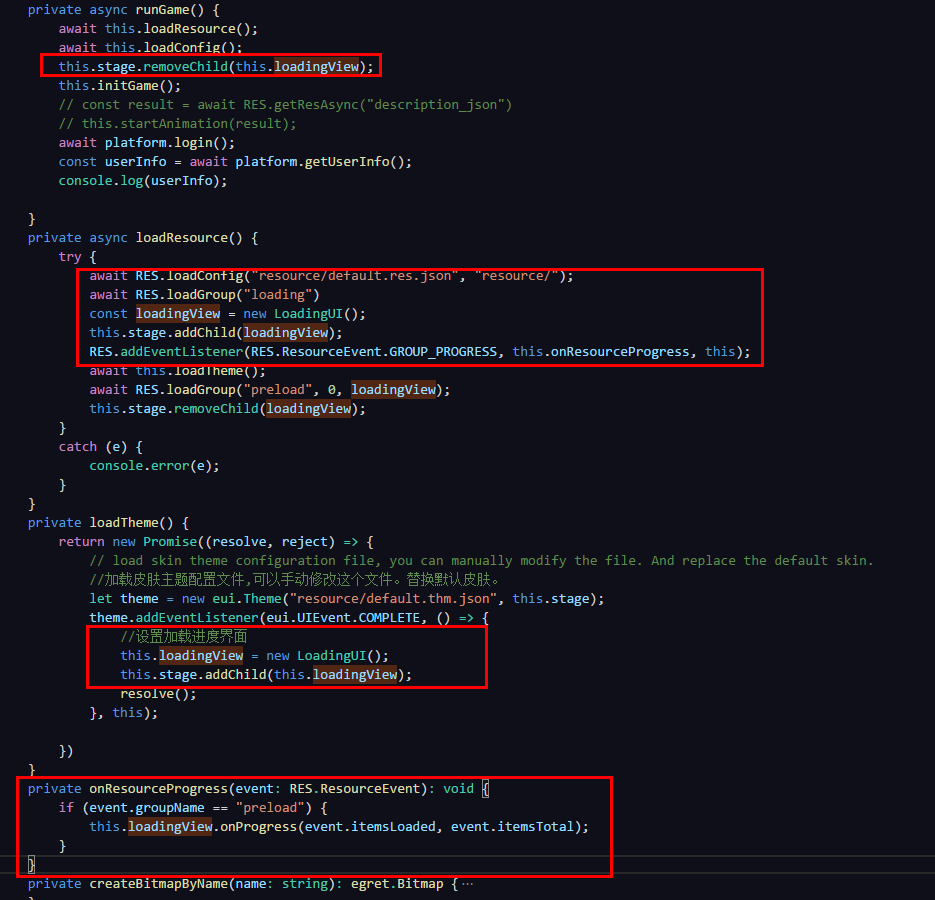
private async runGame() {
        await this.loadResource();
        await this.loadConfig();
        this.stage.removeChild(this.loadingView);
        this.initGame();
        // const result = await RES.getResAsync("description_json")
        // this.startAnimation(result);
        await platform.login();
        const userInfo = await platform.getUserInfo();
        console.log(userInfo);

    }
    private async loadResource() {
        try {
            await RES.loadConfig("resource/default.res.json", "resource/");
            await RES.loadGroup("loading")
            const loadingView = new LoadingUI();
            this.stage.addChild(loadingView);
            RES.addEventListener(RES.ResourceEvent.GROUP_PROGRESS, this.onResourceProgress, this);
            await this.loadTheme();
            await RES.loadGroup("preload", 0, loadingView);
            this.stage.removeChild(loadingView);
        }
        catch (e) {
            console.error(e);
        }
    }
    private loadTheme() {
        return new Promise((resolve, reject) => {
            // load skin theme configuration file, you can manually modify the file. And replace the default skin.
            //加载皮肤主题配置文件,可以手动修改这个文件。替换默认皮肤。
            let theme = new eui.Theme("resource/default.thm.json", this.stage);
            theme.addEventListener(eui.UIEvent.COMPLETE, () => {
                //设置加载进度界面
                this.loadingView = new LoadingUI();
                this.stage.addChild(this.loadingView);
                resolve();
            }, this);

        })
    }
    private onResourceProgress(event: RES.ResourceEvent): void {
        if (event.groupName == "preload") {
            this.loadingView.onProgress(event.itemsLoaded, event.itemsTotal);
        }
    }
4.在LoadingUI中修改代码为:
class LoadingUI extends egret.Sprite implements RES.PromiseTaskReporter {

    public constructor() {
        super();
        if (!this.pBar) {
            this.createView();
        }
    }
    private pBar: eui.ProgressBar;
    private bg:egret.Bitmap;


    private async createView(){

        this.bg=new egret.Bitmap();
        this.bg.texture=RES.getRes("开始界面_png");
        // this.bg.width=this.stage.stageWidth;
        // this.bg.height=this.stage.stageHeight;
        this.addChild(this.bg);

        this.pBar = new eui.ProgressBar();
        this.pBar.x = 400;
        this.pBar.y = 600;
        this.pBar.width = 1000;
        this.pBar.height = 40;
        this.pBar.maximum = 100;
        this.pBar.minimum = 0;
        this.pBar.value = 0;
        this.addChild(this.pBar);
    }
    private createBitmapByName(name: string): egret.Bitmap {
        var result: egret.Bitmap = new egret.Bitmap();
        var texture: egret.Texture = RES.getRes(name);
        result.texture = texture;
        return result;
    }
    public onProgress(current: number, total: number): void {
        if (this.pBar.labelDisplay != null || this.pBar.labelDisplay != undefined) {
            // egret.log("加载进度条~~~~~");
            this.pBar.labelDisplay.textColor = 0xff0000;
            this.pBar.value = current;
        }

    }
}
至此,自定义加载界面完成,当然,你还可以根据自己喜爱添加,修改加载界面布局