1、下载
下载地址:https://archive.apache.org/dist/zookeeper/zookeeper-3.4.9/
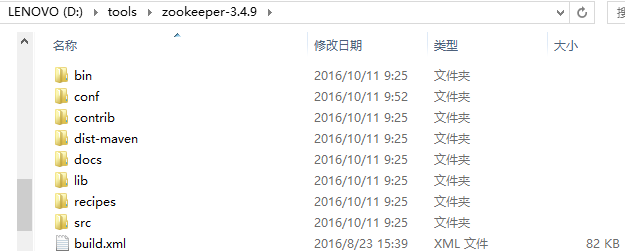
2、启动
进入bin文件夹下,如下图:
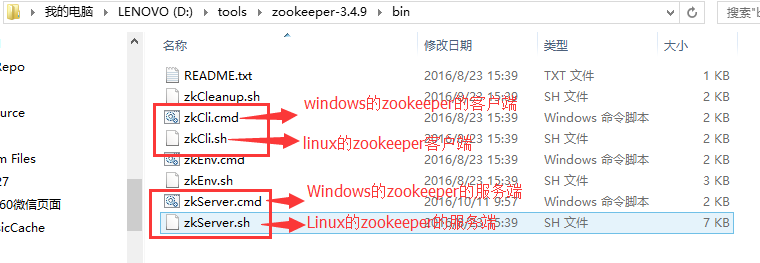
3、运行(windows环境)
双击zkServer.cmd,发现闪退
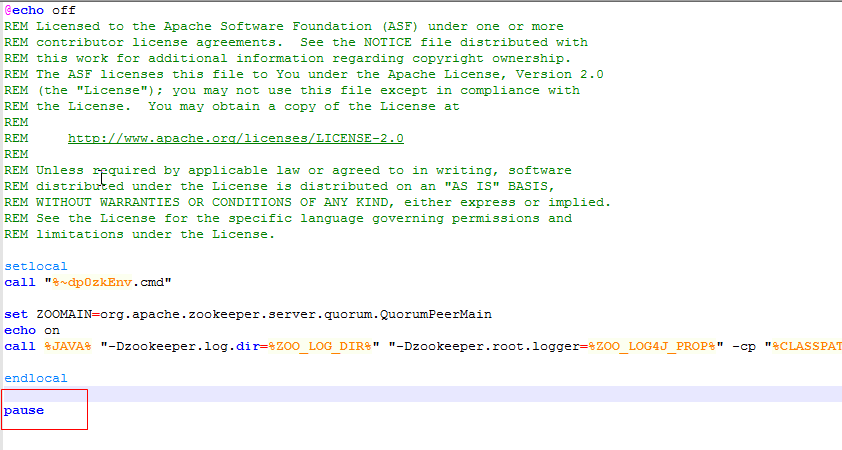
4、问题解决
打开zkServer.cmd进行编辑,在尾部加pause,如下图:
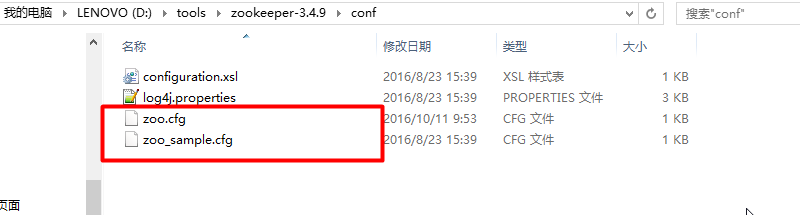
保存,再次双击,发现找不到zoo.cfg文件,如下图:
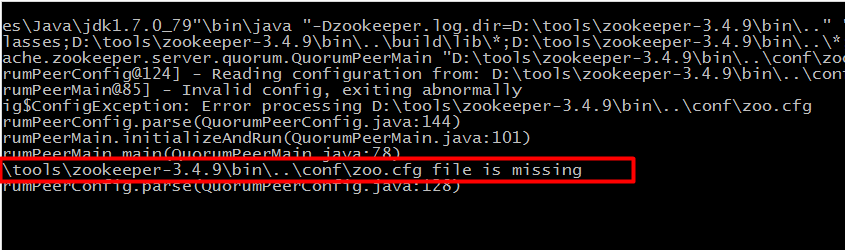
进入conf文件夹下,将zoo_sample.cfg文件复制一份修改为zoo.cfg,如下图:
修改zoo.cfg
| 1 2 3 4 5 6 7 8 9 10 11 12 13 14 15 16 17 18 19 20 21 22 23 24 25 26 27 28 |
|
至此ZooKeeper在Windows操作系统中安装配置完毕,但需要指出的是ZooKeeper是使用java编写的,因此运行ZooKeeper之前必须安装Java环境——配置JDK,且JDK的版本要大于或等于1.6。
5、再次启动
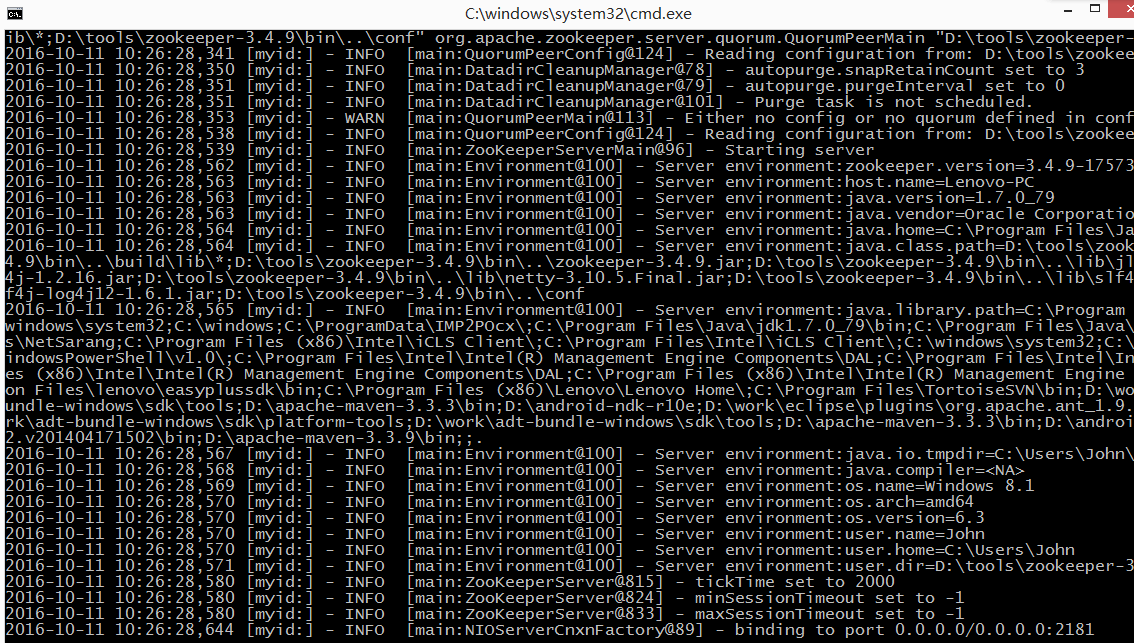
双击zkServer.cmd,出现如下界面,则启动成功
参见: