目前很多网站的登录都需要采用验证码的方式进行登录,这一定程度上增大的爬虫的难度。以极验验证码为例,这家公司的验证码在国内的用户很多,在业界也很出名。

出于好奇心和学术研究的目的,我尝试了破解某东的验证码,也查了很多别人的博客和资料,最后算是成功了吧。
一、破解过程分析
1. 首先我们到将用户名和密码输入,点击登录

2.接下来就是重点了,网站会有几率弹出一个拼图验证码,如果你频繁的登录,就不会出现验证码。

3.接下来我们就要分析一下了,怎么完成拼图呢?
我选择的方式是,先拿到缺口图片和小块图片,进行拼接,得到小块的位置,就可以确定滑块的移动距离(实际上还需要查看小块图片左侧的距离),然后拖动滑块,按照一定的轨迹进行移动,最后完成拼图。这就是拼图的过程。二、代码分析
1.获取图片,下载到本地
查看网页的代码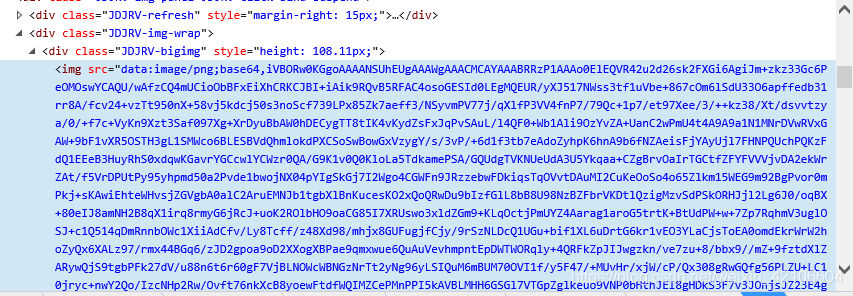
通过网页源码我们发现,图片是一base64的编码方式显示在网页中的,当然其他的网站可能是图片链接,这种情况我们需要先将其解码,然后写入文件中就好了。
下载图片的代码
def pic_download(url,type):
    url = url
    root = "../img_db/"
    # path = root + str(time.strftime("%Y-%m-%d-%H-%M-%S", time.localtime()))+'.png'
    path = root + type + '.png'
    try:
        if not os.path.exists(root):
            os.mkdir(root)
        if os.path.exists(path):
            os.remove(path)
        #如果图片是url的格式
        # r = requests.get(url)
        # r.raise_for_status()
        #如果图片是base64编码的
        data=url.split(',')[1]
        img=base64.b64decode(data)
        # 使用with语句可以不用自己手动关闭已经打开的文件流
        with open(path, "wb") as f:  # 开始写文件,wb代表写二进制文件
            f.write(img)
            print(f.name)
        print("下载完成")
        return f.name
    except Exception as e:
        print("获取失败!" + str(e))
2.合并图片,找到位置
这里我们使用了opencv的包,这个包在图像处理方便时非常强大的,可以做人脸识别等,功能十分强大,膜拜大牛。def get_distance(small_url, big_url):
# 引用上面的图片下载
otemp = pic_download(small_url, 'small')
time.sleep(2)
# 引用上面的图片下载
oblk = pic_download(big_url, 'big')
# # 计算拼图还原距离
target = cv2.imread(otemp, 0)
template = cv2.imread(oblk, 0)
w, h = target.shape[::-1]
temp = 'temp.jpg'
targ = 'targ.jpg'
cv2.imwrite(temp, template)
cv2.imwrite(targ, target)
target = cv2.imread(targ)
target = cv2.cvtColor(target, cv2.COLOR_BGR2GRAY)
target = abs(255 - target)
cv2.imwrite(targ, target)
target = cv2.imread(targ)
template = cv2.imread(temp)
result = cv2.matchTemplate(target, template, cv2.TM_CCOEFF_NORMED)
x, y = np.unravel_index(result.argmax(), result.shape)
# 缺口位置
print((y, x, y + w, x + h))
# 调用PIL Image 做测试
image = Im.open(oblk)
xy = (y + 20, x + 20, y + w - 20, x + h - 20)
# 切割
imagecrop = image.crop(xy)
# 保存切割的缺口
imagecrop.save("../img_db/new_image.png")
return y
这里我们需要注意一点,我们计算出了缺口的位置,但是页面显示的图片大小是通过css布局的,所以和我们下载的图片或写入的图片大写是不一样的,所以我们在移动的时候需要计算一个比例。
3.设计移动轨迹,移动滑块
def move_mouse(browser,distance,element):
    has_gone_dist=0
    remaining_dist = distance
    # distance += randint(-10, 10)
    # 按下鼠标左键
    ActionChains(browser).click_and_hold(element).perform()
    time.sleep(0.5)
    while remaining_dist > 0:
        ratio = remaining_dist / distance
        if ratio < 0.1:
            # 开始阶段移动较慢
            span = random.randint(3, 5)
        elif ratio > 0.9:
            # 结束阶段移动较慢
            span = random.randint(5, 8)
        else:
            # 中间部分移动快
            span = random.randint(15, 20)
        ActionChains(browser).move_by_offset(span, random.randint(-5, 5)).perform()
        remaining_dist -= span
        has_gone_dist += span
        time.sleep(random.randint(5, 20) / 100)

    ActionChains(browser).move_by_offset(remaining_dist, random.randint(-5, 5)).perform()
    ActionChains(browser).release(on_element=element).perform()
极验的验证码会识别我们拖动的过程,分析我们的移动轨迹,但是虽然我们的移动轨迹是模拟人,先缓慢后加速最后减速的过程。但是这样还是不够的,我们还需要多设计几个移动轨迹,根据我的测试经验得出的结论。
结语
下面是要导的包,还需要把对应浏览器的webdriver安装的python解释器的路径里,这里就不细讲了,有问题可以留言交流。import os
import random
import time
import base64
# import requests
import cv2
from selenium import webdriver
from selenium.webdriver import ActionChains
from selenium.webdriver.common.by import By
from selenium.webdriver.support import expected_conditions as EC
from selenium.webdriver.support.wait import WebDriverWait
import numpy as np
from PIL import Image as Im
完整的代码:https://github.com/onlyonedaniel/onlyone/blob/master/jd_test.py
转载请标明出处,欢迎留言交流