实验拓扑图
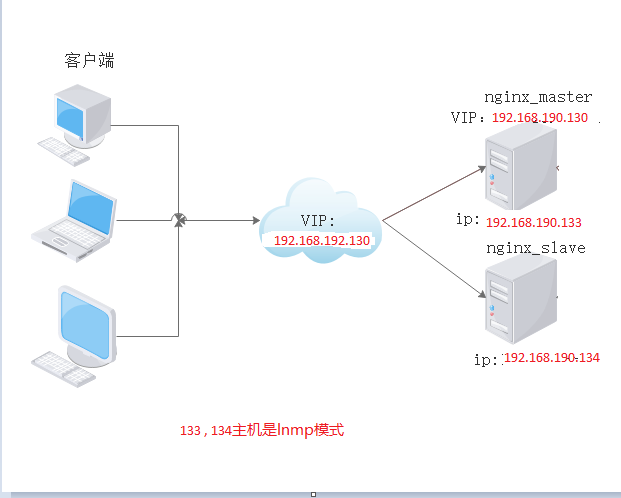
(1)本次基于VMware Workstation搭建一个四台Linux(CentOS 7.5)系统所构成的一个服务器集群,其中两台nginx做前端调度服务器(一台为主机,另一台为备机),另外两台作为真实的Web服务器
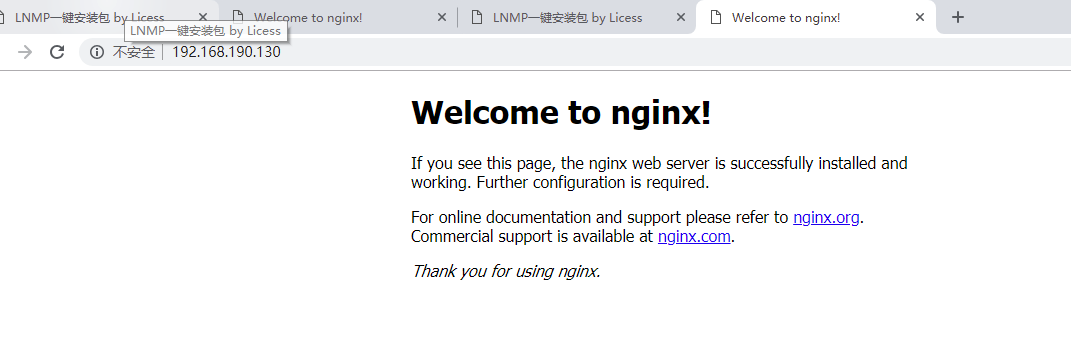
(2)本次实验设置了一个VIP(Virtual IP)为192.168.190.130,用户只需要访问这个IP地址即可获得网页服务。其中,nginx主机为192.168.190.133,备机为192.168.190.134。
一,配置nginx反向代理服务器,在两台nginx上都做一遍下面的操作
    1,在http语句块中定义调度规则
    vim /etc/nginx/nginx.conf
        http {
             .....

             upstream webser {
                        server 172.18.38.200:80;
                        server 172.18.38.201:80;
                  }

             .....
        }

    2,而后在server中调用
    vim /etc/nginx/conf.d/vhost.conf
        server {
                listen 172.18.38.99:80;
                server_name www.a.com;
                location / {
                        proxy_pass http://webser;
                }
        }
2,重启nginx,使配置生效
systemctl restart nginx二,配置keepalived+nginx_master服务器**
1,安装keepalived
yum install keepalived
2,修改keepalived配置文件
! Configuration File for keepalived
    global_defs {
       notification_email {
         root@localhost
       }
       notification_email_from keepalived@localhost
       smtp_server 127.0.0.1
       smtp_connect_timeout 30
       router_id Lvs133
       vrrp_mcast_group4 224.1.1.1
    }

    vrrp_script chk_nginx {
    script "killall -0 nginx && exit 0 || exit 1"
    interval 1
    weight -30
    fall 2
    rise 2
    }
    vrrp_instance VI_1 {
        state MASTER
        interface ens33
        virtual_router_id 51
        priority 100
        advert_int 1
        authentication {
            auth_type PASS
            auth_pass 123456
        }
        virtual_ipaddress {
            192.168.190.130
        }
        track_script {
            chk_nginx
        }
    }
关键配置:
1,定义nginx健康检查脚本
vrrp_script chk_nginx {
script "killall -0 nginx && exit 0 || exit 1"
interval 1 #以秒触发一次
weight -30 #nginx宕机就立马减去有限级30
fall 2 #检查两次如果都是宕机就表示nginx挂掉了
rise 2 #宕机之后两次检查nginx是活着的就重新+30优先级
}
2,调用
track_script {
chk_nginx3,启动keepalived
    systemctl  start keepalived
    systemctl enable keepalived
三,配置keepalived+nginx_slave服务器
! Configuration File for keepalived
    global_defs {
       notification_email {
         root@localhost
       }
       notification_email_from keepalived@localhost
       smtp_server 127.0.0.1
       smtp_connect_timeout 30
       router_id Lvs134
       vrrp_mcast_group4 224.1.1.1
    }

    vrrp_script chk_nginx {
    script "killall -0 nginx && exit 0 || exit 1"
    interval 1
    weight -30
    fall 2
    rise 2
    }
    vrrp_instance VI_1 {
        state BACKUP
        interface ens33
        virtual_router_id 51
        priority 80
        advert_int 1
        authentication {
            auth_type PASS
            auth_pass 123456
        }
        virtual_ipaddress {
            192.168.190.130
        }
        track_script {
            chk_nginx
        }
    }
7,启动keepalived
    systemctl  start keepalived
    systemctl enable keepalived
d 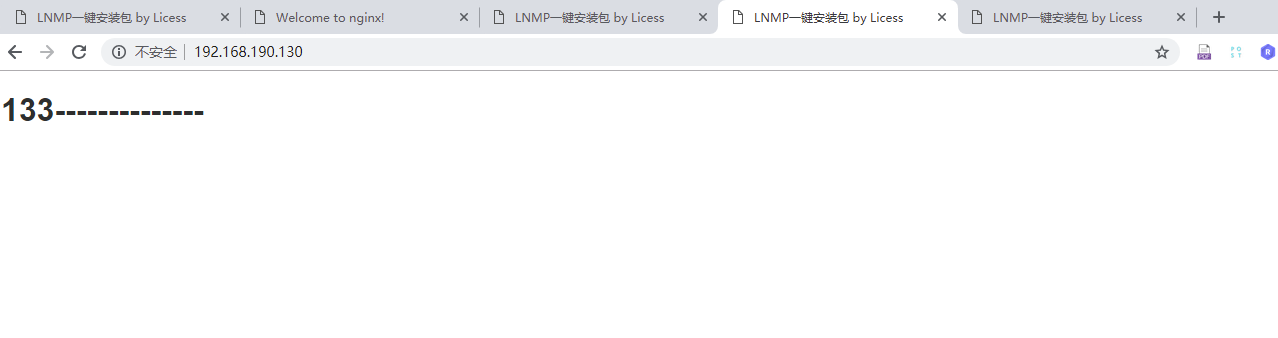
在113机子执行
systemctl stop keepalived