创建plist文件有两种方式:一种是工程目录中创建,一种是代码创建在沙河中;
1.工程目录创建: 这样创建出来的plist 文件 然后点击.plist文件,出现一个Root行,点击Root这一行,然后通过点击右键->Add Row或者点击Root后面的加号来增加一行。这一行中包含三个属性,key、type、value。其中key是字段属性,type是字段类型,value是字段对应的值。而Type又包含7中类型,其中两种是Array和Dictionary,这两种是数组的形式,在它们下面还可以包含许多key-value。
而另外5种是Boolean,data,string,date,number。这5种类型的数据都是被array和dictionary所要包含的数据。
注意:此种创建方式不能通过代码来增加修改数据源,因为它只有读取权限,没有写入权限;
1. command + n;弹出以下的文件选择,往下滑动直到出现 Property List 这个文件,点击选中,然后Next;

2.上一步Next后到这一步命名你要创建的Plist文件;然后Create 创建;


3.创建完成你就能在工程目录左边看到你所创建的Plist文件;

4. 点击你创建的Plist文件就能在工程的右侧出现以下样式:然后就可以往列表中添加你想要的数据;

2.代码创建:主要是把plist文件创建在沙盒目录中对一些部分文件进行对应的读写限制,只能在几个目录下进行读写文件:
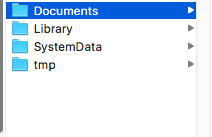
NSSearchPathForDirectoriesInDomains(NSDocumentDirectory, NSUserDomainMask, YES);
NSDocumentDirectory, // documents (Documents)
NSCachesDirectory = 13, // location of discardable cache files (Library/Caches)
如果要指定其他文件目录,比如Caches目录,需要更换目录常量为NSCachesDirectory。使用NSSearchPathForDirectoriesInDomains只能定位Caches目录和Documents目录。tmp目录,不能按照上面的做法获得目录了,有个函数可以获得应用的根目录:
NSHomeDirectory()
也就是Documents的上级目录,当然也是tmp目录的上级目录。那么文件路径可以这样写: NSString *fileName=[NSHomeDirectory() stringByAppendingPathComponent:@"tmp/wsqFile.txt"];
NSDocumentationDirectory 和 NSDocumentDirectory 的区别;
// 找到Documents 文件所在的路径
NSArray *pathArr = NSSearchPathForDirectoriesInDomains(NSDocumentDirectory, NSUserDomainMask, YES);
for (int i = 0; i <pathArr.count ; i ++) {
NSLog(@"路径文件夹%d,%@",i,pathArr[i]);
}
//取得第一个Documents文件夹的路径
NSString *filePath = [pathArr objectAtIndex:0];
NSLog(@"取得的路径文件夹%@",filePath);
//把TestPlist文件加入
NSString *plistPath = [filePath stringByAppendingPathComponent:@"wsqtest.plist"];

//取得第一个Documents文件夹的路径
NSString *filePath = [pathArr objectAtIndex:0];
NSLog(@"取得的路径文件夹%@",filePath);
NSFileManager *fm = [NSFileManager defaultManager];
//开始创建文件
[fm createFileAtPath:plistPath contents:nil attributes:nil];
//删除文件
[fm removeItemAtPath:plistPath error:nil];
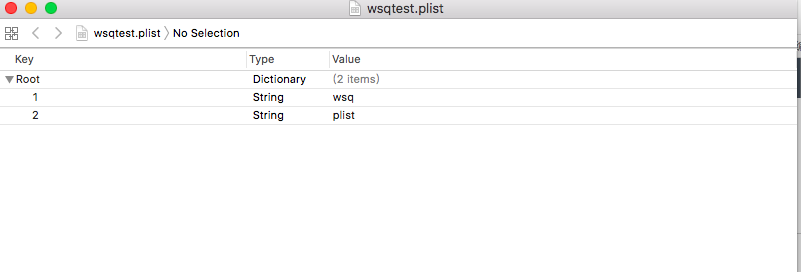
//在写入数据之前,需要把要写入的数据先写入一个字典中,创建一个dictionary(也可以是数组的形式写入Plist 就看需求):
NSDictionary *dic = [NSDictionarydictionaryWithObjectsAndKeys:@"wsq",@"1",@"plist",@"2",nil];
//把数据写入plist文件
[dic writeToFile:plistPath atomically:YES];
//读取plist中的数据,形式如下:
NSDictionary *dic2 = [NSDictionarydictionaryWithContentsOfFile:plistPath];
NSLog(@"dic2:%@",dic2);
