利用 openssl 源代码安装 Nginx
[root@localhost software]# tar xf nginx-1.15.5.tar.gz
[root@localhost software]# cd nginx-1.15.5/
[root@localhost nginx-1.15.5]# groupadd nginx
[root@localhost nginx-1.15.5]# useradd nginx -M -s /sbin/nologin -g nginx
[root@localhost nginx-1.15.5]# mkdir -p /project/nginx1.15.0
[root@localhost nginx-1.15.5]# mkdir -p /project/{logs/nginx,cache/nginx}
[root@localhost nginx-1.15.5]# ll /project/
总用量 0
drwxr-xr-x. 3 root root 19 11月 1 21:48 cache
drwxr-xr-x. 3 root root 19 11月 1 21:48 logs
drwxr-xr-x. 2 root root 6 11月 1 21:48 nginx1.15.0
[root@localhost nginx-1.15.5]# ./configure --prefix=/project/nginx1.15.0 --with-openssl=/opt/software/openssl-1.1.1 --with-openssl-opt="enable-ec_nistp_64_gcc_128" --with-http_ssl_module --user=nginx --group=nginx --error-log-path=/project/logs/nginx/error.log --http-log-path=/project/logs/nginx/access.log --http-client-body-temp-path=/project/cache/nginx/client_temp --http-proxy-temp-path=/project/cache/nginx/proxy_temp --http-fastcgi-temp-path=/project/cache/nginx/fastcgi_temp --http-uwsgi-temp-path=/project/cache/nginx/uwsgi_temp --http-scgi-temp-path=/project/cache/nginx/scgi_temp --with-file-aio --with-http_v2_module
[root@localhost nginx-1.15.5]# make -j 2
[root@localhost nginx-1.15.5]# make install
[root@localhost nginx-1.15.5]# make clean
rm -rf Makefile objs
[root@localhost nginx-1.15.5]# cd ..
[root@localhost software]# cd /project/nginx1.15.0/
[root@localhost nginx1.15.0]# sbin/nginx
[root@localhost nginx1.15.0]# netstat -tulnp |grep nginx
tcp 0 0 0.0.0.0:80 0.0.0.0:*
[root@localhost nginx1.15.0]# ps -ef |grep nginx
root 7420 1 0 22:22 ? 00:00:00 nginx: master process sbin/nginx
nginx 7421 7420 0 22:22 ? 00:00:00 nginx: worker process
nginx 7422 7420 0 22:22 ? 00:00:00 nginx: worker process
nginx 7423 7420 0 22:22 ? 00:00:00 nginx: worker process
nginx 7424 7420 0 22:22 ? 00:00:00 nginx: worker process
root 7430 1869 0 22:23 pts/0 00:00:00 grep --color=auto nginx
[root@localhost nginx1.15.0]# mkdir conf/certs
[root@localhost nginx1.15.0]# mkdir html/tls
[root@localhost nginx1.15.0]# echo "Hello TLS" > html/tls/index.html
[root@localhost nginx1.15.0]# cat html/tls/index.html
Hello TLS
[root@localhost nginx1.15.0]# vim conf/nginx.conf
.......
# HTTPS server
#
server {
listen 443 ssl;
server_name www.linuxplus.com;
ssl_certificate certs/rsa_01cert.crt;
ssl_certificate_key certs/rsa_2048prikey.pem;
# ssl_session_cache shared:SSL:1m;
# ssl_session_timeout 5m;
ssl_ciphers HIGH:!aNULL:!MD5;
ssl_prefer_server_ciphers on;
location / {
root html/tls;
index index.html index.htm;
}
}
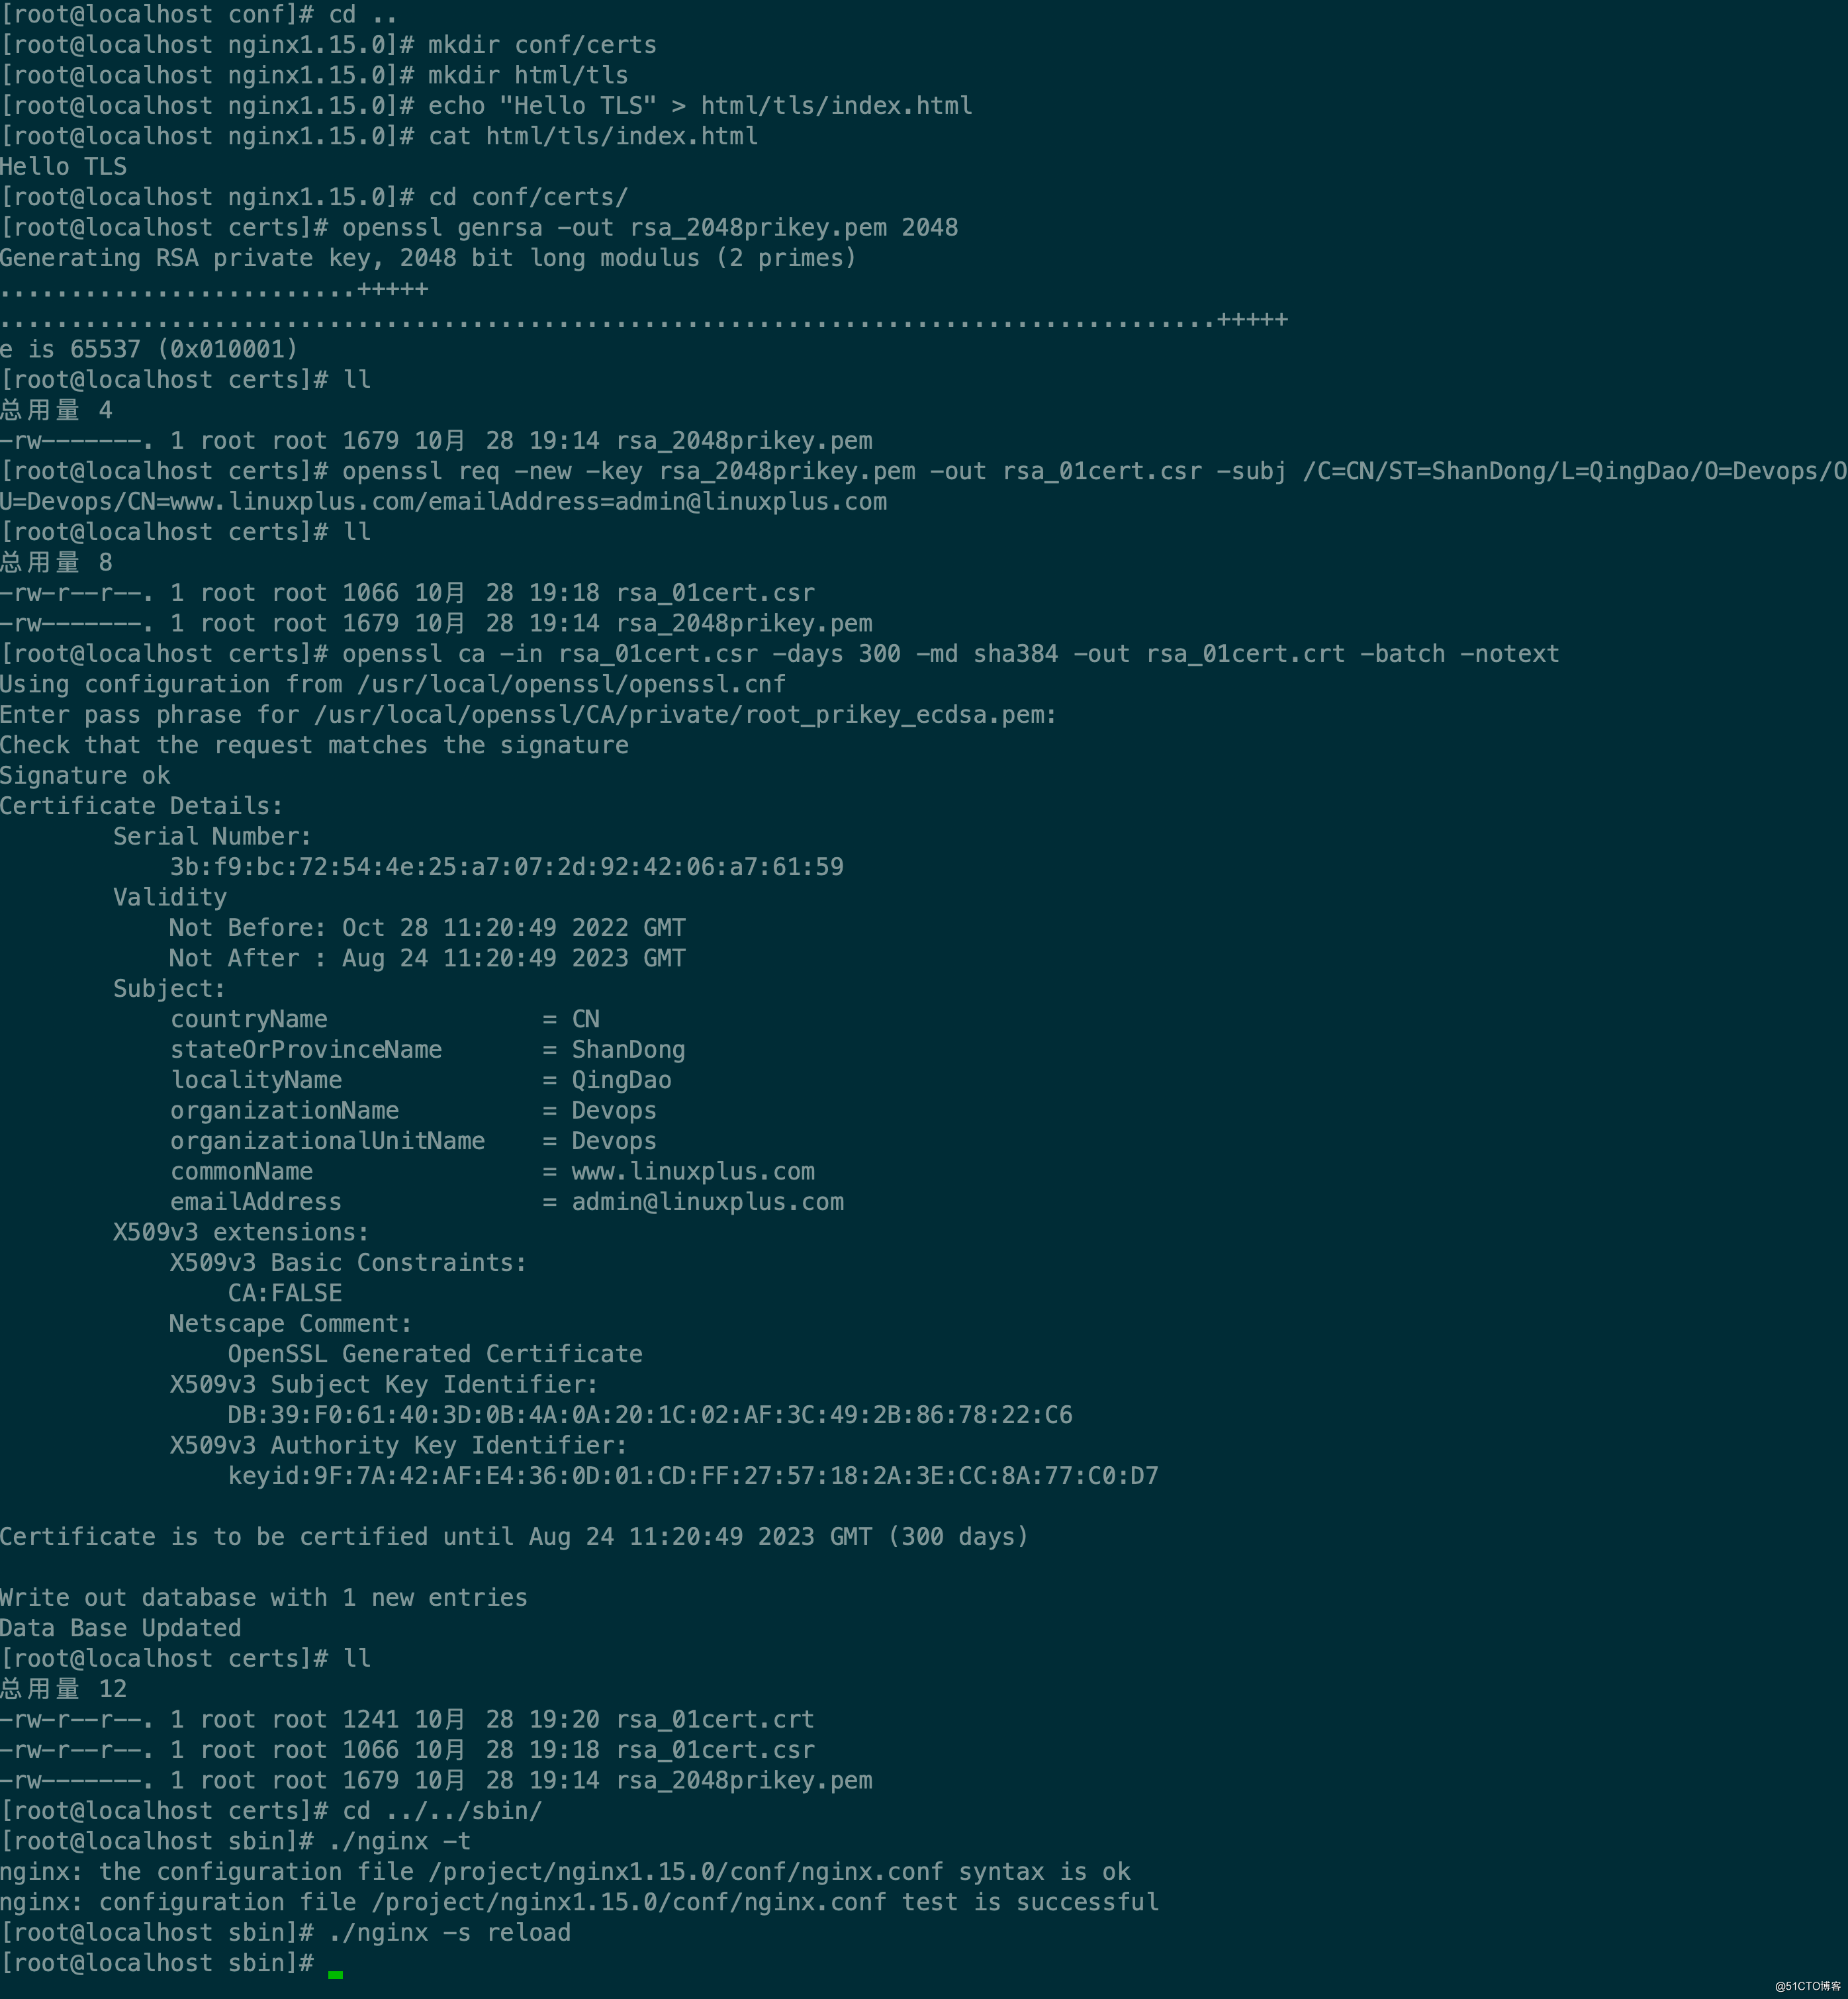
[root@localhost nginx1.15.0]# cd conf/certs/
[root@localhost certs]# openssl genrsa -out rsa_2048prikey.pem 2048
Generating RSA private key, 2048 bit long modulus (2 primes)
.........................+++++
.....................................................................................+++++
e is 65537 (0x010001)
[root@localhost certs]# ll
总用量 4
-rw-------. 1 root root 1679 10月 28 19:14 rsa_2048prikey.pem
[root@localhost certs]# openssl req -new -key rsa_2048prikey.pem -out rsa_01cert.csr -subj /C=CN/ST=ShanDong/L=QingDao/O=Devops/OU=Devops/CN=www.linuxplus.com/[email protected]
[root@localhost certs]# ll
总用量 8
-rw-r--r--. 1 root root 1066 10月 28 19:18 rsa_01cert.csr
-rw-------. 1 root root 1679 10月 28 19:14 rsa_2048prikey.pem
[root@localhost certs]# openssl ca -in rsa_01cert.csr -days 300 -md sha384 -out rsa_01cert.crt -batch -notext
Using configuration from /usr/local/openssl/openssl.cnf
Enter pass phrase for /usr/local/openssl/CA/private/root_prikey_ecdsa.pem:
Check that the request matches the signature
Signature ok
Certificate Details:
Serial Number:
3b:f9:bc:72:54:4e:25:a7:07:2d:92:42:06:a7:61:59
Validity
Not Before: Oct 28 11:20:49 2022 GMT
Not After : Aug 24 11:20:49 2023 GMT
Subject:
countryName = CN
stateOrProvinceName = ShanDong
localityName = QingDao
organizationName = Devops
organizationalUnitName = Devops
commonName = www.linuxplus.com
emailAddress = [email protected]
X509v3 extensions:
X509v3 Basic Constraints:
CA:FALSE
Netscape Comment:
OpenSSL Generated Certificate
X509v3 Subject Key Identifier:
DB:39:F0:61:40:3D:0B:4A:0A:20:1C:02:AF:3C:49:2B:86:78:22:C6
X509v3 Authority Key Identifier:
keyid:9F:7A:42:AF:E4:36:0D:01:CD:FF:27:57:18:2A:3E:CC:8A:77:C0:D7
Certificate is to be certified until Aug 24 11:20:49 2023 GMT (300 days)
Write out database with 1 new entries
Data Base Updated
[root@localhost certs]# ll
总用量 12
-rw-r--r--. 1 root root 1241 10月 28 19:20 rsa_01cert.crt
-rw-r--r--. 1 root root 1066 10月 28 19:18 rsa_01cert.csr
-rw-------. 1 root root 1679 10月 28 19:14 rsa_2048prikey.pem
[root@localhost certs]# cd ../../sbin/
[root@localhost sbin]# ./nginx -t
nginx: the configuration file /project/nginx1.15.0/conf/nginx.conf syntax is ok
nginx: configuration file /project/nginx1.15.0/conf/nginx.conf test is successful
[root@localhost sbin]# ./nginx -s reload
TLS 协议的配置
Nginx协议配置有3个主要的配置项
- ssl_protocols :用来指定所开启协议的版本,目前1.2是主流而且更高效。不安全的SSLv2 和 SSLv3 都要禁用。
ssl_protocols TLSv1 TLSv1.1 TLSv1.2;
目前最新的TLS是1.3版本,不过目前也没有大范围使用,不过要支持TLS1.3,要使用openssl的1.1.1系列版本,所以要使用TLS1.3,升级openssl 并且在编译安装nginx的时候指定。ssl_protocols TLSv1 TLSv1.1 TLSv1.2; - ssl_prefer_server_ciphers ,在服务器与客户端TLS握手时启用服务器算法优先,由
服务器端选择算法,这样可以避免很多客户端被***或比较老旧而引起的安全问题。
ssl_prefer_server_ciphers on;- ssl_ciphers ,指定使用的算法套件以及它们的优先顺序。
ssl_ciphers "ECDHE-ECDSA-AES128-GCM-SHA256 ECDHE-ECDSA-AES256-GCM-SHA384 ECDHE-RSA-AES128-GCM-SHA256 ECDHE-RSA-AES256-GCM
-SHA384 ECDHE-ECDSA-AES128-GCM-SHA256 ECDHE-RSA-AES128-SHA256 ECDHE-ECDSA-AES128-SHA ECDHE-ECDSA-AES256-SHA ECDHE-RSA-AES256-SHA
AES128-SHA AES256-SHA ECDHE-RSA-RC4-SHA RC4-SHA"; #排在前面的优先使用- 通配符证书是证书的CN采用通配形式,即 *.linuxplus.com 这样的模式。如果确定采用全站https的话,这样的通配证书是可行的,很多大站点也是这样做的,例如淘宝。
- 如果多个不同域名(二级域名)的站点使用同一个证书,可以把它们部署在同一个IP地址上。还是建议使用SNI,使每个站点有自己单独的证书。
配置双证书
[root@localhost certs]# openssl ecparam -genkey -name prime256v1 -out ecdsa_01prikey.pem
[root@localhost certs]# openssl req -new -key ecdsa_01prikey.pem -out ecc01.csr -subj /C=CN/ST=ShanDong/L=QingDao/O=Devops/OU=Devops/CN=www.linuxplus.com/[email protected]
[root@localhost certs]# openssl ca -in ecc01.csr -days 365 -out ecc_01cert.crt -batch -notext                                    Using configuration from /usr/local/openssl/openssl.cnf
Enter pass phrase for /usr/local/openssl/CA/private/root_prikey_ecdsa.pem:
Check that the request matches the signature
Signature ok
Certificate Details:
        Serial Number:
            92:f4:3b:df:f9:ac:3b:5c:aa:31:89:d6:61:c6:9a:fc
        Validity
            Not Before: Nov 10 14:32:15 2018 GMT
            Not After : Nov 10 14:32:15 2019 GMT
        Subject:
            countryName               = CN
            stateOrProvinceName       = ShanDong
            localityName              = QingDao
            organizationName          = Devops
            organizationalUnitName    = Devops
            commonName                = www.linuxplus.com
            emailAddress              = [email protected]
        X509v3 extensions:
            X509v3 Basic Constraints:
                CA:FALSE
            Netscape Comment:
                OpenSSL Generated Certificate
            X509v3 Subject Key Identifier:
                67:7B:E7:71:A6:D5:63:C7:C3:E7:6F:E4:40:B4:06:1C:D5:B6:84:58
            X509v3 Authority Key Identifier:
                keyid:7A:15:85:5F:24:70:45:4C:86:C3:FD:AA:9A:88:3E:5B:E6:63:70:56

Certificate is to be certified until Nov 10 14:32:15 2019 GMT (365 days)

Write out database with 1 new entries
Data Base Updated
[root@localhost ~]# cd /project/nginx1.15.0/conf/
[root@localhost conf]# vim nginx.conf
......
        ssl_certificate      certs/ecc_01cert.crt;
        ssl_certificate_key  certs/ecdsa_01prikey.pem;

        ssl_certificate      certs/rsa_01cert.crt;
        ssl_certificate_key  certs/rsa_2048prikey.pem;
        ssl_protocols TLSv1 TLSv1.1 TLSv1.2;
[root@localhost conf]# ../sbin/nginx -t
nginx: the configuration file /project/nginx1.15.0/conf/nginx.conf syntax is ok
nginx: configuration file /project/nginx1.15.0/conf/nginx.conf test is successful
[root@localhost conf]# ../sbin/nginx -s reload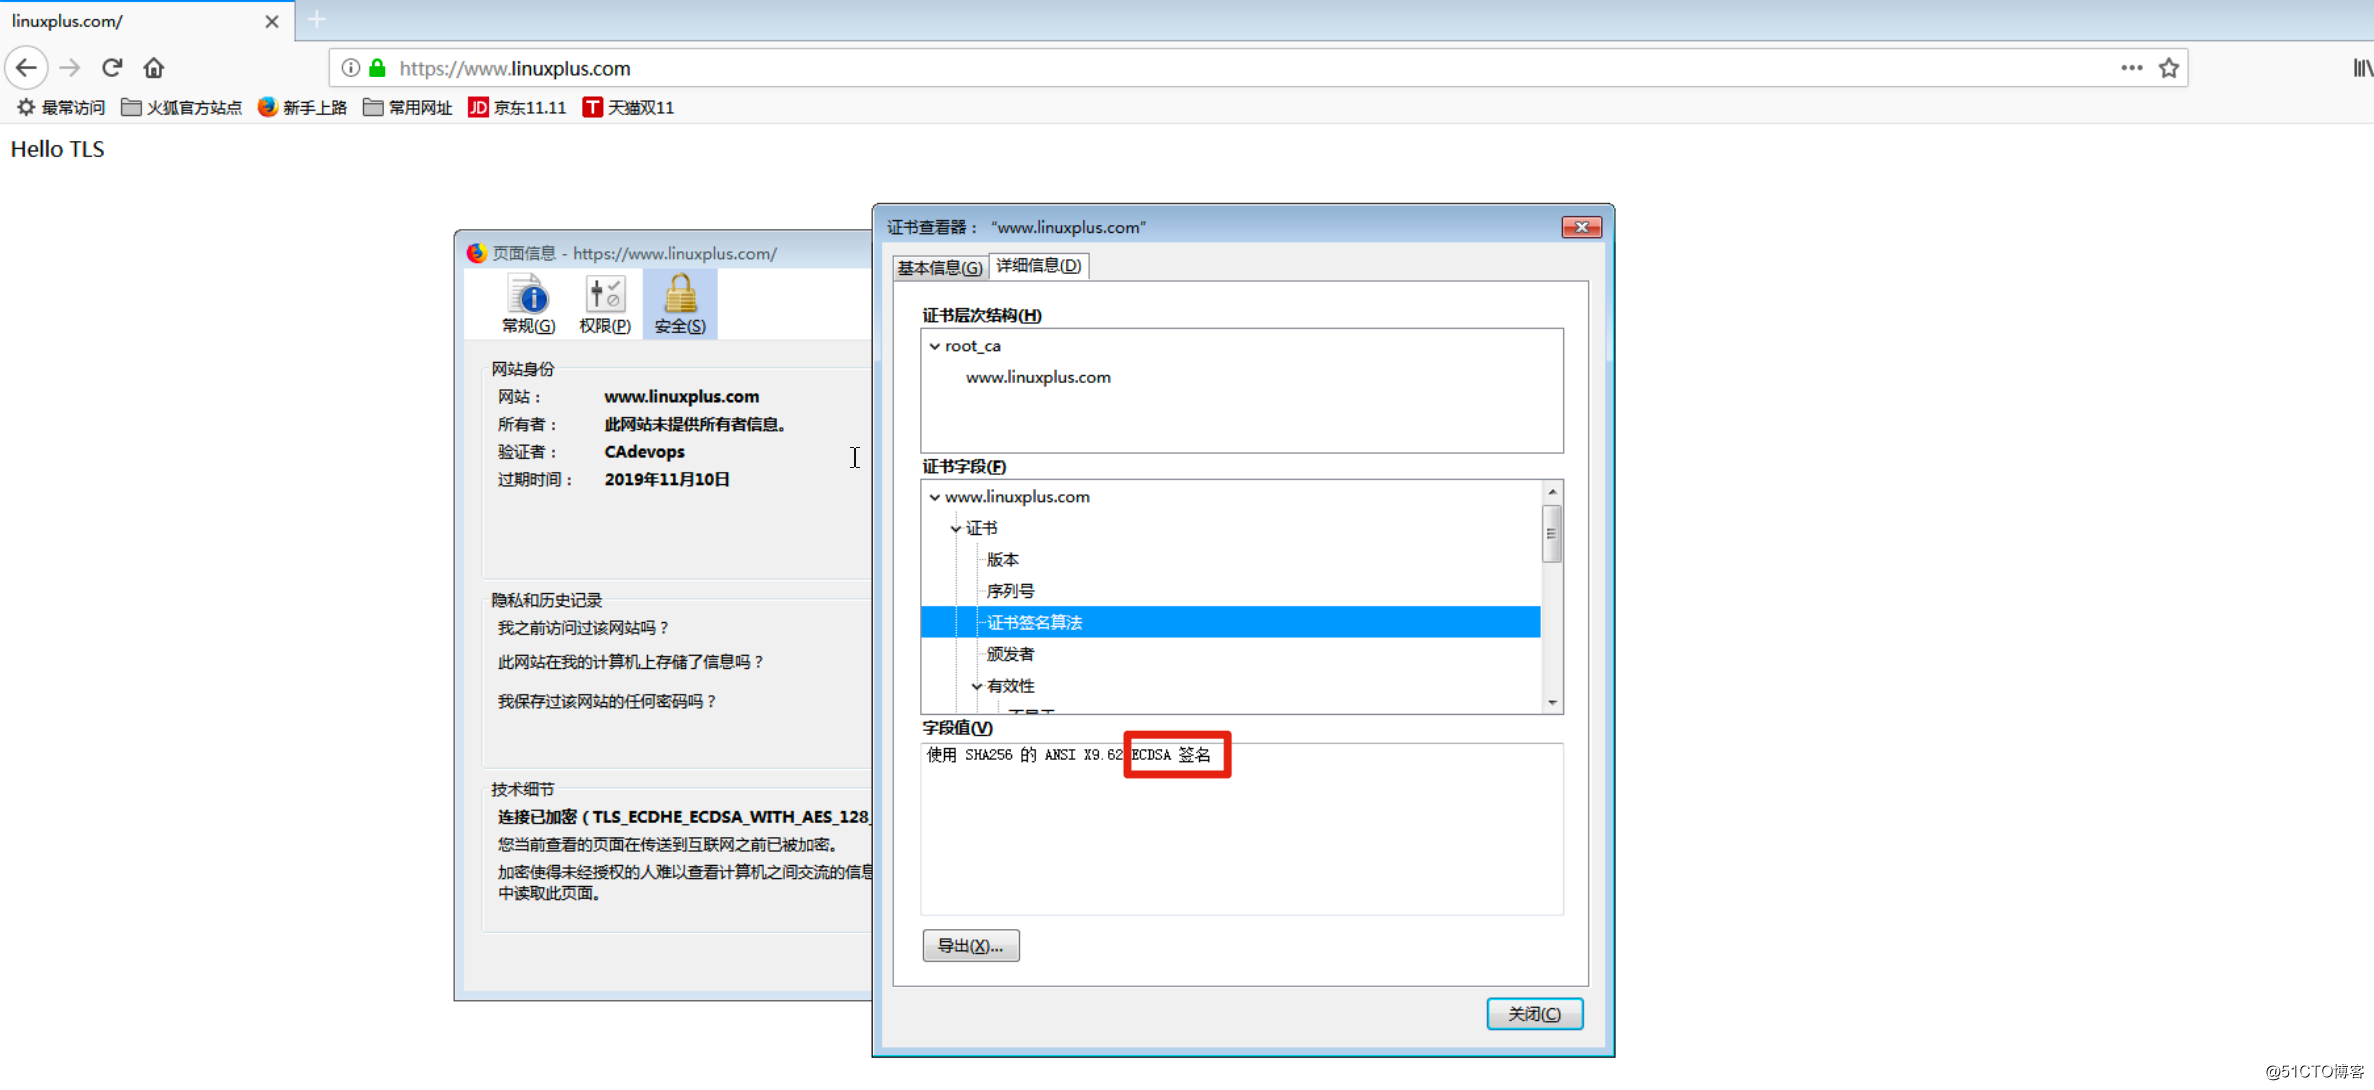
客户端身份验证
客户端验证,是为了实现只有有证书的客户端才能访问那个站点或服务,证书由站点管理和颁发
[root@www certs]# openssl genrsa -out client01.key 2048
Generating RSA private key, 2048 bit long modulus (2 primes)
...........................................................................................................+++++
........................+++++
e is 65537 (0x010001)
[root@www certs]# openssl req -new -key client01.key -out client01.csr -subj /C=CN/ST=ShanXi/L=XiAn/O=Devops01/OU=Devops01/CN=www.linuxplus.com/[email protected]
[root@www certs]# openssl ca -in client01.csr -md sha384 -out client01_cert.crt -batch -notext
Using configuration from /usr/local/openssl/openssl.cnf
Enter pass phrase for /usr/local/openssl/CA/private/root_prikey_ecdsa.pem:
Check that the request matches the signature
Signature ok
Certificate Details:
Serial Number:
92:f4:3b:df:f9:ac:3b:5c:aa:31:89:d6:61:c6:9a:fd
Validity
Not Before: Nov 11 06:06:53 2018 GMT
Not After : Nov 11 06:06:53 2019 GMT
Subject:
countryName = CN
stateOrProvinceName = ShanXi
localityName = XiAn
organizationName = Devops01
organizationalUnitName = Devops01
commonName = www.linuxplus.com
emailAddress = [email protected]
X509v3 extensions:
X509v3 Basic Constraints:
CA:FALSE
Netscape Comment:
OpenSSL Generated Certificate
X509v3 Subject Key Identifier:
AC:6C:C1:A7:5A:C5:91:BD:97:3C:4A:2D:CA:03:53:91:38:E9:3B:E6
X509v3 Authority Key Identifier:
keyid:7A:15:85:5F:24:70:45:4C:86:C3:FD:AA:9A:88:3E:5B:E6:63:70:56
Certificate is to be certified until Nov 11 06:06:53 2019 GMT (365 days)
Write out database with 1 new entries
Data Base Updated
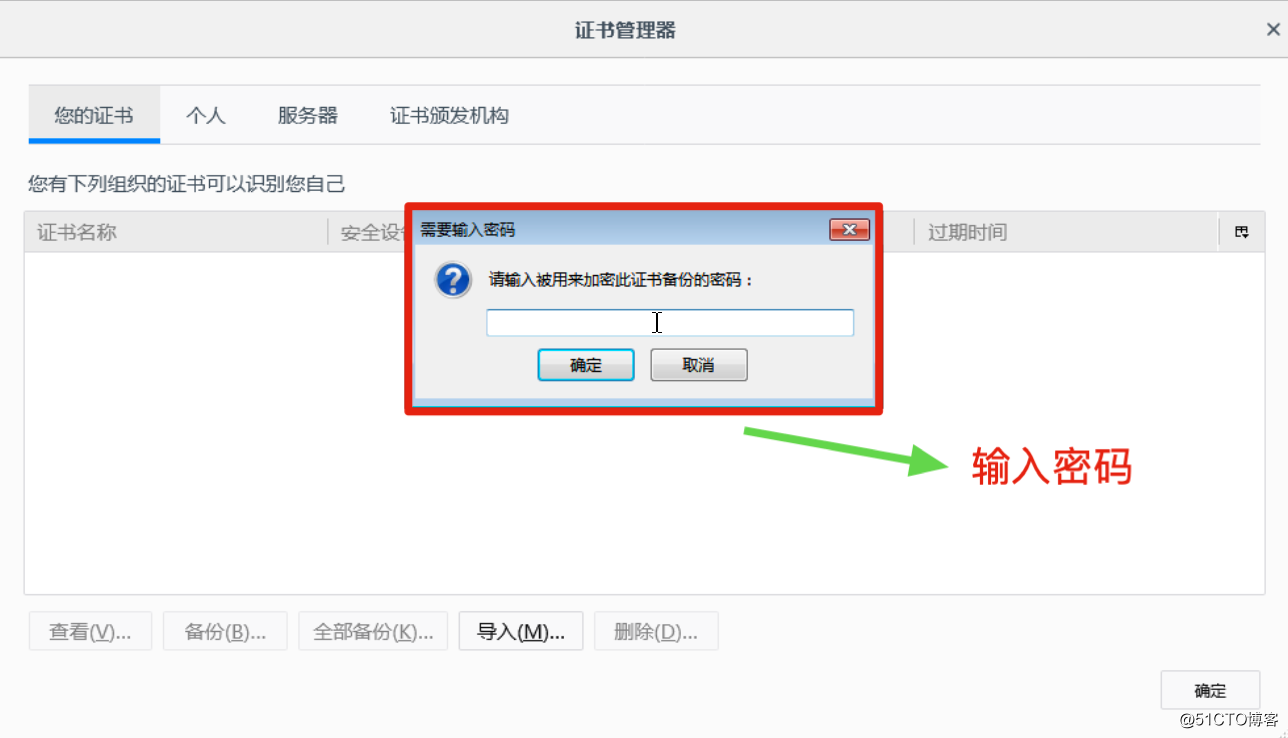
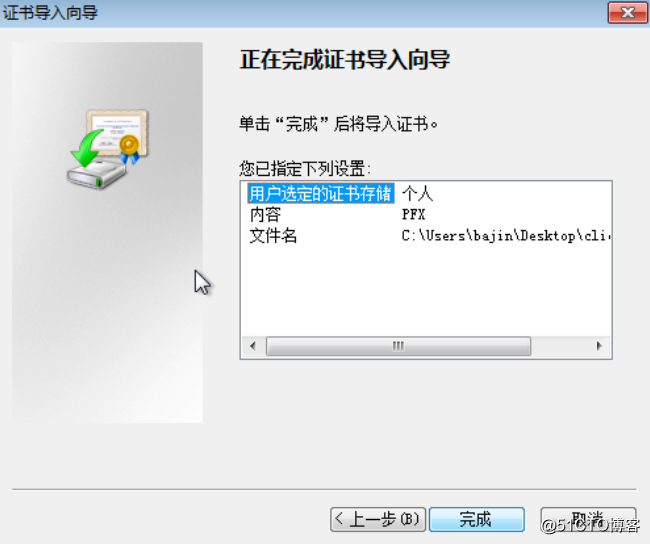
[root@www certs]# openssl pkcs12 -export -clcerts -passout pass:123456 -in client01_cert.crt -inkey client01.key -out client01.p12
[root@www ~]# cd /project/nginx1.15.0/conf/
[root@www conf]# vim nginx.conf
ssl_certificate certs/ecc_01cert.crt;
ssl_certificate_key certs/ecdsa_01prikey.pem;
ssl_certificate certs/rsa_01cert.crt;
ssl_certificate_key certs/rsa_2048prikey.pem;
ssl_protocols TLSv1 TLSv1.1 TLSv1.2;
# 开启客户端身份验证
ssl_verify_client on;
# 指定客户端证书到根证书的深度
# ssl_verify_depth 2;
# 指定签发客户端证书的CA证书
ssl_client_certificate /usr/local/openssl/CA/root_cacert_ecc.pem;
# 完整证书链中需要包含的其他CA证书
# ssl_trusted_certificate rootca.crt;
# 证书吊销列表,有更新时Nginx需要重新加载
ssl_crl /usr/local/openssl/CA/crl.pem;
#on:是开启只接有客户端证书的请求。如果请求未包含证书或者证书校验失败,nginx会返回一个400错误响应。
#off:是关闭
#optional:不会强制阻断访问,不返回400。可在 $ssl_client_verify 变量中查看各种状态, NONE表示没有证书, FAILED表示证书未通过验证, SUCCESS 表示证书有效。
[root@www conf]# ../sbin/nginx -t
nginx: the configuration file /project/nginx1.15.0/conf/nginx.conf syntax is ok
nginx: configuration file /project/nginx1.15.0/conf/nginx.conf test is successful
[root@www conf]# ../sbin/nginx -s reload-
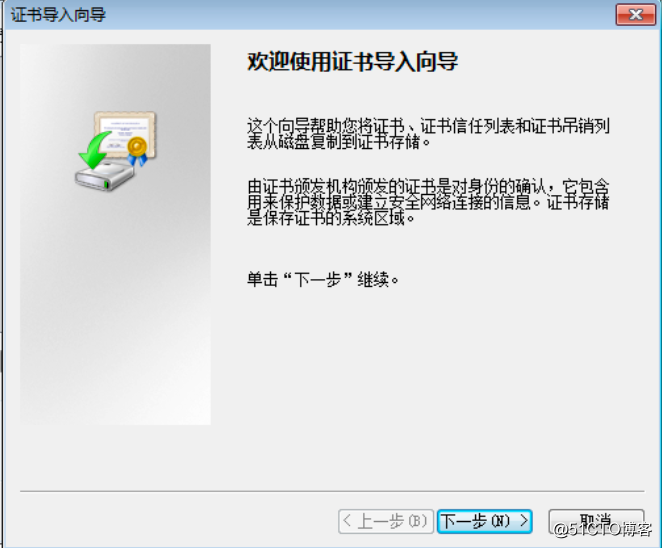
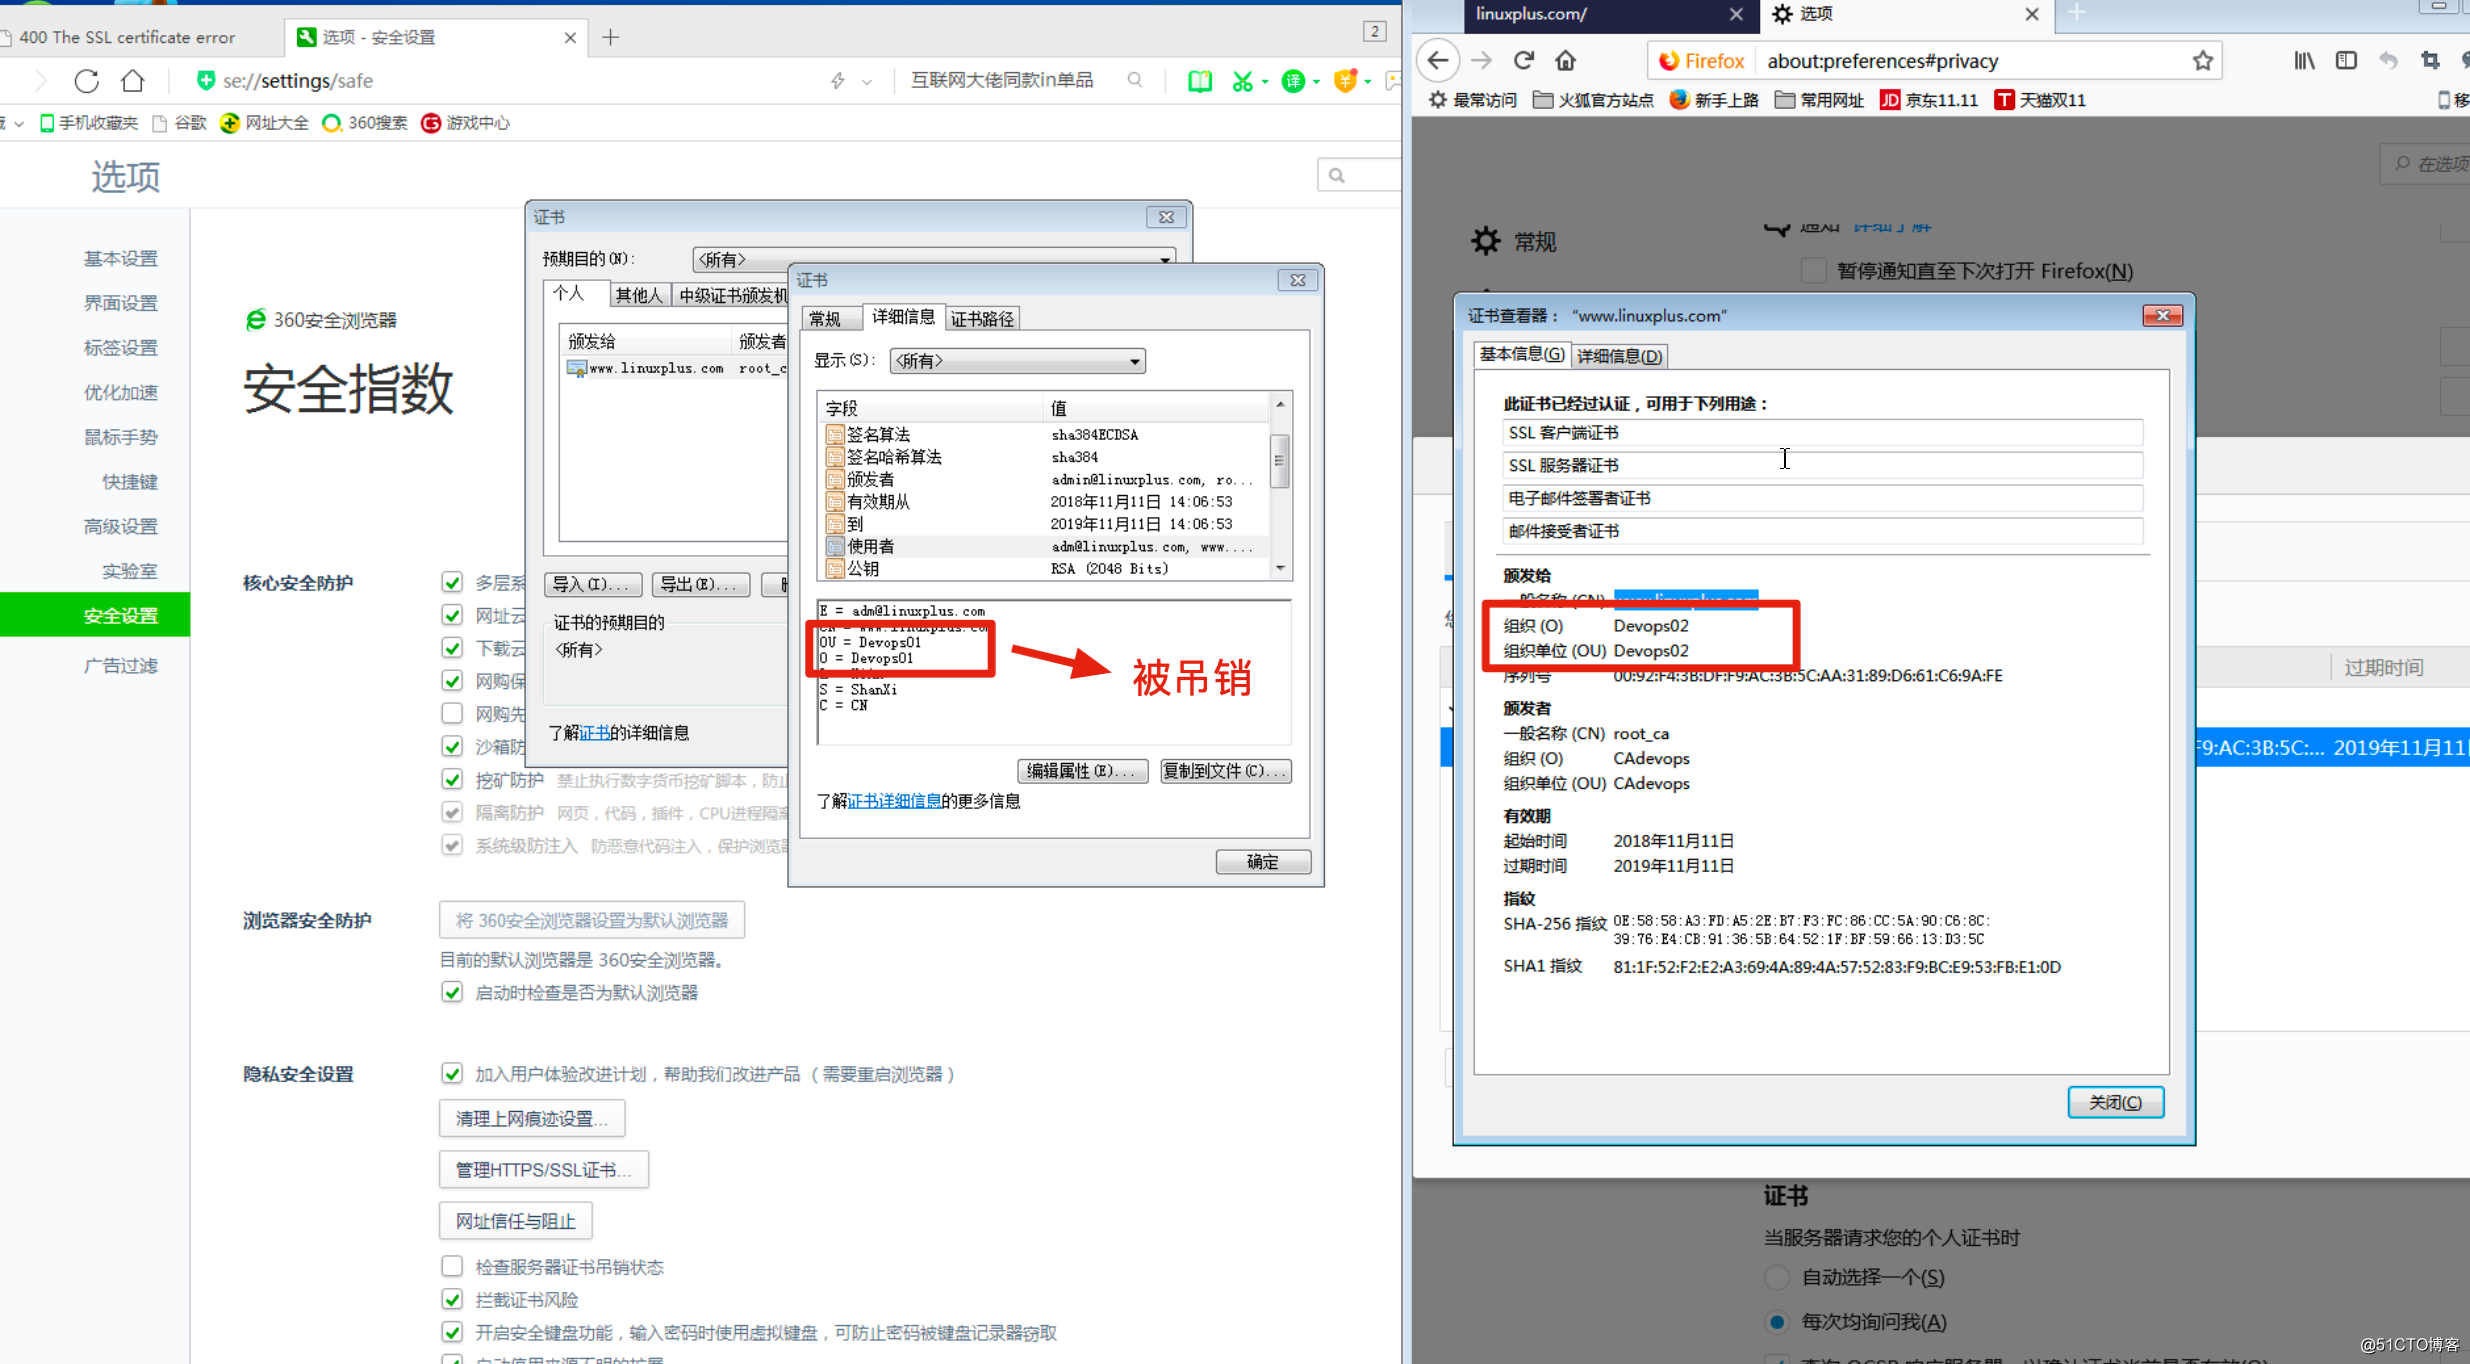
没有导入证书

-
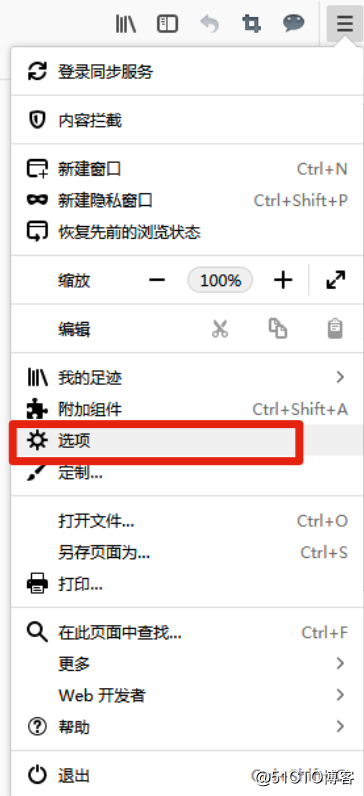
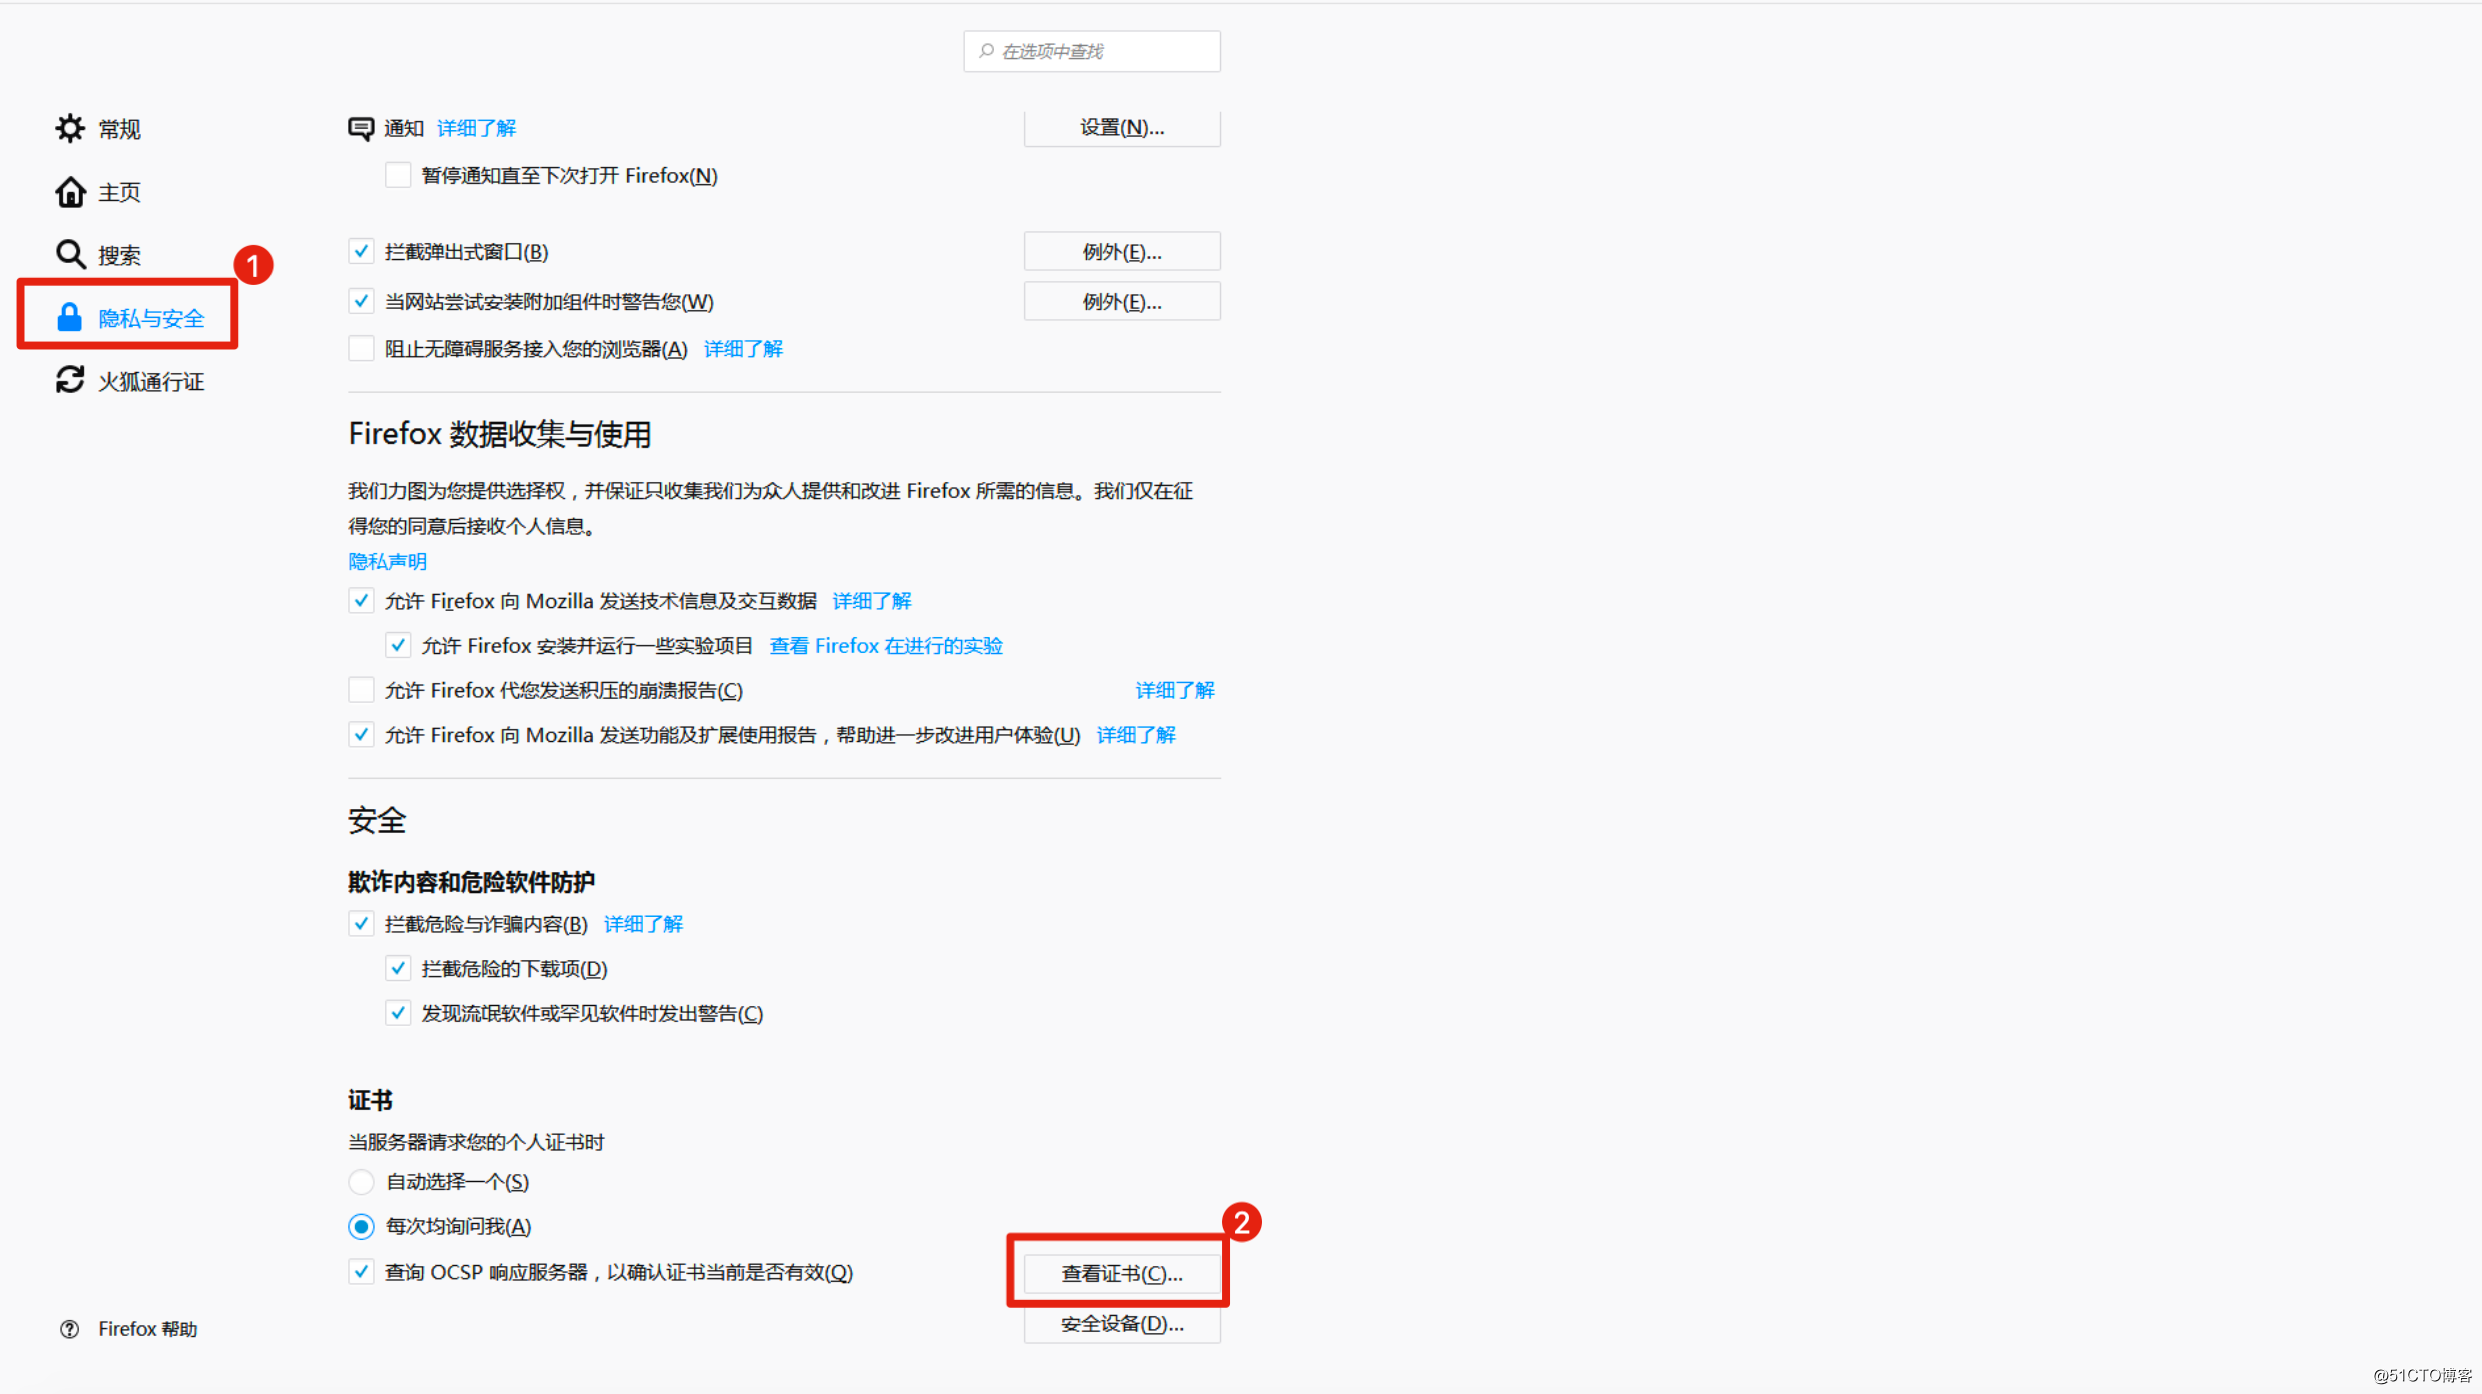
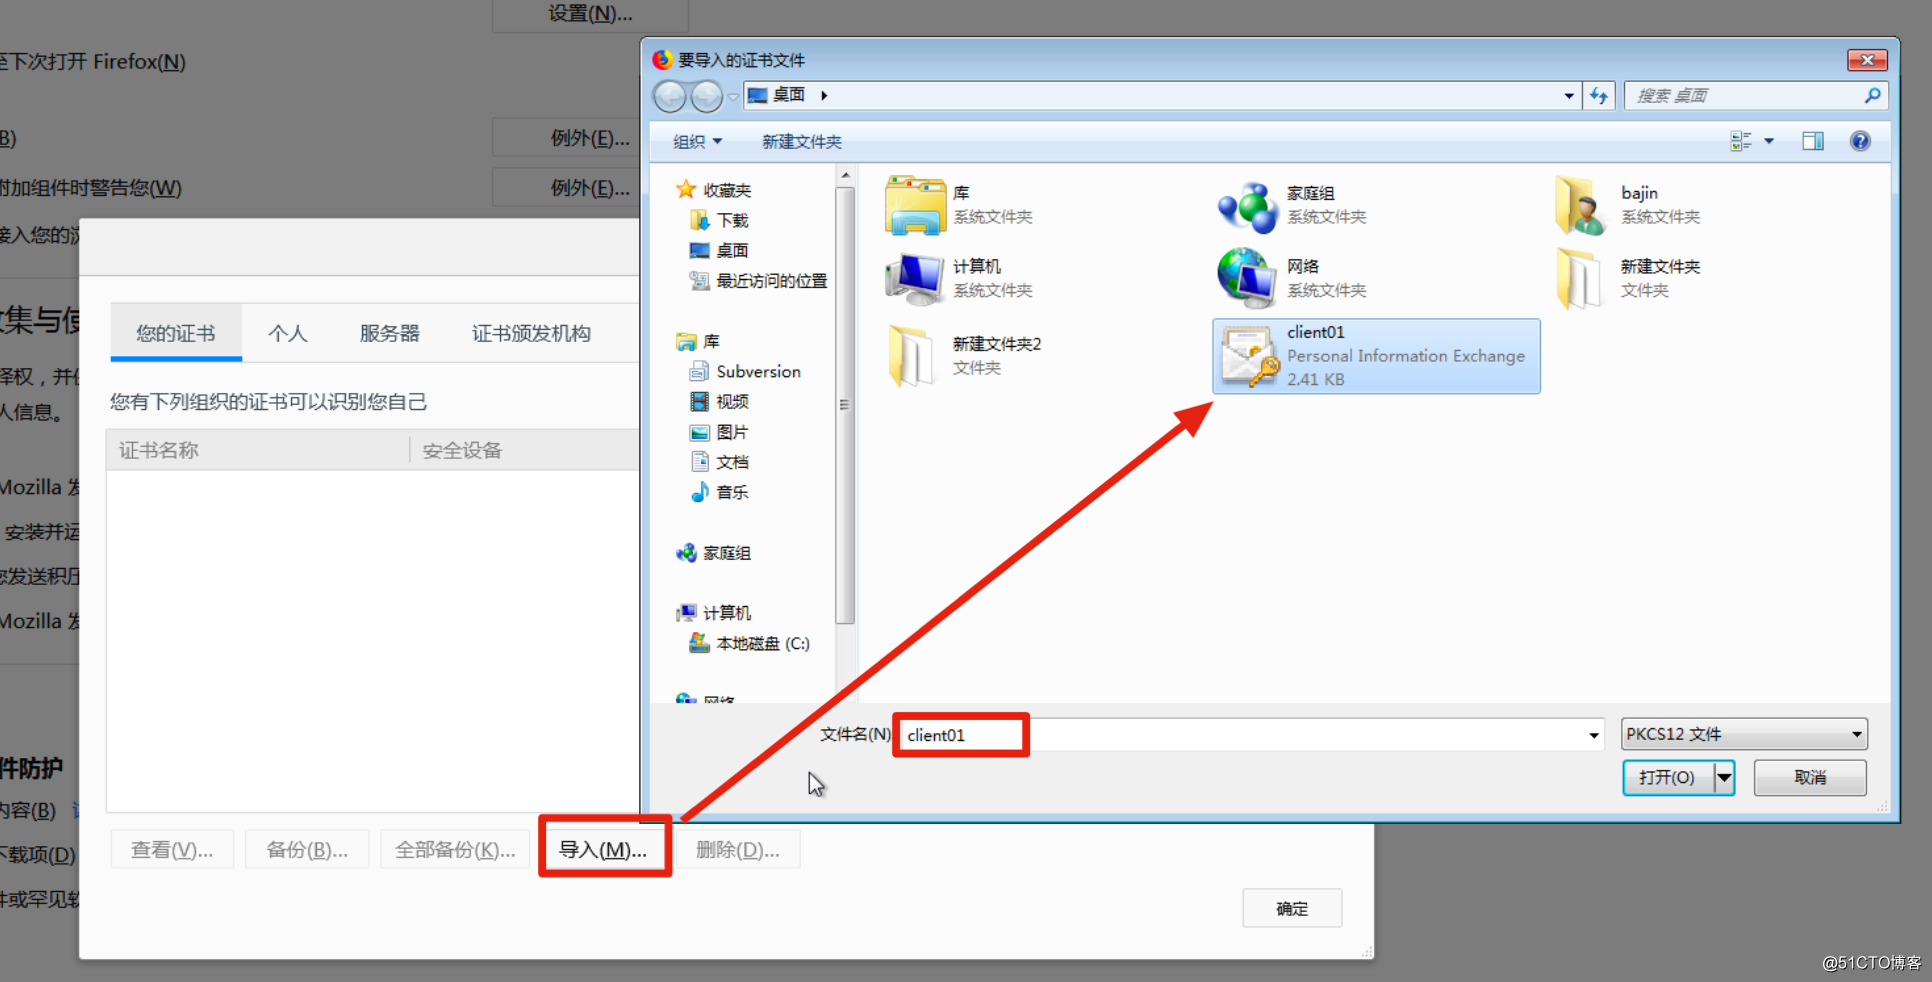
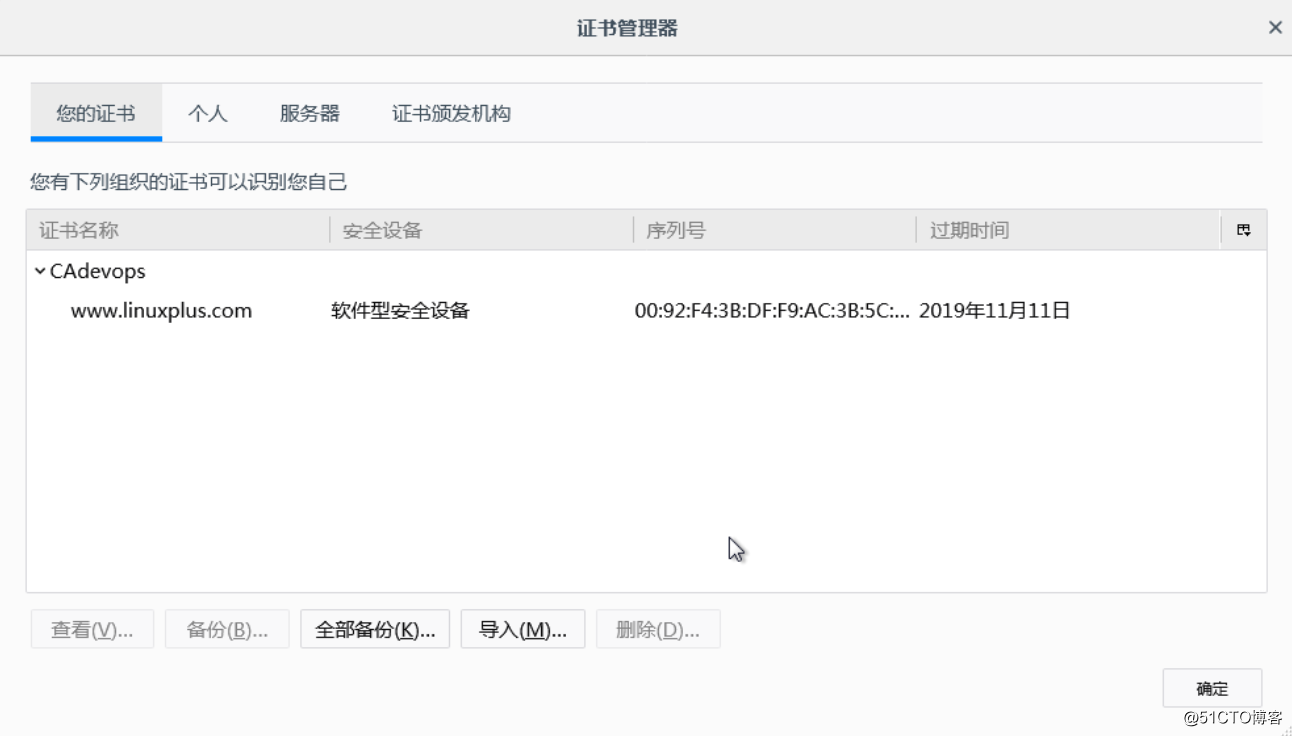
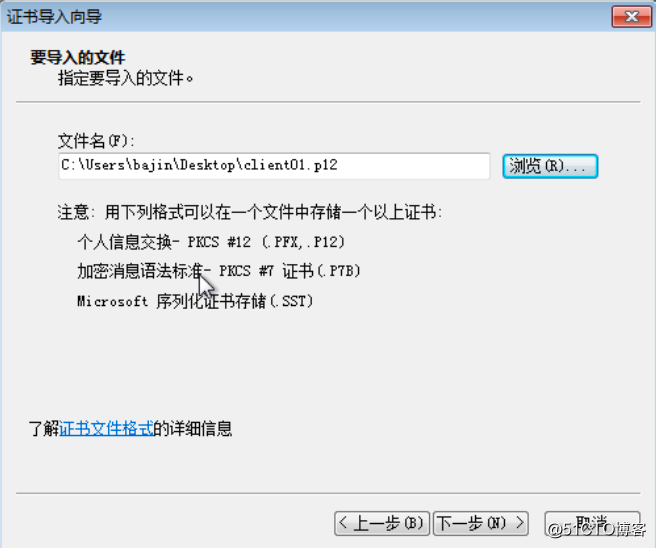
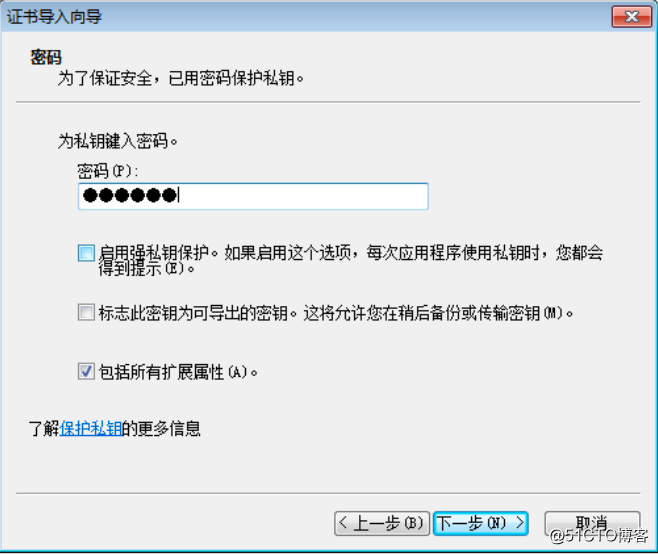
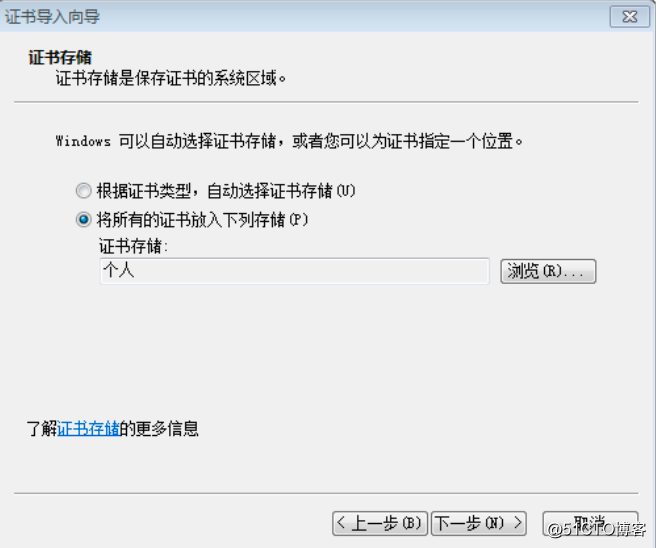
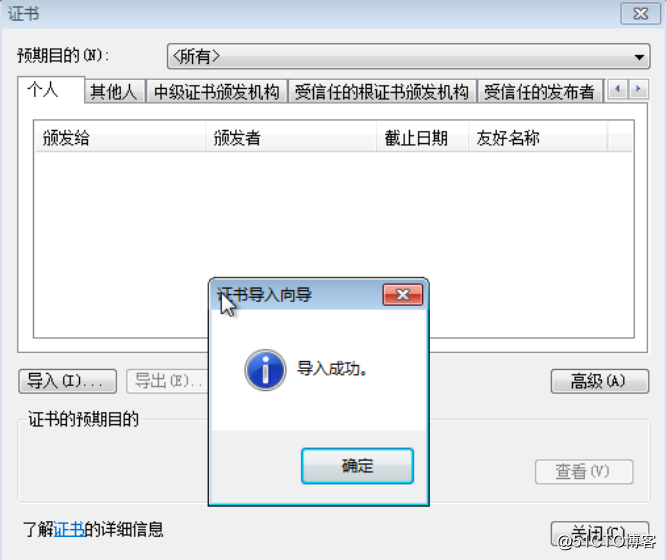
Firefox 导入证书
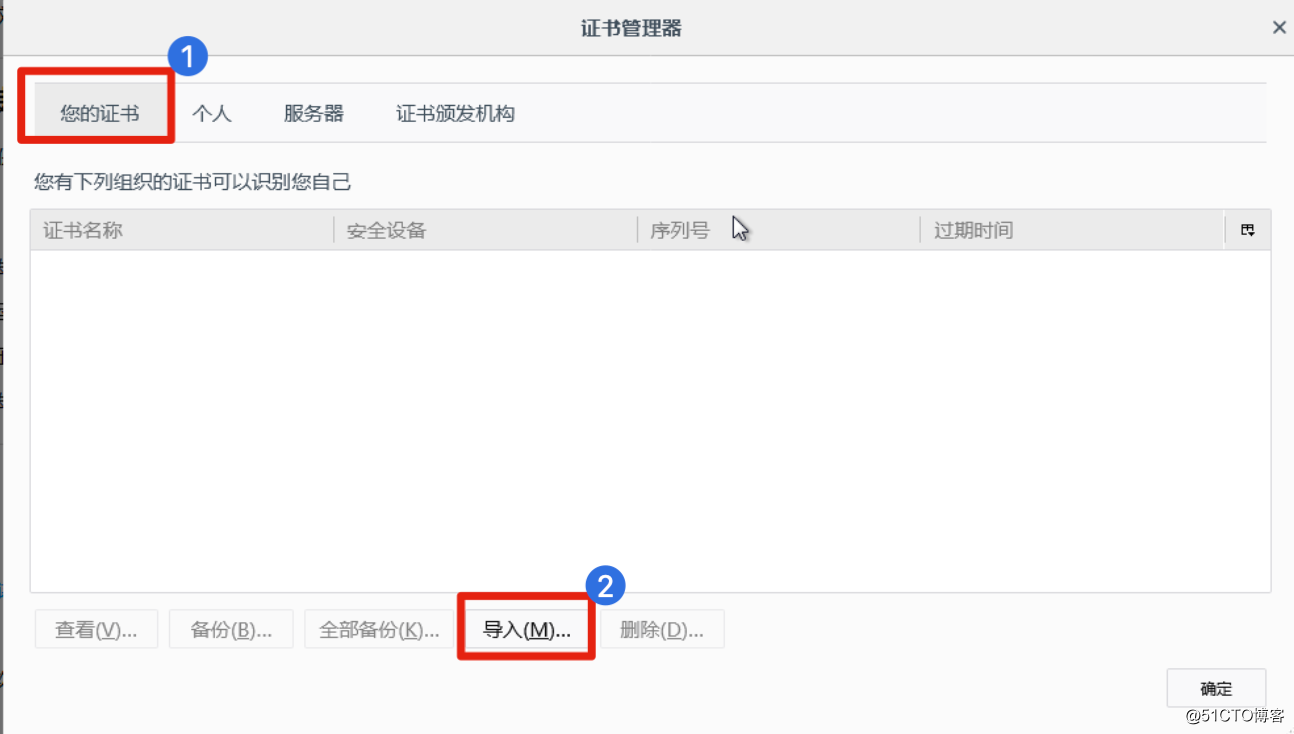
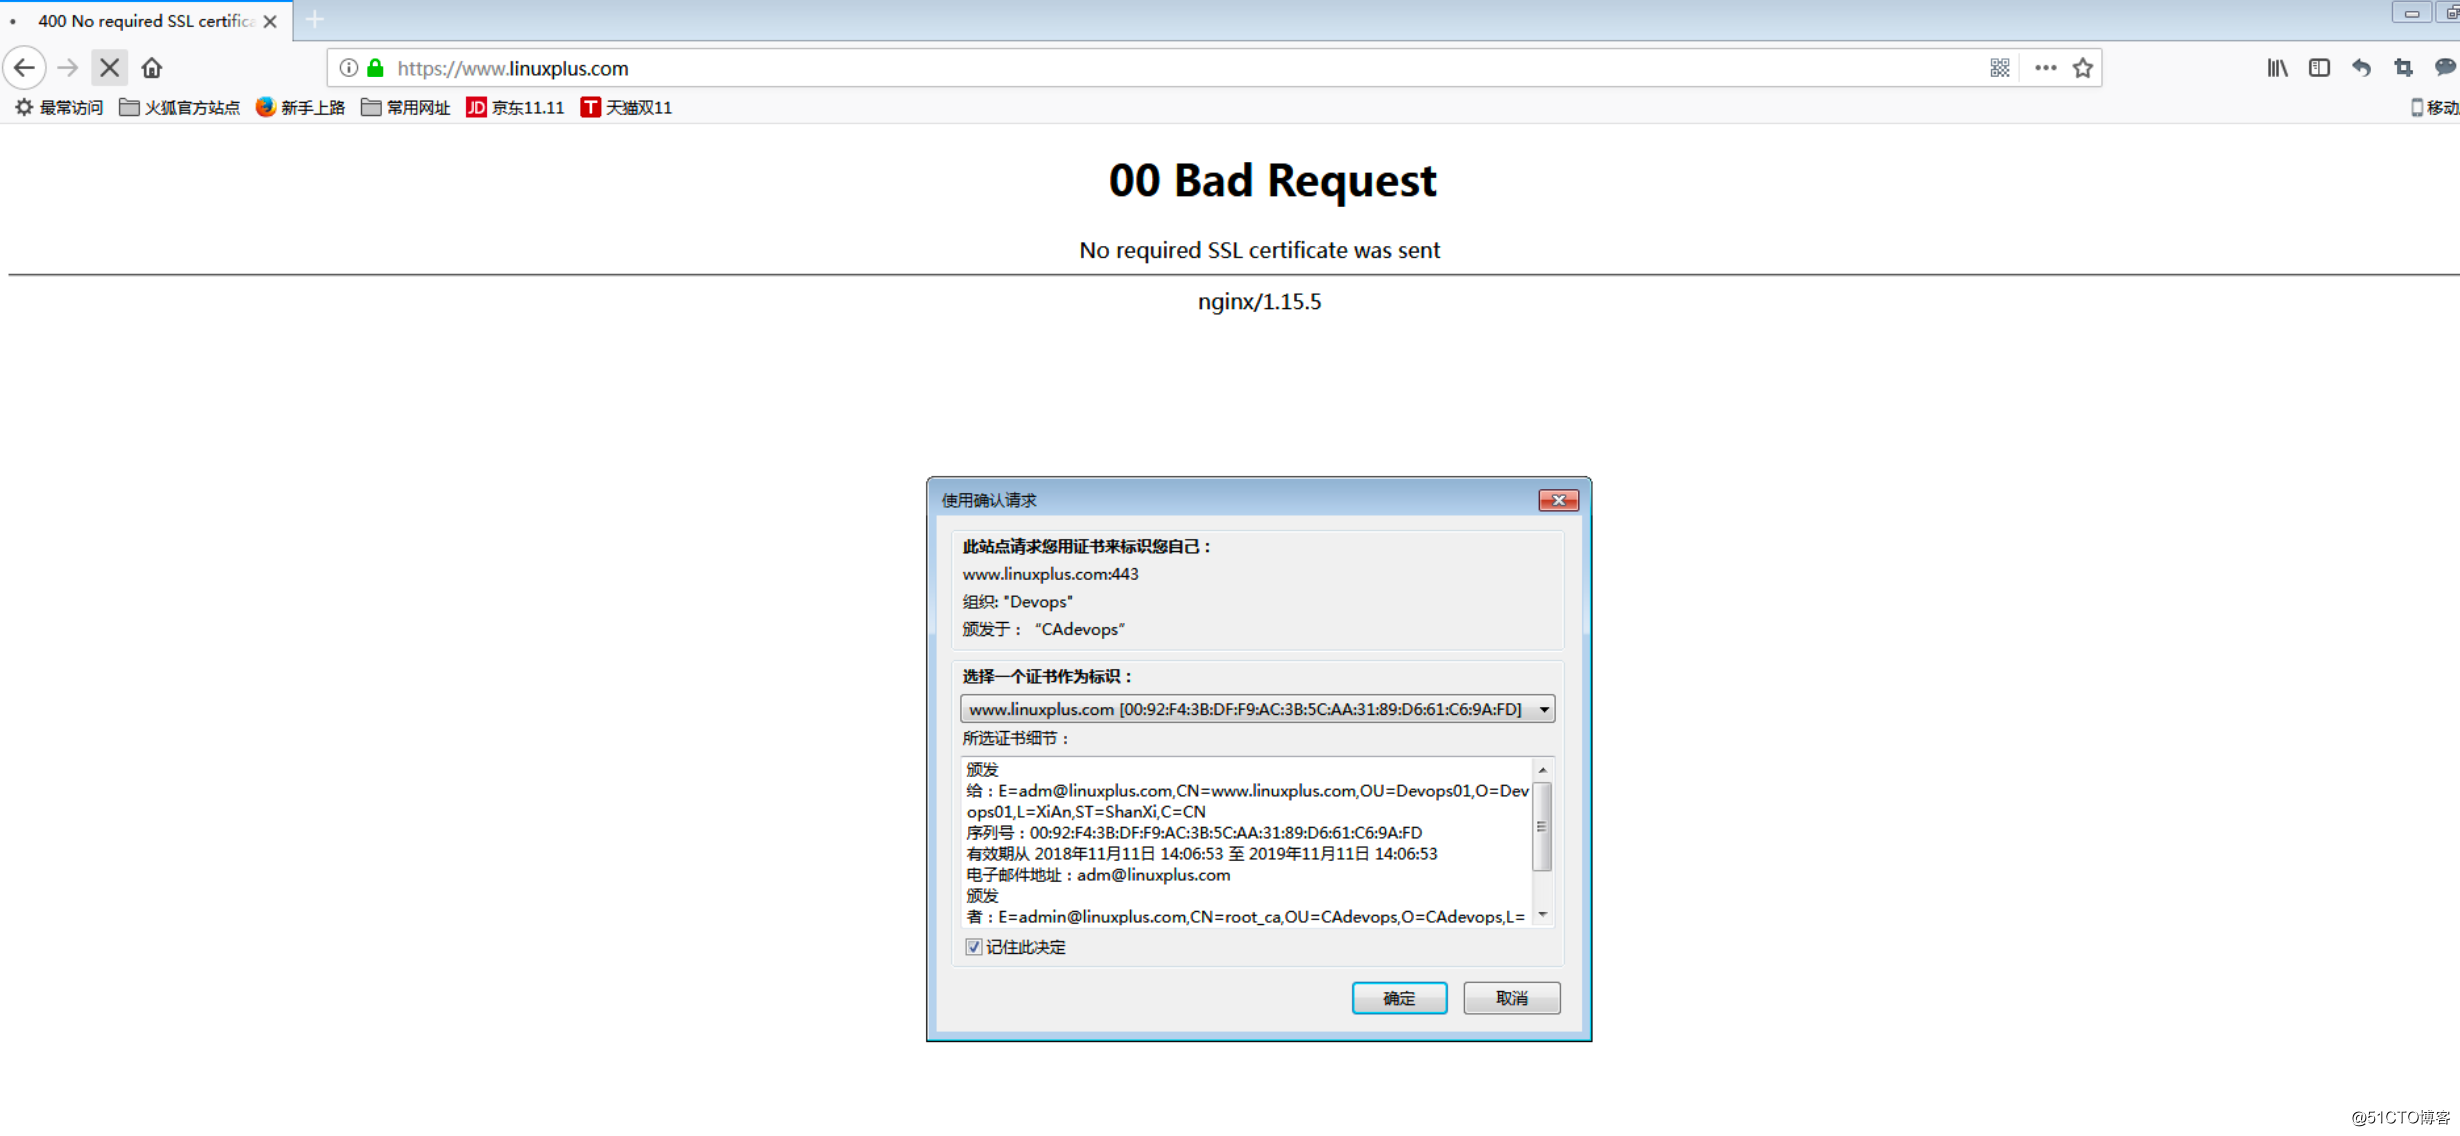

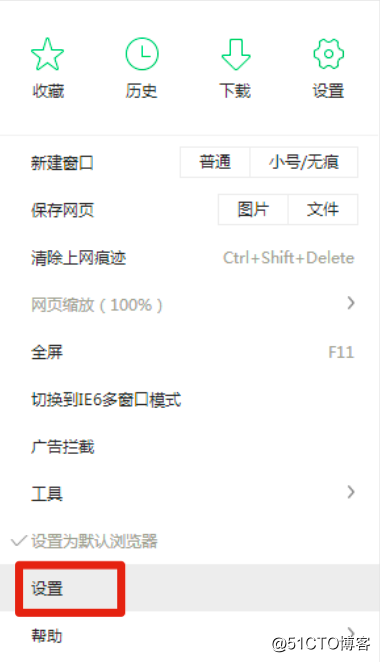
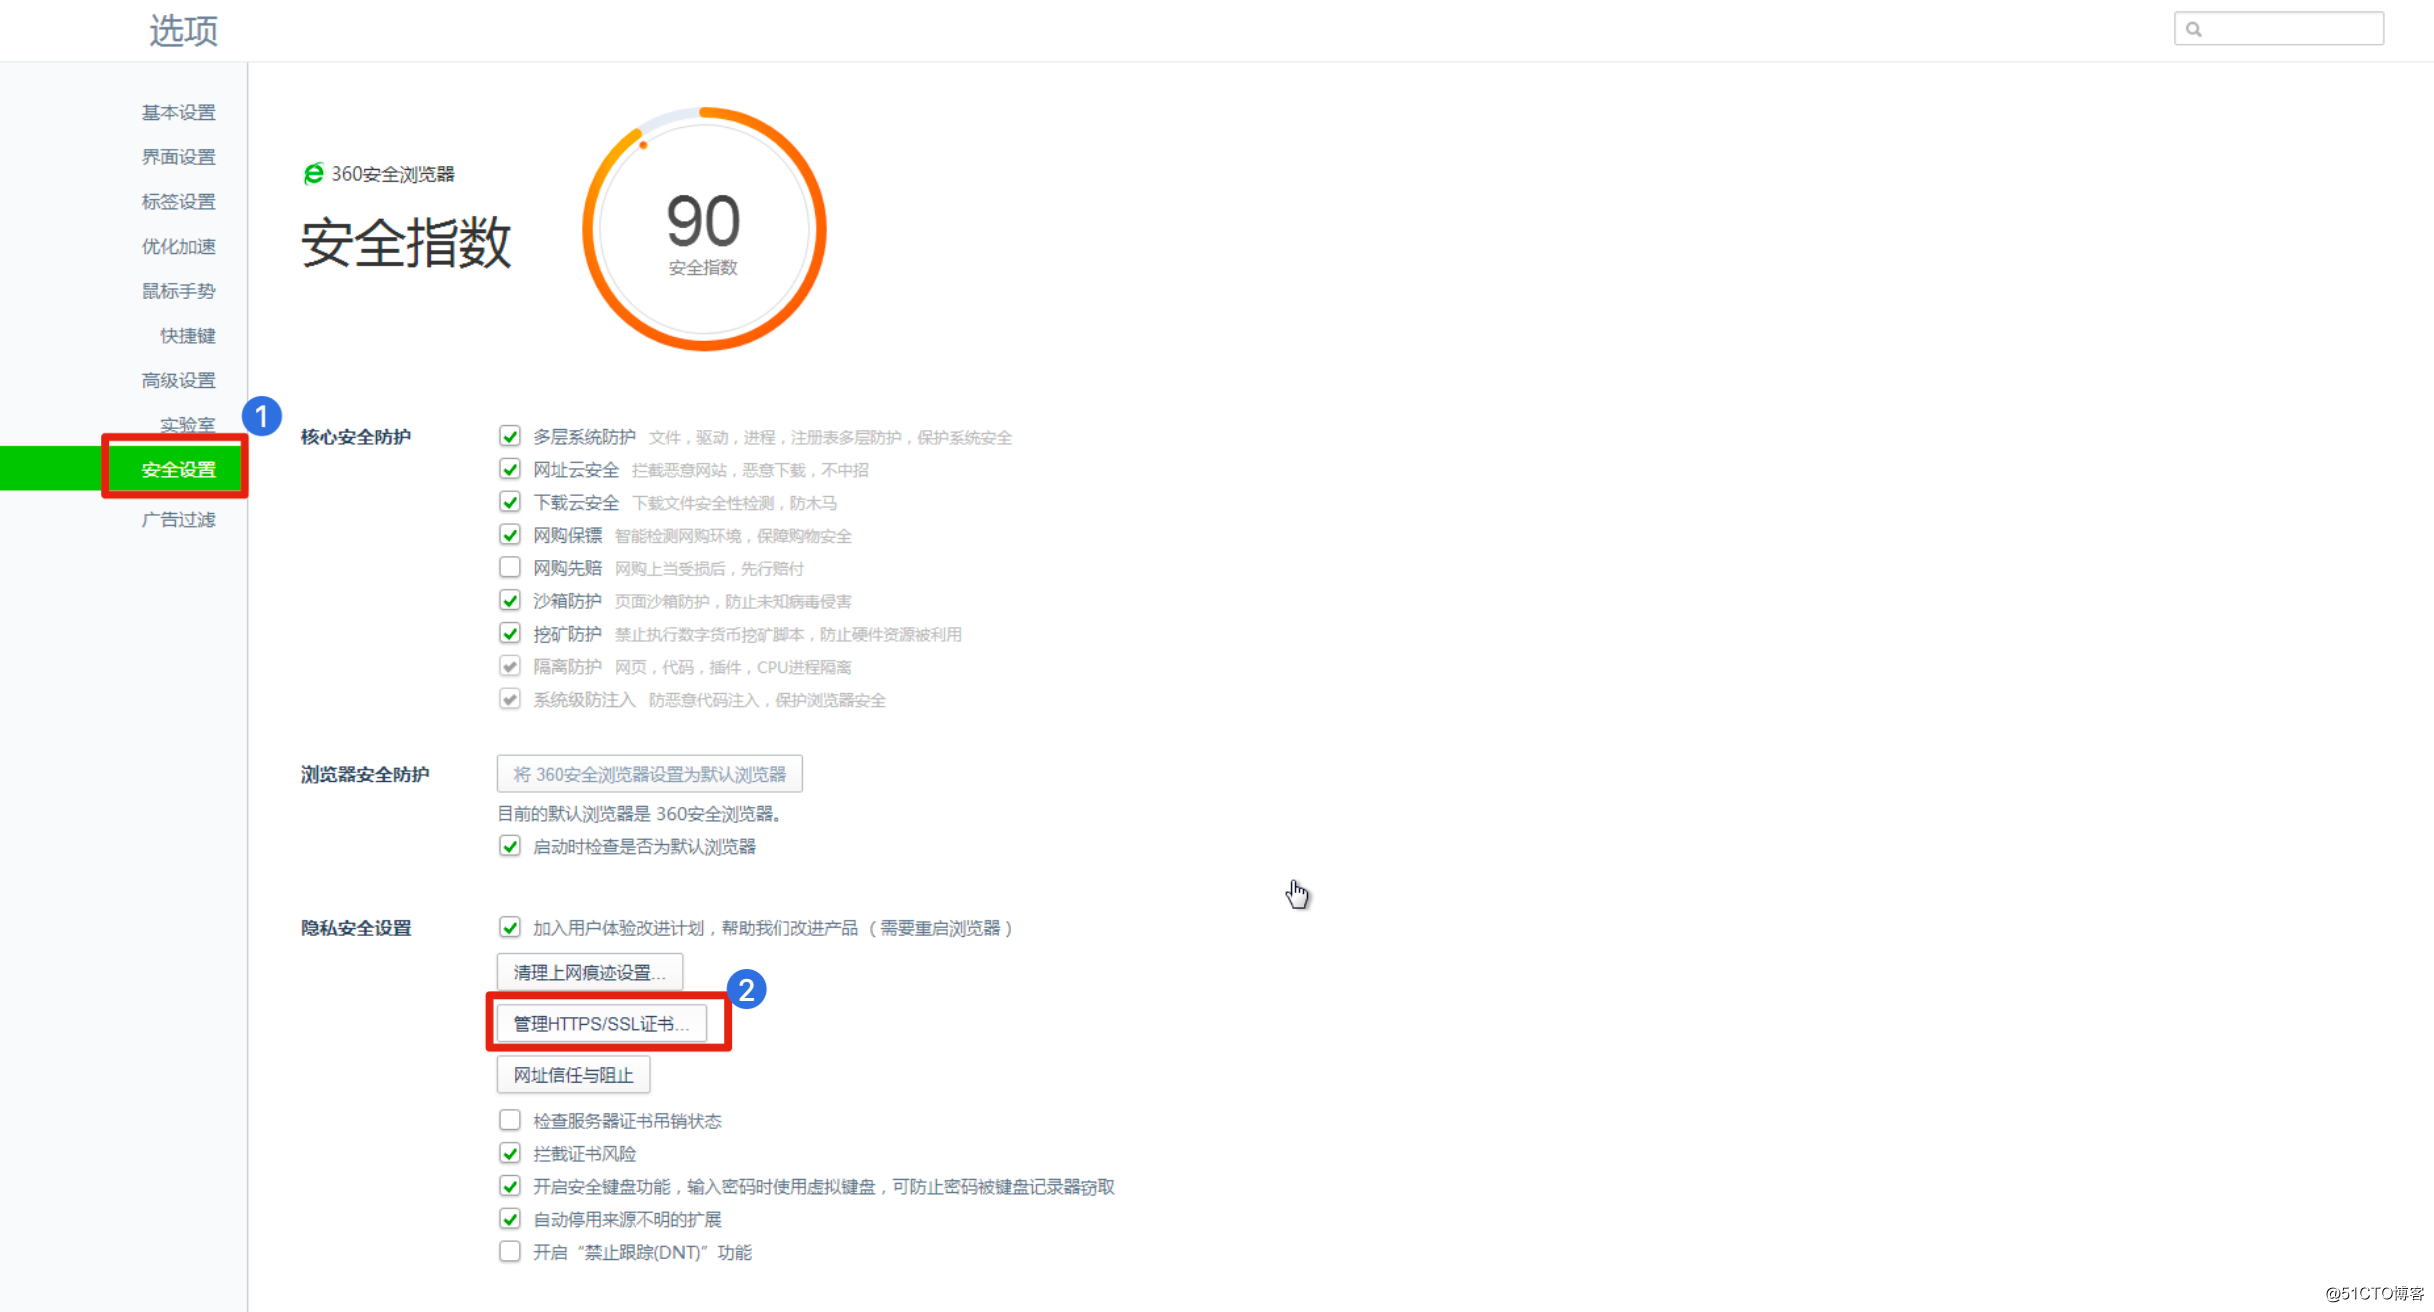
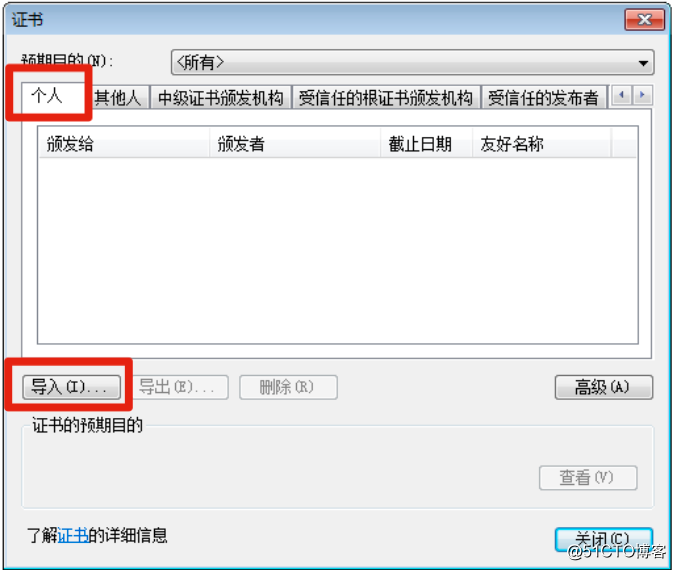
- 360浏览器导入证书

[root@www certs]# openssl ca -in rsa_01cert.csr -days 300 -md sha384 -out rsa_01cert.crt -batch -notext^C
[root@www certs]# openssl req -new -key client02.key -out client02.csr -subj /C=CN/ST=ShanXi/L=XiAn/O=Devops02/OU=Devops02/CN=www.linuxplus.com/[email protected]
[root@www certs]# openssl ca -in client02.csr -md sha384 -out client02_cert.crt -batch -notext
Using configuration from /usr/local/openssl/openssl.cnf
Enter pass phrase for /usr/local/openssl/CA/private/root_prikey_ecdsa.pem:
Check that the request matches the signature
Signature ok
Certificate Details:
        Serial Number:
            92:f4:3b:df:f9:ac:3b:5c:aa:31:89:d6:61:c6:9a:fe
        Validity
            Not Before: Nov 11 14:00:18 2018 GMT
            Not After : Nov 11 14:00:18 2019 GMT
        Subject:
            countryName               = CN
            stateOrProvinceName       = ShanXi
            localityName              = XiAn
            organizationName          = Devops02
            organizationalUnitName    = Devops02
            commonName                = www.linuxplus.com
            emailAddress              = [email protected]
        X509v3 extensions:
            X509v3 Basic Constraints:
                CA:FALSE
            Netscape Comment:
                OpenSSL Generated Certificate
            X509v3 Subject Key Identifier:
                6D:D2:63:9D:21:B1:82:4A:0F:19:B8:76:0F:B5:EA:E8:F0:F6:A3:6F
            X509v3 Authority Key Identifier:
                keyid:7A:15:85:5F:24:70:45:4C:86:C3:FD:AA:9A:88:3E:5B:E6:63:70:56

Certificate is to be certified until Nov 11 14:00:18 2019 GMT (365 days)

Write out database with 1 new entries
Data Base Updated
[root@www certs]# openssl pkcs12 -export -clcerts -passout pass:123456 -in client02_cert.crt -inkey client02.key -out client02.p12
#吊销证书
[root@www certs]# openssl x509 -in client01_cert.crt -serial -noout
serial=92F43BDFF9AC3B5CAA3189D661C69AFD
[root@www certs]# openssl ca -revoke /usr/local/openssl/CA/newcerts/92F43BDFF9AC3B5CAA3189D661C69AFD.pem
Using configuration from /usr/local/openssl/openssl.cnf
Enter pass phrase for /usr/local/openssl/CA/private/root_prikey_ecdsa.pem:
Revoking Certificate 92F43BDFF9AC3B5CAA3189D661C69AFD.
Data Base Updated
[root@www certs]# openssl ca -gencrl -out /usr/local/openssl/CA/crl.pem
Using configuration from /usr/local/openssl/openssl.cnf
Enter pass phrase for /usr/local/openssl/CA/private/root_prikey_ecdsa.pem:
[root@www certs]# openssl crl -in /usr/local/openssl/CA/crl.pem  -text
Certificate Revocation List (CRL):
        Version 2 (0x1)
        Signature Algorithm: ecdsa-with-SHA256
        Issuer: C = CN, ST = BeiJing, L = BeiJing, O = CAdevops, OU = CAdevops, CN = root_ca, emailAddress = [email protected]
        Last Update: Nov 11 14:33:36 2018 GMT
        Next Update: Dec 11 14:33:36 2018 GMT
        CRL extensions:
            X509v3 CRL Number:
                1048577
Revoked Certificates:
    Serial Number: 92F43BDFF9AC3B5CAA3189D661C69AFD
        Revocation Date: Nov 11 14:26:37 2018 GMT
    Signature Algorithm: ecdsa-with-SHA256
         30:45:02:21:00:e3:76:00:d4:07:22:2a:7f:43:1f:aa:8c:f5:
         be:c7:f7:a9:bd:1f:fb:65:f0:0b:d8:0c:a0:15:7c:f3:37:5d:
         63:02:20:08:d6:b8:4b:6b:3f:d2:7d:89:5f:2d:88:b5:ee:18:
         cd:81:6d:fe:80:4f:0c:ef:78:b8:81:c1:dc:ca:85:a3:9b
-----BEGIN X509 CRL-----
MIIBTjCB9QIBATAKBggqhkjOPQQDAjCBjTELMAkGA1UEBhMCQ04xEDAOBgNVBAgM
B0JlaUppbmcxEDAOBgNVBAcMB0JlaUppbmcxETAPBgNVBAoMCENBZGV2b3BzMREw
DwYDVQQLDAhDQWRldm9wczEQMA4GA1UEAwwHcm9vdF9jYTEiMCAGCSqGSIb3DQEJ
ARYTYWRtaW5AbGludXhwbHVzLmNvbRcNMTgxMTExMTQzMzM2WhcNMTgxMjExMTQz
MzM2WjAkMCICEQCS9Dvf+aw7XKoxidZhxpr9Fw0xODExMTExNDI2MzdaoBAwDjAM
BgNVHRQEBQIDEAABMAoGCCqGSM49BAMCA0gAMEUCIQDjdgDUByIqf0Mfqoz1vsf3
qb0f+2XwC9gMoBV88zddYwIgCNa4S2s/0n2JXy2Ite4YzYFt/oBPDO94uIHB3MqF
o5s=
-----END X509 CRL-----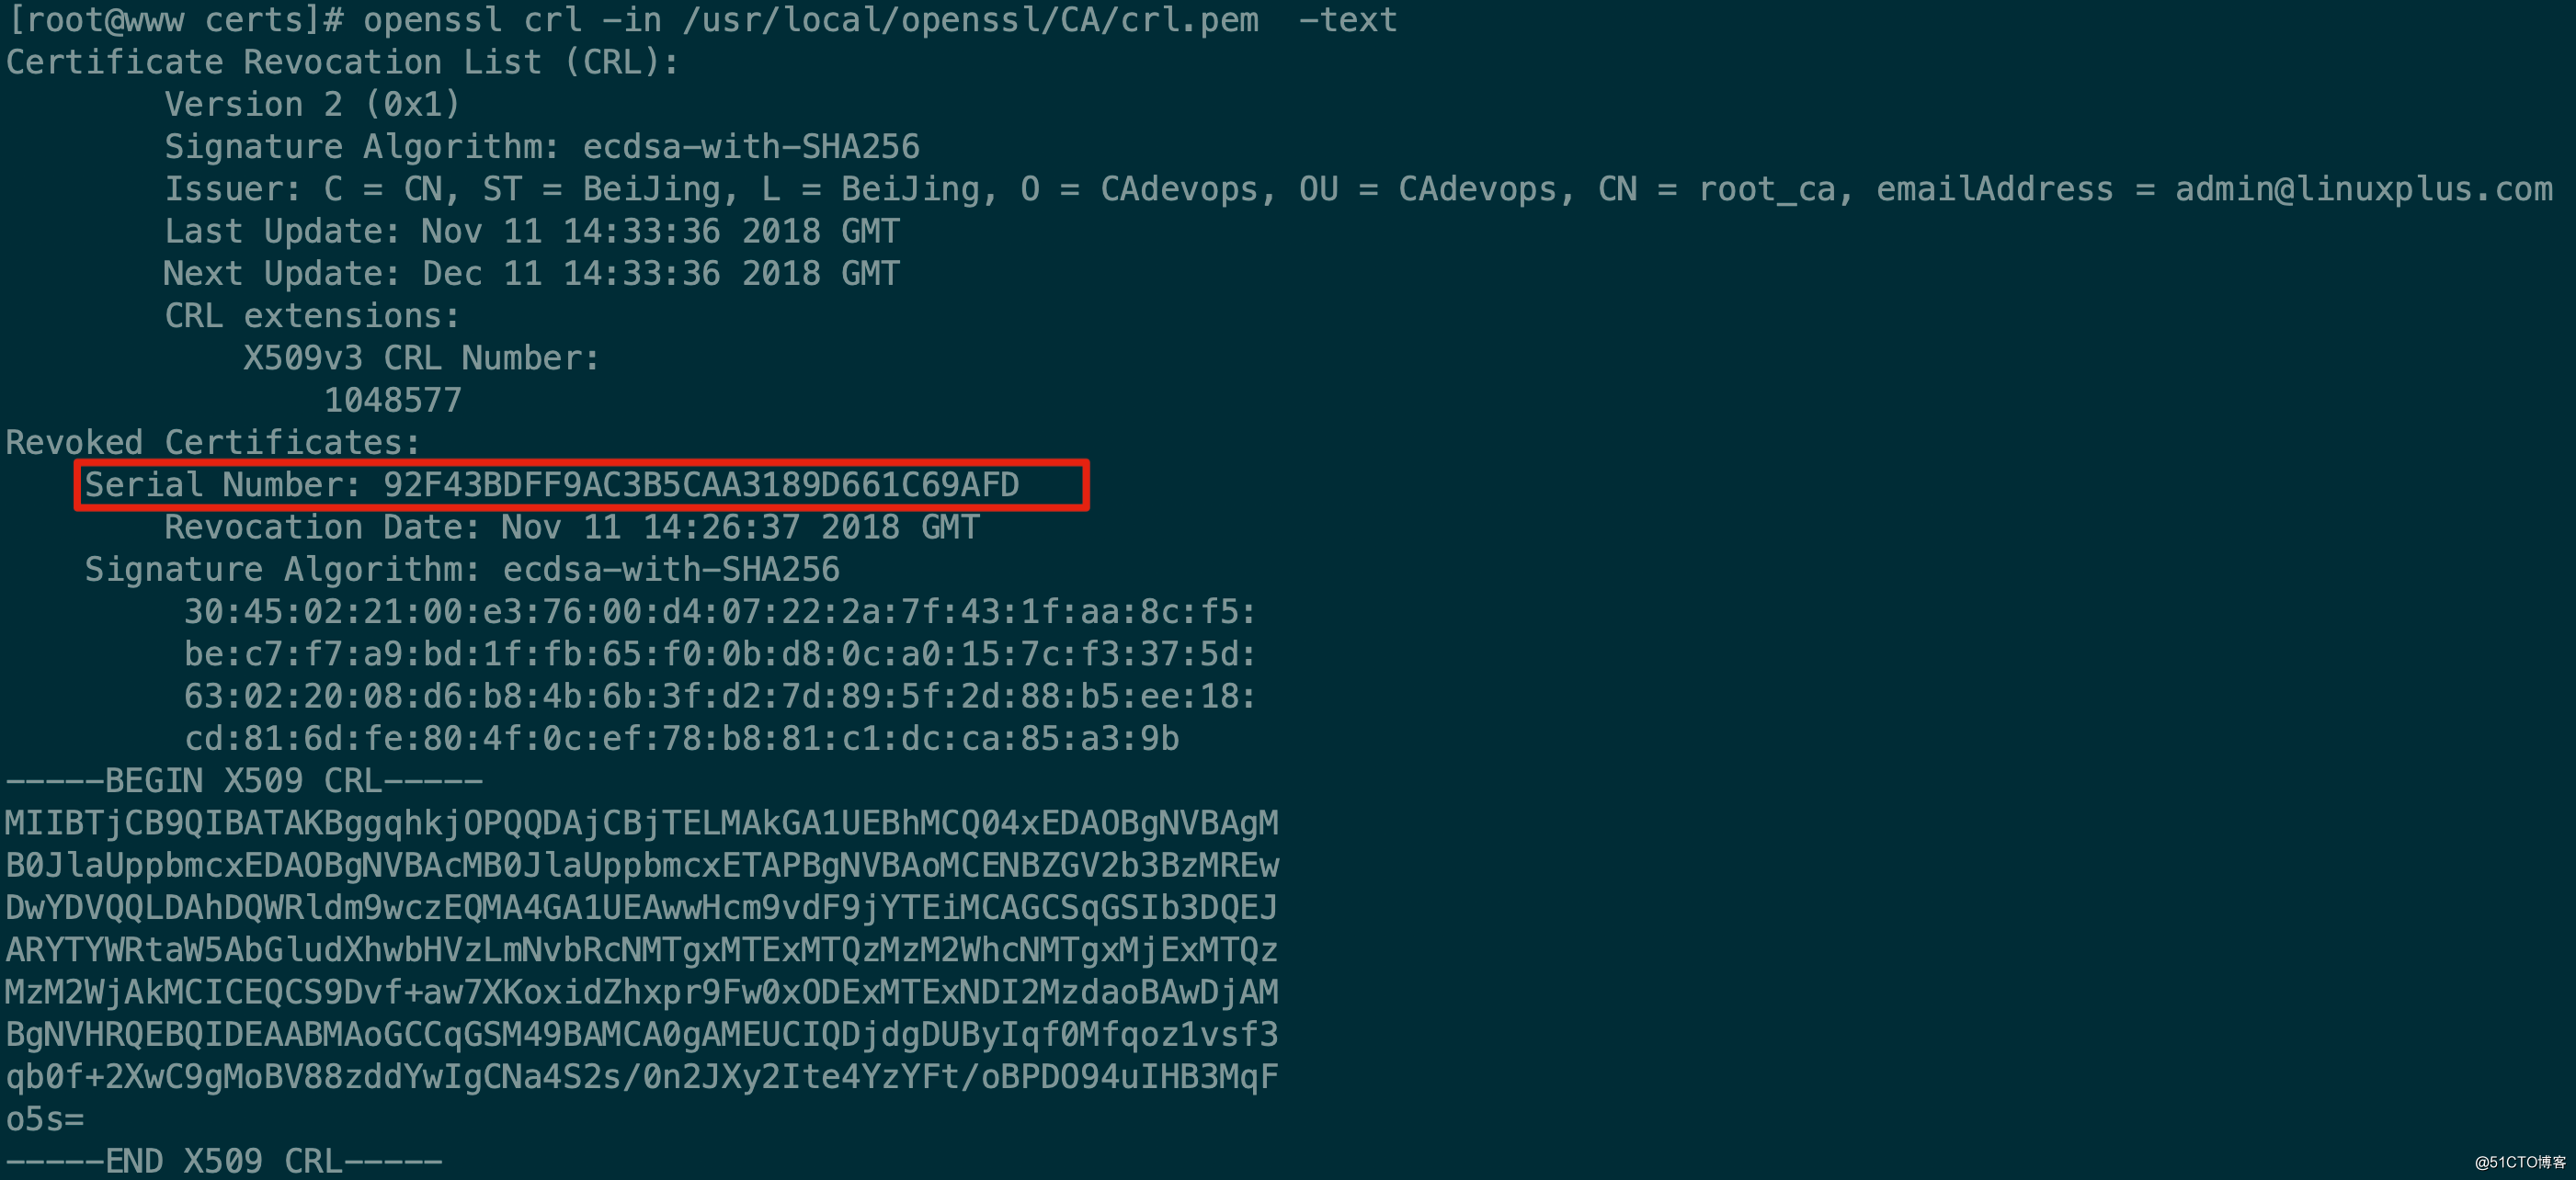
[root@www conf]# vim nginx.conf
log_format  tls "$ssl_client_verify $pid $scheme $server_name $time_local  $remote_addr $connection $connection_requests  $ssl_protocol  $ssl_cipher   $ssl_session_id $ssl_session_reused $ssl_curves";
access_log  /project/logs/nginx/access.log  tls;

#$scheme:使用哪种协议
#$connection:TCP连接序号
#$connection_requests:表示在一个连接(长连接)里面有多少次请求

[root@www logs]# tail -f access.log
SUCCESS 20481 https www.linuxplus.com 23/Nov/2018:23:12:03 +0800  172.16.216.181 315 1  TLSv1.2  ECDHE-ECDSA-AES128-GCM-SHA256   - . X25519:prime256v1:secp384r1:secp521r1:0x0100:0x0101
SUCCESS 20481 https www.linuxplus.com 23/Nov/2018:23:12:03 +0800  172.16.216.181 315 2  TLSv1.2  ECDHE-ECDSA-AES128-GCM-SHA256   - . X25519:prime256v1:secp384r1:secp521r1:0x0100:0x0101
SUCCESS 20481 https www.linuxplus.com 23/Nov/2018:23:12:28 +0800  172.16.216.181 315 3  TLSv1.2  ECDHE-ECDSA-AES128-GCM-SHA256   - . X25519:prime256v1:secp384r1:secp521r1:0x0100:0x0101
SUCCESS 20481 https www.linuxplus.com 23/Nov/2018:23:12:28 +0800  172.16.216.181 315 4  TLSv1.2  ECDHE-ECDSA-AES128-GCM-SHA256   - . X25519:prime256v1:secp384r1:secp521r1:0x0100:0x0101
........
#SUCCESS:表示成功
#20481:Nginx的PID
#ECDHE-ECDSA-AES128-GCM-SHA256:密钥套件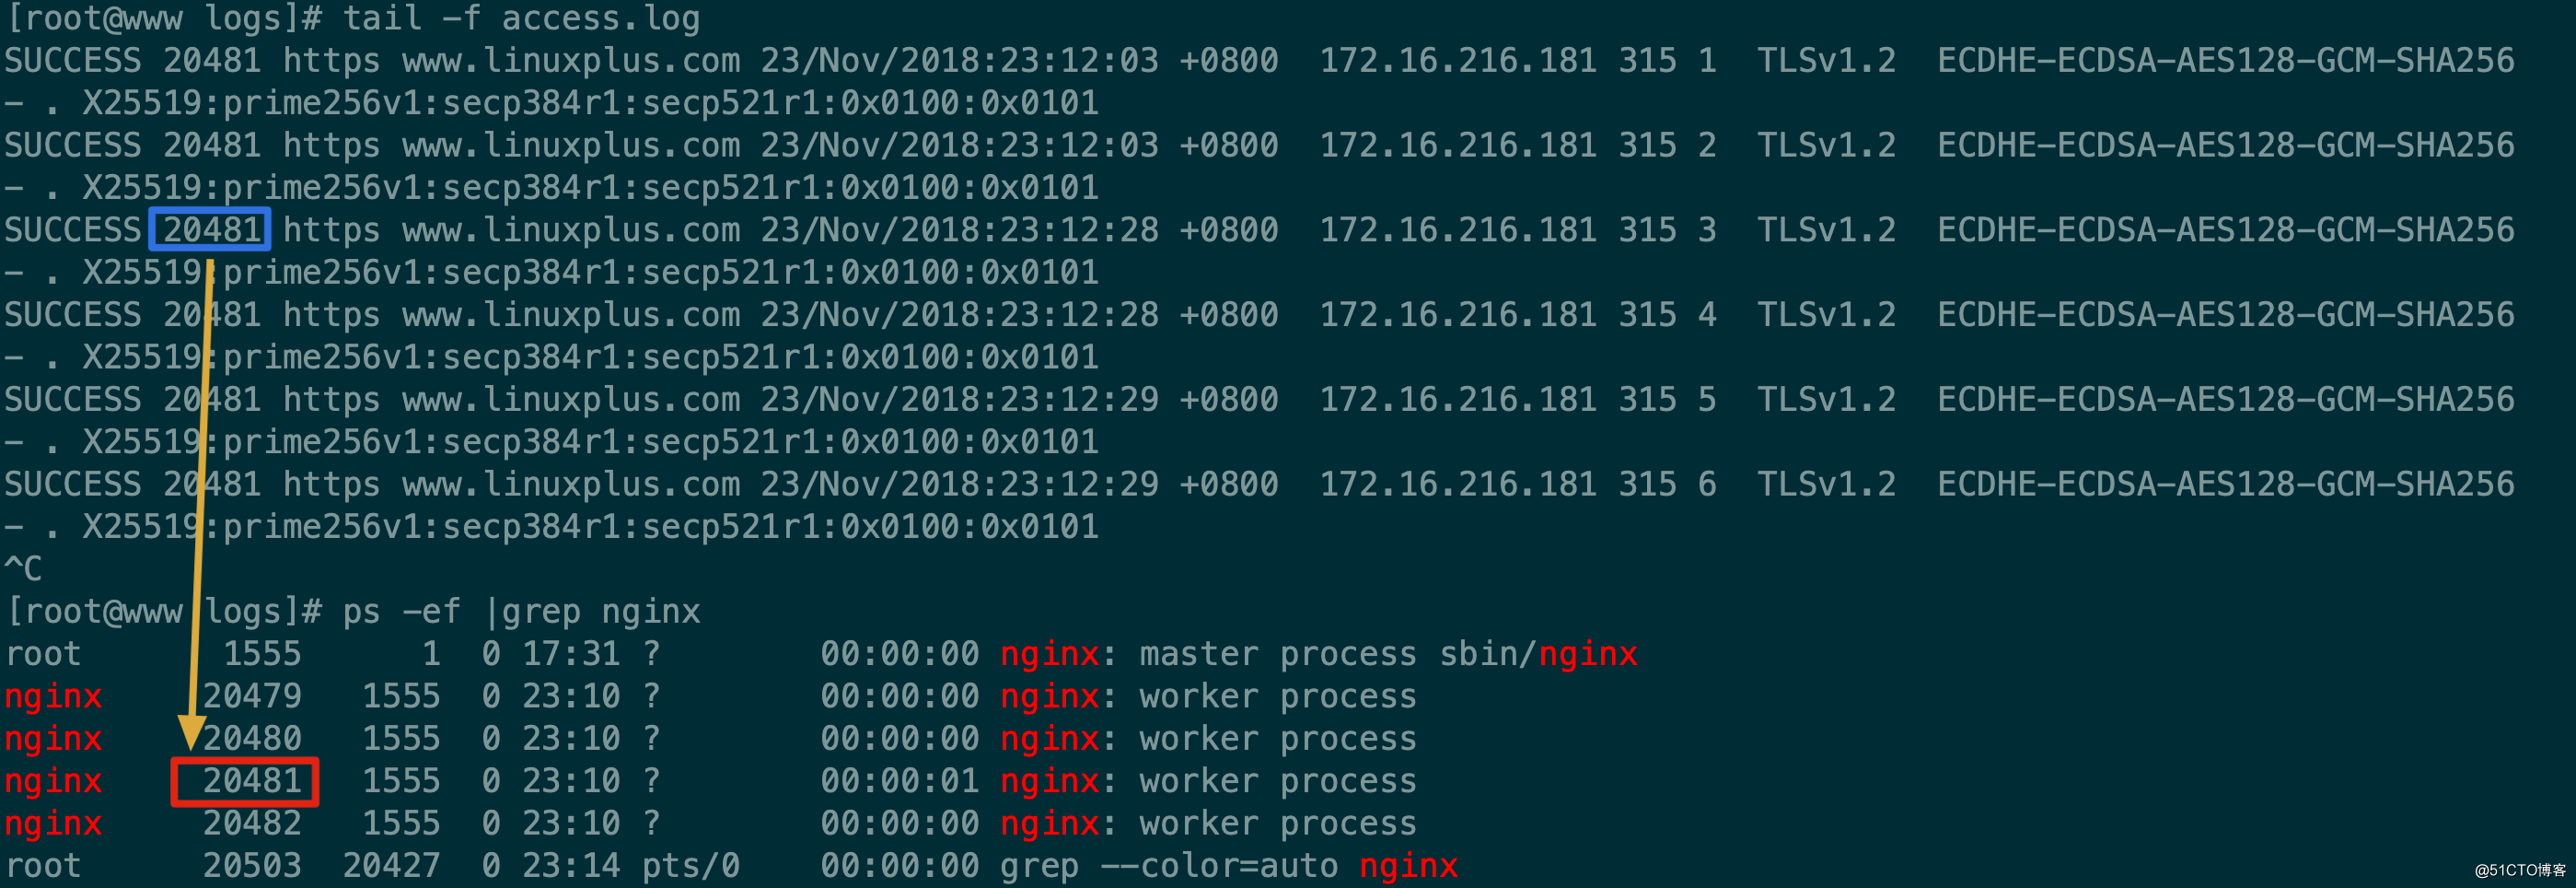
会话缓存
- 独立会话缓存
[root@www nginx1.15.0]# vim conf/nginx.conf
ssl_session_tickets  off;
ssl_session_cache    shared:SSL:1m;    #分配1MB的共享内存缓存,使用1 MB的内存可以缓存大约4000个会话
ssl_session_timeout  5m;               #设置会话缓存过期时间,默认的会话缓存过期时间只有5分钟

SUCCESS 20574 https www.linuxplus.com 23/Nov/2018:23:43:22 +0800  172.16.216.181 331 1  TLSv1.2  ECDHE-ECDSA-AES128-GCM-SHA256   20dfe772e67ea1fd9792ad5718cd416be900c51df38bf05ed87371049c1c41ed r -
SUCCESS 20574 https www.linuxplus.com 23/Nov/2018:23:43:22 +0800  172.16.216.181 331 2  TLSv1.2  ECDHE-ECDSA-AES128-GCM-SHA256   20dfe772e67ea1fd9792ad5718cd416be900c51df38bf05ed87371049c1c41ed r -
SUCCESS 20574 https www.linuxplus.com 23/Nov/2018:23:43:24 +0800  172.16.216.181 331 3  TLSv1.2  ECDHE-ECDSA-AES128-GCM-SHA256   20dfe772e67ea1fd9792ad5718cd416be900c51df38bf05ed87371049c1c41ed r -
SUCCESS 20574 https www.linuxplus.com 23/Nov/2018:23:43:24 +0800  172.16.216.181 331 4  TLSv1.2  ECDHE-ECDSA-AES128-GCM-SHA256   20dfe772e67ea1fd9792ad5718cd416be900c51df38bf05ed87371049c1c41ed r -
SUCCESS 20574 https www.linuxplus.com 23/Nov/2018:23:43:24 +0800  172.16.216.181 331 5  TLSv1.2  ECDHE-ECDSA-AES128-GCM-SHA256   20dfe772e67ea1fd9792ad5718cd416be900c51df38bf05ed87371049c1c41ed r -
SUCCESS 20574 https www.linuxplus.com 23/Nov/2018:23:43:24 +0800  172.16.216.181 331 6  TLSv1.2  ECDHE-ECDSA-AES128-GCM-SHA256   20dfe772e67ea1fd9792ad5718cd416be900c51df38bf05ed87371049c1c41ed r -

#r 则表示被重用,如果是.表示没有重用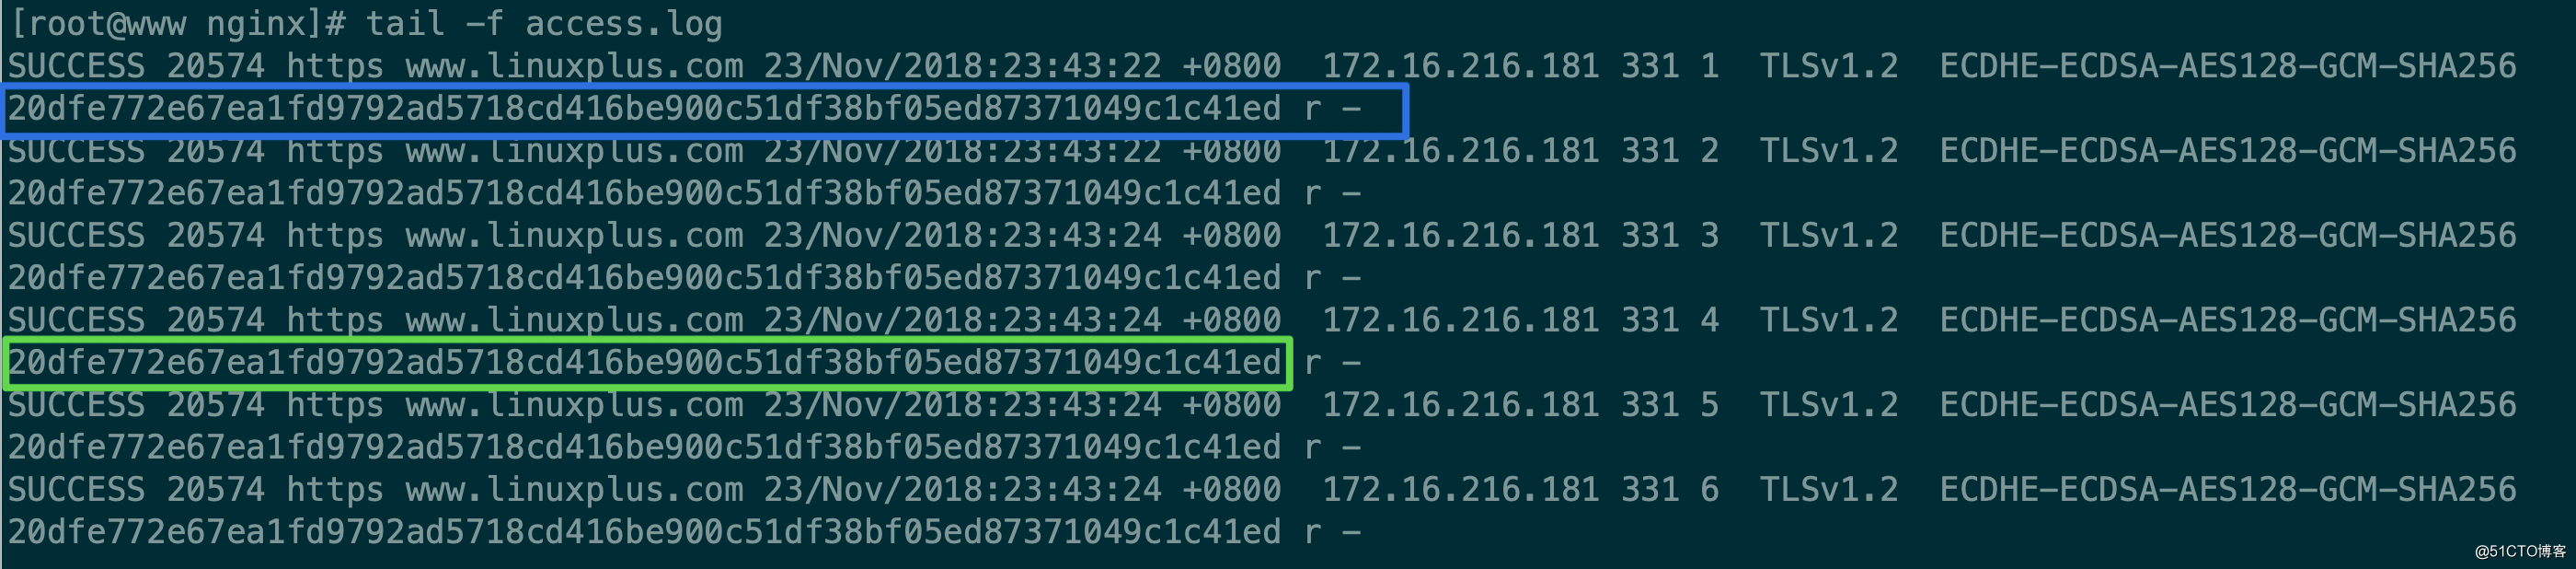
-
配置项使用格式:
ssl_session_cache off | none | [builtin[:size]] [shared:name:size]默认选项是 none;
off :禁用缓存 。
none:禁用缓存,但是通知客户端可以重用会话(session),但是并不实际存储。
builtin:内建,这个缓存只能被一个worker进程使用(nginx可以有过个worker进程),与builtin 配合的单位参数是个数 builtin:100 表示缓存100个session;如果没有写明数量 那么默认是20480个session。使用builtin会引起一些内存碎片。
shared:共享, shared:xx_name:xxM;,在多个worker进程中共享session,单位是M(兆字节),1M可以存放大概4000个session,共享的缓存可以有1个名称,名称一样的缓存可以在多个 nginx 上配置的 server 块上共享使用。
还可以混合使用 builtin 和 shared
ssl_session_cache builtin:1000 shared:SSL:10m; 只用共享缓存而不用内置缓存应该更有效率。根据项目情况来决定。 - 分布式会话票证
[root@www nginx1.15.0]# cd conf/certs/
[root@www certs]# openssl rand -out ticket48.key 48
[root@www certs]# openssl rand -out ticket80.key 80
[root@www certs]# ll -l ticket48.key
-rw-r--r--. 1 root root 48 11月 24 14:23 ticket48.key
[root@www certs]# ll -l ticket80.key
-rw-r--r--. 1 root root 80 11月 24 14:31 ticket80.key
[root@www certs]# cd ../..
[root@www nginx1.15.0]# vim conf/nginx.conf
ssl_session_tickets on;
ssl_session_ticket_key certs/ticket48.key;    #设置新密钥,用于新票证的加解密
ssl_session_ticket_key certs/ticket80.key;    #保留前一个密钥用于老票证的解密
[root@www nginx1.15.0]# sbin/nginx -s reload
[root@www nginx1.15.0]# openssl s_client -connect 172.16.216.188:443
.......
SSL-Session:
    Protocol  : TLSv1.2
    Cipher    : ECDHE-ECDSA-AES128-GCM-SHA256
    Session-ID: 0734C4A2519DD91A6B03BA6E1A572FA2E8DAB69CC23A41A249E4219B6B16934E
    Session-ID-ctx:
    Master-Key: AC6A686B930A886990E031117F1032F5829C57EAFA2C363D9917973E401FE420D5F566BA5F5CD5ED2E922F5E6E6E1F1B
    PSK identity: None
    PSK identity hint: None
    SRP username: None
    TLS session ticket lifetime hint: 300 (seconds)
    TLS session ticket:
    0000 - 95 0a 94 18 66 9c fa fb-bb e7 79 81 19 46 a5 77   ....f.....y..F.w
    0010 - ec a8 37 e6 6e a2 34 0d-4e 2b e2 ce 58 3c a8 23   ..7.n.4.N+..X<.#
    0020 - 8f 73 59 fd 30 0a bf 37-e2 47 6d 9e 10 76 1a 90   .sY.0..7.Gm..v..
    0030 - f5 5d 7c 8c e0 32 a5 d4-3a a5 c5 e9 dc 62 e5 eb   .]|..2..:....b..
    0040 - fc 7d c0 98 df dd 76 4c-29 d6 51 79 d9 6a c2 f7   .}....vL).Qy.j..
    0050 - e2 a5 ec a3 46 d1 27 3c-75 12 38 18 ec 20 b1 18   ....F.'<u.8.. ..
    0060 - 41 13 be 58 45 96 a5 1f-7a 90 aa a1 73 17 8b 27   A..XE...z...s..'
    0070 - 89 7b 63 2a 2f ad 61 53-3d d8 4e 13 c6 41 97 1f   .{c*/.aS=.N..A..
    0080 - ec 75 d7 bf 7f 96 29 4d-cf f6 3e 0d 23 35 fc 9a   .u....)M..>.#5..
    0090 - 57 98 2a 81 2c e7 b0 e1-27 33 aa d7 fb 13 01 c3   W.*.,...'3......
    00a0 - 91 86 f5 63 5c b5 be 1a-58 a5 99 61 1a 82 36 de   ...c\...X..a..6.
......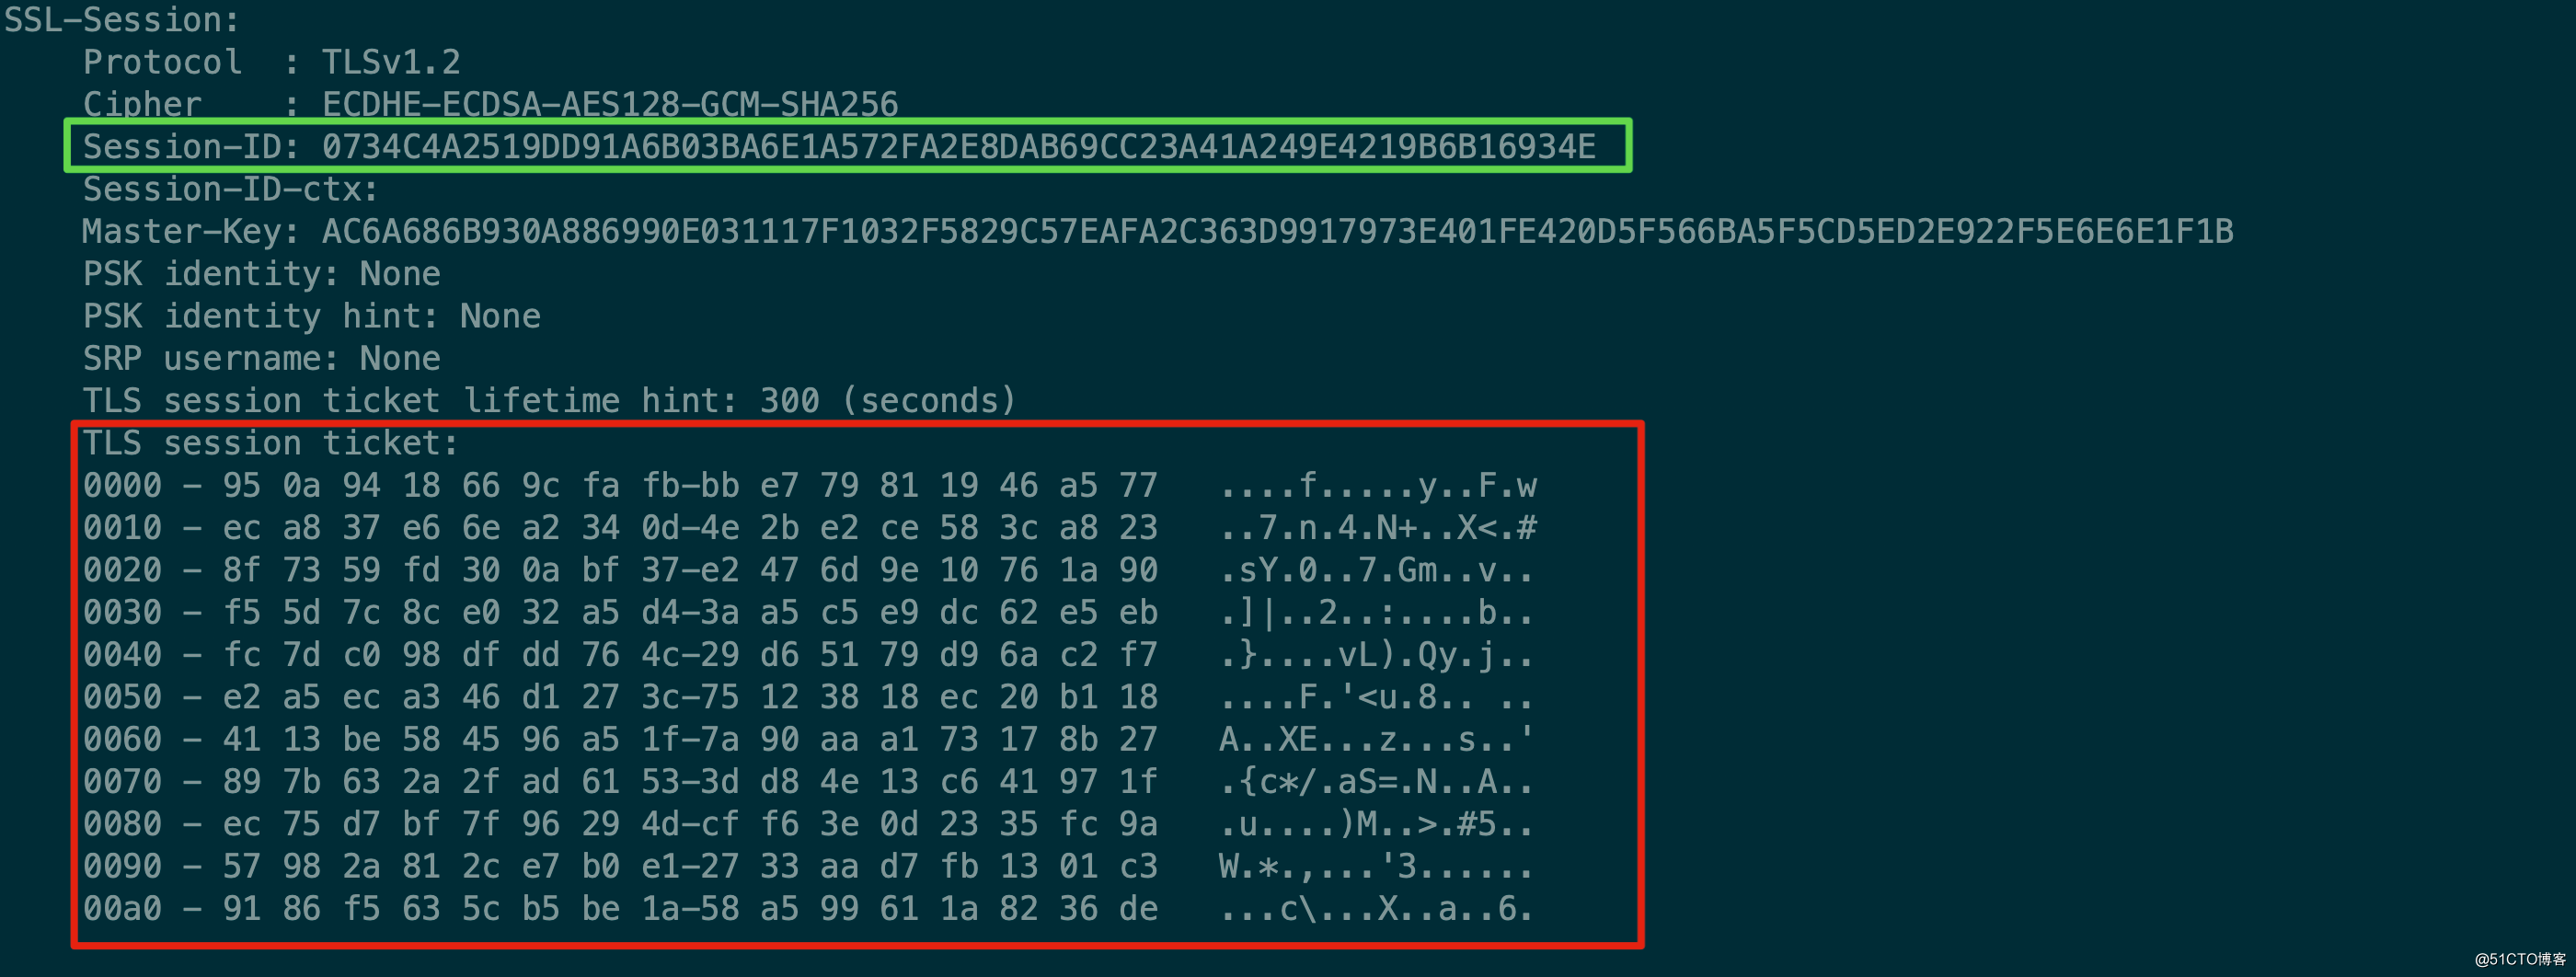
使用两个密钥轮转的方式,在密钥更新时服务器就不会丢弃更新前建立的会话。
在集群中实施会话票证密钥的轮替是不可靠的,因为无法完美的实现新的密钥在同一个时刻被所有节点同时更新。如果某个节点在其他节点前使用了新密钥,并给某个客户端生成了票据,随后客户端再次发送过来的请求被分配到其他节点处理,而其他节点可能无法解密数据(集群未采取流量保持机制),而导致SSL重新握手,这样会造成性能下降,甚至会出现一个瓶颈期;归根结底是各个节点在重新加载配置的时候会不可避免的存在时间差。如果选择使用会话票证,不要过于频繁的更新密钥,尽量在设计上会使用流量保持,把同一个用户分发到相同节点。
如果要完美地实现集群的会话票证密钥轮转,并且不介意操作两次集群配置,可以按以下步骤操作。
(1) 生成一个新密钥。
(2) 将新的密钥替换掉只用于解密的老密钥,重启各个节点;加载配置,使所有节点都只使用新密钥。
(3) 将两个密钥交换位置,新密钥作为加解密的密钥,之前的密钥作为只解密的老密钥。
可以从容的依次重启各个节点,因为所有节点在第一次配置中已经加载了新密钥,所以可以正常解密由新密钥加密的票据,不会有任何时间差带来的问题。