AMQP:是Advanced Message Queuing Protocol的简称,高级消息队列协议,是一个面向消息中间件的开放式标准应用层协议。
定义了以下特性:
- 消息方向
- 消息队列
- 消息路由(包括:点到点和发布-订阅模式)
- 可靠性
- 安全性
RabitMQ:是以AMQP协议实现的一种中间件产品。RabbitMq是一个开源的AMQP实现,服务器端用erlang语言编写,支持多种客户端。
常用概念:
通常由三个概念:发消息者、队列、收消息者,RabbitMQ 在这个基本概念之上, 多做了一层抽象, 在发消息者和 队列之间, 加入了交换器 (Exchange). 这样发消息者和队列就没有直接联系, 转而变成发消息者把消息给交换器, 交换器根据调度策略再把消息再给队列。
首先,先安装Erland,通过官方下载页面http://www.erlang.org/downloads获取exe安装包,直接打开并完成安装。
接着,
- 安装RabbitMq,通过官方下载页面
https://www.rabbitmq.com/download.html获取exe安装包。 - 下载完成后,直接运行安装程序。
- RabbitMQ Server安装完成之后,会自动的注册为服务,并以默认配置启动起来。
环境搭建可以参考:http://blog.didispace.com/spring-boot-rabbitmq/
RabbitMQ管理:
我们可以直接通过配置文件的访问进行管理,也可以通过Web的访问进行管理。下面我们将介绍如何通过Web进行管理。
在sbin文件夹打开CMD,执行rabbitmq-plugins enable rabbitmq_management命令,开启Web管理插件,这样我们就可以通过浏览器来进行管理了。

重启mq的命令是:rabbitmq-server restart
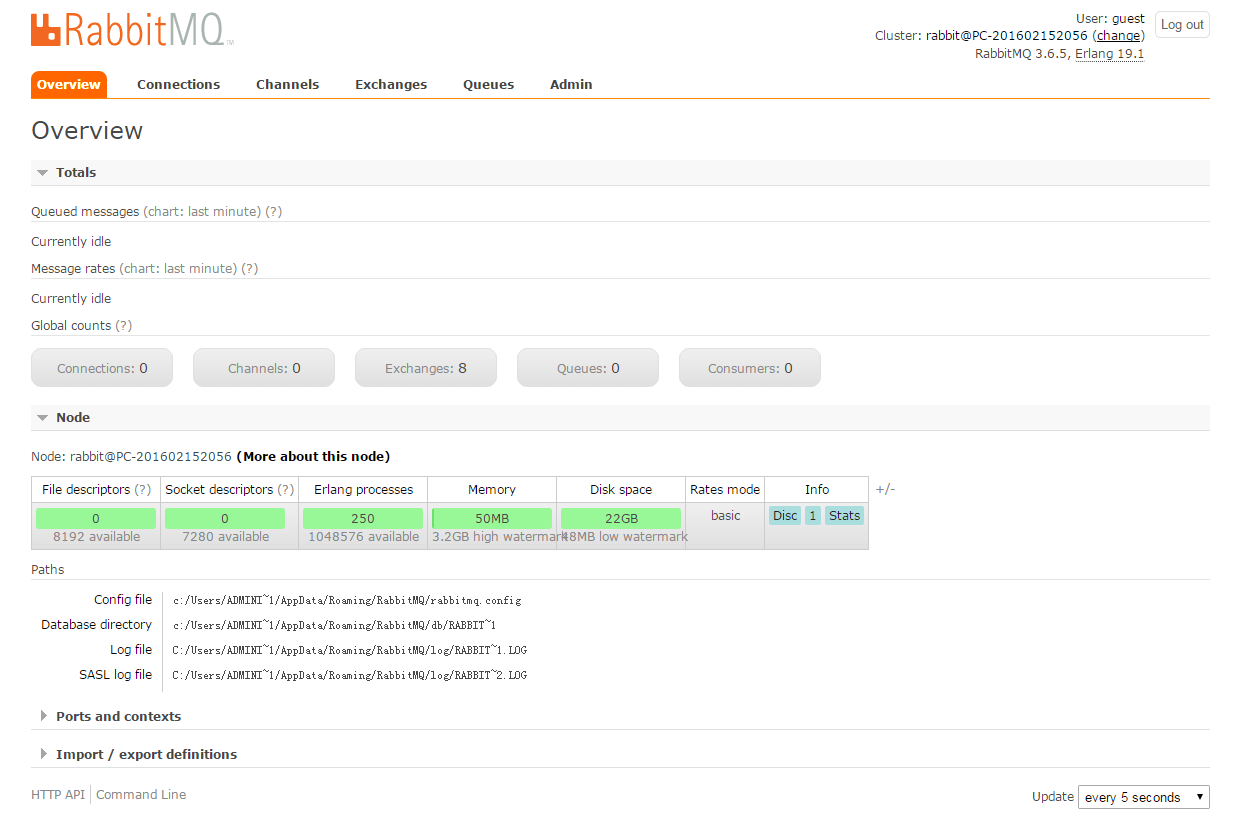
- 打开浏览器并访问:
http://localhost:15672/,并使用默认用户guest登录,密码也为guest。我们可以看到如下图的管理页面:
- 点击
Admin标签,在这里可以进行用户的管理。例如添加用户,记得要给用户设置权限,不然可能会导致下面工程连接不上。
利用springboot来进行整合:
1. 编写配置文件类:
在com.example包中增加类,名称为HelloRabbitConfig,并修改代码为
- package com.example;
- import org.springframework.amqp.core.Queue;
- import org.springframework.context.annotation.Bean;
- import org.springframework.context.annotation.Configuration;
- @Configuration
- public class HelloRabbitConfig {
- @Bean
- public Queue helloQueue() {
- return new Queue("hello");
- }
- }
2. 编写发送消息类:
在com.example包中增加类,名称为HelloSender,并修改代码为:
- package com.example;
- import java.util.Date;
- import org.slf4j.Logger;
- import org.slf4j.LoggerFactory;
- import org.springframework.amqp.core.AmqpTemplate;
- import org.springframework.beans.factory.annotation.Autowired;
- import org.springframework.stereotype.Component;
- @Component
- public class HelloSender {
- protected static Logger logger=LoggerFactory.getLogger(HelloSender.class);
- @Autowired
- private AmqpTemplate rabbitTemplate;
- public String send(String name) {
- String context = "hello "+name+" --" + new Date();
- logger.debug("HelloSender: " + context);
- this.rabbitTemplate.convertAndSend("hello", context);
- return context;
- }
- }
3.编写接收消息类:
在com.example包中增加类,名称为HelloReceiver,并修改代码为
- package com.example;
- import org.slf4j.Logger;
- import org.slf4j.LoggerFactory;
- import org.springframework.amqp.rabbit.annotation.RabbitHandler;
- import org.springframework.amqp.rabbit.annotation.RabbitListener;
- import org.springframework.stereotype.Component;
- @Component
- @RabbitListener(queues = "hello")
- public class HelloReceiver {
- protected static Logger logger = LoggerFactory.getLogger(HelloReceiver.class);
- @RabbitHandler
- public void process(String hello) {
- logger.debug("HelloReceiver : " + hello);
- }
- }
4. 编写RestController 类,调用发送消息:
在com.example包中增加类,名称为HelloController,并修改代码为
- package com.example;
- import org.slf4j.Logger;
- import org.slf4j.LoggerFactory;
- import org.springframework.beans.factory.annotation.Autowired;
- import org.springframework.web.bind.annotation.PathVariable;
- import org.springframework.web.bind.annotation.RequestMapping;
- import org.springframework.web.bind.annotation.RestController;
- @RestController
- public class HelloController {
- protected static Logger logger=LoggerFactory.getLogger(HelloController.class);
- @Autowired
- private HelloSender helloSender;
- @RequestMapping("/send/{name}")
- public String helloworld(@PathVariable String name) {
- return helloSender.send(name);
- }
- }
5. 运行测试
在sbin文件夹CMD调用rabbitmq-server restart之后,在工程所在目录打开命令行,执行mvn spring-boot:run,最后在浏览器输入http://localhost:8080/send/上帝


参考:https://blog.csdn.net/u012930316/article/details/76853778
工程解析:
1.配置文件:
在配置文件中,仅仅配置了一个名为hello的队列,以后发送,接收都与这个队列有关
2. 发送消息:
2.1发送消息使用模板机制,用springboot自动注入rabbitmqTemplate,它封装好了链接,管道,转换等
2.2消息转换和发送
void convertAndSend(String routingKey, Object message) throws AmqpException;
它的注释是:Convert a Java object to an Amqp {@link Message} and send it to a default exchange with a specific routing key.
将一个Java对象转换为Amqp消息,然后用缺省的减缓及指定路由键发送信息。
public void convertAndSend(String exchange, String routingKey, final Object object, CorrelationData correlationData)
exchange:交换机名称
routingKey:路由关键字
object:发送的消息内容
correlationData:消息ID
3. 接收消息
3.1监听消息
在类上声明@RabbitListener(queues = "hello"),表示监听hello队列
3.2消息处理句柄
在接收处理消息的方法上声明@RabbitHandler
Annotation that marks a method to be the target of a Rabbit message listener within a class that is annotated with {@link RabbitListener}.
消息消费者:
消费者负责声明交换机(生产者也可以声明),队列,以及两者的绑定操作。
交换机:
/**
* 针对消费者配置
FanoutExchange: 将消息分发到所有的绑定队列,无routingkey的概念
HeadersExchange :通过添加属性key-value匹配
DirectExchange:按照routingkey分发到指定队列
TopicExchange:多关键字匹配
*/
@Bean
public DirectExchange defaultExchange() {
return new DirectExchange(EXCHANGE);
}
队列:
@Bean
public Queue queue() {
return new Queue("spring-boot-queue", true); //队列持久
}
绑定:binding:
@Bean
public Binding binding() {
return BindingBuilder.bind(queue()).to(defaultExchange()).with(AmqpConfig.ROUTINGKEY);
}
整体:整个工程比较简单,没有什么特殊的配置,仅仅三个类文件即可实现消息的发送和接受。