1.docker安装,参考上一篇rancher2.0搭建简单的k8s集群
2.创建文件夹:/usr/local/work/maven
3.运行docker,拉取nexus镜像。
docker search nexus;
#拉取nexus镜像
docker pull sonatype/nexus;
#运行
docker run -idt -p 8081:8081 --name nexus -v /usr/local/work/maven:/sonatype-work sonatype/nexus
#查看日志
docker logs -f nexus
浏览器中访问:http://ip:8081/nexus
这样nexus就已经开始正常工作了,接下来我们开始使用私有仓库;
4.使用私有仓库
- 下载maven
- 需要配置maven的信息,打开maven安装目录下的conf/settings.xml文件;
在mirrors节点下新增一个mirror节点,内容如下:
在profiles节点下新增一个profile节点,内容如下:<mirror> <id>nexus</id> <mirrorOf>*</mirrorOf> <url>http://安装nexus服务器的ip:8081/nexus/content/groups/public/</url> </mirror>
新增一个activeProfiles节点,该节点和profiles节点一个层次,内容如下:<profile> <id>nexus</id> <repositories> <repository> <id>central</id> <url>http://central</url> <releases><enabled>true</enabled></releases> <snapshots><enabled>true</enabled></snapshots> </repository> </repositories> <pluginRepositories> <pluginRepository> <id>central</id> <url>http://central</url> <releases><enabled>true</enabled></releases> <snapshots><enabled>true</enabled></snapshots> </pluginRepository> </pluginRepositories> </profile>
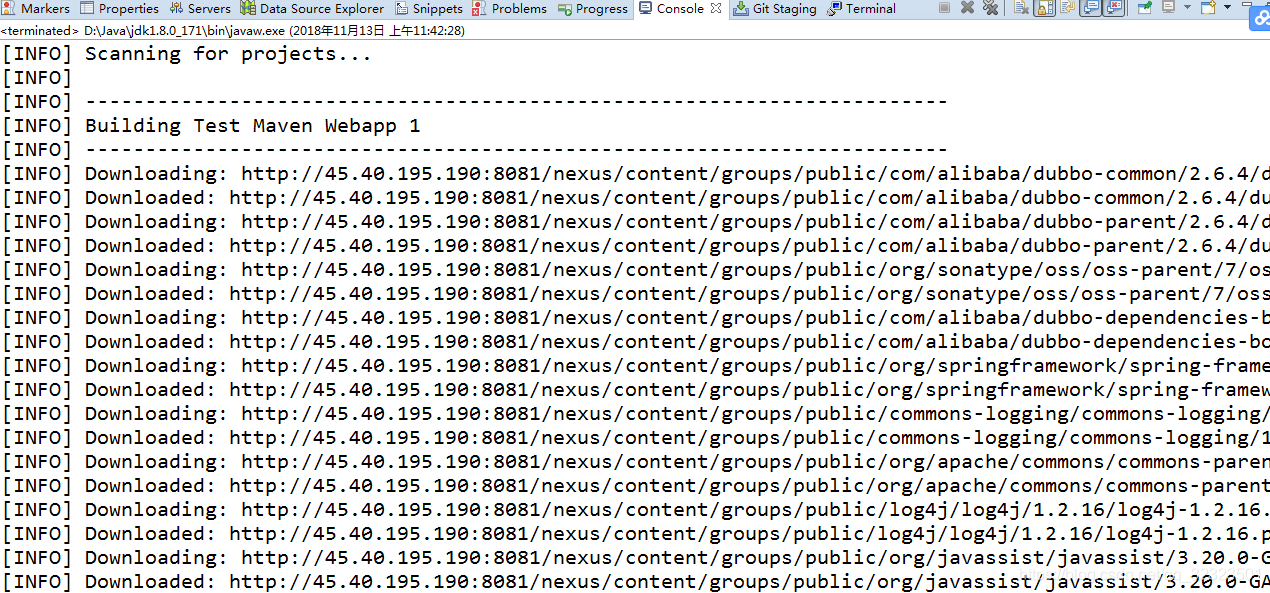
至此关于中央仓库的信息就配置好了。<activeProfiles> <activeProfile>nexus</activeProfile> </activeProfiles> - eclipse创建maven project,执行maven命令就会发现jar包都是从配置的nexus上下载的:
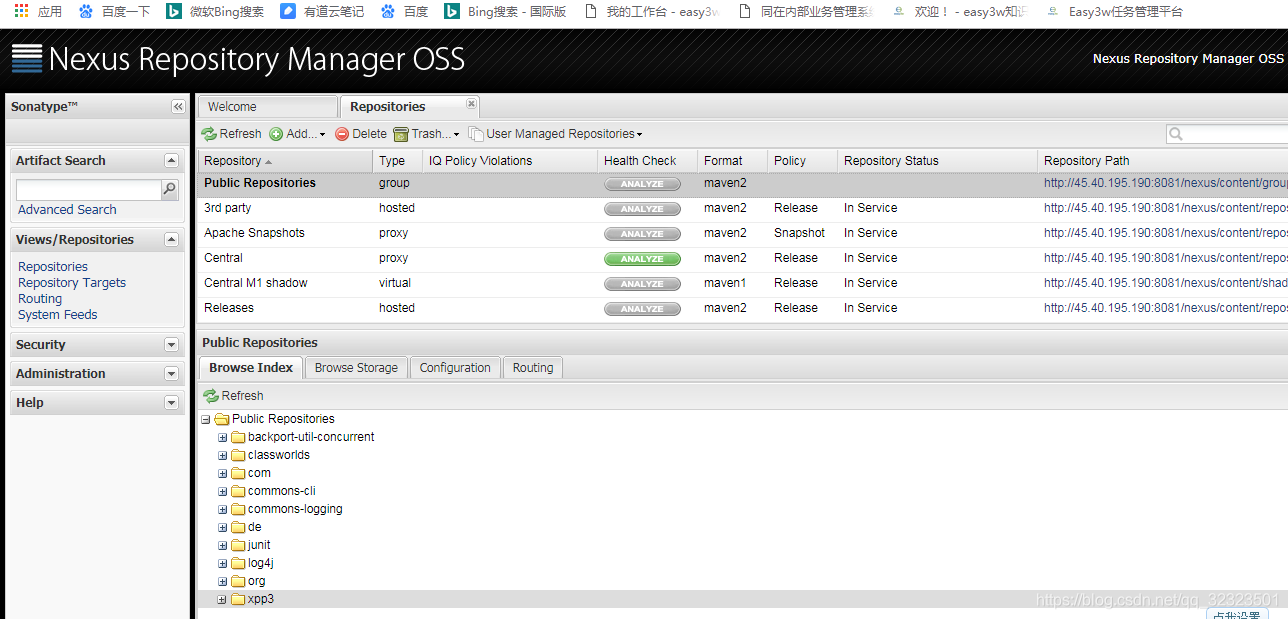
已缓存信息
此时再从浏览器查看“Central”仓库的信息,发现里面已经缓存了前面的eclipse项目所依赖的jar包,今后其他机器再需要这些jar包时,就可以直接从私有仓库上下载了,而私有仓库没有的jar包,也会由私有仓库下载并保存,然后提供给使用私有仓库的机器;