本文转载自:https://blog.csdn.net/nisxiya/article/details/79110247,经过验证搭建调试环境成功
Introduction
Elasticsearch is quite a cool project. This post introduces how to setup Elasticsearch in IntelliJ Idea locally. After this, we are able to :
- read
Elasticsearchsource code within an IDE - debug
Elasticsearch - modify & develop new features of
Elasticsearch
Solution
Step 1
clone the code from github (https://github.com/elastic/elasticsearch)
$> git clone git@github.com:elastic/elasticsearch.git- 1
Step 2
make sure you have IntelliJ Idea installed locally. Now let’s setup Elasticsearch project.
New a project from existing sources.
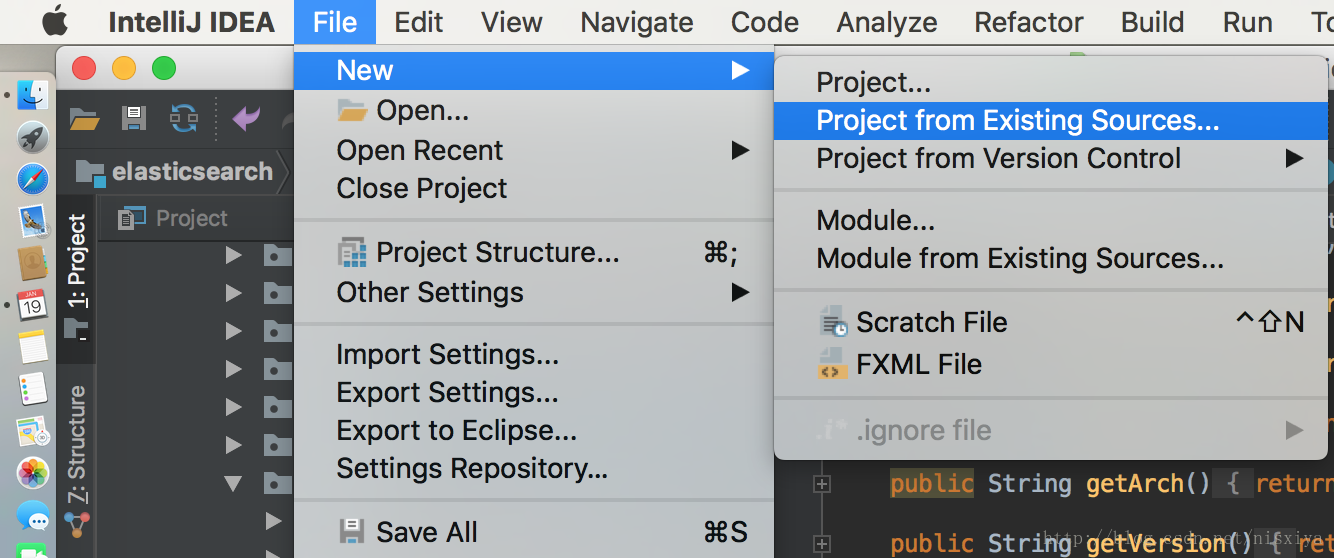
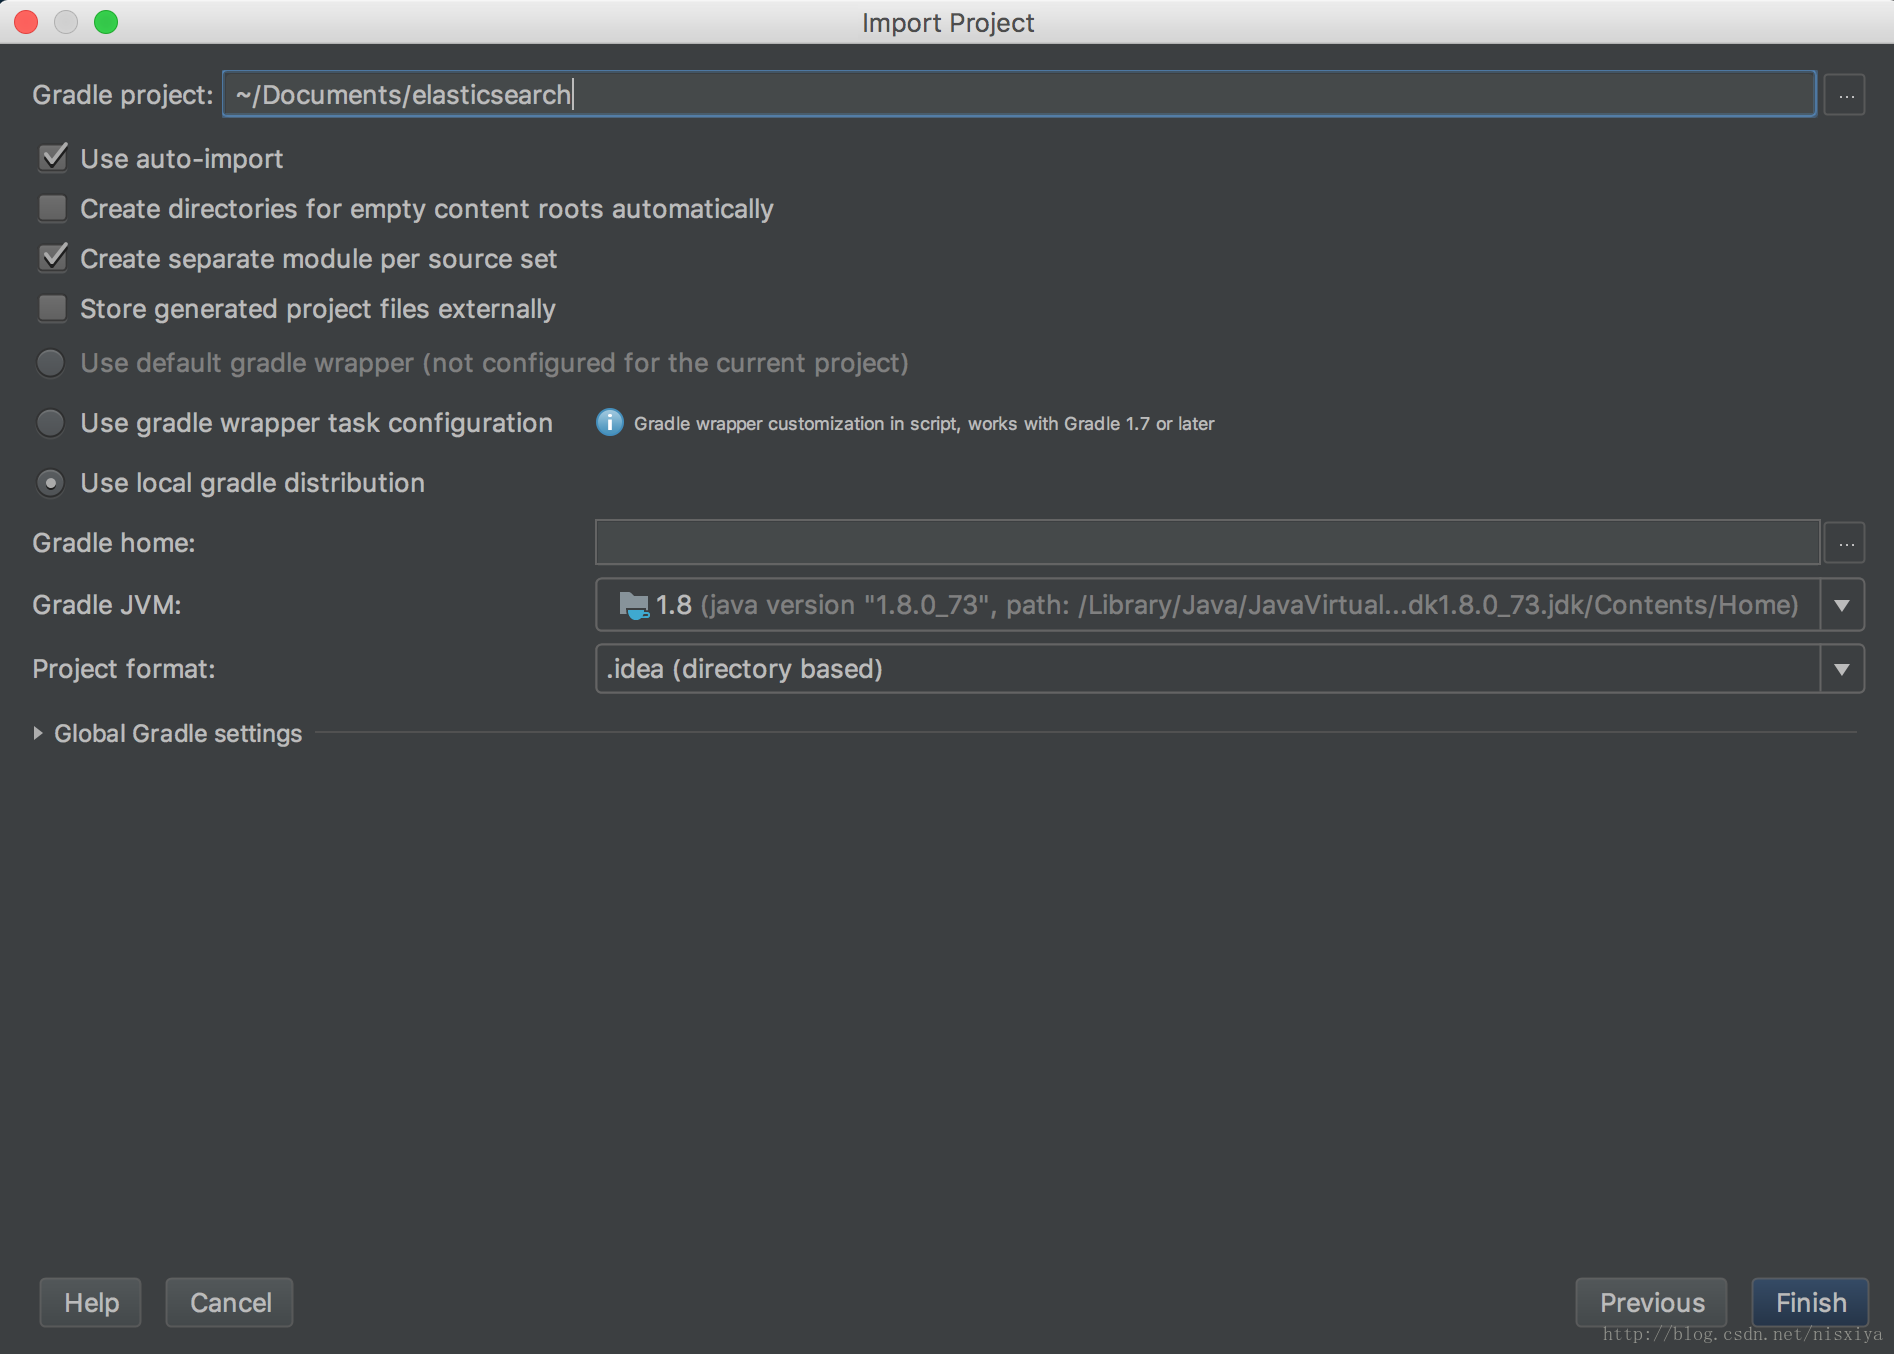
Use Gradle as the package management tool. (ES 5.X, 6.X are using Gradle instead of Maven)

Check Use auto-import. The Gradle project directory should be yours accordingly. Next click Finish.
Step 3
The Elasticsearch project might contain multiple branches. The master branch requires latest version of Gradle, Java, etc. I checkout to 5.6 branch in my case, since my current environment looks good to 5.6 branch.
$> git checkout 5.6 #我使用的6.2分支,java 10验证通过Have a try using the Gradle wrapper. The following will create a distribution of Elasticsearch with the source code. It could take a long time for downloading dependencies & building source codes (70 minutes on my computer).
./gradlew assembleThis generates a ES distribution locally.
Step 4
Now let’s begin to run & debug Elasticsearch source code. Directly running Elasticsearch within IntelliJ Idea is possible, but requires more extra effort. Let’s adopt Elastic's advices.
Run Elasticsearch
Set up a real Elasticsearch instance with ./gradlew run --debug-jvm
elastic@:~/Documents/elasticsearch (5.6)$ ./gradlew run --debug-jvm
To honour the JVM settings for this build a new JVM will be forked. Please consider using the daemon: https://docs.gradle.org/4.3/userguide/gradle_daemon.html.
Daemon will be stopped at the end of the build stopping after processing

> Configure project :benchmarks
...
Note: /Users/shun.ni/Documents/hulu/elasticsearch/modules/transport-netty4/src/main/java/org/elasticsearch/http/netty4/Netty4HttpChannel.java uses or overrides a deprecated API.
Note: Recompile with -Xlint:deprecation for details.

[elasticsearch] Listening for transport dt_socket at address: 8000

> Task :distribution:run#start
Running elasticsearch in debug mode, suspending until connected on port 8000
This instances listens to remote IDE in a certain port: 8000. Remember this port.
Debug Elasticsearch remotely
Then use IntelliJ Idea to debug this instance remotely.
Set up Idea, click Run -> Edit Configurations. Setup a Remote Debugging.
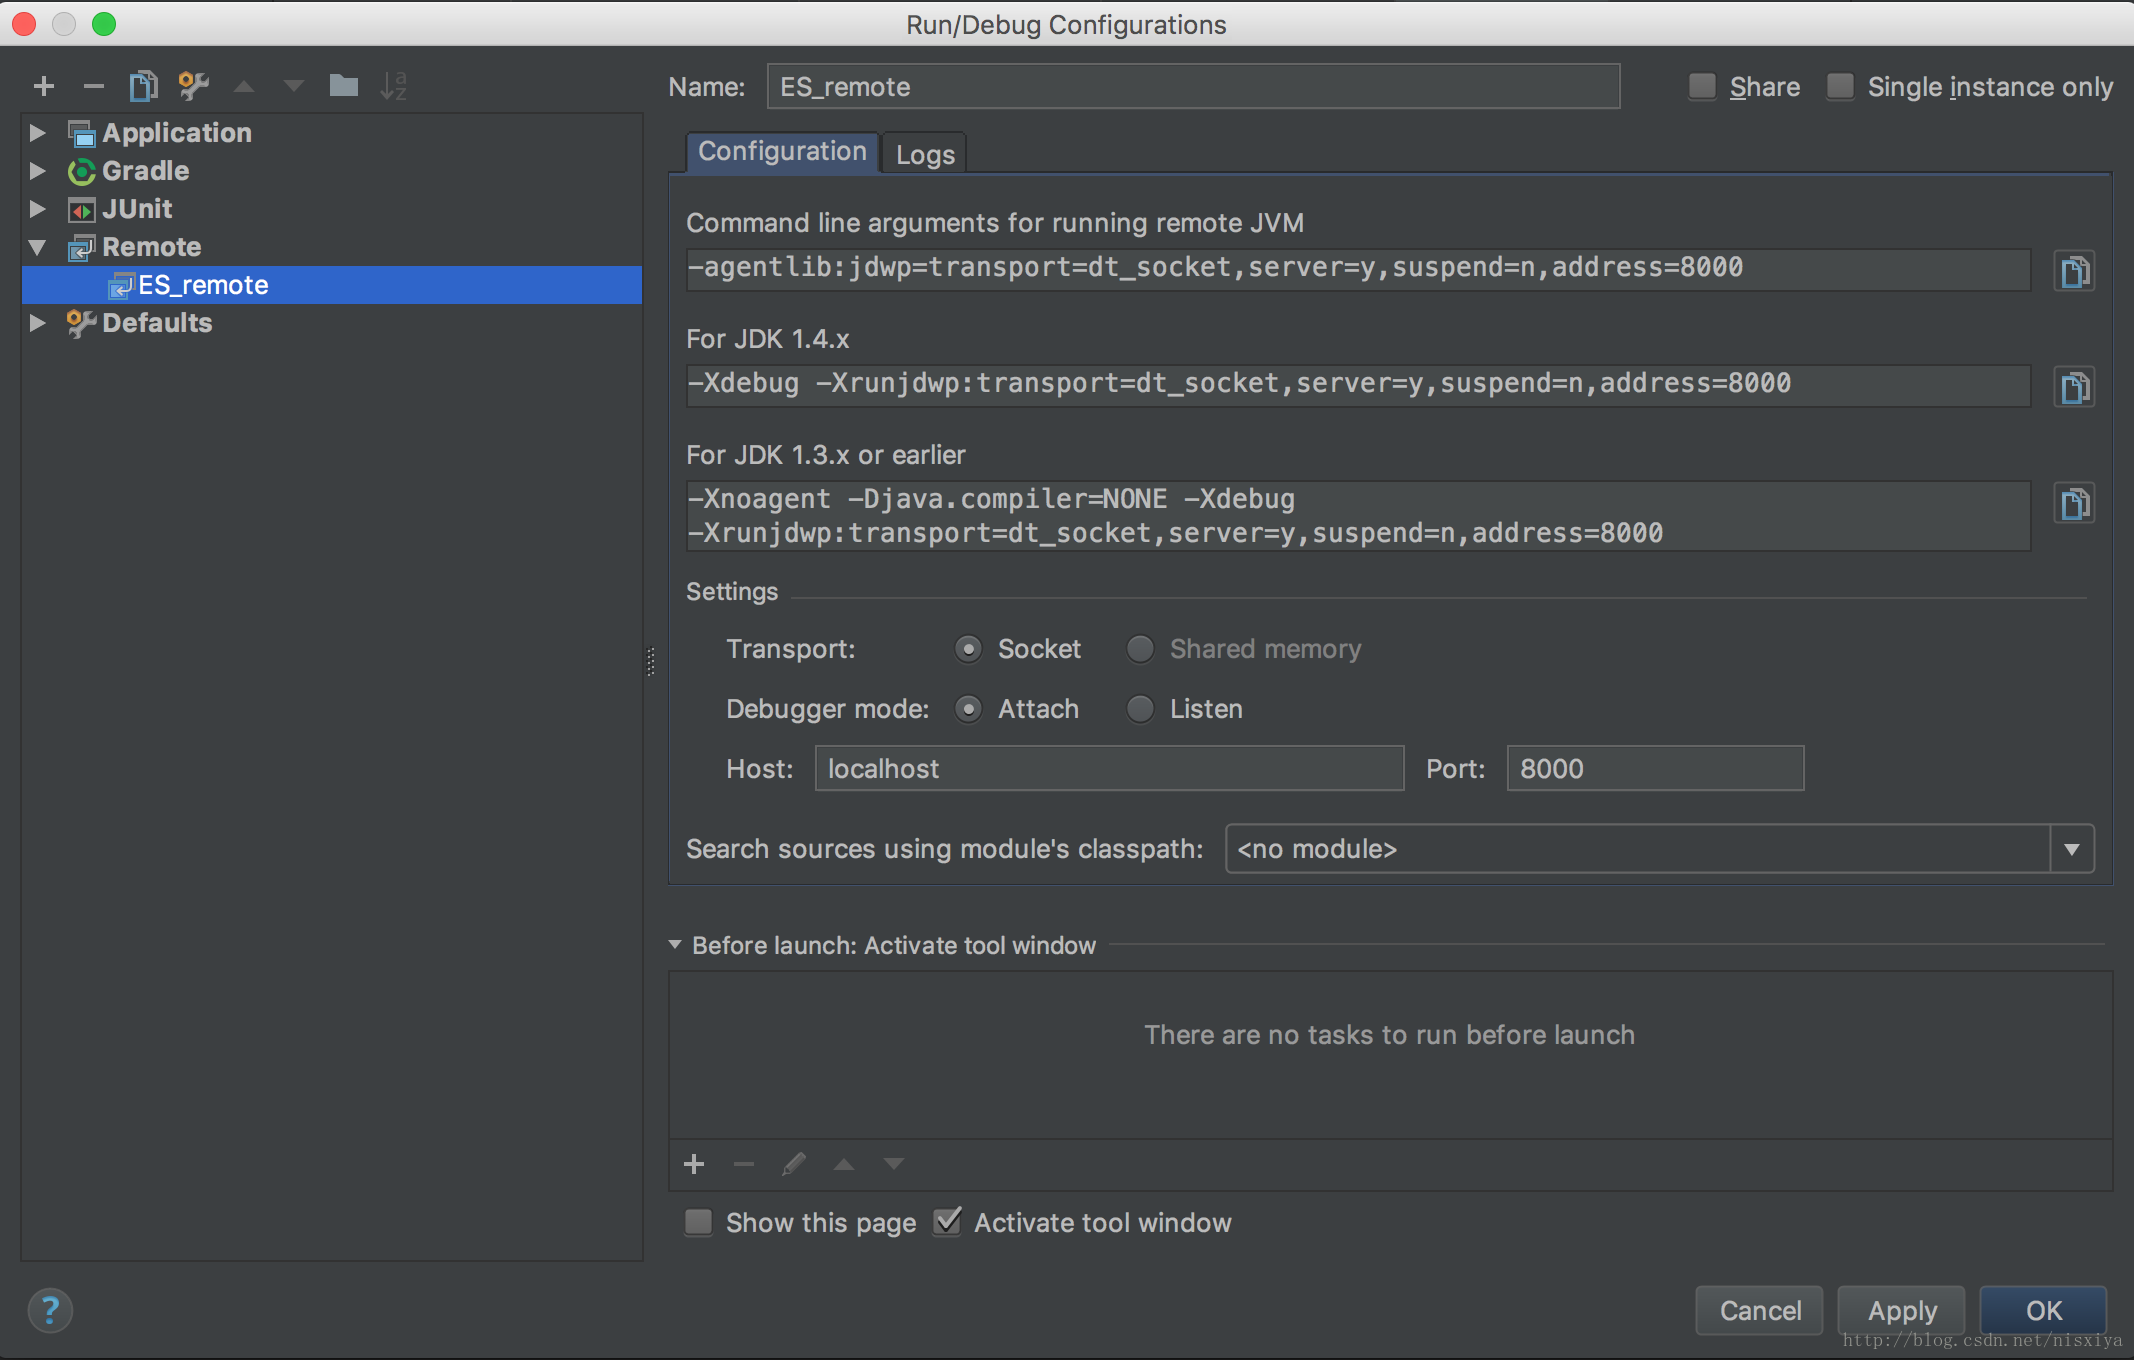
Click OK, then we get a new icon like this.
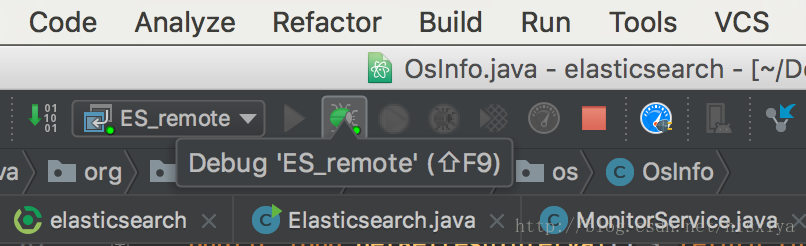
Click Debug 'ES_remote', then IntelliJ Idea connects to ES.
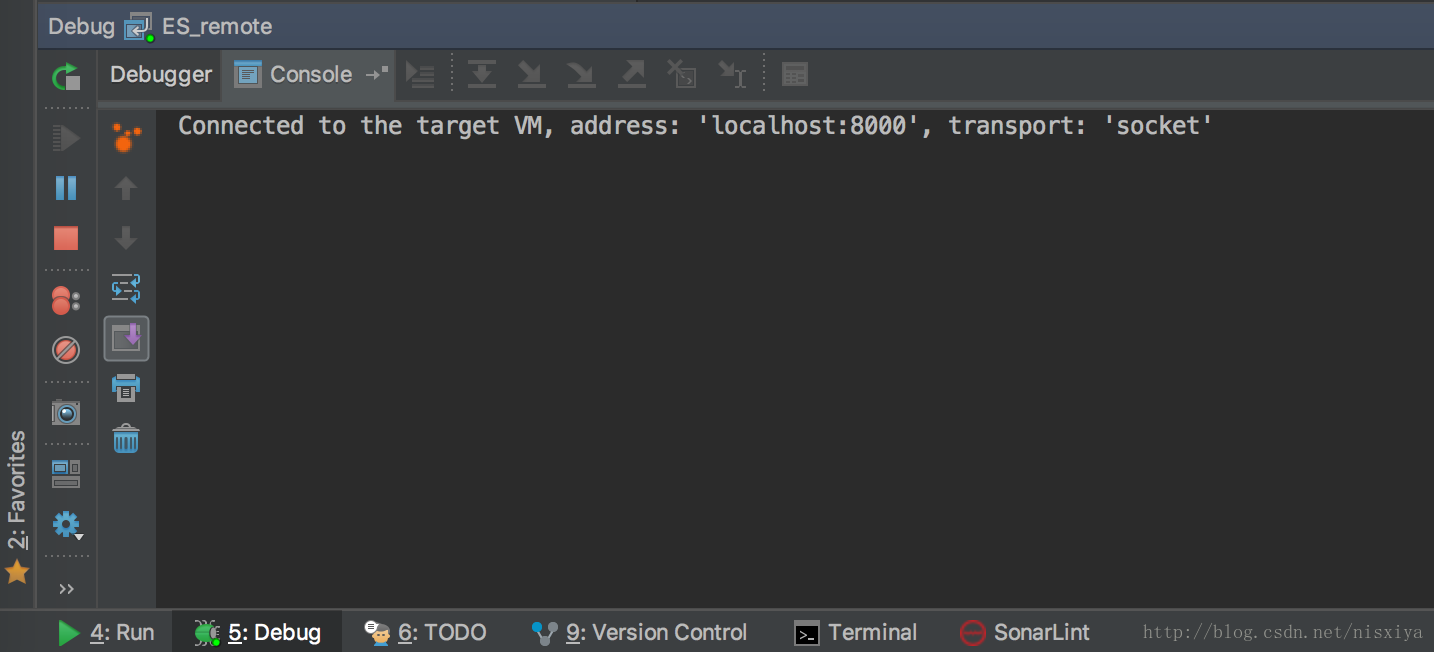
Verify the debugging
Set a breakpoint in OsInfo.java
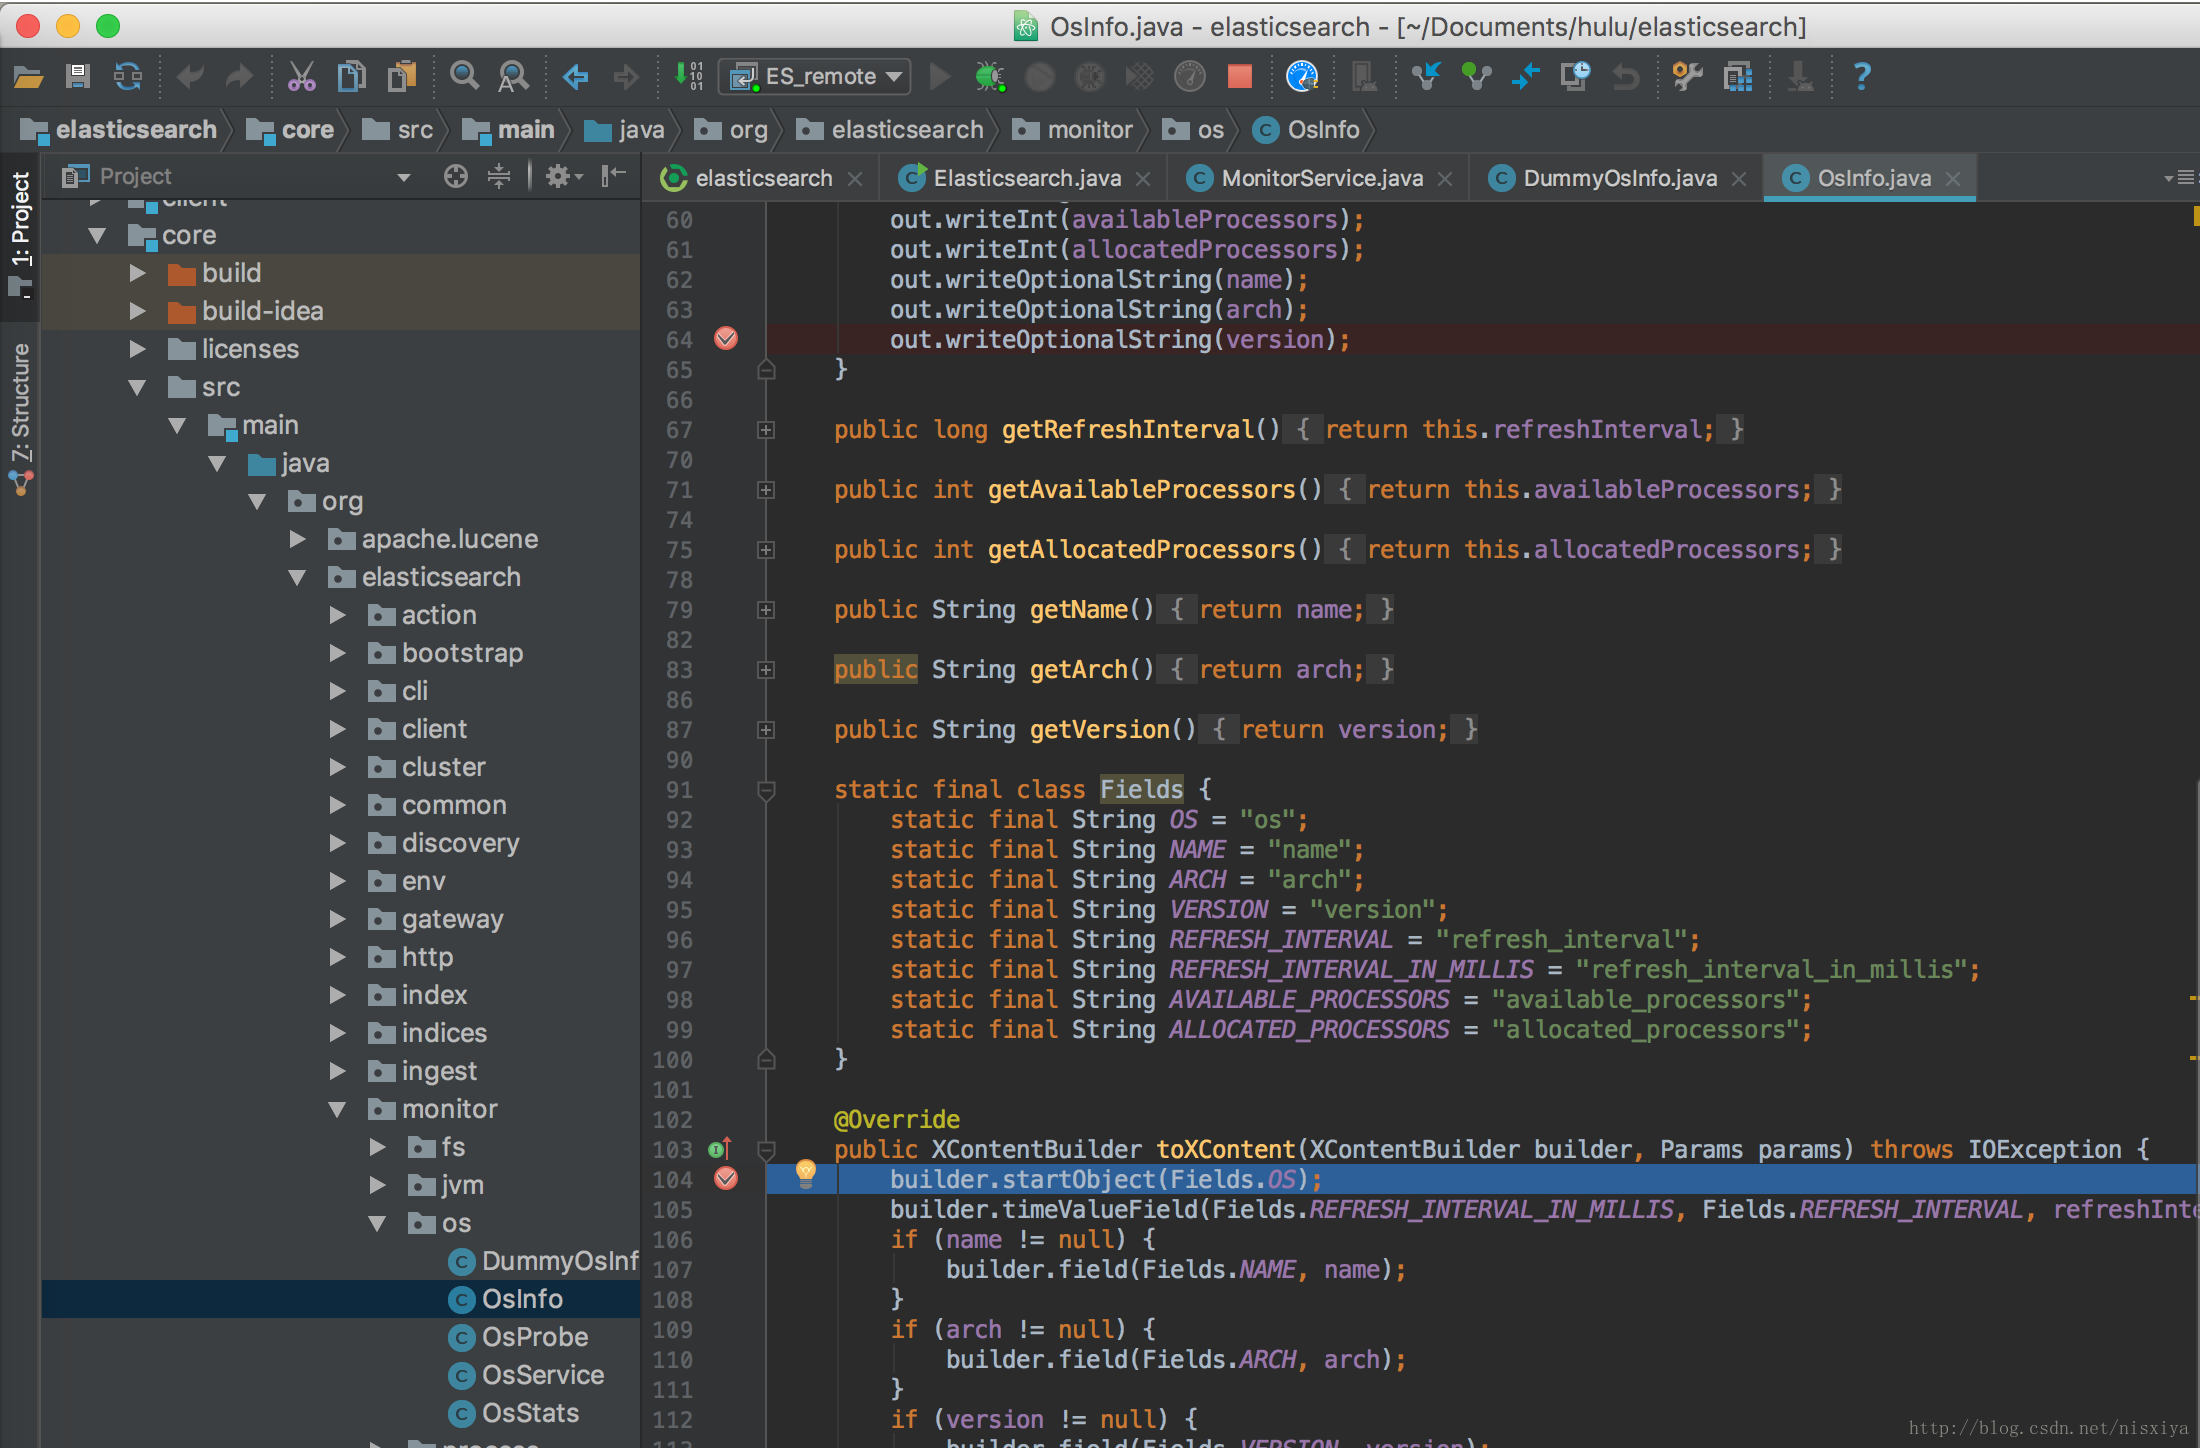
Access the local ES Restful API with a browser: http://localhost:9200/_nodes This should collect all nodes’ info, and it will invoke toXContent method in OsInfo.java. The program should be paused right at that line (shown in the above picture).
Also you get the response of the RESTful API like this:
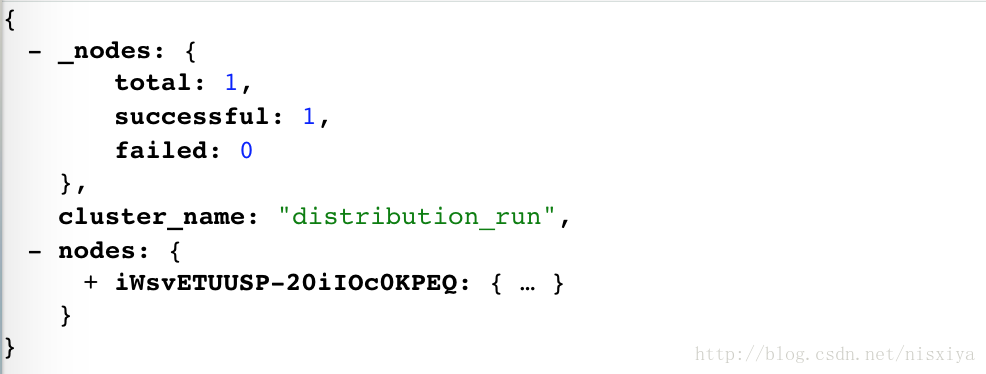
This is the start, now we are good to go. Read the source code & develop new features!