标题之所以带上.net core,而不是.net就是由于两者在类库的使用以及部署环境有很大的差别,所以特此说明。
长话短说,直接开始!
1.新建一个.net core项目,版本是2.0,为了方便就建一个MVC模板项目

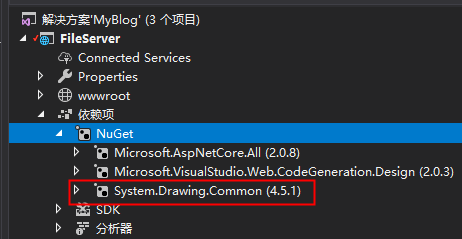
2.安装保存图片必须的类库,在NuGet里搜索System.Drawing.Common,然后点安装。值的说明一下,在.net里,操作是引用System.Drawing.dll,虽然core里也可以这么引用并且代码编译能通过,但是实际运行的时候是会抛异常的。所以还是老老实实在NuGet里安装吧。
3.接下来就是代码部分,我们写一个接收上传文件的方法,上传的原理是,将图片转成base64作为参数传递
接口方法如图:
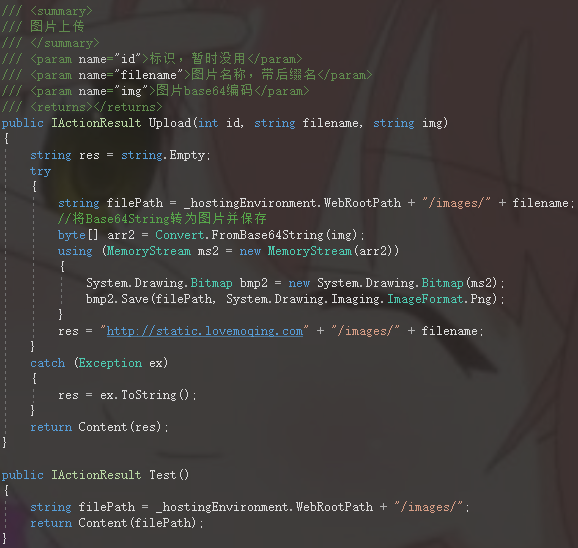


        /// <summary>
        /// 图片上传
        /// </summary>
        /// <param name="id">标识,暂时没用</param>
        /// <param name="filename">图片名称,带后缀名</param>
        /// <param name="img">图片base64编码</param>
        /// <returns></returns>
        public IActionResult Upload(int id, string filename, string img)
        {
            string res = string.Empty;
            try
            {
                string filePath = _hostingEnvironment.WebRootPath + "/images/" + filename;
                //将Base64String转为图片并保存
                byte[] arr2 = Convert.FromBase64String(img);
                using (MemoryStream ms2 = new MemoryStream(arr2))
                {
                    System.Drawing.Bitmap bmp2 = new System.Drawing.Bitmap(ms2);
                    bmp2.Save(filePath, System.Drawing.Imaging.ImageFormat.Png);
                }
                res = "http://static.lovemoqing.com" + "/images/" + filename;
            }
            catch (Exception ex)
            {
                res = ex.ToString();
            }
            return Content(res);
        }
_hostingEnvironment.WebRootPath这个路径是获取应用程序wwwroot文件夹用的,它是通过一个接口实现的,如下图:
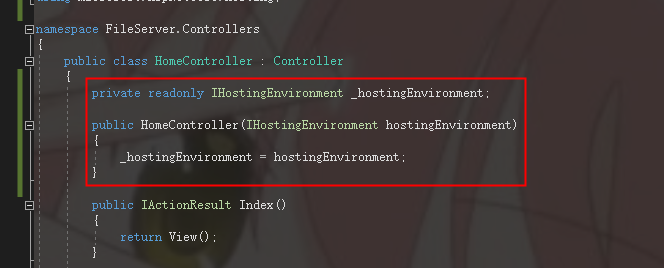
        private readonly IHostingEnvironment _hostingEnvironment;

        public HomeController(IHostingEnvironment hostingEnvironment)
        {
            _hostingEnvironment = hostingEnvironment;
        }
就这3步,接口端的就完成了,将项目部署到服务器上即可,同时解析一下域名,这里我自己的项目解析的是static.lovemoqing.com,完成以后返回网页路径即可。
下面说一下如何调用:

上传端是一个传统的表单提交操作,将上传的图片转成base64编码,然后通过WebClient调用接口,传递参数,得到返回值,也就是线上图片路径。
        [HttpPost]
        public string UpdateInfoImages()
        {
            string res = "";
            for (int i = 0; i < Request.Files.Count; i++)
            {
                HttpPostedFileBase file = Request.Files[i];
                string fileName = System.IO.Path.GetFileName(file.FileName);
                if (fileName == "") continue;
                string fileExtension = System.IO.Path.GetExtension(fileName);
                System.IO.Stream stream = file.InputStream;
                byte[] bytes = new byte[stream.Length];
                stream.Read(bytes, 0, bytes.Length);
                stream.Seek(0, System.IO.SeekOrigin.Begin);
                string ImageData = Convert.ToBase64String(bytes);
                res = PostImage(1024, ImageData, fileName);
            }

            return res;
        }
        public static string PostImage(int id, string ImageData, string filename)
        {
            System.Net.WebClient WebClientObj = new System.Net.WebClient();
            System.Collections.Specialized.NameValueCollection PostVars = new System.Collections.Specialized.NameValueCollection();
            PostVars.Add("img", ImageData);
            PostVars.Add("id", id.ToString());
            PostVars.Add("filename", filename);
            string Newurl = "http://static.lovemoqing.com/Home/Upload";
            byte[] byRemoteInfo = WebClientObj.UploadValues(Newurl, "POST", PostVars);
            return System.Text.Encoding.Default.GetString(byRemoteInfo);
        }
以上就是全部的源码实现了。反正也没人看,就先不发布在首页,这块写得有些粗糙,毕竟是案例,等后面写相关的demo的时候再加入到里面。
相关参数:
服务器:centos7
项目版本:.net core 2.0