分享一下我老师大神的人工智能教程!零基础,通俗易懂!http://blog.csdn.net/jiangjunshow
也欢迎大家转载本篇文章。分享知识,造福人民,实现我们中华民族伟大复兴!
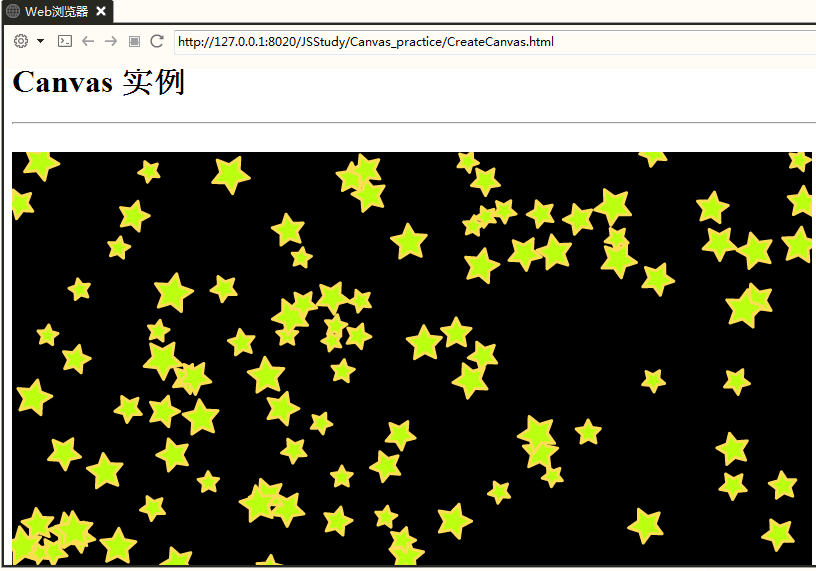
随着Html5的迅猛发展,画布也变得越来越重要。下面我就写一个关于在canvas上画出一片星空的简单的代码的示例。
理论基础
- 初始化一个canvas,获得一个用于绘制图形的上下文环境context。并指定为2d方式进行绘图。
- 画一个五角星其实就是找点和连线的过程。根据几何知识,可以使用两个同心圆来方便的求得相应的坐标位置。
- 设置状态,完成五角星的绘制过程。最后应用于整片星空,绘制很多的五角星。
封装好的五角星绘制函数
下面这个绘制的五角星的方法是可以被复用的,注释也写的比较的清楚。
/** * 画一个五角星的封装的函数 * @param {Object} cxt 提供绘图的上下文的环境 * @param {Object} r 充当绘图时小圆的半径的值 * @param {Object} R 充当绘图时大圆的半径的值 * @param {Object} x 绘图时x轴方向上的偏移量 * @param {Object} y 绘图时y轴方向上的偏移量 * @param {Object} rota 绘图时图形旋转的角度,表示顺时针的旋转方向! */ function drawStar(cxt, r,R ,x,y,rota){ cxt.beginPath(); //使用循环的方式确定点的位置 for(var i =0 ;i<5 ;i++){ //外层大圆上的五个点的位置 cxt.lineTo(Math.cos((18+i*72-rota)/180*Math.PI)*R+x ,-Math.sin((18+i*72-rota)/180*Math.PI)*R+y); //内层小圆上点的位置 cxt.lineTo(Math.cos((54+i*72-rota)/180*Math.PI)*r+x ,-Math.sin((54+i*72-rota)/180*Math.PI)*r+y); } cxt.closePath(); //设置一些状态 cxt.fillStyle="bf1"; cxt.strokeStyle="#fd5"; cxt.lineWidth=3; cxt.lineJoin="round"; cxt.fill(); cxt.stroke(); }
- 1
- 2
- 3
- 4
- 5
- 6
- 7
- 8
- 9
- 10
- 11
- 12
- 13
- 14
- 15
- 16
- 17
- 18
- 19
- 20
- 21
- 22
- 23
- 24
- 25
- 26
- 27
- 28
- 29
- 30
星空的代码演示
<!DOCTYPE html><html> <head> <meta charset="UTF-8"> <title>创建一个Canvas的小实例</title> <style> #canvas{ border: dashed solid #321234; background: black; } </style> </head> <body> <h1>Canvas 实例</h1> <hr /> <br /> <canvas id="canvas"> 如果这段文字出现,那就说明你的浏览器不支持Canvas哟! </canvas> <script> window.onload= function(){ var canvas = document.getElementById("canvas"); canvas.width=800; canvas.height=800; var context = canvas.getContext("2d"); //画一片星空开始吧 for(var i=0 ;i<200;i++){ var R = Math.random()*10+10; var x = Math.random()*canvas.width; var y = Math.random()*canvas.height; var r = Math.random()*360; drawStar(context,R/2,R,x,y,r); } } /** * 画一个五角星的封装的函数 * @param {Object} cxt 提供绘图的上下文的环境 * @param {Object} r 充当绘图时小圆的半径的值 * @param {Object} R 充当绘图时大圆的半径的值 * @param {Object} x 绘图时x轴方向上的偏移量 * @param {Object} y 绘图时y轴方向上的偏移量 * @param {Object} rota 绘图时图形旋转的角度,表示顺时针的旋转方向! */ function drawStar(cxt, r,R ,x,y,rota){ cxt.beginPath(); //使用循环的方式确定点的位置 for(var i =0 ;i<5 ;i++){ //外层大圆上的五个点的位置 cxt.lineTo(Math.cos((18+i*72-rota)/180*Math.PI)*R+x ,-Math.sin((18+i*72-rota)/180*Math.PI)*R+y); //内层小圆上点的位置 cxt.lineTo(Math.cos((54+i*72-rota)/180*Math.PI)*r+x ,-Math.sin((54+i*72-rota)/180*Math.PI)*r+y); } cxt.closePath(); //设置一些状态 cxt.fillStyle="bf1"; cxt.strokeStyle="#fd5"; cxt.lineWidth=3; cxt.lineJoin="round"; cxt.fill(); cxt.stroke(); } </script> </body></html>
- 1
- 2
- 3
- 4
- 5
- 6
- 7
- 8
- 9
- 10
- 11
- 12
- 13
- 14
- 15
- 16
- 17
- 18
- 19
- 20
- 21
- 22
- 23
- 24
- 25
- 26
- 27
- 28
- 29
- 30
- 31
- 32
- 33
- 34
- 35
- 36
- 37
- 38
- 39
- 40
- 41
- 42
- 43
- 44
- 45
- 46
- 47
- 48
- 49
- 50
- 51
- 52
- 53
- 54
- 55
- 56
- 57
- 58
- 59
- 60
- 61
- 62
- 63
- 64
- 65
- 66
- 67
- 68
- 69
- 70
- 71
程序运行结果
总结
这段代码是基于在imooc上Canvas详解而制作的。在这里非常感谢作者给我的启发。另外我觉得在图形的相关的绘制过程中一些常用的而且有用的代码很是值得我们将其封装起来,以便于今后的代码的复用。省时省力还高效!
给我老师的人工智能教程打call!http://blog.csdn.net/jiangjunshow
