在上一张我们学习了Truffle项目的创建,部署等相关内容,今天我们就来实战一下.

今天我们要做3件事:
        1) 学习搭建一个Solidity IDE(Remix).
        2) 使用这个Solidity Ide编写一份智能合约.
        3) 在我们前面第1,2,3章中部署的私有网络节点集群中部署这个合约,并能够在不同的节点中调用这个合约.

Remix,是一个Solidity开发语言的Ide, 它是一款运行在浏览器端的solidity ide,也是官方推荐使用的ide.

另外还有其它的solidiy ide,比如:Ethereum Studio, IntelliJ IDEA Plugin, Vistual studio extension...等这些ide的详细情况请参考官方文档:
https://solidity.readthedocs.io/en/latest/index.html

我们主要讲解Remix.
官方推荐的Solidity基于浏览器端的Ide(Remix)
运行Remix有两种方式,一种是直接用浏览器打开网址: https://remix.ethereum.org/
直接打开官方部署的编辑器,进行开发.

另外一种方式就是在本地部署Remix服务, 顺序运行下面的命令:
| 1 2 3 4 |
|
Remix服务就部署好了,然后在浏览器中打开:http://127.0.0.1:8080
就可以直接使用本地部署Remix进行开发了.

本地搭建Rmix 编辑器的好处,是可以随意修改编辑器中,源代码的字体.
| 1 2 3 4 5 6 7 8 9 10 11 12 13 14 15 16 17 18 19 20 21 |
|
在font这这一行,把字体修改成自己喜欢的大小和样式.

然后重新执行命令:
| 1 2 |
|
重新打开网页,即可看到效果:
在Remix上编写第一份智能合约
打开浏览器,访问http://127.0.0.1:8080, 新建文件'SimpleStorage.sol'
| 1 2 3 4 5 6 7 8 9 10 11 12 13 |
|
这个SimpleStorage功能很简单,把一个数乘以7并保存起来,提供获取和设置它的接口.

大家最好手动输入以上内容体验一下Remix的效果.也可以故意输错,看看Remix是如何提醒错误的.
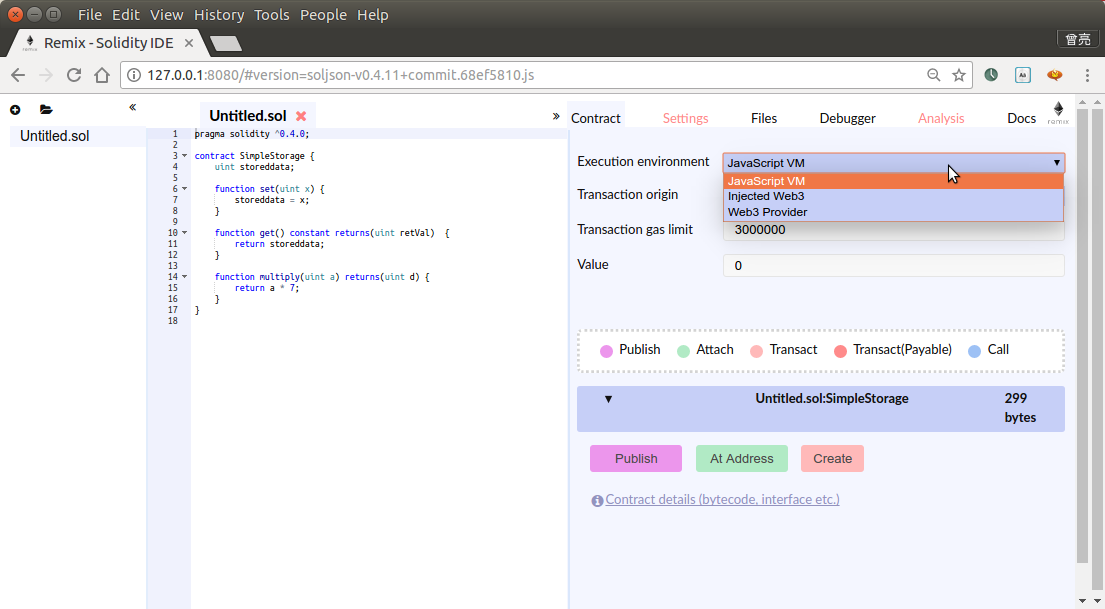
Remix调试模式
第一种是默认模式:javascript vm
第二种,是通过本地私有网络的rpc端口,链接到本地私有网络进行调试
还记得我们第2章中创建的以太坊私有网络节点集群吗? 进入之前的私有网络目录,并使用我们讲过的方法启动节点:
| 1 2 |
|
回到Remix浏览器Ide中,选中右侧边栏的'Contact'选项卡.在'Execution environment'选项中,选择:'web3 provider', ide会弹出提示,让你输入之前我们启动的私有网络的rpc地址和端口, 输入:
http://localhost:8200

确定, 可以看到ide弹出提示:
| 1 |
|
我们按照官方提供的方法,增加几个选项,启动命令修改之后如下:
| 1 2 3 |
|
然后Remix重新链接私有网络的RPC地址, Idea没有了错误提示. 回到刚才启动的网络节点,在命令行输入命令查看账号:
| 1 |
|
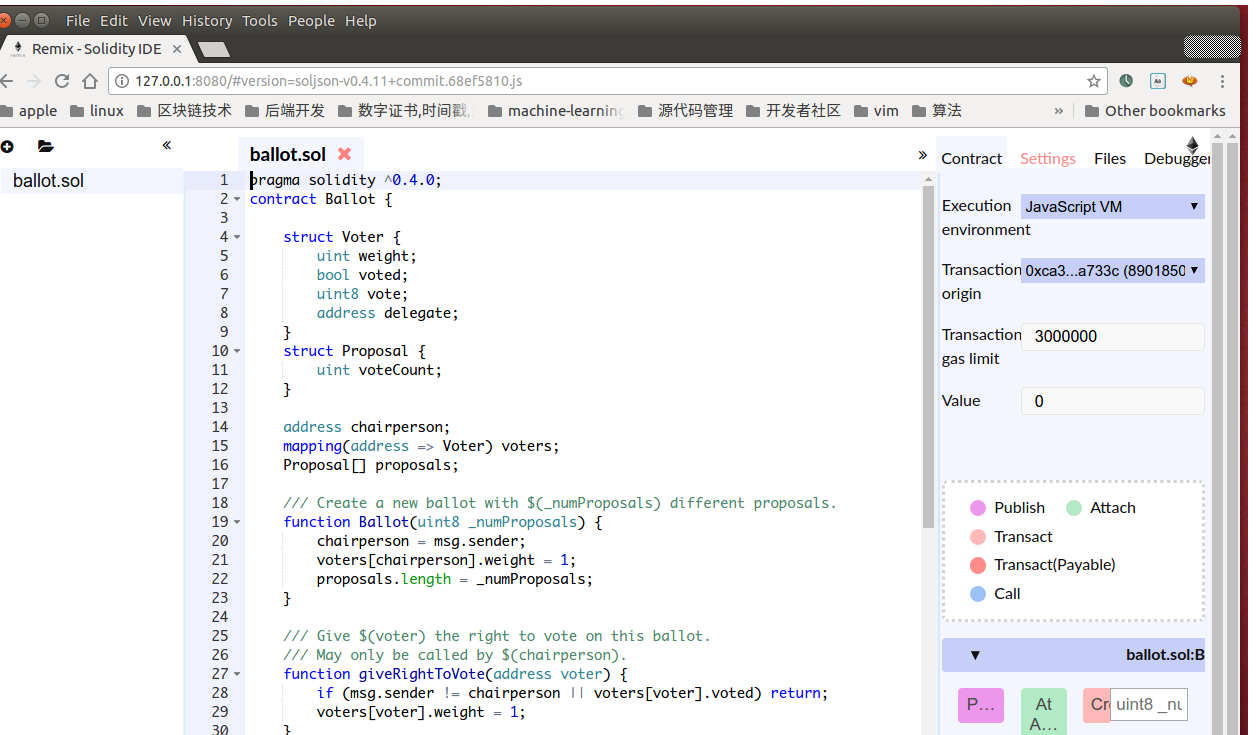
观察Remix中, 有侧边栏'Contract' tab页中的'Transaction origin',这里显示的就是这个账号地址.
点击下方的'create'按钮.错误又来了:

    callback contain no result Error: authentication needed: password or unlock

提示账号被锁定,需要'Transaction origin'中指定的账号的密码,或者解锁账户.
回到geth命令行,执行下面的命令解锁账户:
| 1 2 |
|
再次点击'Create', 出现提示:

并且在geth命令行中,看到了一个提示:
    > INFO [06-19|00:21:11] Submitted contract creation              fullhash=0x5aaf0021c94f52e37eda6c17cfbea2995c1ad1935816e7cac84c73448bd6ab2d contract=0xa7fdc326fa65a15665e3637ff33a120ff3758cdb
    >

就像之前我们在第三章中,从一个账户发送以太币到另一个账户,需要调用miner.start(),挖矿来确认我们的交易一样.
这里我们调用一下:
    > miner.start(3); admin.sleepBlocks(1); miner.stop();
    INFO [06-19|00:22:31] Updated mining threads                   threads=3
    INFO [06-19|00:27:08] Successfully sealed new block            number=38 hash=b7fdac…eb3c3f
    INFO [06-19|00:27:08]