通道表示打开到 IO 设备(例如:文件、套接字)的连接。若需要使用 NIO 系统,需要获取用于连接 IO 设备的通道以及用于容纳数据的缓冲区。然后操作缓冲区,对数据进行处理。Channel 负责传输, Buffer 负责存储。通道是由 java.nio.channels 包定义的。 Channel 表示 IO 源与目标打开的连接。Channel 类似于传统的“流”。只不过 Channel本身不能直接访问数据, Channel 只能与Buffer 进行交互。
java.nio.channels.Channel 接口:
|--FileChannel 本地文件的通道
|--SocketChannel
|--ServerSocketChannel
|--DatagramChannel
网络的关于通道
获取通道
1. Java 针对支持通道的类提供了 getChannel() 方法
本地 IO:
FileInputStream/FileOutputStream
扫描二维码关注公众号,回复:
3989712 查看本文章

RandomAccessFile
网络IO:
Socket
ServerSocket
DatagramSocket
2. 在 JDK 1.7 中的 NIO.2 针对各个通道提供了静态方法 open()
3. 在 JDK 1.7 中的 NIO.2 的 Files 工具类的 newByteChannel()
package com.toov5.Nio;

import java.io.FileInputStream;
import java.io.FileOutputStream;
import java.io.IOException;
import java.nio.ByteBuffer;
import java.nio.channels.FileChannel;
import org.junit.jupiter.api.Test;


public class BUfferTest02 {
    // 非直接缓冲区 读写操作
    @Test
    public  void BUfferTest() throws IOException {
        // 读入流
        FileInputStream fileInputStream = new FileInputStream("aa.jpg");
        // 写入流
        FileOutputStream fileOutputStream = new FileOutputStream("bb.jpg");
        // 创建通道
        FileChannel iChannel = fileInputStream.getChannel(); // 读入流的通道
        FileChannel oChannel = fileOutputStream.getChannel(); // 写入流的通道
        //分配制定缓冲区大小
      ByteBuffer byteBuffer    = ByteBuffer.allocate(1024);
      while (iChannel.read(byteBuffer) != -1) {
            //开启读取模式
          byteBuffer.flip();
          //将数据写入到通道中
          oChannel.write(byteBuffer);
          byteBuffer.clear();
    }
      //关闭通道、关闭连接
      iChannel.close();
      oChannel.close();
      fileInputStream.close();
      fileOutputStream.close();

    }

}
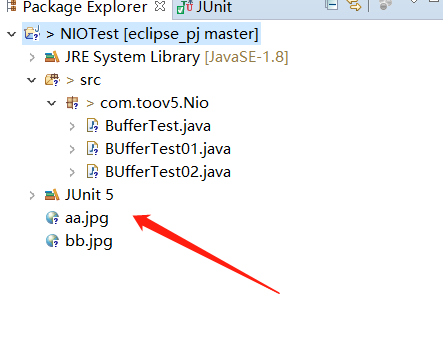
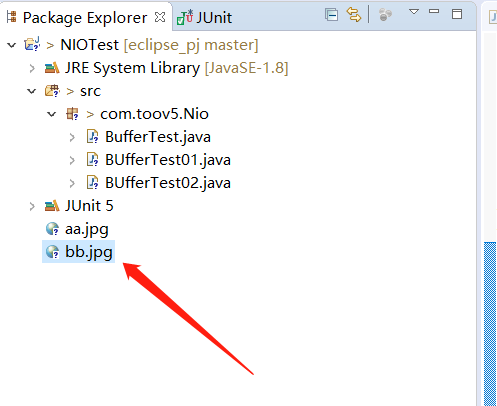
运行结果:
直接缓冲区:
package com.toov5.Nio;

import java.io.FileInputStream;
import java.io.FileOutputStream;
import java.io.IOException;
import java.nio.ByteBuffer;
import java.nio.MappedByteBuffer;
import java.nio.channels.FileChannel;
import java.nio.channels.FileChannel.MapMode;
import java.nio.file.Paths;
import java.nio.file.StandardOpenOption;

import org.junit.jupiter.api.Test;


public class BUfferTest02 {
    @Test
    public void testZhiJie() throws IOException {
        //创建管道
    FileChannel inChannel =FileChannel.open(Paths.get("aa.jpg"), StandardOpenOption.READ);
    FileChannel outChannel =FileChannel.open(Paths.get("bb.jpg"),StandardOpenOption.READ,StandardOpenOption.WRITE,StandardOpenOption.CREATE );
    //定义映射文件
    MappedByteBuffer inMappedByteBuffer =inChannel.map(MapMode.READ_ONLY, 0, inChannel.size());
    MappedByteBuffer outMappedByteBuffer =outChannel.map(MapMode.READ_WRITE, 0, inChannel.size());
    //直接对缓冲区操作
     byte[] bytes = new byte[inMappedByteBuffer.limit()];
     inMappedByteBuffer.get(bytes);
     outMappedByteBuffer.put(bytes);
      inChannel.close();
      outChannel.close();
      System.out.println("操作直接缓冲区完毕");
    }


    // 非直接缓冲区 读写操作
    @Test
    public  void BUfferTest() throws IOException {
        // 读入流
        FileInputStream fileInputStream = new FileInputStream("aa.jpg");
        // 写入流
        FileOutputStream fileOutputStream = new FileOutputStream("bb.jpg");
        // 创建通道
        FileChannel iChannel = fileInputStream.getChannel(); // 读入流的通道
        FileChannel oChannel = fileOutputStream.getChannel(); // 写入流的通道
        //分配制定缓冲区大小
      ByteBuffer byteBuffer    = ByteBuffer.allocate(1024);
      while (iChannel.read(byteBuffer) != -1) {
            //开启读取模式
          byteBuffer.flip();
          //将数据写入到通道中
          oChannel.write(byteBuffer);
          byteBuffer.clear();
    }
      //关闭通道、关闭连接
      iChannel.close();
      oChannel.close();
      fileInputStream.close();
      fileOutputStream.close();

    }

}