版权声明: https://blog.csdn.net/niuge8905/article/details/82977376
在Revit中完全可以使用多线程,只是需要满足一定的规则:不改变Revit的Document文档的工作都可以在线程中完成,改变Document文档的工作都需要在主线程中完成。
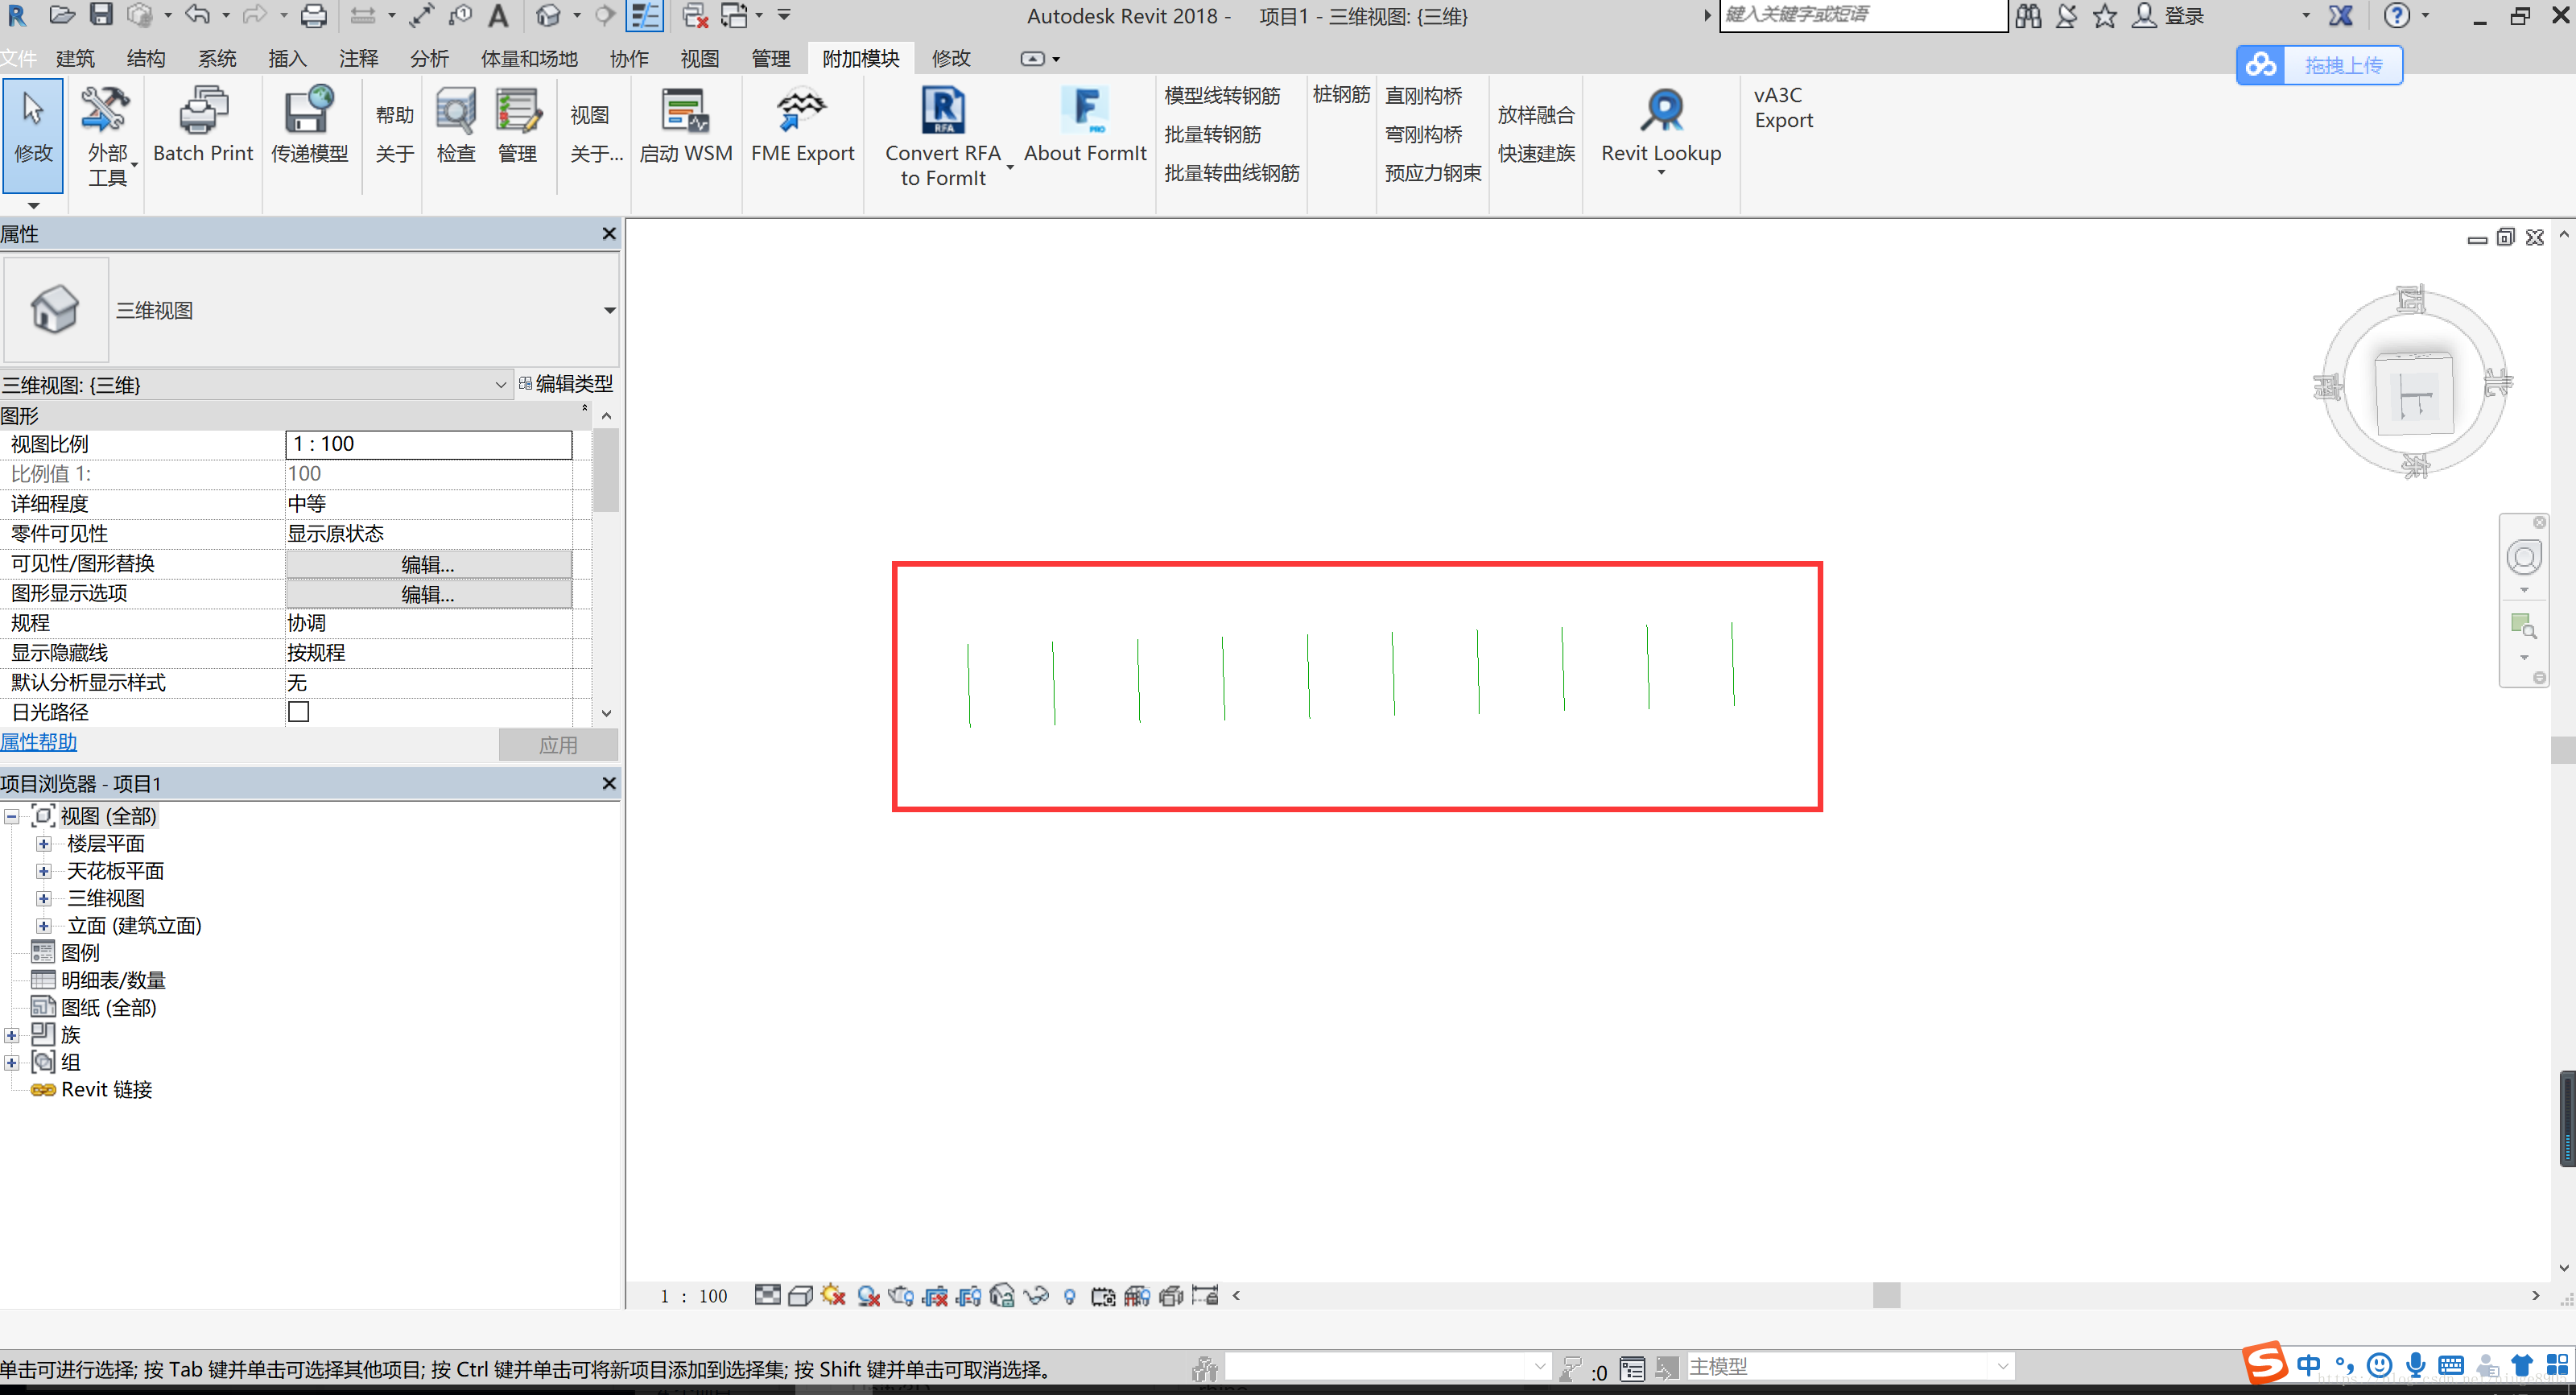
如下:不改变文档,只是在线程里创建辅助的线,运行之后,丝毫不错。
namespace RevitUseThread
{
    [Autodesk.Revit.Attributes.Transaction(Autodesk.Revit.Attributes.TransactionMode.Manual)]
    [Autodesk.Revit.Attributes.Journaling(Autodesk.Revit.Attributes.JournalingMode.NoCommandData)]
    public class Commad : IExternalCommand
    {
        public Result Execute(ExternalCommandData commandData, ref string message, ElementSet elements)
        {
            Thread thread=new Thread(() =>{
                for(var i=0;i<10;i++)
                {
                    Line line = Line.CreateUnbound(new XYZ(0,10* i, 0), new XYZ(10, 10*i, 0));
                }

            });
            thread.Start();
            return Result.Succeeded;
        }
    }
}
然后试一下在线程中创建模型线,模型线是元素,会改变Revit文档,如果这部分在线程里进行的话,会直接导致致命错误。
namespace RevitUseThread
{
    [Autodesk.Revit.Attributes.Transaction(Autodesk.Revit.Attributes.TransactionMode.Manual)]
    [Autodesk.Revit.Attributes.Journaling(Autodesk.Revit.Attributes.JournalingMode.NoCommandData)]
    public class Commad : IExternalCommand
    {
        public Result Execute(ExternalCommandData commandData, ref string message, ElementSet elements)
        {
            Document revitDoc = commandData.Application.ActiveUIDocument.Document;
            Thread thread=new Thread(() =>{
                using (Transaction transaction = new Transaction(revitDoc, "创建模型线"))
                {
                    transaction.Start();
                    SketchPlane sketchPlane = SketchPlane.Create(revitDoc, Plane.CreateByNormalAndOrigin(XYZ.BasisZ,XYZ.Zero));
                    for (var i = 0; i < 10; i++)
                    {
                        Line line = Line.CreateUnbound(new XYZ(0, 10*i, 0), new XYZ(10, 10 * i, 0));
                        ModelCurve modelCurve = revitDoc.Create.NewModelCurve(line,sketchPlane);
                    }
                    transaction.Commit();
                }
            });
            thread.Start();
            return Result.Succeeded;
        }
    }
}
然后再在上面的基础上稍加修改,把修改文档的部分移出到线程以外就可以正常运行了。
namespace RevitUseThread
{
    [Autodesk.Revit.Attributes.Transaction(Autodesk.Revit.Attributes.TransactionMode.Manual)]
    [Autodesk.Revit.Attributes.Journaling(Autodesk.Revit.Attributes.JournalingMode.NoCommandData)]
    public class Commad : IExternalCommand
    {
        public Result Execute(ExternalCommandData commandData, ref string message, ElementSet elements)
        {
            Document revitDoc = commandData.Application.ActiveUIDocument.Document;
            CurveArray curveArray = new CurveArray();
            Thread thread=new Thread(() =>{
                for (var i = 0; i < 10; i++)
                {
                    Line line = Line.CreateBound(new XYZ(0, 10*i, 0), new XYZ(10, 10 * i, 0));
                    curveArray.Append(line);
                }
            });
            thread.Start();
            thread.Join();
            using (Transaction transaction = new Transaction(revitDoc, "创建模型线"))
            {
                transaction.Start();
                SketchPlane sketchPlane = SketchPlane.Create(revitDoc, Plane.CreateByNormalAndOrigin(new XYZ(0,0,1), XYZ.Zero));
                revitDoc.Create.NewModelCurveArray(curveArray, sketchPlane);
                transaction.Commit();
            }
            return Result.Succeeded;
        }
    }
}