上一篇我们创建了博客表和标签表以及超级用户,那如何将创建的博客通过网页显示出来呢?‘我们简单的创建首页和详情页。
1、新建html界面
首先创建在blog app下创建一个templates文件夹,这个文件夹用来放置前端页面,注意文件夹名字必须是templates。
创建blog_list.html 文件用来放博客列表。创建blog_detail.html文件用来放博客详情。


<!DOCTYPE html>
<html lang="en">
<head>
    <meta charset="UTF-8">
    <title>felix Blog</title>
</head>
<body>
<div>
    <h3>felix Blog</h3>
</div>
<br/>

</body>
</html>
<!DOCTYPE html>
<html lang="en">
<head>
    <meta charset="UTF-8">
    <title>博客详情</title>
</head>
<body>

</body>
</html>
2、创建是视图函数
打开blog下的views.py
from django.shortcuts import render_to_response, get_object_or_404
from .models import Blog


# Create your views here.

# 博客列表
def blog_list(requests):
    context = {
        'blogs': Blog.objects.all()
    }
    return render_to_response('blog_list.html', context)

# 博客详情
def blog_detail(requests, blog_pk):
    context = {
        'blog': get_object_or_404(Blog, pk=blog_pk)
    }

    return render_to_response('blog_detail.html', context)
这里视图函数中传递了参数给前端,所以得修改一下之前写的前端代码,渲染视图函数传递过来的数据。
<!DOCTYPE html>
<html lang="en">
<head>
    <meta charset="UTF-8">
    <title>felix Blog</title>
</head>
<body>
<div>
    <h3>felix Blog</h3>
</div>
<br/>
{% for blog in blogs %}
    <a href="{% url 'blog_detail' blog.pk %}"><h3>{{ blog.title }}</h3></a>
    <p>{{ blog.content }}</p>
{% endfor %}
</body>
</html>
<!DOCTYPE html>
<html lang="en">
<head>
    <meta charset="UTF-8">
    <title>{{ blog.title }}</title>
</head>
<body>

<a href="{% url 'home' %}">
    <div>
        <h3>felix Blog</h3>
    </div>
</a>
<h3>{{ blog.title }}</h3>
<p>{{ blog.content }}</p>
</body>
</html>
3、创建url访问路径
修改全局的myblog下的urls.py
"""myblog URL Configuration

The `urlpatterns` list routes URLs to views. For more information please see:
    https://docs.djangoproject.com/en/2.1/topics/http/urls/
Examples:
Function views
    1. Add an import:  from my_app import views
    2. Add a URL to urlpatterns:  path('', views.home, name='home')
Class-based views
    1. Add an import:  from other_app.views import Home
    2. Add a URL to urlpatterns:  path('', Home.as_view(), name='home')
Including another URLconf
    1. Import the include() function: from django.urls import include, path
    2. Add a URL to urlpatterns:  path('blog/', include('blog.urls'))
"""
from django.contrib import admin
from django.urls import path, include
from blog.views import blog_list

urlpatterns = [
    path('', blog_list, name='home'),  # 主页路径
    path('admin/', admin.site.urls),
    path('blog/', include('blog.urls')),  # 博客app路径
]
在blog app下创建url路径,新建urls.py
from django.urls import path
from . import views
urlpatterns = [
    path('<int:blog_pk>',views.blog_detail,name='blog_detail')
]
4、启动服务,运行测试
此时我们在浏览器输入:http://127.0.0.1:8000/

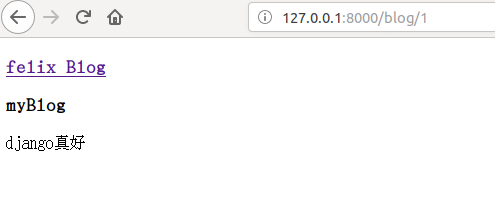
点击myBlog,跳转到详情:
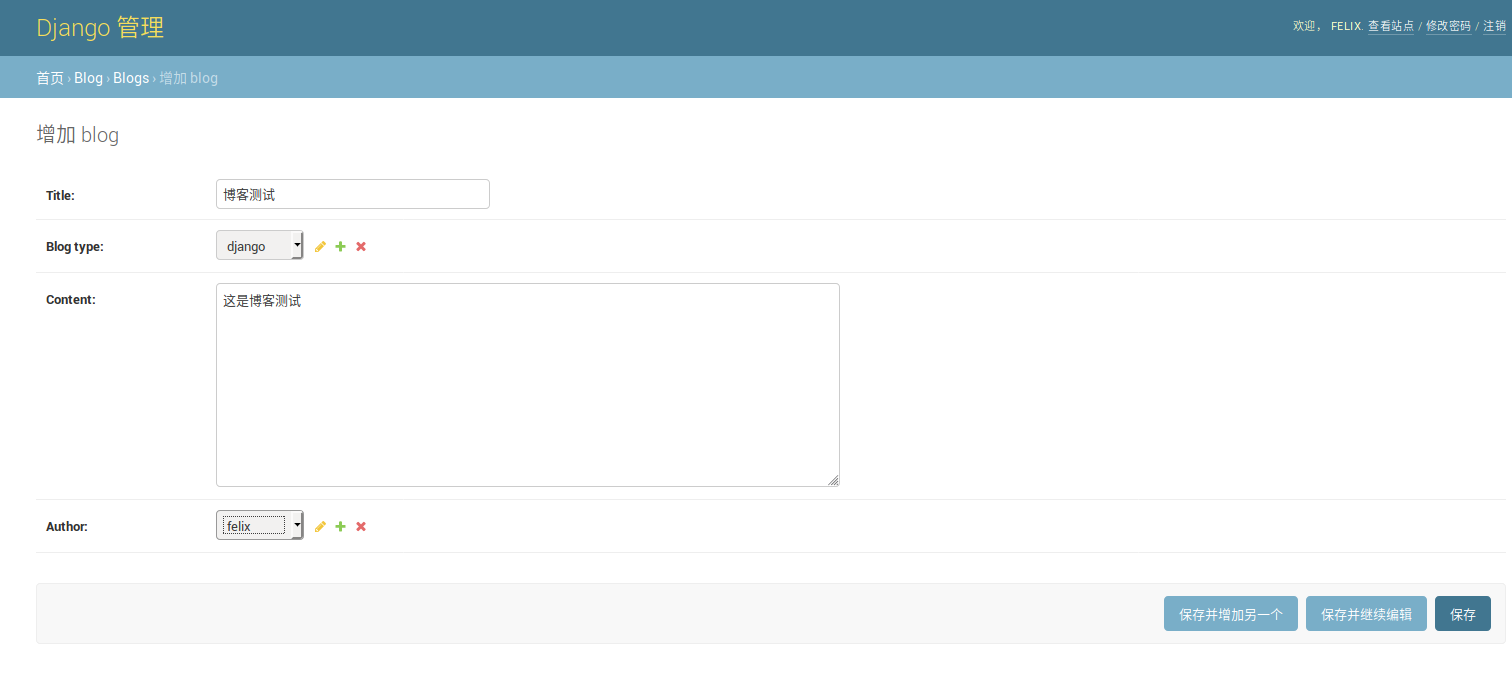
如果没有数据的话,我们可以进入admin后台管理系统创建。
然后刷新首页:
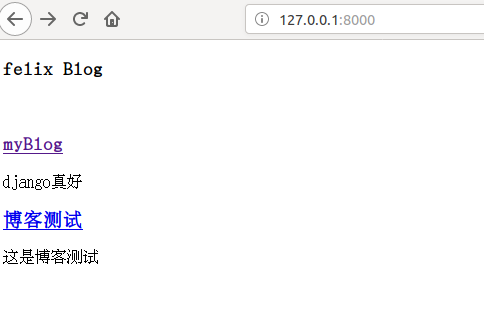
就出现了刚才创建的博客!