一,写在前面
这篇文章先介绍如何使用WindowManager向设备窗口里添加View,并显示View,然后从源码角度分析这一过程。
二,WindowManager的使用
WindowManager的使用,先来看看效果,如下所示:
代码如下:
public class MainActivity extends Activity {
@Override
protected void onCreate(Bundle savedInstanceState) {
super.onCreate(savedInstanceState);
setContentView(R.layout.activity_main);
WindowManager wm = (WindowManager) getSystemService(Context.WINDOW_SERVICE);
//创建WindowManager的布局参数对象
WindowManager.LayoutParams params = new WindowManager.LayoutParams(
LayoutParams.WRAP_CONTENT, LayoutParams.WRAP_CONTENT, 0, 0, PixelFormat.TRANSPARENT);
params.flags = WindowManager.LayoutParams.FLAG_NOT_TOUCH_MODAL;
//params.type = WindowManager.LayoutParams.TYPE_SYSTEM_OVERLAY;
params.type = WindowManager.LayoutParams.TYPE_APPLICATION;
params.gravity = Gravity.TOP | Gravity.LEFT;
params.x = 50;
params.y = 400;
//创建一个View
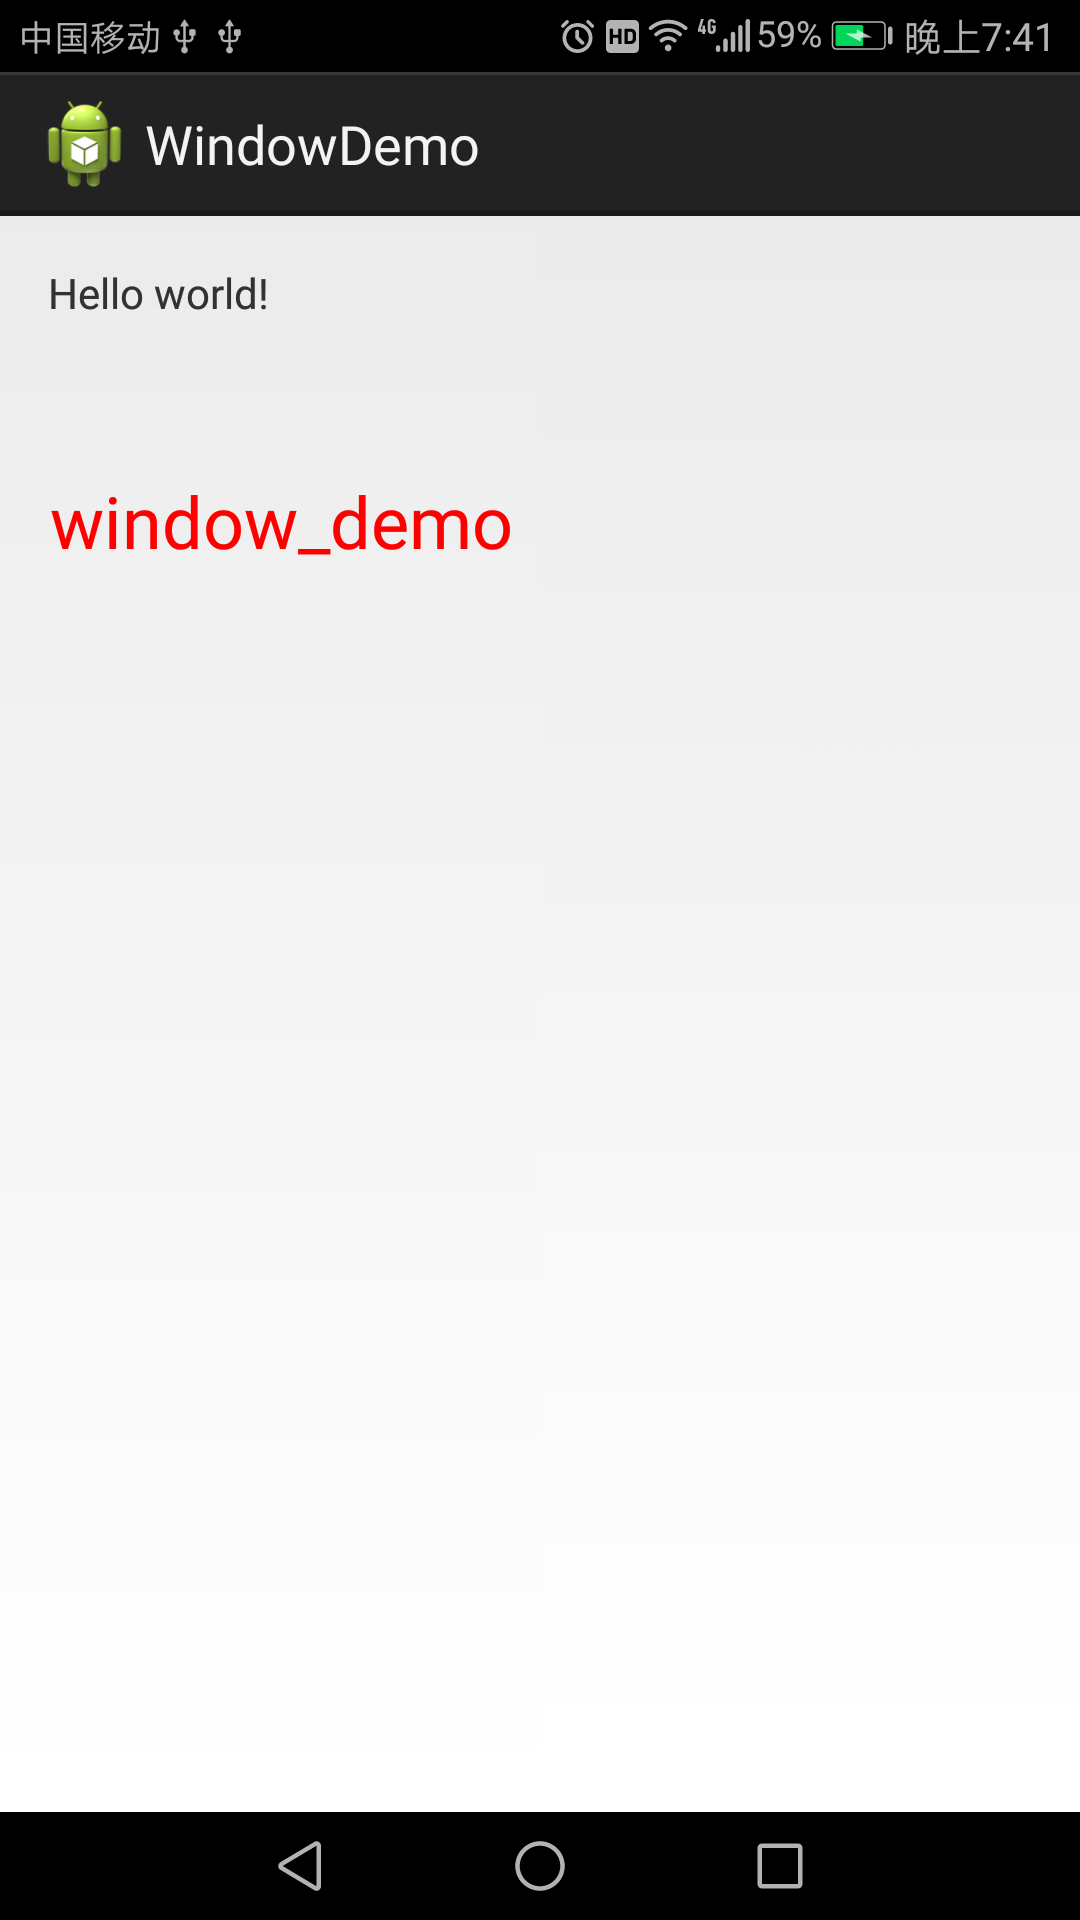
final TextView view = new TextView(this);
view.setText("window_demo");
view.setTextSize(24);
view.setTextColor(Color.RED);
view.setOnTouchListener(new OnTouchListener() {
@Override
public boolean onTouch(View v, MotionEvent event) {
view.setTextColor(Color.BLUE);
return false;
}
});
//在窗口添加View
wm.addView(view, params);
}
}
分析:
1,LayoutParams是WindowManager中的一个内部类,它继承至ViewGroup.LayoutParams,并实现了Parcelable接口,public static class LayoutParams extends ViewGroup.LayoutParams implements Parcelable{...}。需要重点关注LayoutParams中的两个字段:type,flag。
type:决定了窗口的类型,Android给窗口设置了三个层级,抽象来说分为:应用程序窗口,子窗口,系统窗口。具体来说对应int值的范围,分别为1~99,1000~1999,2000~2999。上面代码中TYPE_SYSTEM_OVERLAY是系统窗口类型的一种,TYPE_APPLICATION是应用程序窗口的一种。窗口层级越大,该窗口会在比它层级小的窗口上面显示,也就是层级大的窗口会覆盖层级较小的窗口。因此,若想让窗口处在所有窗口上面显示,可以将type设置为系统窗口。一般可以设置系统窗口的type值有:TYPE_SYSTEM_OVERLAY,TYPE_SYSTEM_ERROR。
特别需要注意的是:若将type设置为系统窗口层级时,需要在AndroidManifest.xml文件中配置权限“android.permission.SYSTEM_ALERT_WINDOW”,否则会报异常信息。
如下所示:

flag:决定窗口的显示特性,上面代码中的FLAG_NOT_TOUCH_MODAL指:可以处理窗口区域里的事件,区域外的事件传给底层的Window。flag有很多值可以选择,并使窗口显示不同的特性,有兴趣哥们可以自己去研究。
另外,LayoutParams还提供gravity,x,y三个属性,gravity:决定窗口的重心位置,如果gravity不设置,窗口默认在屏幕中间。值得一提的是,x,y均是相对于设置好gravity后的偏移量。
2,上例中给TextView设置了触摸的监听,点击TextView后修改其颜色为蓝色。若设置窗口类型为TYPE_SYSTEM_OVERLAY,无法响应触摸动作,颜色不会改变。这是为什么呢?因为系统窗口不接收焦点,否则会干扰键盘窗口的输入。翻看Android给TYPE_SYSTEM_OVERLAY的注释便知,如下:
/**
         * Window type: system overlay windows, which need to be displayed
         * on top of everything else.  These windows must not take input
         * focus, or they will interfere with the keyguard.
         * In multiuser systems shows only on the owning user's window.
         */
public static final int TYPE_SYSTEM_OVERLAY = FIRST_SYSTEM_WINDOW+6;效果如下:

上面介绍了WindowManager的一个简单使用,将TextView添加到窗口中并显示,下面分析WindowManager源码角度的分析。
三,WindowManager源码分析
public interface ViewManager
{
    /**
     * Assign the passed LayoutParams to the passed View and add the view to the window.
     * <p>Throws {@link android.view.WindowManager.BadTokenException} for certain programming
     * errors, such as adding a second view to a window without removing the first view.
     * <p>Throws {@link android.view.WindowManager.InvalidDisplayException} if the window is on a
     * secondary {@link Display} and the specified display can't be found
     * (see {@link android.app.Presentation}).
     * @param view The view to be added to this window.
     * @param params The LayoutParams to assign to view.
     */
    public void addView(View view, ViewGroup.LayoutParams params);
    public void updateViewLayout(View view, ViewGroup.LayoutParams params);
    public void removeView(View view);
}public interface WindowManager extends ViewManager {
//...
public static class LayoutParams extends ViewGroup.LayoutParams implements Parcelable {
//...
int type;
int flag;
//...
}
//...
}public final class WindowManagerImpl implements WindowManager {
//...code
@Override
public void addView(@NonNull View view, @NonNull ViewGroup.LayoutParams params) {
applyDefaultToken(params);
mGlobal.addView(view, params, mContext.getDisplay(), mParentWindow);
}
@Override
public void updateViewLayout(@NonNull View view, @NonNull ViewGroup.LayoutParams params) {
applyDefaultToken(params);
mGlobal.updateViewLayout(view, params);
}
@Override
public void removeView(View view) {
mGlobal.removeView(view, false);
}
//...code
}3.1,进入主题
final void attach(Context context, ActivityThread aThread,
            Instrumentation instr, IBinder token, int ident,
            Application application, Intent intent, ActivityInfo info,
            CharSequence title, Activity parent, String id,
            NonConfigurationInstances lastNonConfigurationInstances,
            Configuration config, String referrer, IVoiceInteractor voiceInteractor,
            Window window) {
        attachBaseContext(context);

        mFragments.attachHost(null /*parent*/);

        mWindow = new PhoneWindow(this, window);
        mWindow.setWindowControllerCallback(this);
        mWindow.setCallback(this);
        mWindow.setOnWindowDismissedCallback(this);
        mWindow.getLayoutInflater().setPrivateFactory(this);
        if (info.softInputMode != WindowManager.LayoutParams.SOFT_INPUT_STATE_UNSPECIFIED) {
            mWindow.setSoftInputMode(info.softInputMode);
        }
        if (info.uiOptions != 0) {
            mWindow.setUiOptions(info.uiOptions);
        }
        mUiThread = Thread.currentThread();

        mMainThread = aThread;
        mInstrumentation = instr;
        mToken = token;
        mIdent = ident;
        mApplication = application;
        mIntent = intent;
        mReferrer = referrer;
        mComponent = intent.getComponent();
        mActivityInfo = info;
        mTitle = title;
        mParent = parent;
        mEmbeddedID = id;
        mLastNonConfigurationInstances = lastNonConfigurationInstances;
        if (voiceInteractor != null) {
            if (lastNonConfigurationInstances != null) {
                mVoiceInteractor = lastNonConfigurationInstances.voiceInteractor;
            } else {
                mVoiceInteractor = new VoiceInteractor(voiceInteractor, this, this,
                        Looper.myLooper());
            }
        }

        mWindow.setWindowManager(
                (WindowManager)context.getSystemService(Context.WINDOW_SERVICE),
                mToken, mComponent.flattenToString(),
                (info.flags & ActivityInfo.FLAG_HARDWARE_ACCELERATED) != 0);
        if (mParent != null) {
            mWindow.setContainer(mParent.getWindow());
        }
        mWindowManager = mWindow.getWindowManager();
        mCurrentConfig = config;
}public void setWindowManager(WindowManager wm, IBinder appToken, String appName,
boolean hardwareAccelerated) {
mAppToken = appToken;
mAppName = appName;
mHardwareAccelerated = hardwareAccelerated
|| SystemProperties.getBoolean(PROPERTY_HARDWARE_UI, false);
if (wm == null) {
wm = (WindowManager)mContext.getSystemService(Context.WINDOW_SERVICE);
}
mWindowManager = ((WindowManagerImpl)wm).createLocalWindowManager(this);
}public WindowManagerImpl createLocalWindowManager(Window parentWindow) {
return new WindowManagerImpl(mContext, parentWindow);
}@Override
public Object getSystemService(@ServiceName @NonNull String name) {
if (getBaseContext() == null) {
throw new IllegalStateException(
"System services not available to Activities before onCreate()");
}
if (WINDOW_SERVICE.equals(name)) {
return mWindowManager;
} else if (SEARCH_SERVICE.equals(name)) {
ensureSearchManager();
return mSearchManager;
}
return super.getSystemService(name);
} @Override
public void addView(@NonNull View view, @NonNull ViewGroup.LayoutParams params) {
applyDefaultToken(params);
mGlobal.addView(view, params, mContext.getDisplay(), mParentWindow);
} public void addView(View view, ViewGroup.LayoutParams params,
Display display, Window parentWindow) {
if (view == null) {
throw new IllegalArgumentException("view must not be null");
}
if (display == null) {
throw new IllegalArgumentException("display must not be null");
}
if (!(params instanceof WindowManager.LayoutParams)) {
throw new IllegalArgumentException("Params must be WindowManager.LayoutParams");
}
final WindowManager.LayoutParams wparams = (WindowManager.LayoutParams) params;
if (parentWindow != null) {
parentWindow.adjustLayoutParamsForSubWindow(wparams);
} else {
// If there's no parent, then hardware acceleration for this view is
// set from the application's hardware acceleration setting.
final Context context = view.getContext();
if (context != null
&& (context.getApplicationInfo().flags
& ApplicationInfo.FLAG_HARDWARE_ACCELERATED) != 0) {
wparams.flags |= WindowManager.LayoutParams.FLAG_HARDWARE_ACCELERATED;
}
}
ViewRootImpl root;
View panelParentView = null;
synchronized (mLock) {
// Start watching for system property changes.
if (mSystemPropertyUpdater == null) {
mSystemPropertyUpdater = new Runnable() {
@Override public void run() {
synchronized (mLock) {
for (int i = mRoots.size() - 1; i >= 0; --i) {
mRoots.get(i).loadSystemProperties();
}
}
}
};
SystemProperties.addChangeCallback(mSystemPropertyUpdater);
}
int index = findViewLocked(view, false);
if (index >= 0) {
if (mDyingViews.contains(view)) {
// Don't wait for MSG_DIE to make it's way through root's queue.
mRoots.get(index).doDie();
} else {
throw new IllegalStateException("View " + view
+ " has already been added to the window manager.");
}
// The previous removeView() had not completed executing. Now it has.
}
// If this is a panel window, then find the window it is being
// attached to for future reference.
if (wparams.type >= WindowManager.LayoutParams.FIRST_SUB_WINDOW &&
wparams.type <= WindowManager.LayoutParams.LAST_SUB_WINDOW) {
final int count = mViews.size();
for (int i = 0; i < count; i++) {
if (mRoots.get(i).mWindow.asBinder() == wparams.token) {
panelParentView = mViews.get(i);
}
}
}
root = new ViewRootImpl(view.getContext(), display);
view.setLayoutParams(wparams);
mViews.add(view);
mRoots.add(root);
mParams.add(wparams);
// do this last because it fires off messages to start doing things
try {
root.setView(view, wparams, panelParentView);
} catch (RuntimeException e) {
// BadTokenException or InvalidDisplayException, clean up.
if (index >= 0) {
removeViewLocked(index, true);
}
throw e;
}
}
}public void setView(View view, WindowManager.LayoutParams attrs, View panelParentView) {
//...code
requestLayout();
//...code
res = mWindowSession.addToDisplay(mWindow, mSeq, mWindowAttributes,
getHostVisibility(), mDisplay.getDisplayId(),
mAttachInfo.mContentInsets, mAttachInfo.mStableInsets,
mAttachInfo.mOutsets, mInputChannel);
//...code
} public ViewRootImpl(Context context, Display display) {
mContext = context;
//通过Binder机制实现,获取mWindowSession,即Session
mWindowSession = WindowManagerGlobal.getWindowSession();
//...code
}public static IWindowSession getWindowSession() {
synchronized (WindowManagerGlobal.class) {
if (sWindowSession == null) {
try {
InputMethodManager imm = InputMethodManager.getInstance();
IWindowManager windowManager = getWindowManagerService();
sWindowSession = windowManager.openSession(
new IWindowSessionCallback.Stub() {
@Override
public void onAnimatorScaleChanged(float scale) {
ValueAnimator.setDurationScale(scale);
}
},
imm.getClient(), imm.getInputContext());
} catch (RemoteException e) {
throw e.rethrowFromSystemServer();
}
}
return sWindowSession;
}
}
//继续看getWindowManagerService方法
public static IWindowManager getWindowManagerService() {
synchronized (WindowManagerGlobal.class) {
if (sWindowManagerService == null) {
sWindowManagerService = IWindowManager.Stub.asInterface(
ServiceManager.getService("window"));
try {
if (sWindowManagerService != null) {
ValueAnimator.setDurationScale(
sWindowManagerService.getCurrentAnimatorScale());
}
} catch (RemoteException e) {
throw e.rethrowFromSystemServer();
}
}
return sWindowManagerService;
}
}@Override
public IWindowSession openSession(IWindowSessionCallback callback, IInputMethodClient client,
IInputContext inputContext) {
if (client == null) throw new IllegalArgumentException("null client");
if (inputContext == null) throw new IllegalArgumentException("null inputContext");
Session session = new Session(this, callback, client, inputContext);
return session;
} @Override
public int addToDisplay(IWindow window, int seq, WindowManager.LayoutParams attrs,
int viewVisibility, int displayId, Rect outContentInsets, Rect outStableInsets,
Rect outOutsets, InputChannel outInputChannel) {
return mService.addWindow(this, window, seq, attrs, viewVisibility, displayId,
outContentInsets, outStableInsets, outOutsets, outInputChannel);
}