本文来自http://blog.csdn.net/liuxian13183/ ,引用必须注明出处!
H5交互的框架很多,如ReactNative、Weex等,也有直接用JsBridge和WebAppInterface的方式,至于用哪种实现方式,主要看业务复杂度以及重要性。
拍板Cordova原因如下:
1、支持Android、iOS、Sybian等主流手机操作系统
2、使用时间长,被众多知名公司使用,踩过的坑足够多,资料查找方便
3、总监自己比较熟悉,有助于支持项目快速推进。
总之技术选型完毕,大家就开始准备落实方案。
先去查一下官方介绍:http://cordova.axuer.com/docs/zh-cn/latest/guide/platforms/android/index.html
cordova安装
要求:NodeJs
要求:Jdk64位
npm出现npm err windows_nt 6.1.7601错误
npm config set https-proxy null
npm config set strict-ssl false
npm install -g cnpm –registry=https://registry.npm.taobao.org
便利性在于:支持同步和异步调用(需要自己写相关插件)
下载完之后,咱们把cordova加入项目
1、这部分代码放入assets目录:
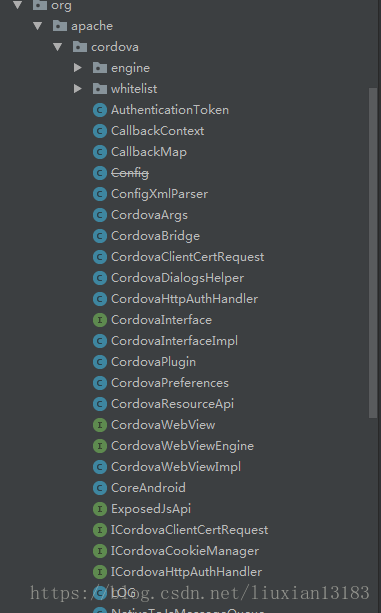
2、这部分代码加入依赖
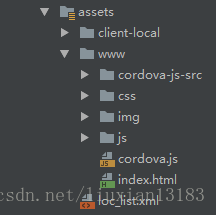
3、把config.xml文件放在这里

<?xml version='1.0' encoding='utf-8'?>
<widget xmlns:cdv="http://cordova.apache.org/ns/1.0" id="com.company.packagename" version="1.0.0"
        xmlns="http://www.w3.org/ns/widgets">

    <feature name="Whitelist">
        <param name="android-package" value="org.apache.cordova.whitelist.WhitelistPlugin"/>
        <param name="onload" value="true"/>
    </feature>

    <feature name="SyncService">
        <param name="android-package" value="com.cordova.plugin.SyncServicePlugin"/>
        <param name="onload" value="true"/>
    </feature>

    <feature name="AsyncService">
        <param name="android-package" value="com.cordova.plugin.AsyncServicePlugin"/>
        <param name="onload" value="true"/>
    </feature>

    <name>HelloWorld</name>
    <description>
        A sample Apache Cordova application that responds to the deviceready event.
    </description>
    <author email="[email protected]" href="http://cordova.io">
        Apache Cordova Team
    </author>

    <content src="index.html"/>
    <access origin="*"/>
    <allow-intent href="http://*/*"/>
    <allow-intent href="https://*/*"/>
    <allow-intent href="tel:*"/>
    <allow-intent href="sms:*"/>
    <allow-intent href="mailto:*"/>
    <allow-intent href="geo:*"/>
    <allow-intent href="market:*"/>
    <preference name="loglevel" value="DEBUG"/>
    <preference name="errorUrl" value="file:///android_asset/client-local/500.html"/>
</widget>
重点有4,分别是packageName、syncServicePlugin(同步插件)、asyncServicePlugin(异步插件)和errorUrl
4、设置CordovaPlugin的shouldAllowNavigation的返回值为true,否则H5调不到本地插件
5、写插件实现功能
    @Override
    public boolean execute(String action, final String rawArgs, CallbackContext callbackContext)
            throws JSONException {
        if (action.equals("js_viewImageAction")) {
            try {
                JSONArray array = new JSONArray(rawArgs);
                JSONObject args = array.optJSONObject(0);
                JSONArray imgArray = args.optJSONArray("img");
                int index = args.optInt("index");
                String[] target = new String[imgArray.length()];
                for (int i = 0; i < imgArray.length(); i++) {
                    target[i] = imgArray.getString(i);
                }
                Intent intent = new Intent(cordova.getActivity(), ImageViewActivity.class);
                intent.putExtra(IntentConstants.IMAGE_URLS, target);
                intent.putExtra(IntentConstants.IMAGE_INDEX, index);
                cordova.getActivity().startActivity(intent);
                callbackContext.success();
                return true;
            } catch (Exception e) {
                Logger.t(TAG).e("js_viewImageAction failed" + e);
            }
        }
      return super.execute(action, rawArgs, callbackContext);
    }
js_viewImageAction即插件名字。
通过JsonArray(据说iOS无法使用json传数据),获得json传递数据(注意要调callbackContext.success方法,使h5能确认native已经接收到;当然也可以用success方法回传json结果数据),同时return true 代码插件已被处理,不必再分发。
注意点:插件每次进入都会被初始化。
有问题欢迎评论!