1. 选择对的系统安装nvidia驱动
为什么说对的系统呢,这是因为在多次尝试后发现,如果使用ubuntu14安装显卡驱动会出现无法进入系统,一直在循环在登录界面,而ubuntu16则不会出现这个问题,所以说最好升级一下吧,毕竟14有点太老了。
重要的一点是不要在安装或安装后升级内核,否则cuda无法识别内核而导致安装失败!(如果已经升级并且cuda报错,那么百度或谷歌一下如何降内核吧)
先安装一些依赖吧,接下来可能用的到
sudo apt-get install libprotobuf-dev libleveldb-dev libsnappy-dev libopencv-dev libhdf5-serial-dev protobuf-compiler
sudo apt-get install --no-install-recommends libboost-all-dev
sudo apt-get install libopenblas-dev liblapack-dev libatlas-base-dev
sudo apt-get install libgflags-dev libgoogle-glog-dev liblmdb-dev
sudo apt-get install git cmake build-essential
使用如下指令安装你的nvidia驱动(ubntun14会无法进入系统)
sudo apt-get update
sudo apt-get install nvidia-367
安装好后重启,按super(windows)键,在你的程序中搜索nvidia就可以看到

表示你已经成功安装显卡驱动
2. 下载cuda8.0
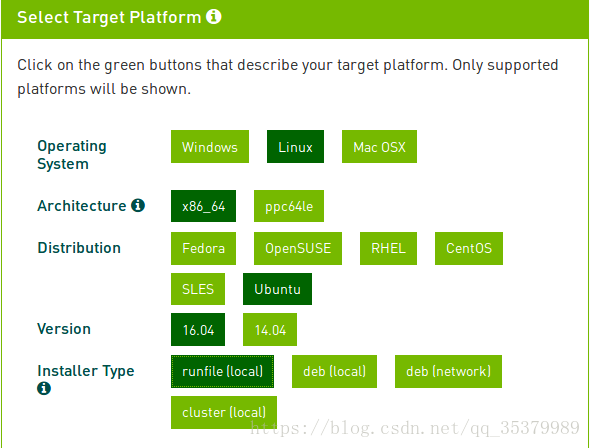
从这里下载 https://developer.nvidia.com/cuda-downloads
下载出来的1G多的那个就好,下载好后将文件剪切到你的home下,右击文件,点击属性,打开后如图,选择权限,勾选执行

3. 安装CUDA8.0
配置一下环境变量
sudo gedit ~/.bashrc
加入这两行:
export LD_LIBRARY_PATH=/usr/lib/x86_64-linux-gnu:$LD_LIBRARY_PATH
export LD_LIBRARY_PATH=/lib/x86_64-linux-gnu:$LD_LIBRARY_PATH
然后,就可以开始安装了
cd ~
sudo sh cuda_8.0.61_375.26_linux.run
然后会看到(按照我下面的输入即可)
Do you accept the previously read EULA?
accept/decline/quit: accept
Install NVIDIA Accelerated Graphics Driver for Linux-x86_64 361.62?
(y)es/(n)o/(q)uit: n
Install the CUDA 8.0 Toolkit?
(y)es/(n)o/(q)uit: y
Enter Toolkit Location
[ default is /usr/local/cuda-8.0 ]: 回车
Do you want to install a symbolic link at /usr/local/cuda?
(y)es/(n)o/(q)uit: y
Install the CUDA 8.0 Samples?
(y)es/(n)o/(q)uit: y
Enter CUDA Samples Location
[ default is /root ]:回车
接下来会出现
Installing the CUDA Toolkit in /usr/local/cuda-8.0 …
Installing the CUDA Samples in /root …
Copying samples to /home/derek/NVIDIA_CUDA-8.0_Samples now…
Finished copying samples.
= Summary =
Driver: Installed
Toolkit: Installed in /usr/local/cuda-8.0
Samples: Installed in /home/derek
Please make sure that
– PATH includes /usr/local/cuda-8.0/bin
– LD_LIBRARY_PATH includes /usr/local/cuda-8.0/lib64, or, add /usr/local/cuda-8.0/lib64 to /etc/ld.so.conf and run ldconfig as root
To uninstall the CUDA Toolkit, run the uninstall script in /usr/local/cuda-8.0/bin
Please see CUDA_Installation_Guide_Linux.pdf in /usr/local/cuda-8.0/doc/pdf for detailed information on setting up CUDA.
WARNING: Incomplete installation! This installation did not install the CUDA Driver. A driver of version at least 361.00 is required for CUDA 8.0 functionality to work.
To install the driver using this installer, run the following command, replacing with the name of this run filesudo.run -silent -driver
这样就已经安装好了,就是这么简单不要怀疑,只要不出error就可以,如果出现kernel相关错误,那一般是由于内核太高了,cuda不能识别,包括cuda9等等后来的也不能,所以还是想办法降一下内核吧
4. 编辑配置文件
sudo gedit ~/.bash_profile打开配置文件,加入以下几行
export LD_LIBRARY_PATH="$LD_LIBRARY_PATH:/usr/local/cuda-8.0/lib64:/usr/local/cuda-8.0/extras/CUPTI/lib64"
export CUDA_HOME=/usr/local/cuda-8.0
也可以在.bashrc中配置
sudo gedit ~/.bashrc
加入这两行
export PATH=/usr/local/cuda-8.0/bin:$PATH
export LD_LIBRARY_PATH=/usr/local/cuda/lib64:$LD_LIBRARY_PATH
source ~/.bashrc
现在就可以验证一下cuda是否安装成功咯
cd /usr/local/cuda-8.0/samples/1_Utilities/deviceQuery
sudo make
./deviceQuery