版权声明:本文为博主原创文章,未经博主允许不得转载。 https://blog.csdn.net/AmazingUU/article/details/54290180
项目里要将原来的串口通信改成蓝牙通信,开始学习蓝牙通信。
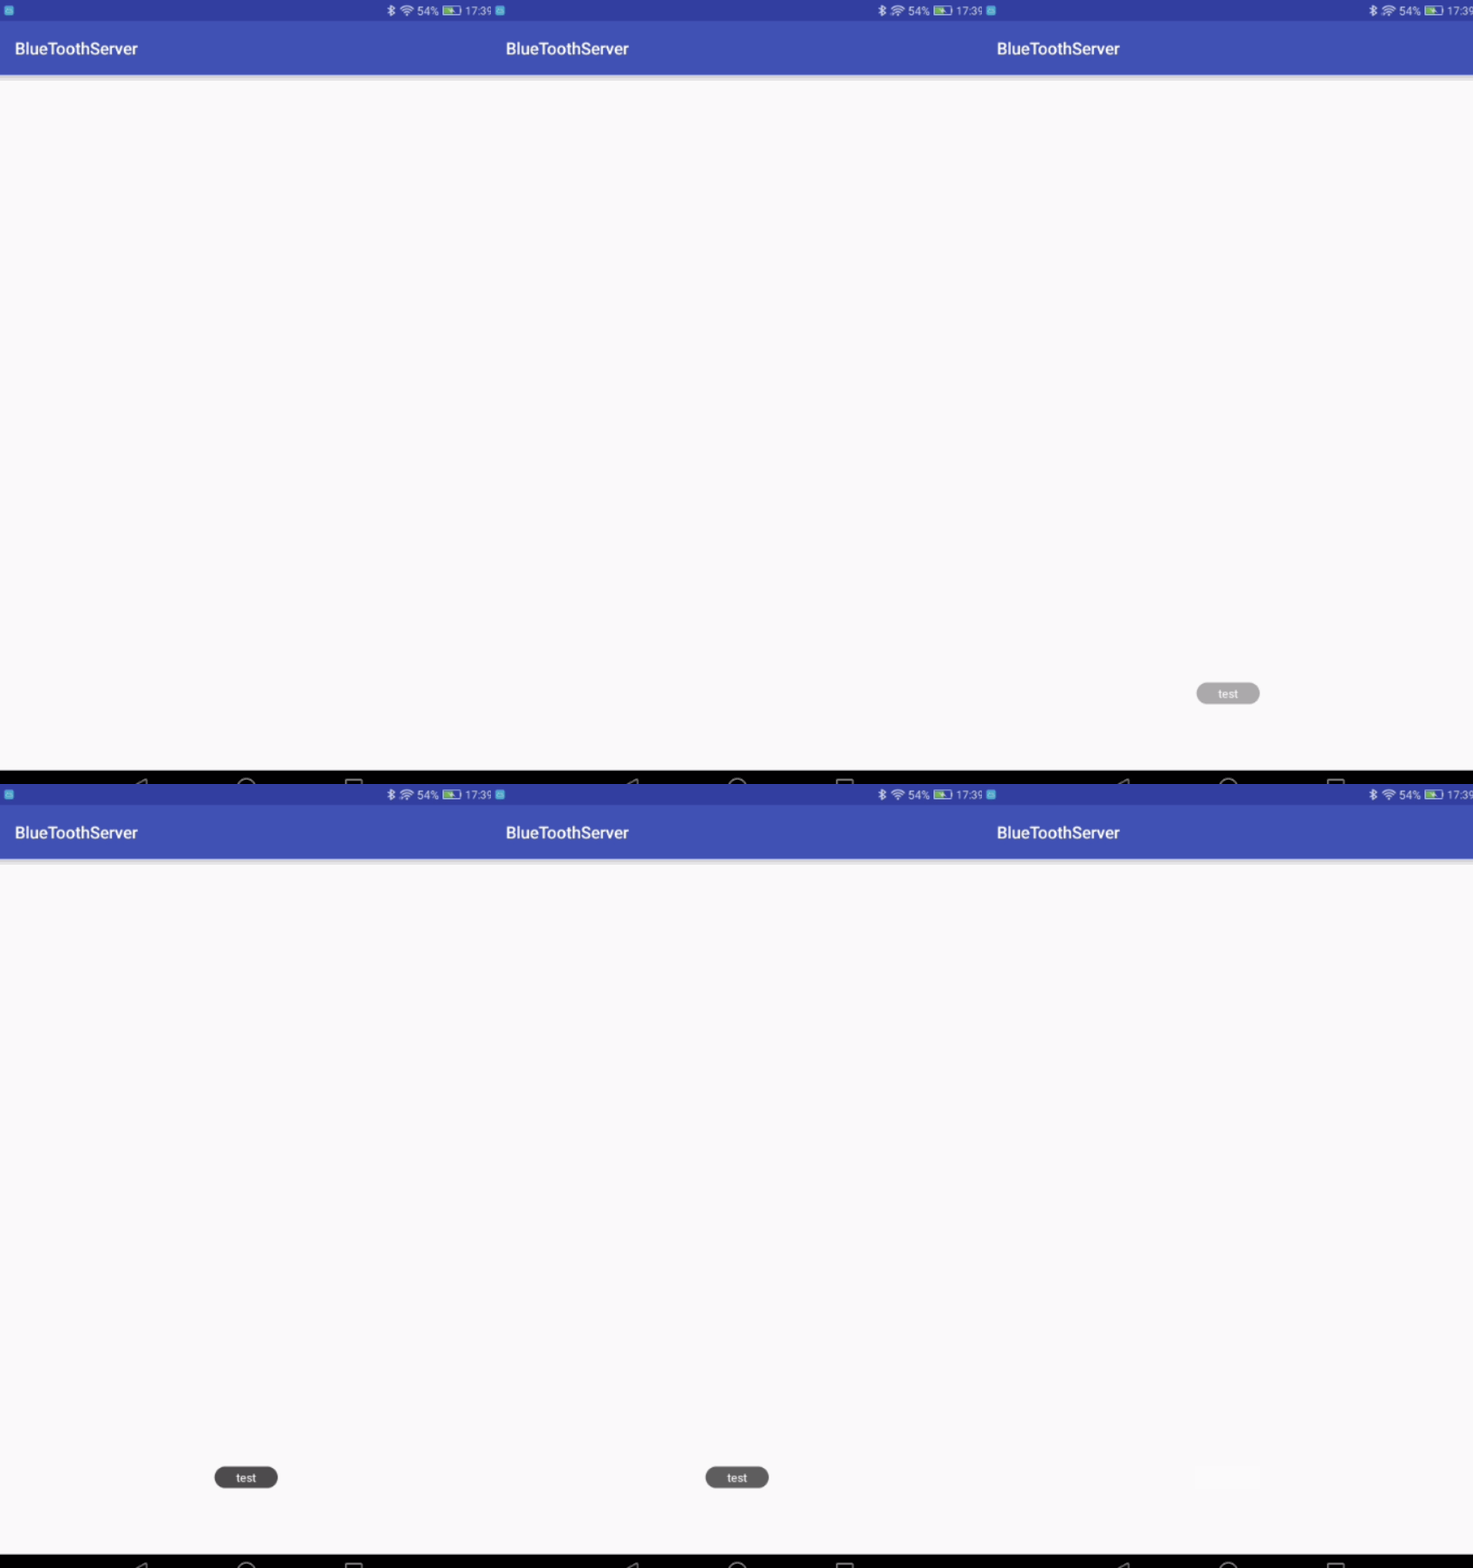
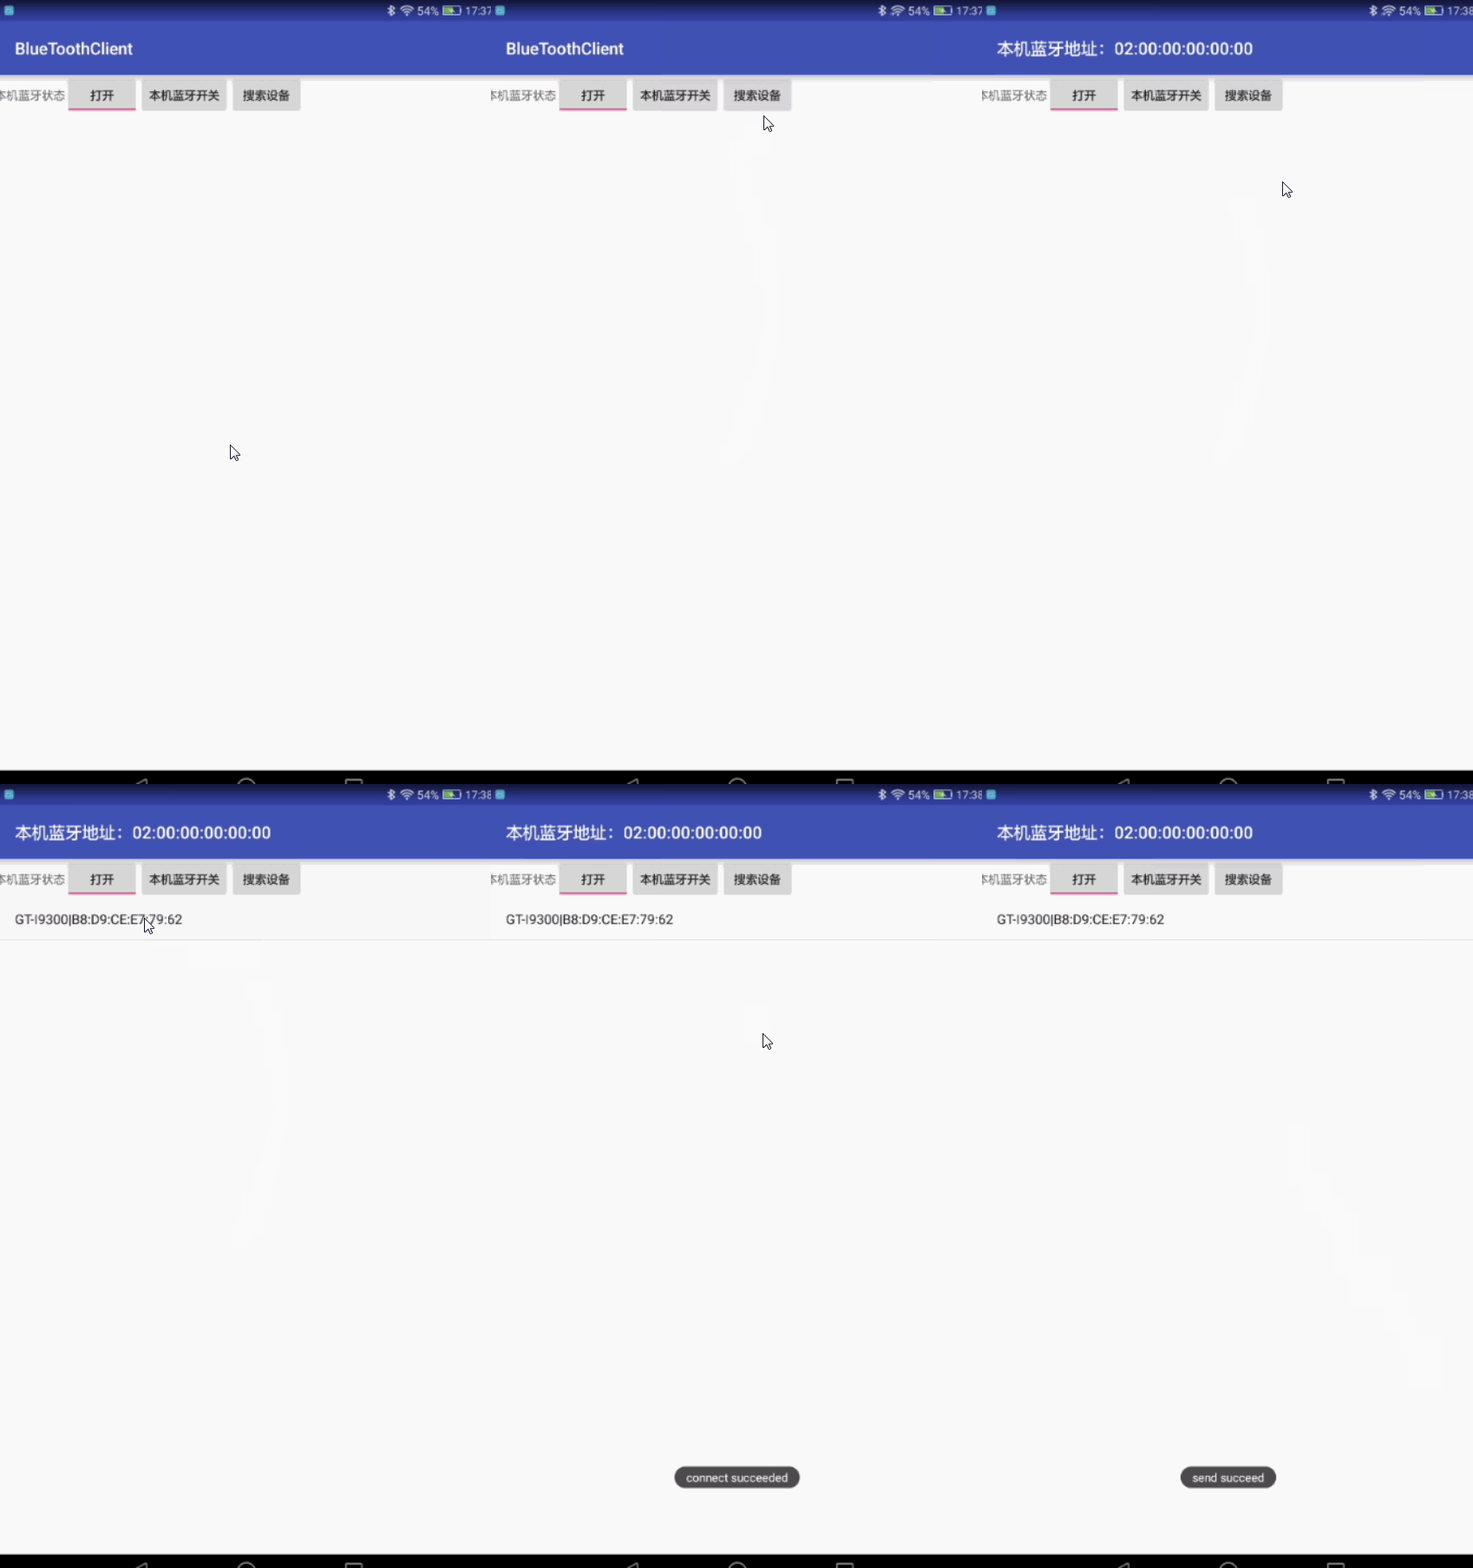
最初版本的效果图:(两个GIF是分开录的,时间有点不同步,请见谅)

功能十分简单,Client端三个按钮,分别是蓝牙开关、本机可被搜索和搜索设备,点击搜索设备即可搜索周围的蓝牙,点击搜索到的蓝牙即可连接并自动发送test。
Server端更简单,在接收到消息之后便Toast出来。具体实现看代码
注:Client端搜索设备时,Server端不仅要打开蓝牙还要将蓝牙置为可被发现状态
Client端代码:
public class MainActivity extends AppCompatActivity {
     //蓝牙通信需要相同的UUID和对方的蓝牙地址,UUID规定是下面的格式,只要格式对,两边的UUID相同,数字可以改变,不影响通信,但一般都是用下面这种
    static final String SPP_UUID = "00001101-0000-1000-8000-00805F9B34FB";
    Button btnSearch, btnDis;//定义布局中的按钮
    ToggleButton tbtnSwitch;//显示蓝牙开关状态的双状态按钮
    ListView lvBTDevices; //搜索到的蓝牙列表
    ArrayAdapter<String> adtDevices; //将本机的蓝牙地址显示
    List<String> lstDevices = new ArrayList<String>();//列表中蓝牙的地址
    BluetoothAdapter btAdapt;  //定义移动设备的本地的蓝牙适配器
    public static BluetoothSocket btSocket;  //Socket用来接受客户端的要求

    @Override
    public void onCreate(Bundle savedInstanceState) {
        super.onCreate(savedInstanceState);
        setContentView(R.layout.activity_main); //加载 布局

        // Button 设置 通过findViewById的方法来定义
        //获得所有控件对象
        btnSearch = (Button) this.findViewById(R.id.btnSearch);
        btnDis = (Button) this.findViewById(R.id.btnDis);
        tbtnSwitch = (ToggleButton) this.findViewById(R.id.tbtnSwitch);

        //给所有的控件设置监听器
        btnDis.setOnClickListener(new ClickEvent());
        btnSearch.setOnClickListener(new ClickEvent());
        tbtnSwitch.setOnClickListener(new ClickEvent());

        // ListView及其数据源 适配器
        lvBTDevices = (ListView) this.findViewById(R.id.lvDevices);
        adtDevices = new ArrayAdapter<String>(MainActivity.this,
                android.R.layout.simple_list_item_1, lstDevices);
        lvBTDevices.setAdapter(adtDevices);
        lvBTDevices.setOnItemClickListener(new ItemClickEvent());//设置监听器获取数据

        btAdapt = BluetoothAdapter.getDefaultAdapter();// 初始化本机蓝牙功能

        if (btAdapt.getState() == BluetoothAdapter.STATE_OFF)// 读取蓝牙状态并显示于双状态按钮
            tbtnSwitch.setChecked(false);
        else if (btAdapt.getState() == BluetoothAdapter.STATE_ON)
            tbtnSwitch.setChecked(true);

        // 注册Receiver来获取蓝牙设备相关的结果,onReceive()里取得搜索所得的蓝牙设备信息
        IntentFilter intent = new IntentFilter();
        intent.addAction(BluetoothDevice.ACTION_FOUND);// 用BroadcastReceiver来取得搜索结果
        intent.addAction(BluetoothDevice.ACTION_BOND_STATE_CHANGED);
        intent.addAction(BluetoothAdapter.ACTION_SCAN_MODE_CHANGED);
        intent.addAction(BluetoothAdapter.ACTION_STATE_CHANGED);
        registerReceiver(searchDevices, intent);
    }


    private BroadcastReceiver searchDevices = new BroadcastReceiver() {

        public void onReceive(Context context, Intent intent) {
            String action = intent.getAction();
            Bundle b = intent.getExtras();
            Object[] lstName = b.keySet().toArray();

            // 显示所有收到的消息及其细节
            for (int i = 0; i < lstName.length; i++) {
                String keyName = lstName[i].toString();
                Log.e(keyName, String.valueOf(b.get(keyName)));
            }
            //搜索设备时,取得设备的MAC地址
            if (BluetoothDevice.ACTION_FOUND.equals(action)) {
                BluetoothDevice device = intent
                        .getParcelableExtra(BluetoothDevice.EXTRA_DEVICE);
                String str= device.getName() + "|" + device.getAddress();
                if (lstDevices.indexOf(str) == -1)// 防止重复添加,
                    lstDevices.add(str); // 获取设备名称和mac地址
                adtDevices.notifyDataSetChanged();//通知Activity刷新数据
            }
        }
    };

    //本次活动的销毁函数
    @Override
    protected void onDestroy() {
        try {
            if (btSocket != null)
                btSocket.close();
        } catch (IOException e) {
            e.printStackTrace();
        }
        this.unregisterReceiver(searchDevices);
        super.onDestroy();
        android.os.Process.killProcess(android.os.Process.myPid());
    }
    //对监听器的设置,获取列表中设备名以及蓝牙设备地址
    class ItemClickEvent implements AdapterView.OnItemClickListener {

        @Override
        public void onItemClick(AdapterView<?> arg0, View arg1, int arg2,
                                long arg3) {
            btAdapt.cancelDiscovery();//连接时停止搜索周围蓝牙,否则容易连接失败
            //取出蓝牙地址
            String str = lstDevices.get(arg2);
            String[] values = str.split("\\|");
            String address=values[1];
            Log.d("address",values[1]);
            UUID uuid = UUID.fromString(SPP_UUID);

            //利用BluetoothDevice衍生出Socket,
            BluetoothDevice btDev = btAdapt.getRemoteDevice(address);
            try {
                btSocket = btDev
                        .createRfcommSocketToServiceRecord(uuid);

                try {
                    // 连接建立之前的先配对
                    if (btDev.getBondState() == BluetoothDevice.BOND_NONE) {
                        Method creMethod = BluetoothDevice.class
                                .getMethod("createBond");
                        Log.e("TAG", "开始配对");
                        creMethod.invoke(btDev);
                    }
                } catch (Exception e) {
                    e.printStackTrace();
                }
                btSocket.connect();
                Toast.makeText(MainActivity.this,"connect succeeded",Toast.LENGTH_SHORT).show();

                //将数据写入输出流
                OutputStream os = btSocket.getOutputStream();
                if (os != null) {
                    try {
                        os.write("test".getBytes("UTF-8"));
                        Toast.makeText(MainActivity.this, "send succeed", Toast.LENGTH_LONG).show();
                    } catch (IOException e) {
                        e.printStackTrace();
                    }
                }

            } catch (IOException e) {
                e.printStackTrace();
                Toast.makeText(MainActivity.this,"connect fail",Toast.LENGTH_LONG).show();
            }

        }
    }


    //按钮监听器,打开本机蓝牙的设置
    class ClickEvent implements View.OnClickListener {
        @Override
        public void onClick(View v) {
            if (v == btnSearch)// 搜索蓝牙设备,在BroadcastReceiver显示结果
            {
                if (btAdapt.getState() == BluetoothAdapter.STATE_OFF) {// 如果蓝牙还没开启
                    Toast.makeText(MainActivity.this, "请先打开蓝牙", Toast.LENGTH_LONG).show();
                    return;
                }
                setTitle("本机蓝牙地址:" + btAdapt.getAddress());
                lstDevices.clear();
                btAdapt.startDiscovery();
            } else if (v == tbtnSwitch) {// 本机蓝牙启动/关闭
                if (tbtnSwitch.isChecked() == false)
                    btAdapt.enable();
                else if (tbtnSwitch.isChecked() == true)
                    btAdapt.disable();
            } else if (v == btnDis)// 本机可以被搜索
            {
                Intent discoverableIntent = new Intent(
                        BluetoothAdapter.ACTION_REQUEST_DISCOVERABLE);
                discoverableIntent.putExtra(
                        BluetoothAdapter.EXTRA_DISCOVERABLE_DURATION, 300);
                startActivity(discoverableIntent);//本机蓝牙的内部设置
            }
        }
    }
}
Server端:
public class MainActivity extends AppCompatActivity {
    private final UUID MY_UUID = UUID.fromString("00001101-0000-1000-8000-00805f9b34fb");//Server端和Client端的UUID要一致
    private BluetoothAdapter bluetoothAdapter;
    private final String NAME = "BlueTooth_Socket";//名字可以随便写

    private AcceptThread acceptThread;//后面的accept()会阻塞,所以要新开线程


    @Override
    protected void onCreate(Bundle savedInstanceState) {
        super.onCreate(savedInstanceState);
        setContentView(R.layout.activity_main);
        bluetoothAdapter = BluetoothAdapter.getDefaultAdapter();
        acceptThread=new AcceptThread();
        acceptThread.start();//开启线程
    }


    private Handler handler = new Handler() {
        @Override
        public void handleMessage(Message msg) {
            Toast.makeText(MainActivity.this, String.valueOf(msg.obj), Toast.LENGTH_SHORT).show();
        }
    };

    private class AcceptThread extends Thread {
        private BluetoothServerSocket serverSocket;
        private BluetoothSocket socket;
        private InputStream is;

        public AcceptThread() {
            try {
            //监听有无连接
                serverSocket = bluetoothAdapter.listenUsingRfcommWithServiceRecord(NAME, MY_UUID);
            } catch (Exception e) {
            }
        }

        @Override
        public void run() {
            try {
                socket = serverSocket.accept();//若有监听到有连接,accept给BluetoothSocket
                Log.d("tag", "connected");

                is = socket.getInputStream();

                while (true) {
                    byte[] buffer = new byte[128];
                    int count = is.read(buffer);
                    //子线程里不能直接Toast,利用handler
                    Message msg = new Message();
                    msg.obj = new String(buffer, 0, count, "UTF-8");
                    handler.sendMessage(msg);
                }
            } catch (Exception e) {

            }
        }
    }
}
布局文件很简单就不贴了,Client端是TextView、Button和ListView,Server端就什么都没加。关键的地方都加上了注释,最后都要加上蓝牙权限。
<uses-permission android:name="android.permission.BLUETOOTH"/>
<uses-permission android:name="android.permission.BLUETOOTH_ADMIN"/>
这样最简单的蓝牙通信就完成了。
