修改maper--添加自己的sql查询方法
- 修改
EmployeeMapper.java添加:
  <resultMap type="com.liantao.crud.bean.Employee" id="WithDeptResultMap">
    <id column="emp_id" jdbcType="INTEGER" property="empId" />
    <result column="emp_name" jdbcType="VARCHAR" property="empName" />
    <result column="gender" jdbcType="CHAR" property="gender" />
    <result column="email" jdbcType="VARCHAR" property="email" />
    <result column="d_id" jdbcType="INTEGER" property="dId" />
    <!-- 指定联合查询出的部门字段的封装 -->
    <association property="department" javaType="com.liantao.crud.bean.Department">
        <id column="dept" property="deptId"></id>
        <result column="dept_name" property="deptName"></result>
    </association>
  </resultMap>

  <sql id="WithDept_Column_List">
    e.emp_id, e.emp_name, e.gender, e.email, e.d_id,d.dept_id,d.dept_name
  </sql>

  <!--
    Employee selectByPrimaryKey(Integer empId);

    List<Employee> selectByExampleWithDepat(EmployeeExample example);
   -->
   <!-- 查询员工同时带部门信息 -->
    <select id="selectByExampleWithDept" resultMap="WithDeptResultMap">
    select
      <if test="distinct">
        distinct
      </if>
      <include refid="WithDept_Column_List" />
      FROM tbl_emp e
      LEFT JOIN tbl_dept d ON e.d_id=d.dept_id
      <if test="_parameter != null">
        <include refid="Example_Where_Clause" />
      </if>
      <if test="orderByClause != null">
        order by ${orderByClause}
      </if>
    </select>
    <!-- 查询员工不带部门信息的 -->
    <select id="selectByPrimaryKeyWithDept" resultMap="WithDeptResultMap">
        select
        <include refid="WithDept_Column_List" />
        FROM tbl_emp e
        LEFT JOIN tbl_dept d ON e.d_id=d.dept_id
        where emp_id = #{empId,jdbcType=INTEGER}
    </select>
以上是mybatis sql 的知识
- 修改Employee.java,添加:
  //希望查询员工的同时部门信息也是查询好的
    private Department department;
以上修改,是项目功能要求所添加。
测试
在src/test/java 目录新建MapperTest.java文件,添加代码:
package com.liantao.crud.test;
import org.junit.Test;
import org.junit.runner.RunWith;
import org.springframework.beans.factory.annotation.Autowired;
import org.springframework.context.ApplicationContext;
import org.springframework.context.support.ClassPathXmlApplicationContext;
import org.springframework.test.context.ContextConfiguration;
import org.springframework.test.context.junit4.SpringJUnit4ClassRunner;
import com.liantao.crud.dao.DepartmentMapper;
/**
* 测试dao层的工作
* @author liantao.me
* 推荐Spring的项目就可以使用Spring的单元测试,可以自动注入我们需要的组件
* 1.导入SpringTest模块,在pom.xml添加pendency
* 2.@ContextConfiguration指定Spring配置文件的位置
* 3.直接autowired要使用的组件即可
*
*/
@RunWith(SpringJUnit4ClassRunner.class)
@ContextConfiguration(locations={"classpath:applicationContext.xml"})
public class MapperTest {
@Autowired
DepartmentMapper departmentMapper;
/**
* 测试DepartmentMapper
*/
@Test
public void testCRUD(){
/*
* 原生测试方法
//1、创建Spring IOC容器
ApplicationContext ioc = new ClassPathXmlApplicationContext("applicationContext.xml");
//2、从容器中获取mapper
ioc.getBean(DepartmentMapper.class);
*/
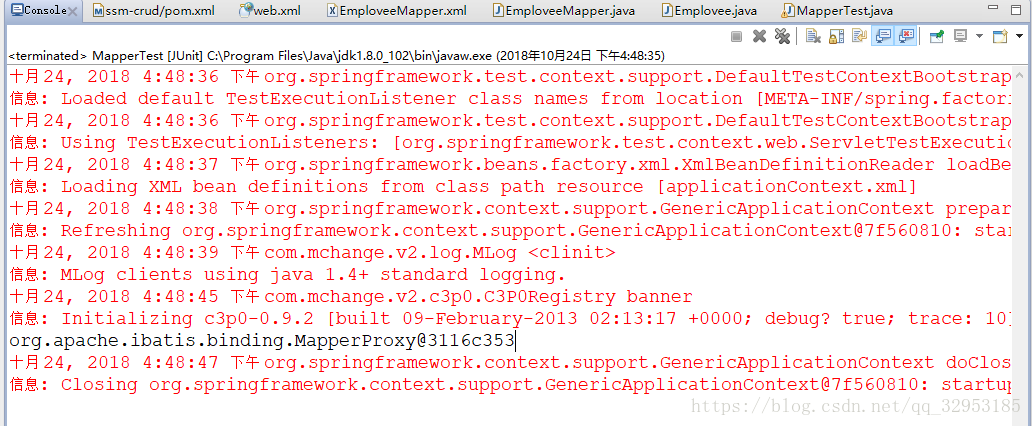
System.out.println(departmentMapper);
}
}
其中包含了SpringTest模块的使用,所以在maven仓库 拿到相关依赖包,添加到pom.xml
<!-- Spring Test -->
    <!-- https://mvnrepository.com/artifact/org.springframework/spring-test -->
    <dependency>
        <groupId>org.springframework</groupId>
        <artifactId>spring-test</artifactId>
        <version>4.3.7.RELEASE</version>
        <scope>test</scope>
    </dependency>
右键 run->JUnit Test
运行结果如下说明成功:
接着,分贝测试部门和员工插入方法测试:
记得在Department和Employee类中添加有参、无参构造函数~(myeclipse 右键source 下添加即可)
比如Employee的:
    public Employee() {
        super();
        // TODO Auto-generated constructor stub
    }

    public Employee(Integer empId, String empName, String gender, String email, Integer dId) {
        super();
        this.empId = empId;
        this.empName = empName;
        this.gender = gender;
        this.email = email;
        this.dId = dId;
    }
//1.插入几个部门
departmentMapper.insertSelective(new Department(null,"开发部"));
departmentMapper.insertSelective(new Department(null,"测试部"));
//2.生成员工数据,测试员工插入
employeeMapper.insertSelective(new Employee(null,"tom","M","[email protected]",1));添加代码:
    //1.插入几个部门
        departmentMapper.insertSelective(new Department(null,"开发部"));
        departmentMapper.insertSelective(new Department(null,"测试部"));

        //2.生成员工数据,测试员工插入
employeeMapper.insertSelective(new Employee(null,"tom","M","[email protected]",1));批量数据插入方法sqlSession:
在applicationContext.xml下,添加:
    <!-- 配置一个可以运行批量的sqlSession -->
    <bean id="sqlSession" class="org.mybatis.spring.SqlSessionTemplate">
        <constructor-arg name="sqlSessionFactory" ref="SqlSessionFactory"></constructor-arg>
        <constructor-arg name="executorType" value="BATCH"></constructor-arg>
    </bean>
详细介绍sqlSession的文章。
在MapperTest.java测试类中,自动装配sqlSession:
@Autowired
SqlSession sqlSession;
使用方法
//3.批量插入多个员工
        EmployeeMapper mapper = sqlSession.getMapper(EmployeeMapper.class);
        for(int i=0;i<1000;i++){
            String uid = UUID.randomUUID().toString().substring(0,5)+i;
            mapper.insertSelective(new Employee(null,uid,"M",uid+"@gmail.com",1));
        }
        System.out.println("批量插入员工数据完成!");
UUID 是 通用唯一识别码(Universally Unique Identifier)的缩写,是一种软件建构的标准,亦为开放软件基金会组织在分布式计算环境领域的一部分。其目的,是让分布式系统中的所有元素,都能有唯一的辨识信息,而不需要通过中央控制端来做辨识信息的指定。如此一来,每个人都可以创建不与其它人冲突的UUID。在这样的情况下,就不需考虑数据库创建时的名称重复问题。目前最广泛应用的UUID,是微软公司的全局唯一标识符(GUID),而其他重要的应用,则有Linux ext2/ext3文件系统、LUKS加密分区、GNOME、KDE、Mac OS X等等。
UUID简史
SqlSession 介绍:地址
运行,输出“批量插入员工数据完成!”即成功。可在数据库查看数据。
END